
Write Code Faster Using Live Templates

Whether you are preparing for a code demo or writing an every-day code, live templates offer a great way to speed up your coding. You can type in just a few letters and expand them to a much longer piece of code.
In this blog, I’ll cover why you need live templates and how to use them. You’ll also see how to create new templates and share them with your team members. Let’s get started with simple templates.
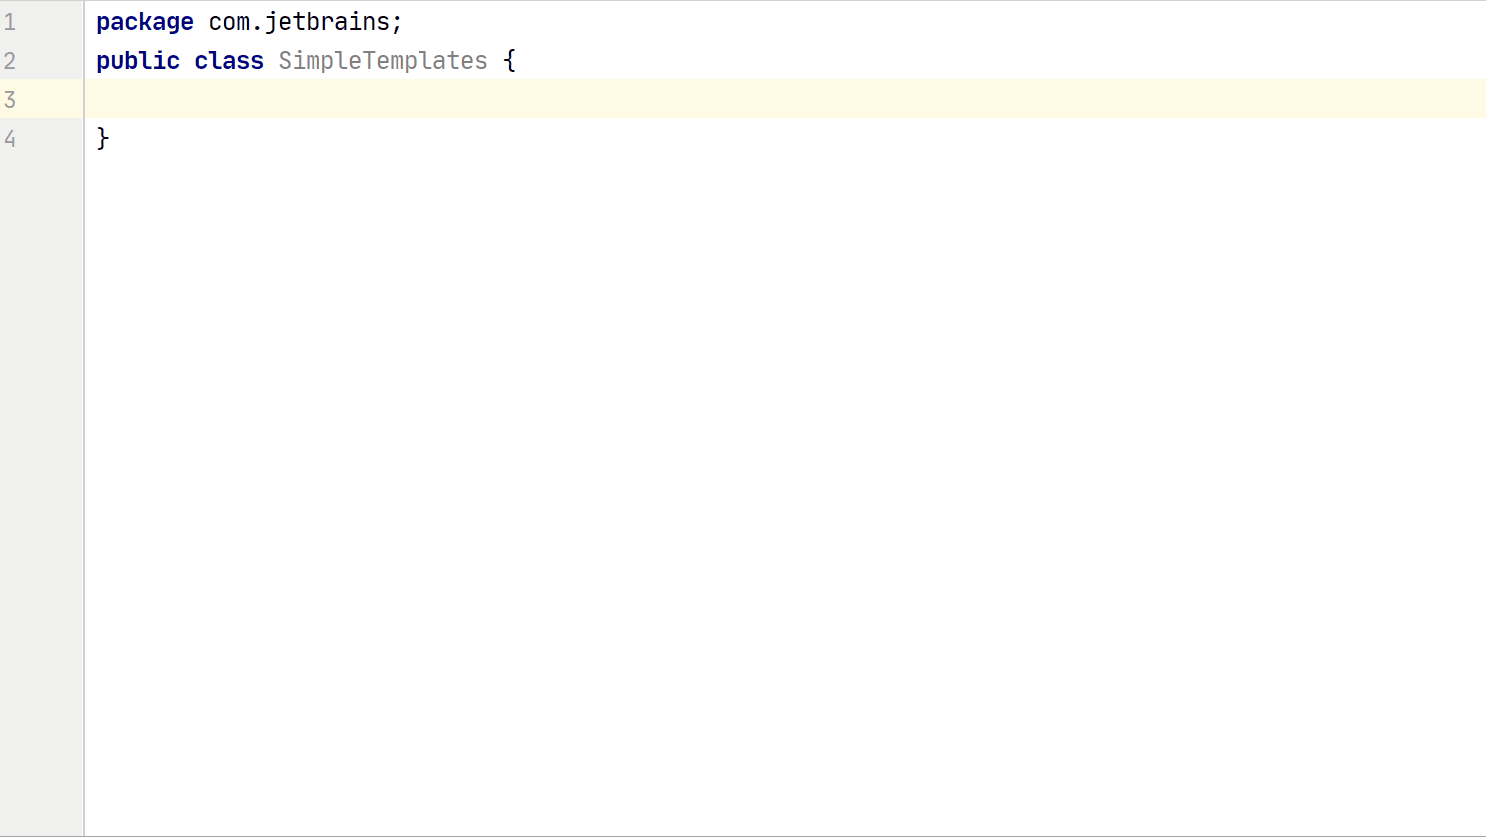
Simple Templates
Simple templates contain only fixed plain text. When you expand a simple template, the text is automatically inserted into your source code, replacing the abbreviation.
Imagine you want to add the main method to your code. To do so, type ‘main’ and either press Tab or hit the Enter key to replace it with the main method. You could also do that by typing ‘psvm’ – the acronym for public static void main. The ‘main’ and ‘psvm’ templates are simple live templates in IntelliJ IDEA. I usually prefer using ‘main’ because it is simpler to remember.
To output a value to the console, type ‘sout’ and expand it to System.out.println. This live template is interesting and has various versions, like ‘soutv’, ‘soutp’, ‘soutm’ and others (you can see how they vary in the gif included in this section).
You can also use live templates to define fields or variables. For example, use ‘psfi’ to generate code for a public static final int field.
But this is just the beginning of what you can do with live templates.
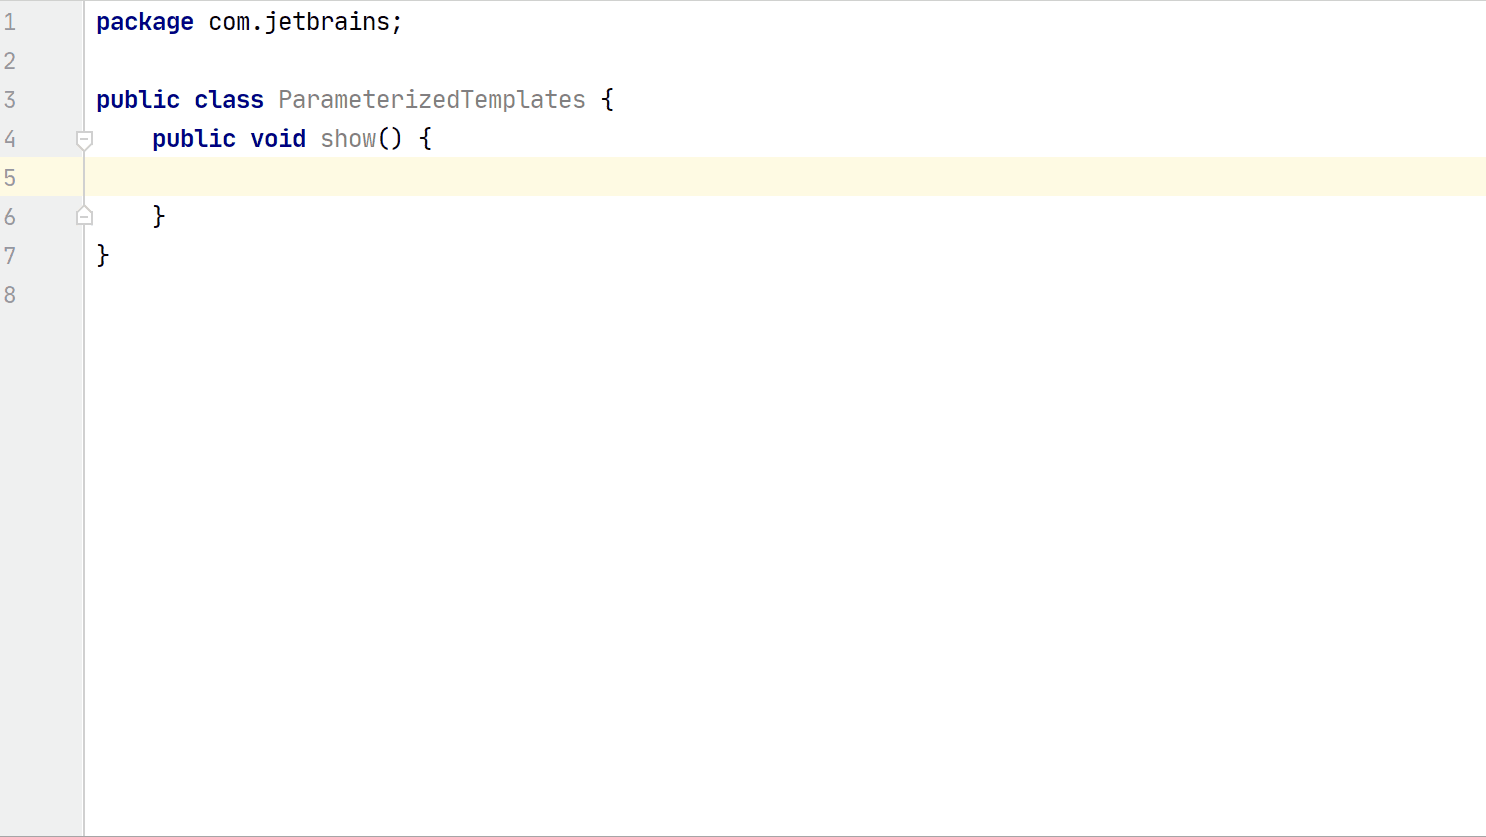
Parameterized Live Templates
Parameterized templates contain variables that can accept your input. When you expand a parameterized template, variables are either replaced by input fields for you to specify manually or calculated by IntelliJ IDEA automatically.
Imagine you want to insert a for loop to iterate over numbers 1–10. Instead of typing in all the loop details, you can type ‘fori’ and expand it to a for loop. If you don’t want to modify the loop variable name, hit the enter key to move to the other placeholder.
When you type ‘for’, you can access multiple variations of the for loop – ‘for’, ‘fori’, and ‘foreach’. Each template has a short description next to it, which can be helpful for selecting the option that works best for you.
Another control statement that we use often is the if statement. If you type ‘if’ and press Tab, IntelliJ IDEA adds the full set of the parentheses for you. One of my favorite features is the Complete Current Statement command, which also adds the missing braces. A variation of the if statement, if you use ‘ifn’, IntelliJ IDEA would generate code to check for not null variables.
Did you notice that the various live templates show up when you start typing them in? But how can you tell whether what shows up is a live template, a method, or a keyword? Let’s say you type in c – now you get options of clone(), char, class, ‘cxf’, and other options. Method names are followed by parentheses, while keywords don’t have a description. A live template like ‘cxf’ would usually have a description and isn’t followed by parentheses.
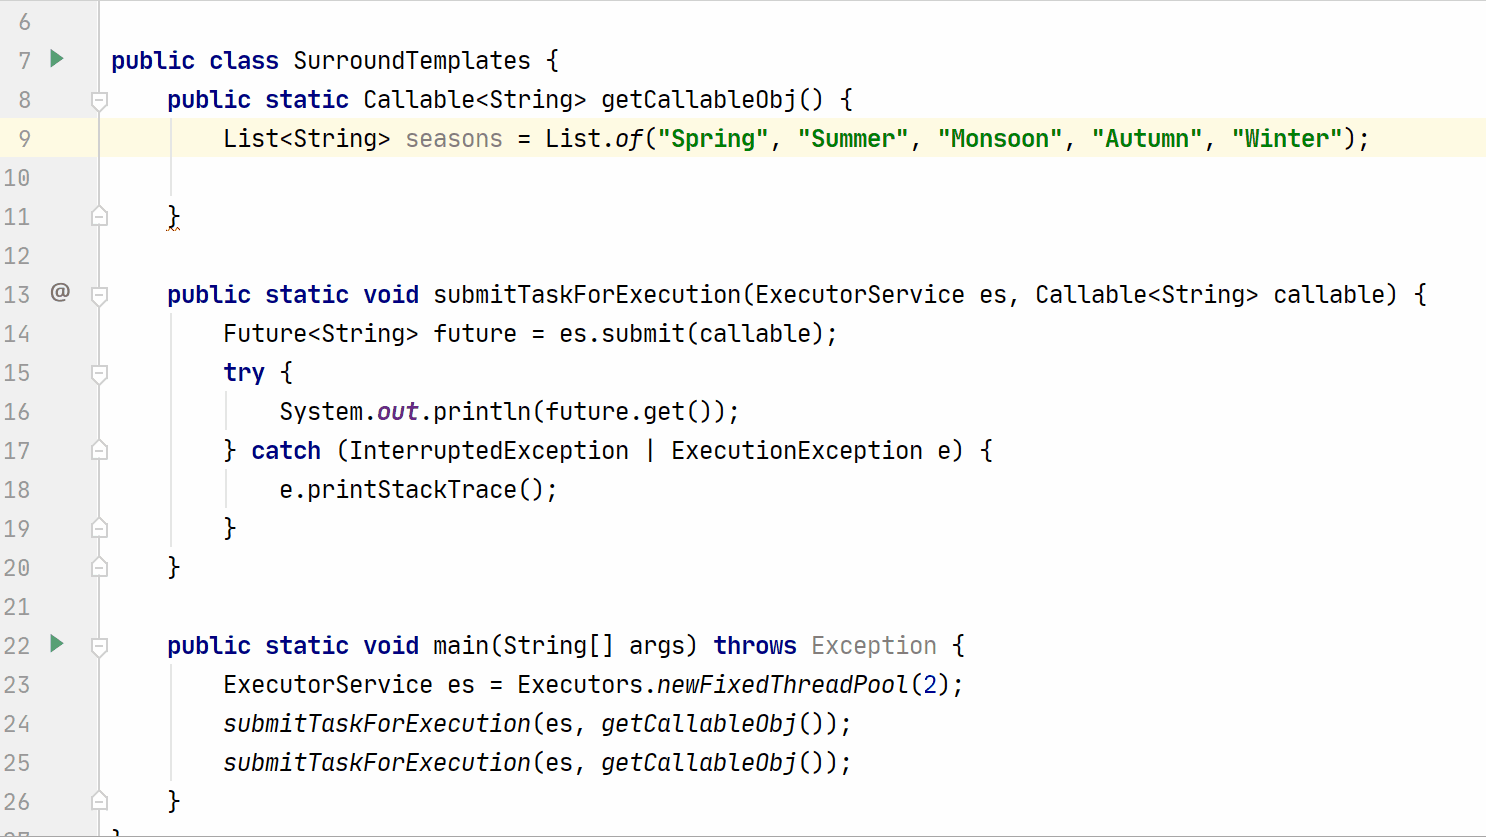
Surround Live Templates
With a surround live template, you can wrap the selected block code with another piece of code. Press Ctrl+Alt+J on Windows and Linux, or ⌥⌘J on macOS, to open the Select Template popup. This template will wrap your code with a pair of tags, and then you can modify or add the missing pieces of code.
Viewing all existing Live Templates
IntelliJ IDEA defines a lot of live templates. If you are interested, you can discover all of them and how to use them.
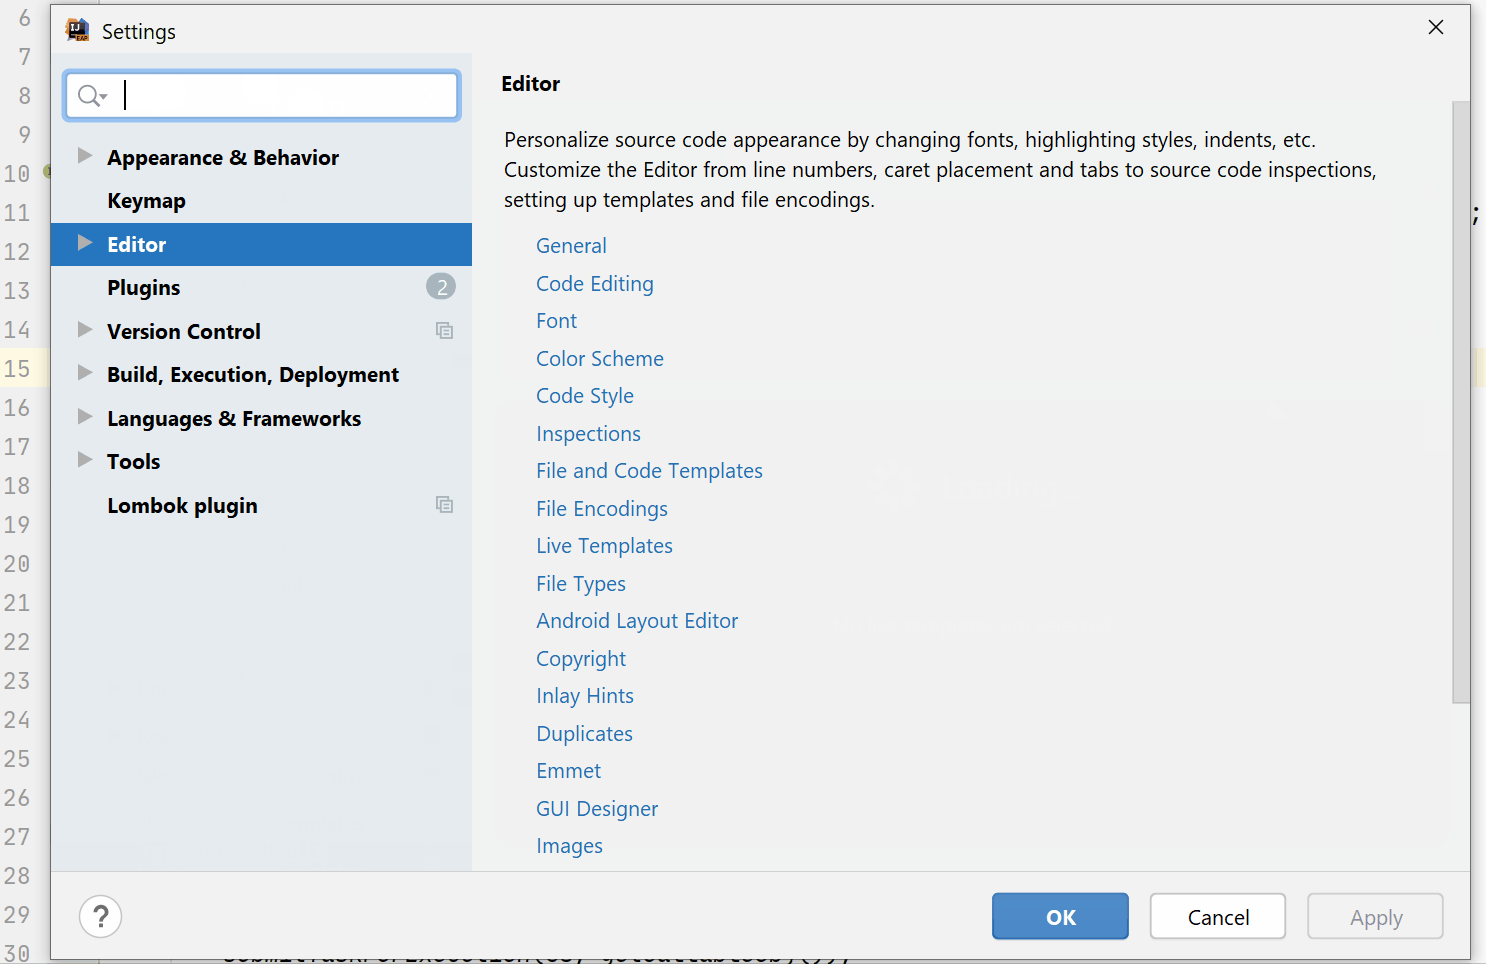
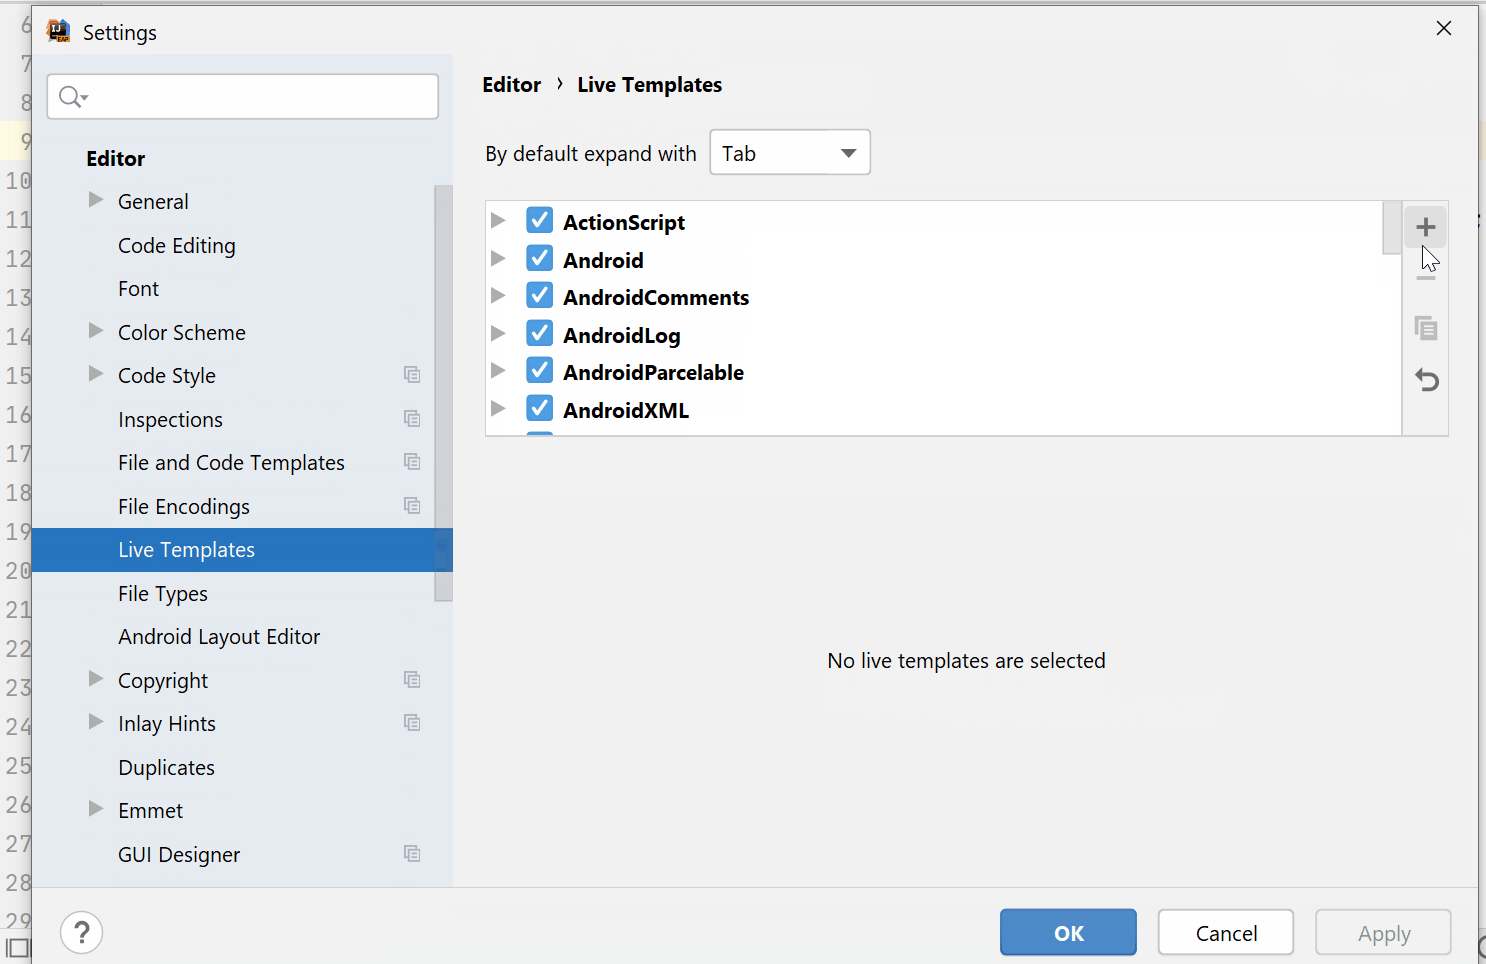
To see all the live templates, access the Settings dialog by using Ctrl+Alt+S on Windows or ⌘Comma on macOS. Search for live templates. They are either grouped by language or functionality – like iterations, Kotlin, Maven, and others.
You can click on a few of them to find out the code they’ll insert when you use their corresponding abbreviations. Exploring this variety of templates could also help you if you decide to write your own.
Let’s take a look at the details of the ‘sout’ template, which is one we frequently use. If you remember, when you use this template, your cursor is placed within the parentheses. The END variable defines the position of the cursor.
Copy an existing Live Template
You can create a new live template by copying and editing an existing live template’s abbreviation, along with the code it inserts.
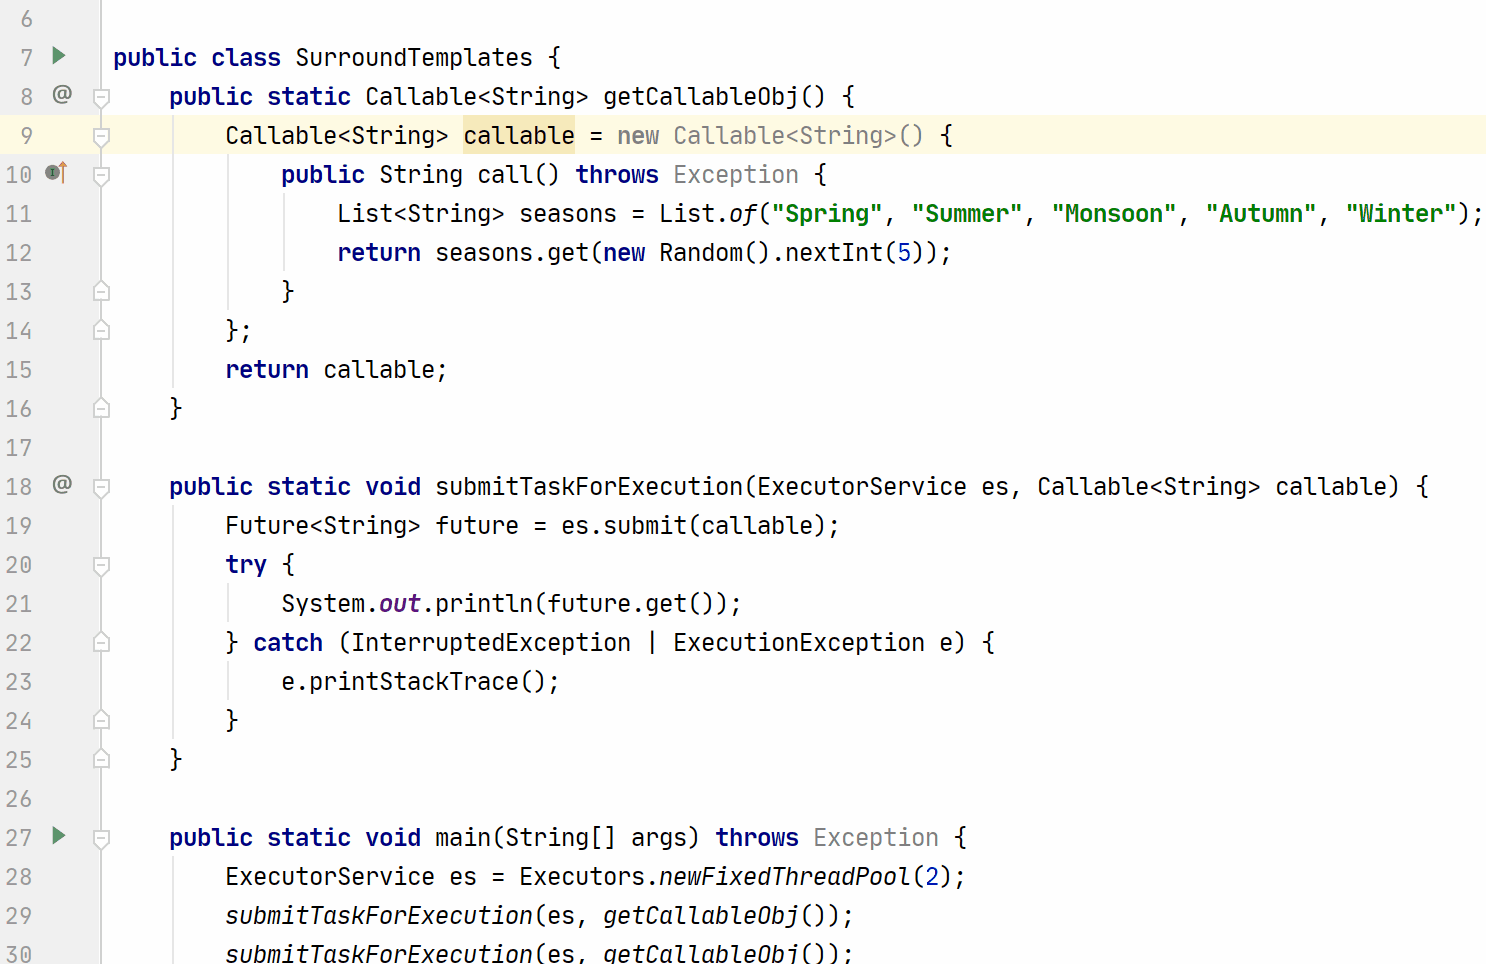
For example, let’s modify the Surround with Callable template so that it wraps the selected code in a lambda expression instead of an anonymous class.
Go to Settings, select Surround with Callable, and click on the duplicate icon. Rename this template to CWithLambdas and change the description to Surround with Callable using Lambdas. Change the template text so that it uses lambdas.
Now you’ll have the option to apply this template to your code.
Creating a new Live Template
If modifying an existing template won’t quite meet your requirements, you can create a new live template from scratch.
Imagine, for example, that you often need to insert a test method in your code. You can create a new live template to make this easier.
Go to Settings | Live Templates and click on the plus icon. You can choose to create a live template or a template group. IntelliJ IDEA groups its live templates either by language or by functionality. You could also create a group like TDD (Test Driven Development) if you plan to create multiple live templates related to testing.
To create a new live template, you need to add value for its abbreviation, a description, and the template text. You can also define variables in the template text and configure them by specifying things like their default values, among other details. The last step is to define the context for a live template, such as Comment, Declaration, Expression, Smart Type Completion, Statement, or String, among others. This is important so that your live template doesn’t show up everywhere and instead appears only where you need it.
Sharing Live Templates
Once you have created your own live templates, you might want to share them with your team members. To do so, you can export the settings in IntelliJ IDEA to a file. To export only the live templates, you can uncheck the other options. After you export the file, your team members can import it by using the import settings (they might need to restart IntelliJ IDEA to view the updated settings). View the screencast included near the top of this blog to view how to share your live templates, in action.
Summary
A powerful and extremely versatile feature, live templates make you more productive.
They speed up your development by reducing manual typing. You can use the predefined live templates in IntelliJ IDEA. You can also edit them or create your own, adding a level of customization. Your team can benefit from the live templates that you have created – just share the live templates with them.
Happy developing!

Subscribe to IntelliJ IDEA Blog updates


