How PyCharm helps you with remote development

Have you ever wanted to develop a Python or Web application for Linux from your laptop running Windows 7 or MAC OS X? To debug or test your application on different operating systems without ever leaving the IDE? Or just to run large applications that you develop as a team on a dedicated provisioned environment, rather than on regular workstations? Guess what: all of this is possible with the remote development features already available in PyCharm.
The central entry point to remote development with PyCharm is the notion of Remote Interpreters.
You can configure PyCharm to use Python interpreter from a remote host and set it as your project interpreter. Then you can configure your run/debug configurations to run, debug or test your applications on the remote host. The remote host can be a physical remote server, a VM or even a virtualenv environment – it doesn’t matter. PyCharm has everything you need to work with all types of remote hosts.
Actually, most of the Remote Development stuff was already available in previous versions of PyCharm and covered in these nice tutorials. But we never stop working on improving your comfort and user experience, so PyCharm 2.7 gets new additional features.
Vagrant integration

Native Vagrant integration is now implemented in PyCharm 2.7+. It is supported via the plugin Vagrant that comes already bundled with PyCharm. Vagrant integration makes it much easier to provision and manage your VMs, connect to them over the SSH and automatically configure a remote interpreter and an FTP deployment, if you run your development environment in a VM using Vagrant. All this without leaving the IDE!
Before you start working with Vagrant, make sure that the Vagrant plugin is enabled (this is the default). Also make sure that Oracle VirtualBox and Vagrant are installed on your machine.
First, open Settings | Project Settings | Vagrant: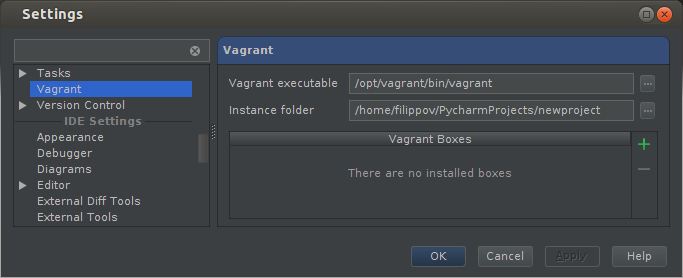
Enter appropriate paths for “Vagrant executable” and “Instance folder,” and then add your first Vagrant Box by clicking the Add (green plus) button:
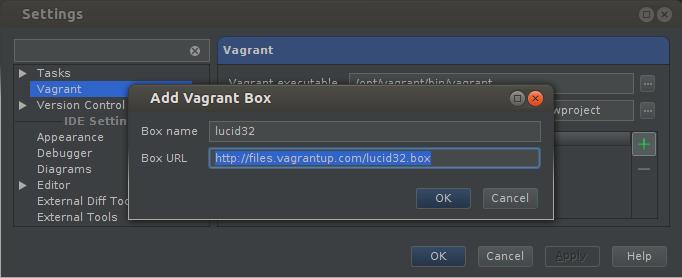
Here, choose a name for your new Vagrant box and provide the Box URL for downloading the template. Click OK to start downloading your VM.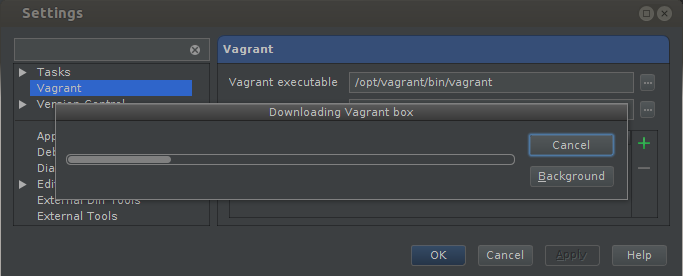
Good! Now, after this step we have VM downloaded and added to our environment: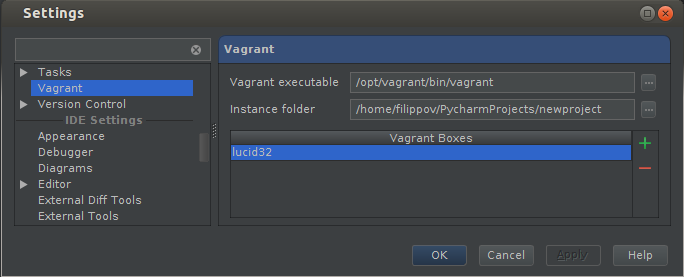
Next, open Tools | Vagrant. You will see the Vagrant menu node containing different commands, which correspond to the standard Vagrant actions: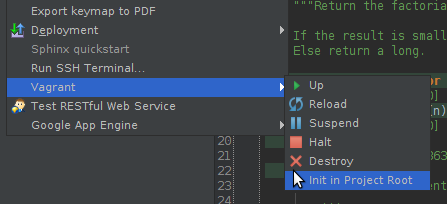
First you need to initialize a Vagrantfile for your project. Select “Init in Project Root” in the menu to automatically create the Vagrantfile, and you will be able to see and modify it like any other file within your project.
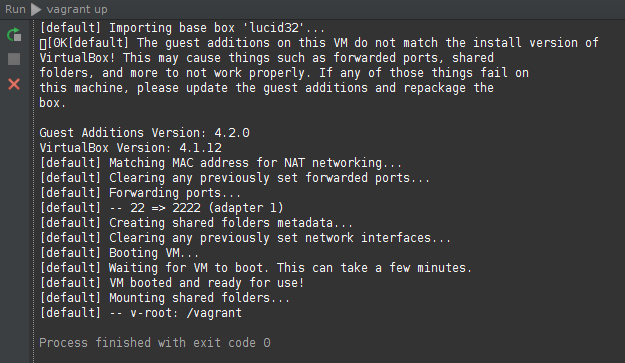
Now you can start your first VM! To do so, select Tools | Vagrant | Up.
On the bottom of the screen a special console will open showing you the progress and output from Vagrant:
To be able to run your project on the VM or to connect to the VM, you need to configure the remote interpreter.
This is done through Settings | Project Settings | Project Interpreter | Python Interpreters. Click the Add button and select “Remote interpreter.” Here you will get the “Configure Remote Python Interpreter” dialog:
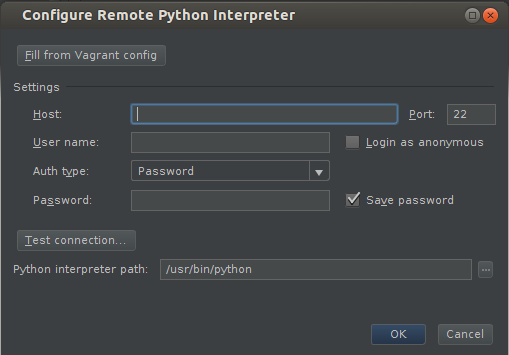
You can fill it manually, as for an arbitrary remote host, or just use “Fill from Vagrant config.” Click it – and voila! All the required fields are filled with your Vagrant box details.
After this step the remote interpreter will be added to your project. You can set it as the default project interpreter as well.
From this point on you can execute your project using the remote interpreter on the VM:
The Vagrant plugin works gracefully with the Vagrantfile. You can manually edit it, and all you need is just to click Tools | Vagrant | Reload for the Vagrant plugin to pick up new settings.
For example you can set up custom path mappings in Vagrantfile:
After the Vagrant Box is reloaded, a mapping will be created and you will see a new shared folder into your project folder.
Integrated SSH console
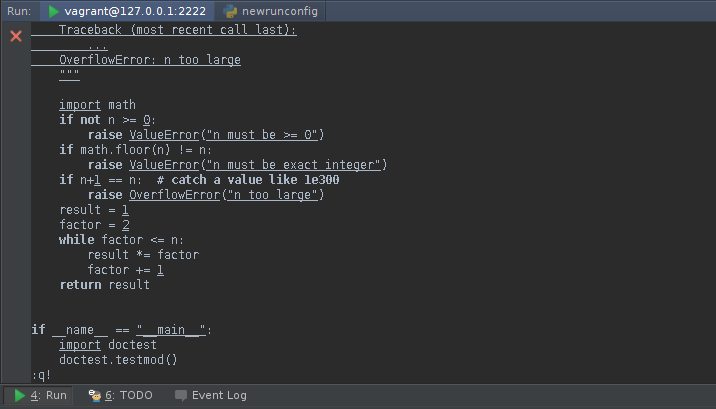
One of the coolest and most useful features is that you can log in to your remote host via SSH and work in its console without leaving PyCharm. To do that, just select Tools | Run SSH Terminal. A console opens on the bottom with the prompt:
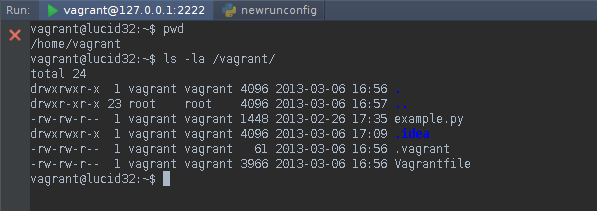
Feel free to discover its usability. You can even launch Vim in it:
As you can see, PyCharm comes with everything but the kitchen sink! So we really hope you’ll enjoy these new enhancements and feel comfortable developing your applications on remote environments. And as always, please report your issues or feature requests to our YouTrack bug-tracker.
Develop with Pleasure!
PyCharm team