Google’s Deep Dream in PyCharm

Happy Friday everyone,
Reading the subject of this blog post I hope you’re all ready to have some fun! A month ago, Google released the code in an IPython Notebook letting everyone experiment with neural networks, image recognition algorithms and techniques as described in their Inceptionism: Going Deeper into Neural Networks article. Neural networks are known for their ability to recognize different shapes, forms, sophisticated objects, and even people’s faces. Well, Google engineers used an upside-down approach: you show different images to a pre-trained neural network and let it draw what it sees on the images, with the ultimate goal of generating new creative imagery based on artificial intelligence!

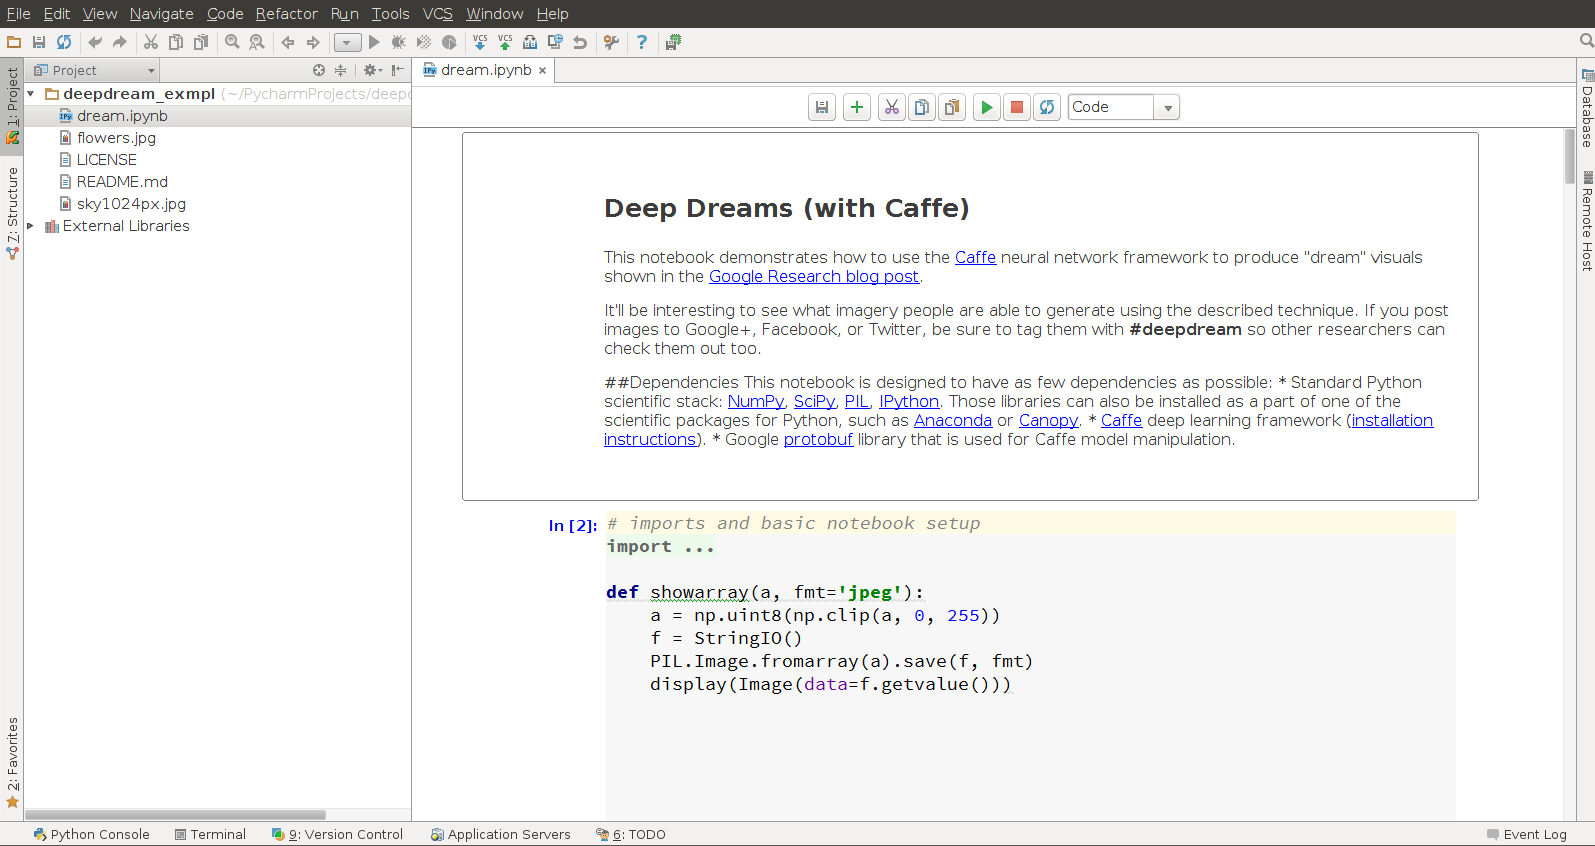
The example code for image generation kindly shared by Google is available as an IPython Notebook on Google’s GitHub repository. I couldn’t miss the chance to try it in PyCharm. PyCharm natively supports IPython Notebook since v4 as described in this blog post. In the latest v4.5, this support is even better and can be applied to many areas, including quantitative research as described here.
While Google’s code example relies on as few dependencies as possible, several things still need to be installed first. I won’t describe the whole process of installing all the dependencies as they slightly differ across various platforms, but I’ll show you how PyCharm helps you along the way.
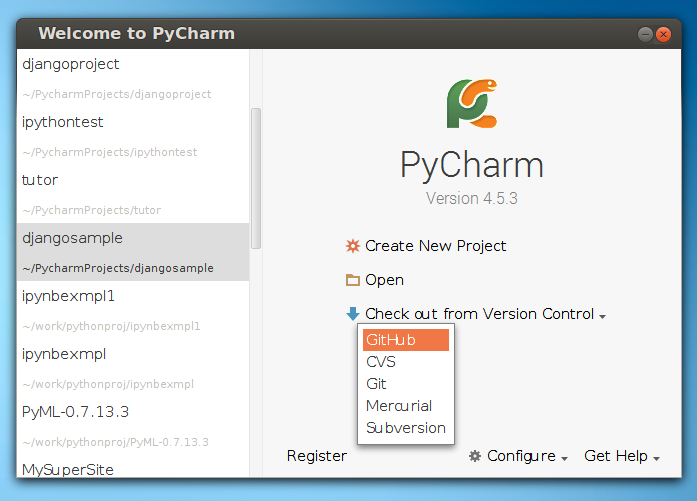
First, you need to install PyCharm from the PyCharm-dedicated website. Both Professional and Community editions natively support IPython Notebook. Next, you’ll need to get the deepdream code from the Google’s GitHub repository. That’s a very simple task as you can get it automatically from the PyCharm’s welcome screen:
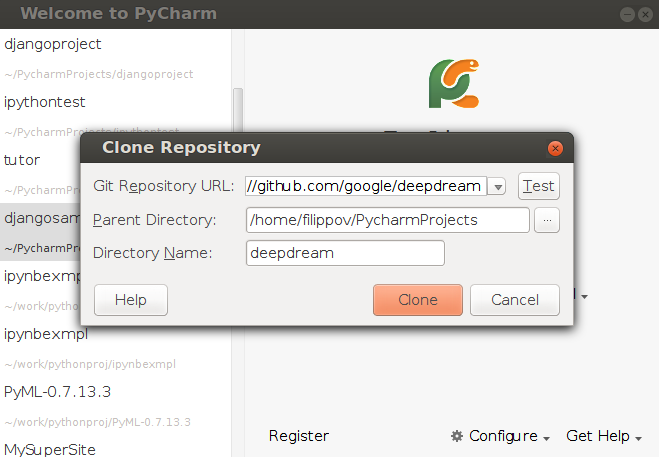
You can simply enter the repo URL (https://github.com/google/deepdream) in the dialog and PyCharm will clone the project for you:
After cloning, PyCharm will offer you to open the newly imported project, so here we go:
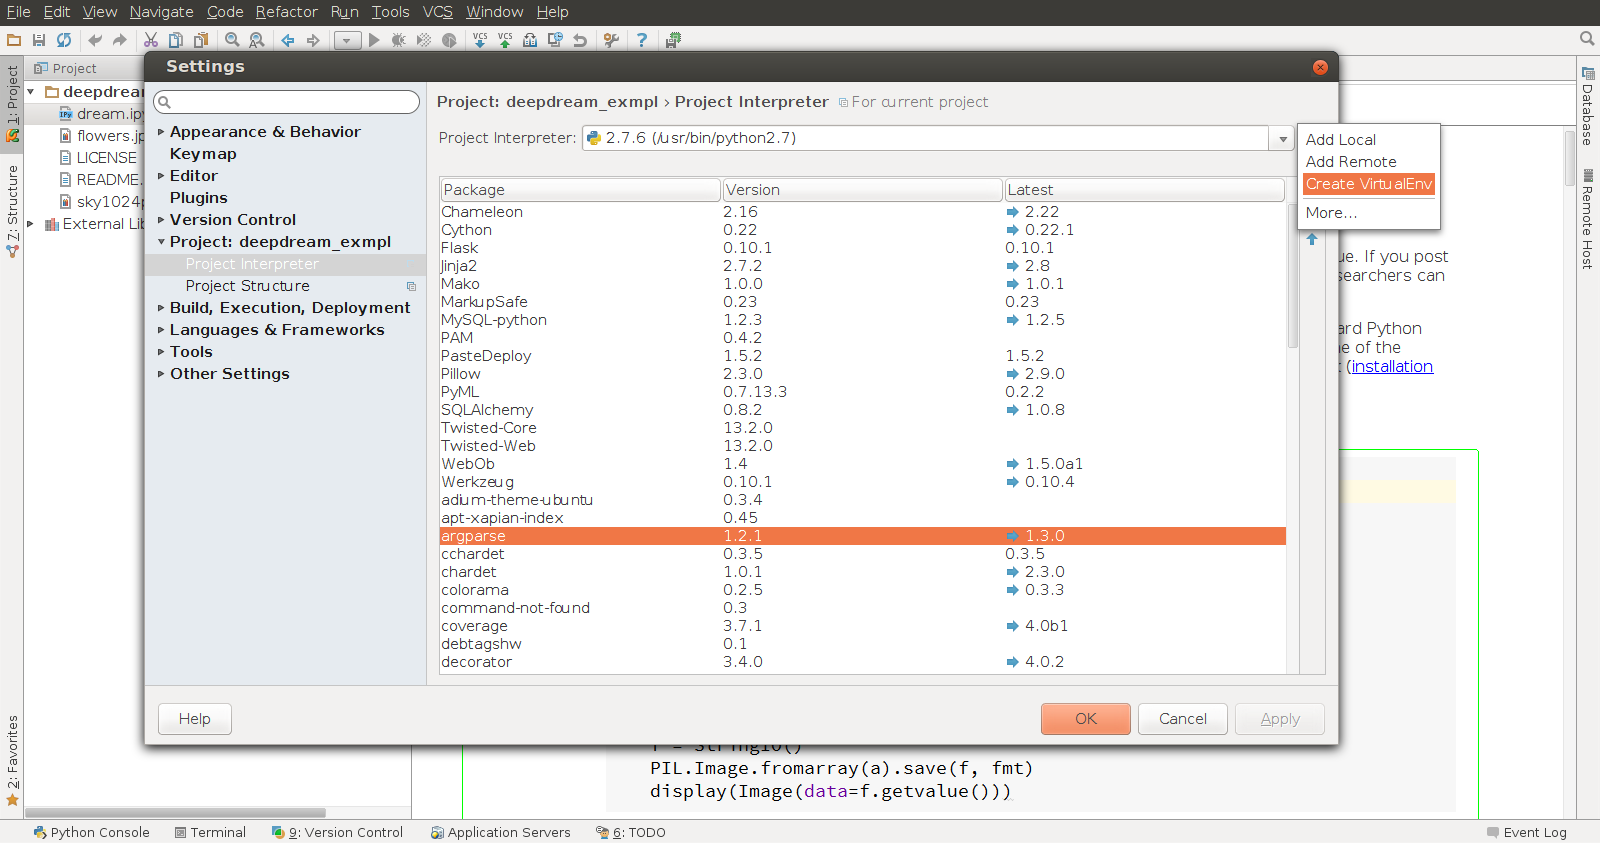
Now let’s take care of the dependencies. For a clean installation, I recommend creating a fresh Python virtual environment, and this is another case where PyCharm helps us. Go to Settings (Preferences for Mac users) | Project | Project Interpreter and add a new virtual environment as shown on the screenshot:
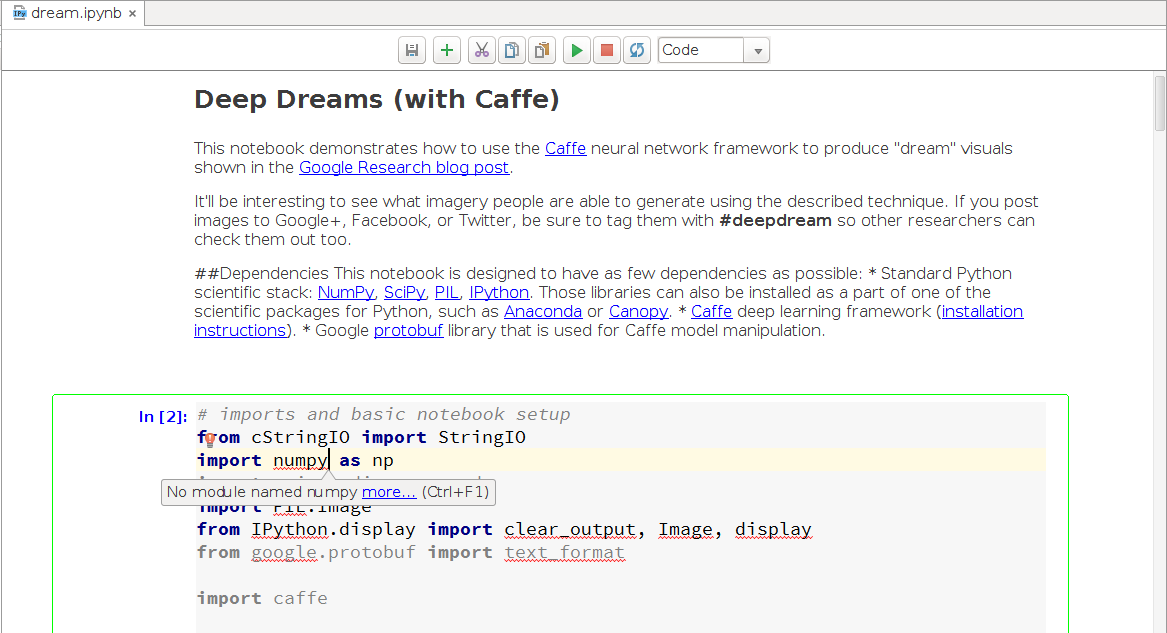
You’ll get a clean Python virtual environment with only a few standard packages inside. As you can see on the next screenshot, PyCharm highlights the missing dependencies in the code:
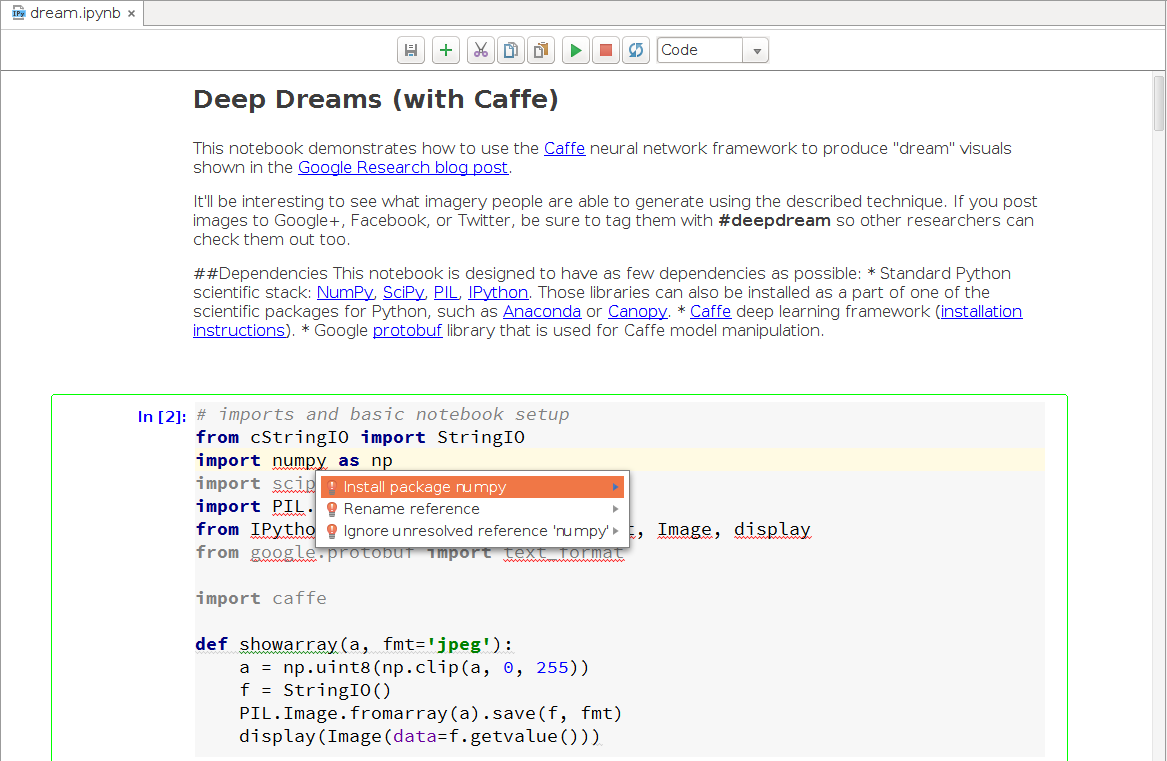
Place the caret on the missing dependency, use the so-called quick-fix action with Alt+Enter, and PyCharm will offer you to install it:
In a similar manner, install the other dependencies mentioned in the first cell of the IPython Notebook and highlighted by PyCharm. Alternatively, you can go back to Settings | Project Interpreter and install everything using the built-in package manager:
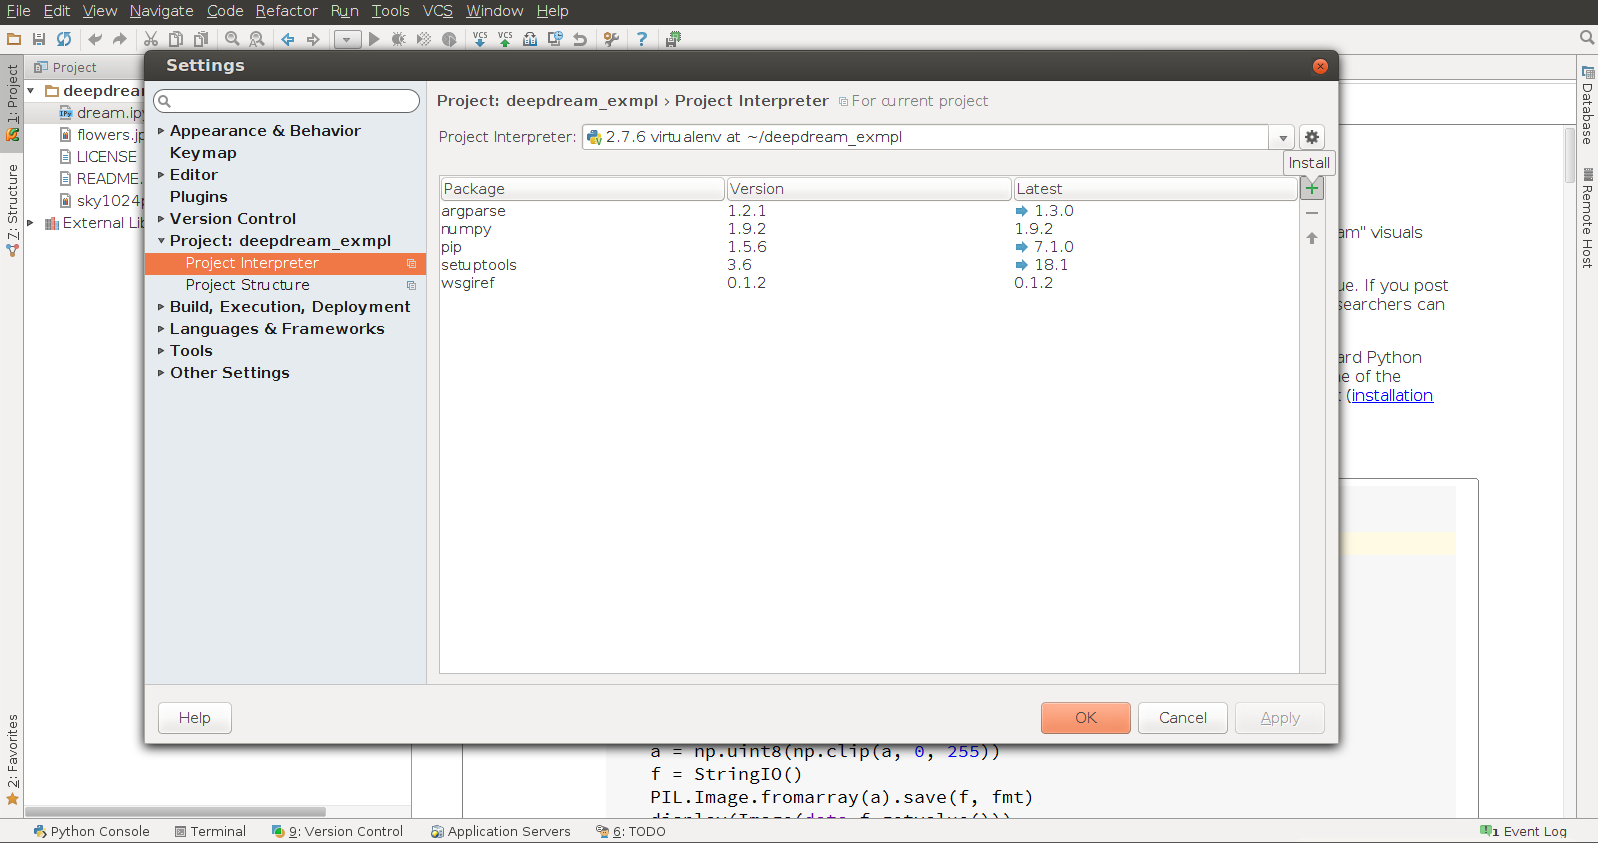
Note: As an option, you can choose to install the Anaconda or Canopy packages which include the superset of the scientific stack comprising most of the mentioned libraries as recommended by Google engineers. These packages are really huge and bloat your environment, so I prefer to install only what’s needed and have a minimal virtual environment.
The most difficult part is to install the last but most important dependency—the Caffe deep learning framework, developed by the Berkeley Vision and Learning Center. The installation process deserves a post of its own as it’s long and complicated. Nor PyCharm neither any other tool can help here, as this framework isn’t available on any package repository. Anaconda and Canopy don’t have Caffe on board either. So you have to install it manually. The installation guide can be found on the BVLC official website. It’s pretty descriptive and I hope you won’t meet any problems installing Caffe along the way.
The only thing I’d like to note here is that Caffe can be installed with or without the CUDA library and driver. CUDA installation is huge and will consume a lot of time, so if you want to get quick results, install Caffe without CUDA. But if you need maximum performance and don’t want to spend extra time waiting for image generation, installing CUDA is the way to go.
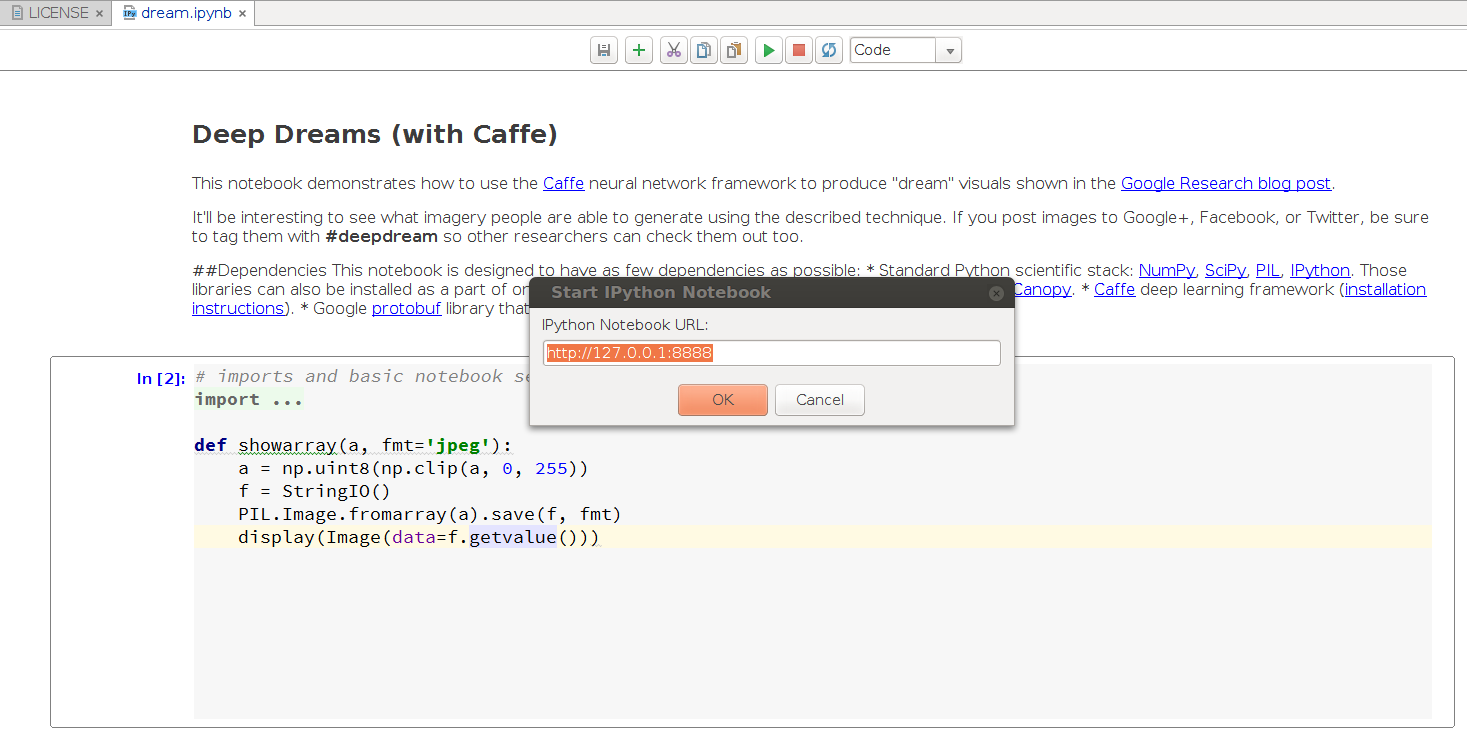
Finally, when you’re done installing all the dependencies we’re ready to go and have some fun. You can start with running cells one by one inside PyCharm clicking the green “Run” button. On the first cell with Python code, PyCharm will automatically offer you to start the IPython Notebook kernel:
Make sure you’re following the code and substitute the required paths to Caffe models and images:
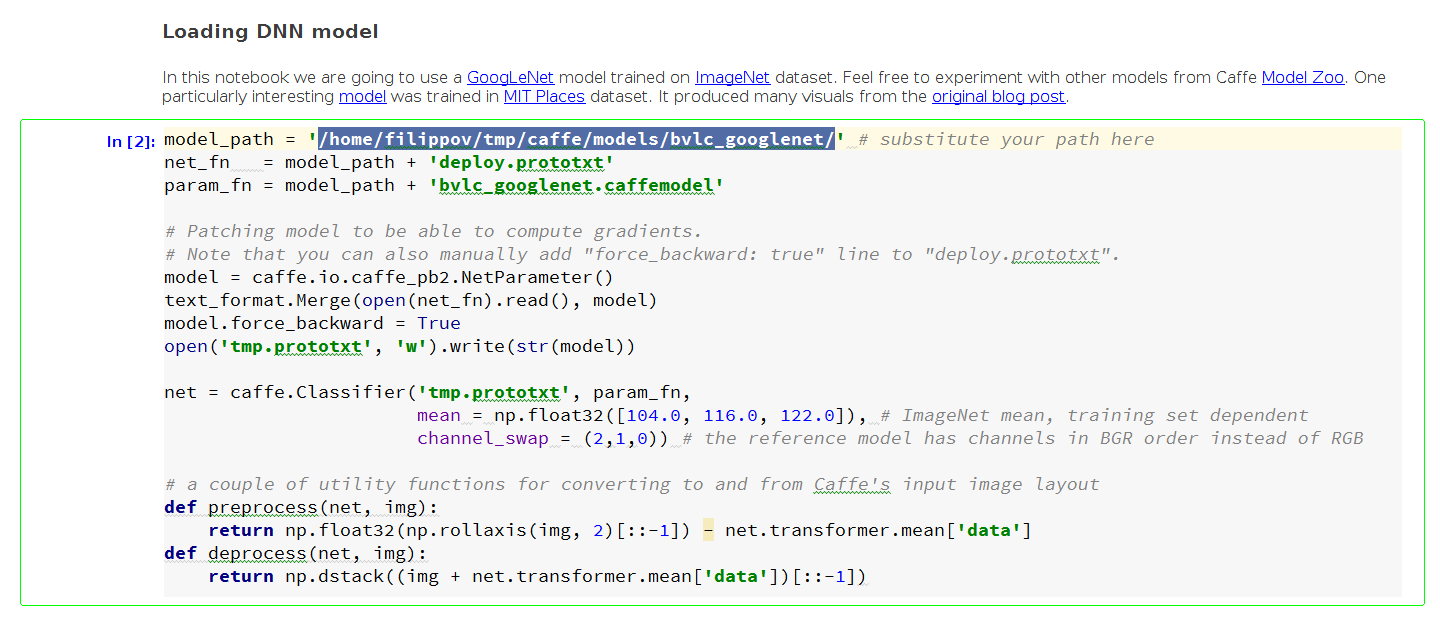
The standard installation of Caffe have the bvlc_googlenet model already pre-installed. You only need to specify the path to your Caffe installation. Later, you can play with other models, trained on different image sets that can be found in the BVLC official github repository.
Going cell by cell in the example IPython Notebook, you can generate images from the standard pictures that come with the example project:
After you’re done with the default examples, it’s time to do something really fun and weird. Experiment with your own pictures and code modifications!
I decided to find out what the neural network would see on the PyCharm logo. I added the logo to the project and changed the code:
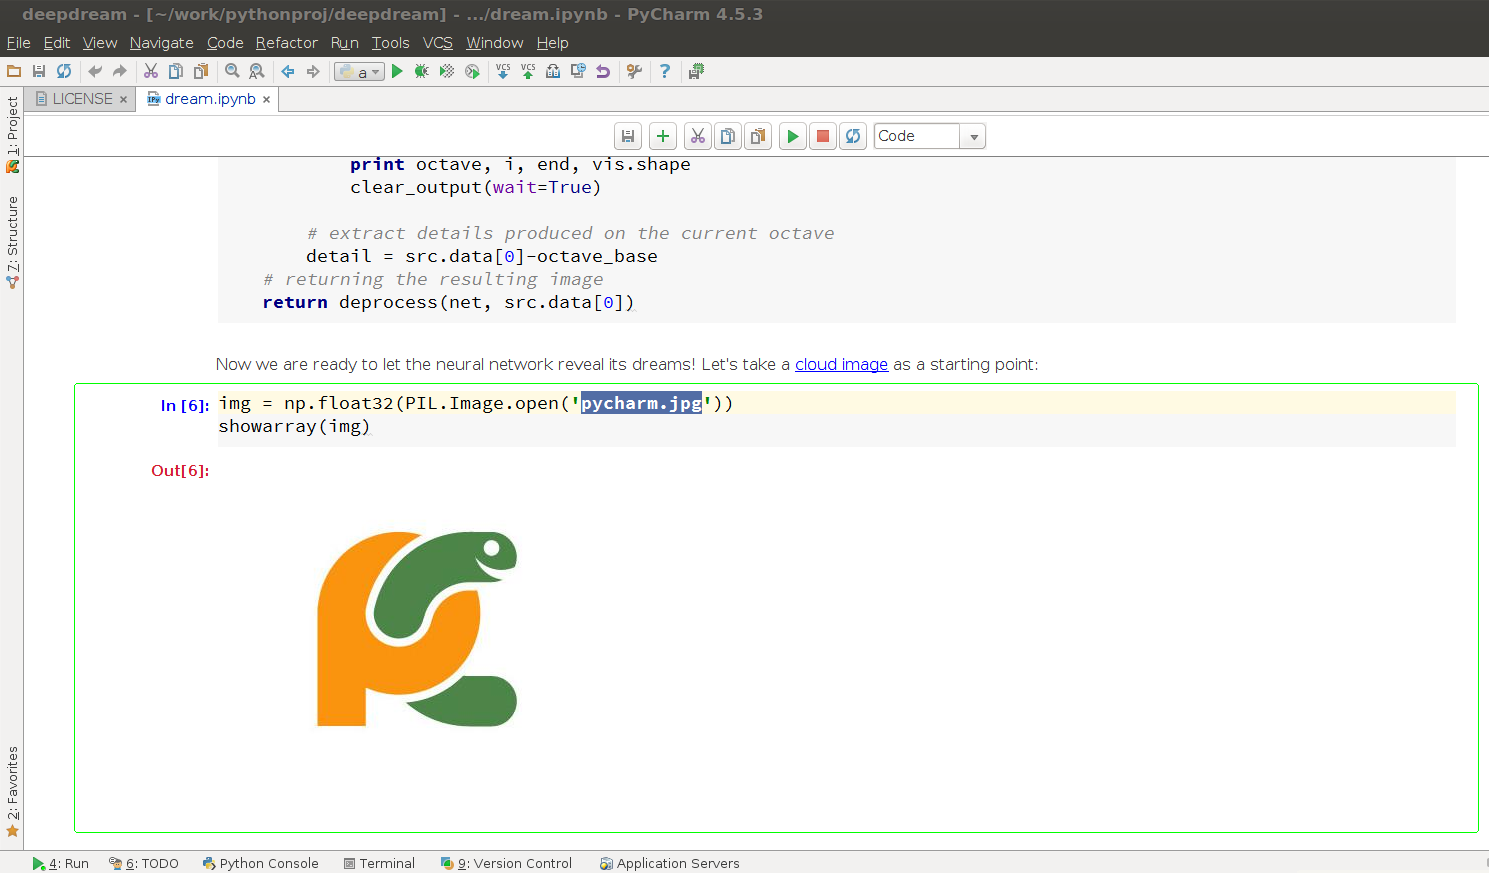
And this was the output:
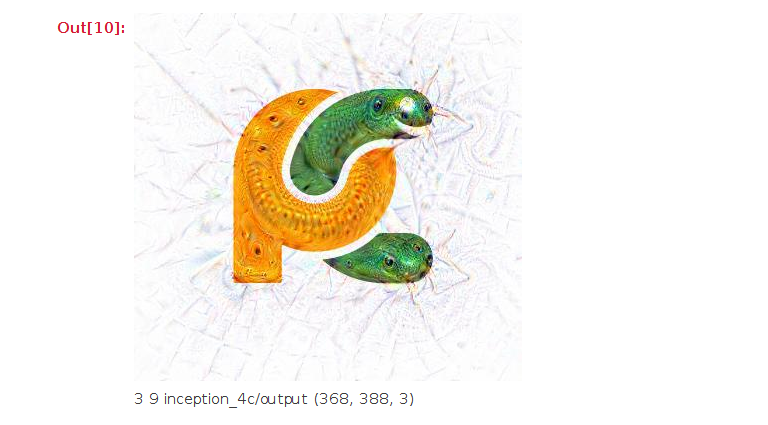
Weird and funky, isn’t it? But wait, that’s just the beginning. Let’s go further and write some custom code. When modifying the code, PyCharm helps you with autocompletion:
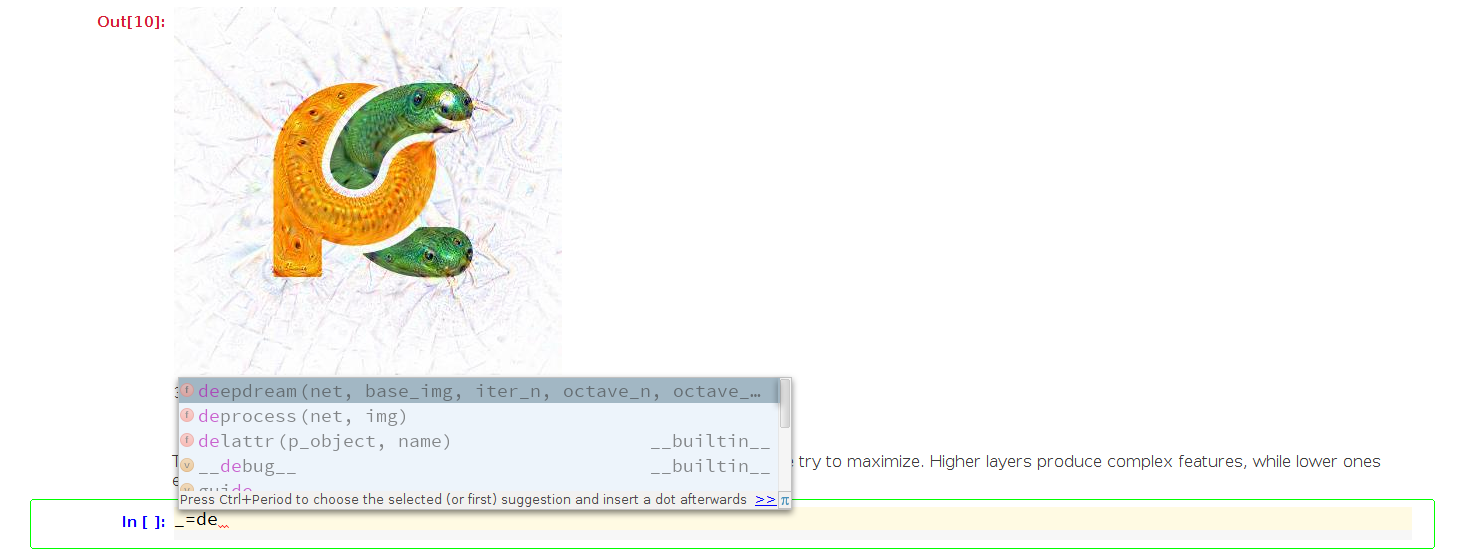
It also helps with function parameters:
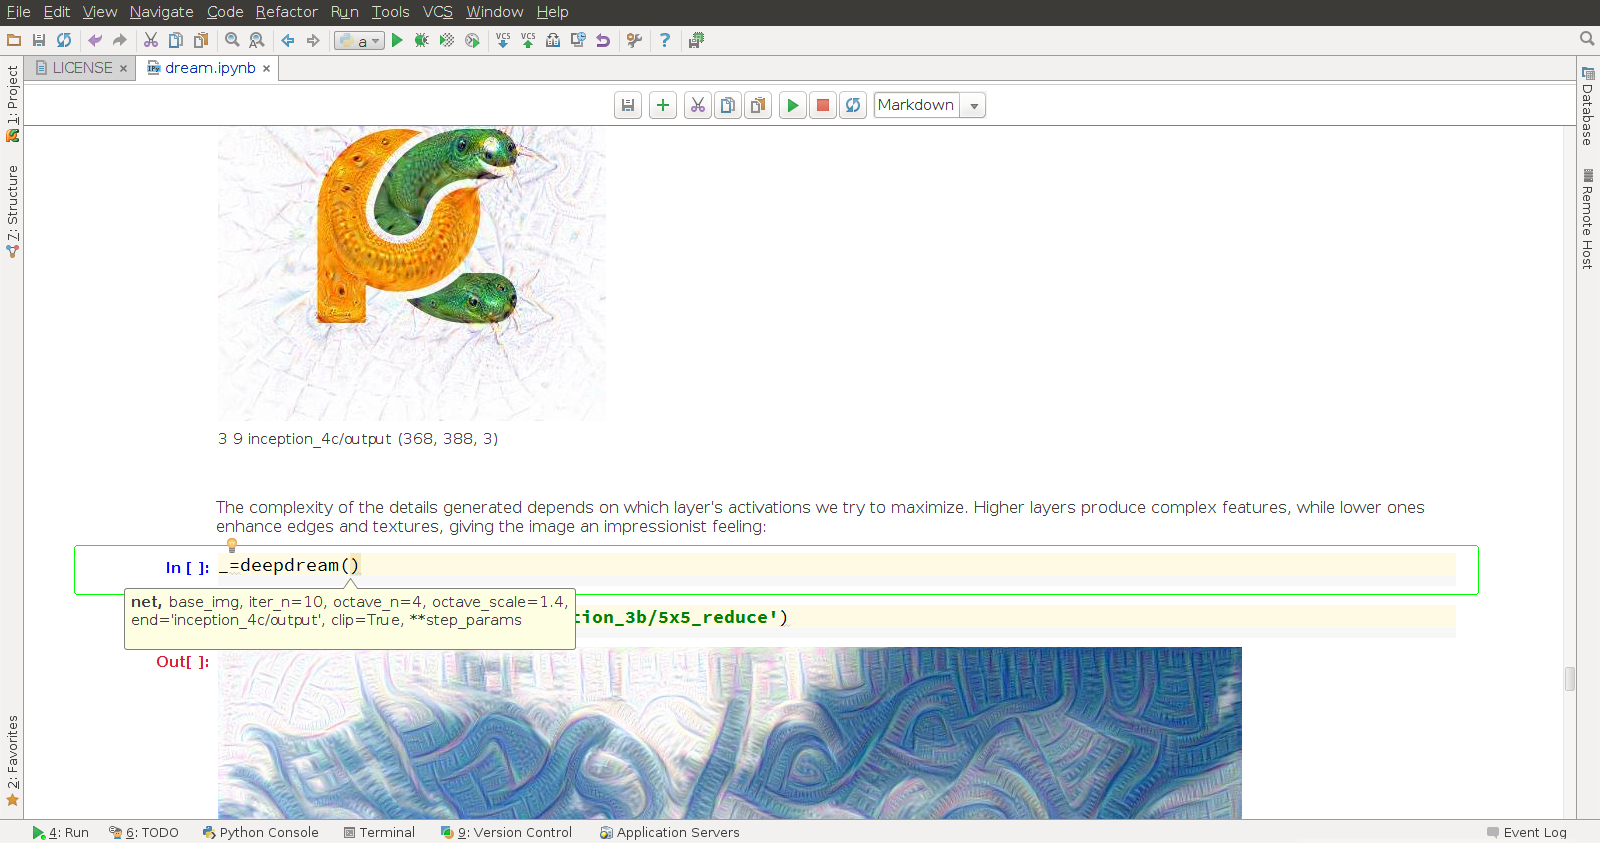
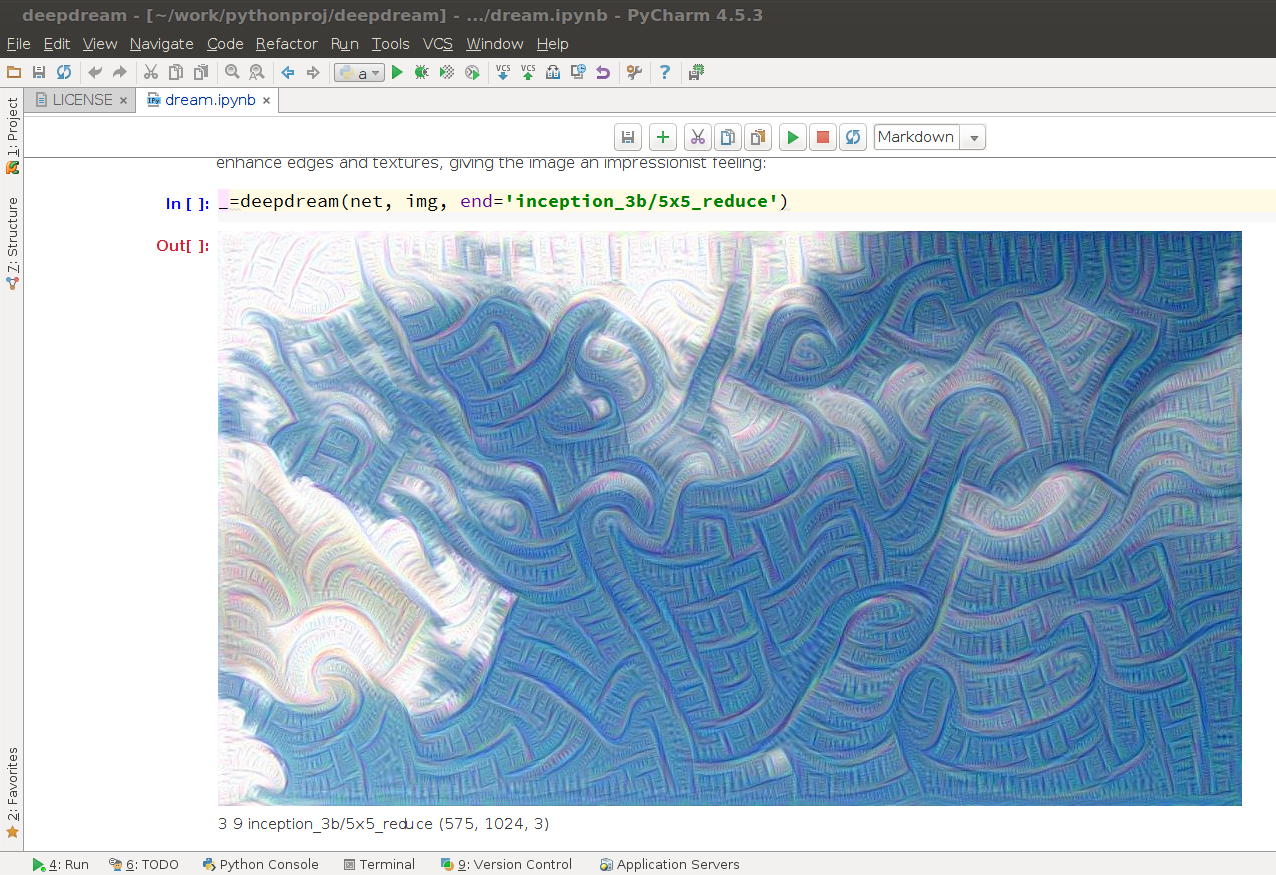
I involved a different layer which is responsible for image actualization enhancing edges and textures, giving the image an impressionist feeling:
The code authors encourage readers to experiment with layer selection to see how it affects the results. There’s definitely lots of room to explore the design!
Note: You can get the list of layers by executing the net.blobs.keys() code.
The real fun starts when we start feeding a neural network its own output. This leads to very unusual and weird results. You can see true dreams of a neural network and art generated by artificial intelligence.
Executing the following code we produce a number of frames. When transformed slightly, each of them becomes an input on the next cycle of neural network dreaming:
 h, w = frame.shape[:2]
 s = 0.05 # scale coefficient
 for i in xrange(100):
     frame = deepdream(net, frame)
     PIL.Image.fromarray(np.uint8(frame)).save("frames/%04d.jpg"%frame_i)
     frame = nd.affine_transform(frame, [1-s,1-s,1], [h*s/2,w*s/2,0], order=1)
     frame_i += 1
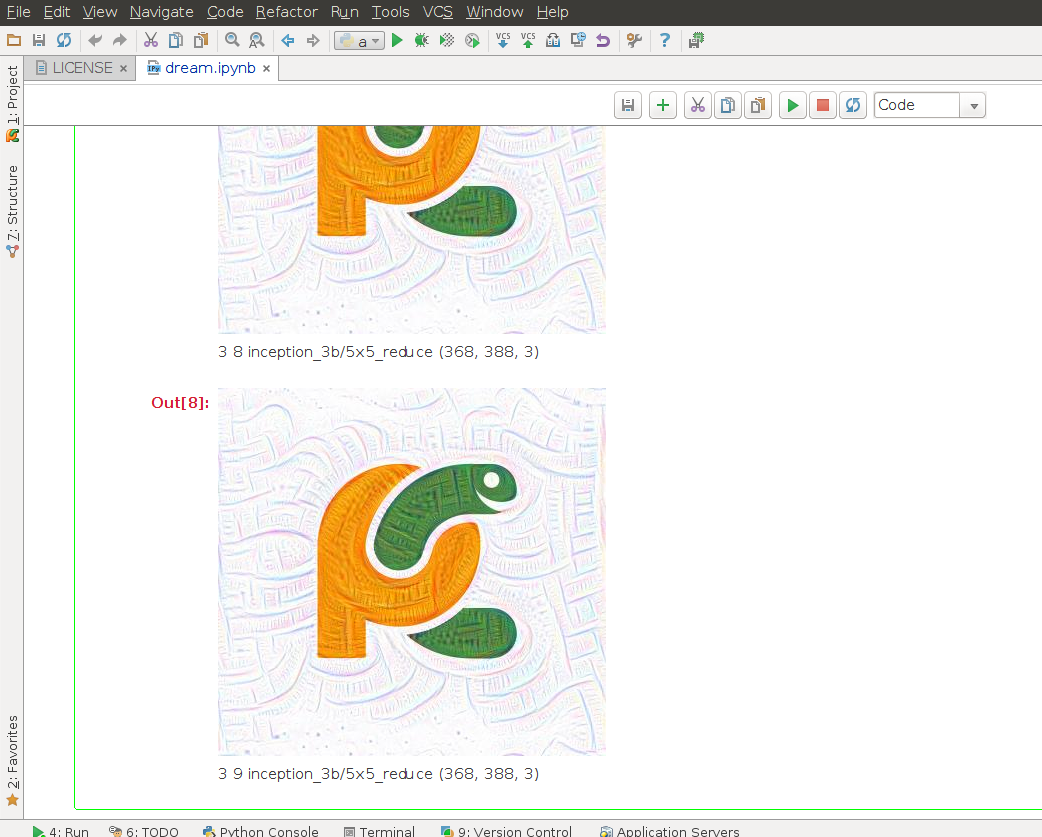
Here is the original image:

And here is what we can see on frame #8:

Is it a dog appearing out of PyCharm’s logo snake’s head?
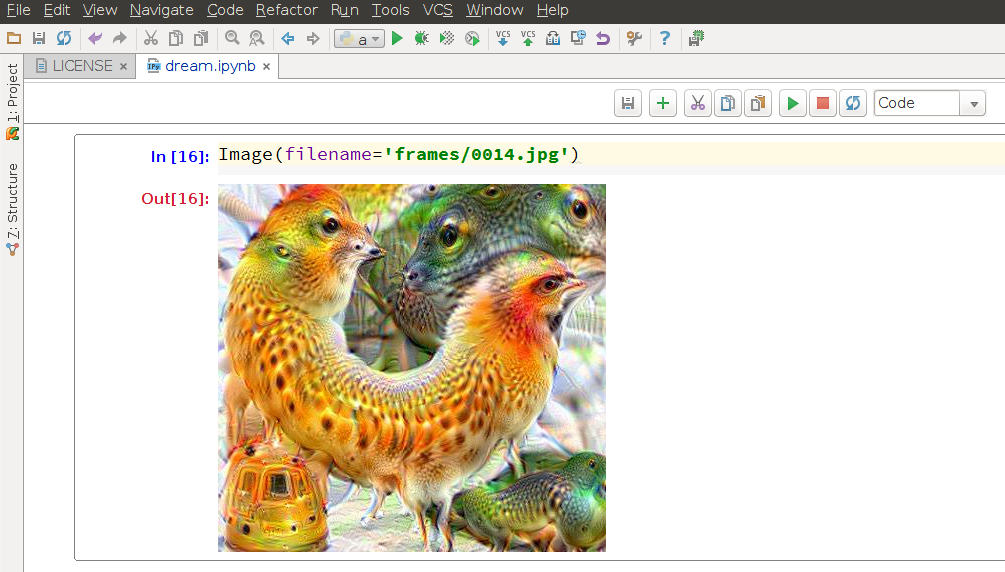
And on frame #14 I can see a frog’s head on a bird:
The further you go, the more interesting results you get. Here’s frame #26:

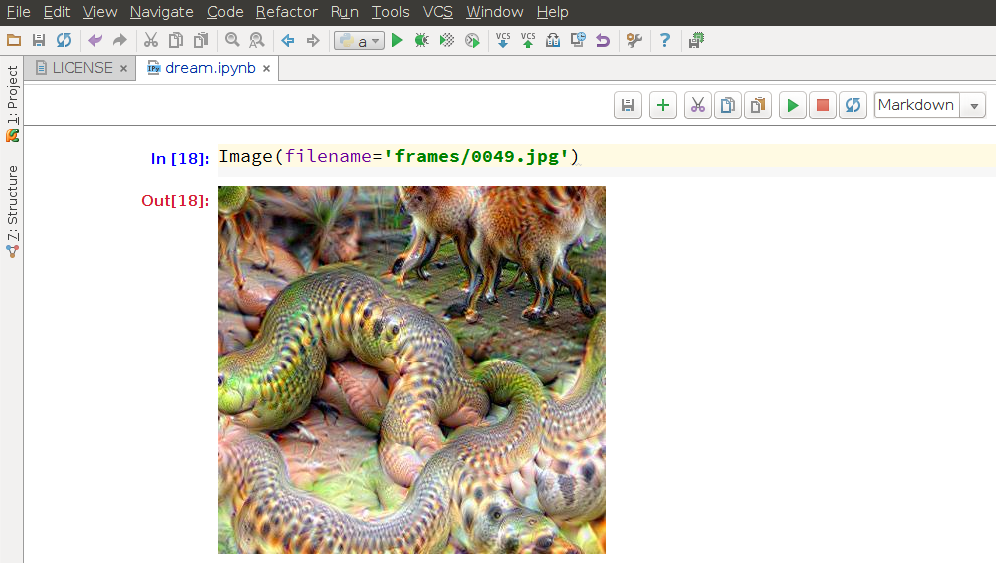
In frame #49, there’s something completely bizarre:
This technique of applying different layers using different image sequences leads to the ultimately infinite number of results and filters we can use to produce and modify images.
The authors of this idea encourage you to play with the code, generate your own images, and post them to Google+, Facebook or Twitter. Be sure to tag them with #deepdream so other researchers can check them out too. Also, use the #pycharm hashtag if you like this post and if PyCharm helps you create your own spectacular pictures.
I hope you enjoyed this fun experiment with Google deepdreams and PyCharm.
Talk to you soon!
-Dmitry