CLion 2019.1 EAP: CLion for Embedded Development, Part III

Hi,
Here comes a new CLion 2019.1 EAP build 191.5701.24! Get it from our website, Toolbox App, or via a snap package (if you are using Ubuntu). The patch will be available shortly if you are using the previous EAP build.
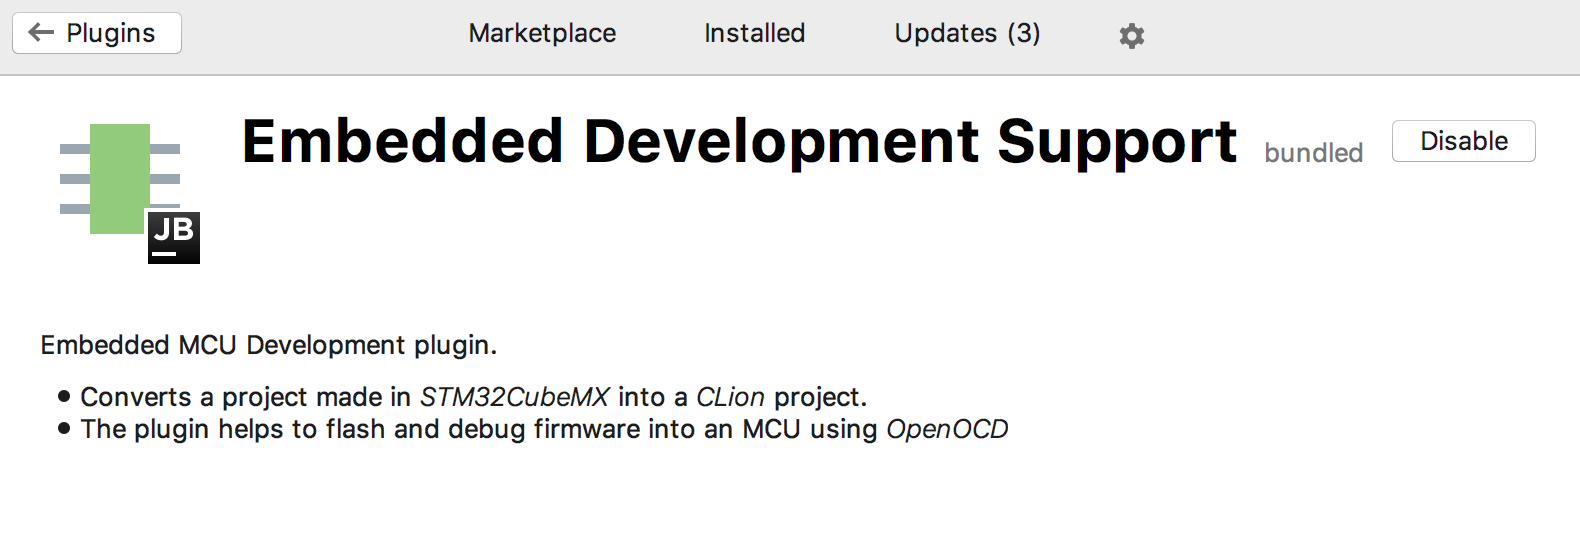
When sharing our plans for 2019, we identified Embedded development support as one of the major areas of focus for the year. Ilya Motornyy, the author of the OpenOCD + STM32CubeMX plugin, joined our team in late 2018 and has already integrated the plugin into CLion. As a result, starting with this EAP, OpenOCD debugger support and integration with STM32CubeMX is available out of the box:
STM32CubeMX & OpenOCD integration
In his two guest blog posts from 2016 and 2017, Ilya shared his experience in programming for microcontrollers in CLion and explained how the flow with the CLion plugin may look like:
- CLion for embedded development, Part I: sharing his experience
- CLion for embedded development, Part II: introducing the plugin
Below we’ll briefly summarize the setup and the steps, and we’ll highlight the changes introduced with the plugin’s integration.
Start by getting the tools ready
Currently the plugin targets STMicroelectronics boards (such as STM32 Discovery, Nucleo, or EVAL) and debugging with Open On-Chip Debugger. To start developing, you’ll need the following tools:
- ARM toolchain. Install and check you have arm-none-eabi-gcc in the system path.
- OpenOCD debugger.
- STM32CubeMX, a graphical tool to configure STM32 microcontrollers.
Check the STM32CubeMX and OpenOCD were detected automatically by CLion in Settings/Preferences | Build, Execution, Deployment | Embedded Development or set the correct paths manually.
If you are on Windows, note:
- Works fine with MinGW and MinGW-w64 environments
- Doesn’t work currently with Cygwin (CPP-15034) or MSVC
- As for the debugger:
- arm-none-eabi-gdb.exe works fine, but doesn’t include correct pretty printers
- arm-none-eabi-gdb-py.exe works fine, including the pretty printers, but requires python 2.7 (32 bit) installed and throws an error on the first launch (CPP-15502)
- Bundled GDB works, but throws an error on the first launch (CPP-15502)
The OpenOCD + STM32CubeMX plugin is now bundled, so you don’t have to additionally install anything in CLion.
Create a new project in CLion
When you open File | New Project, the dialog now suggests an embedded project type – STM32CubeMX:

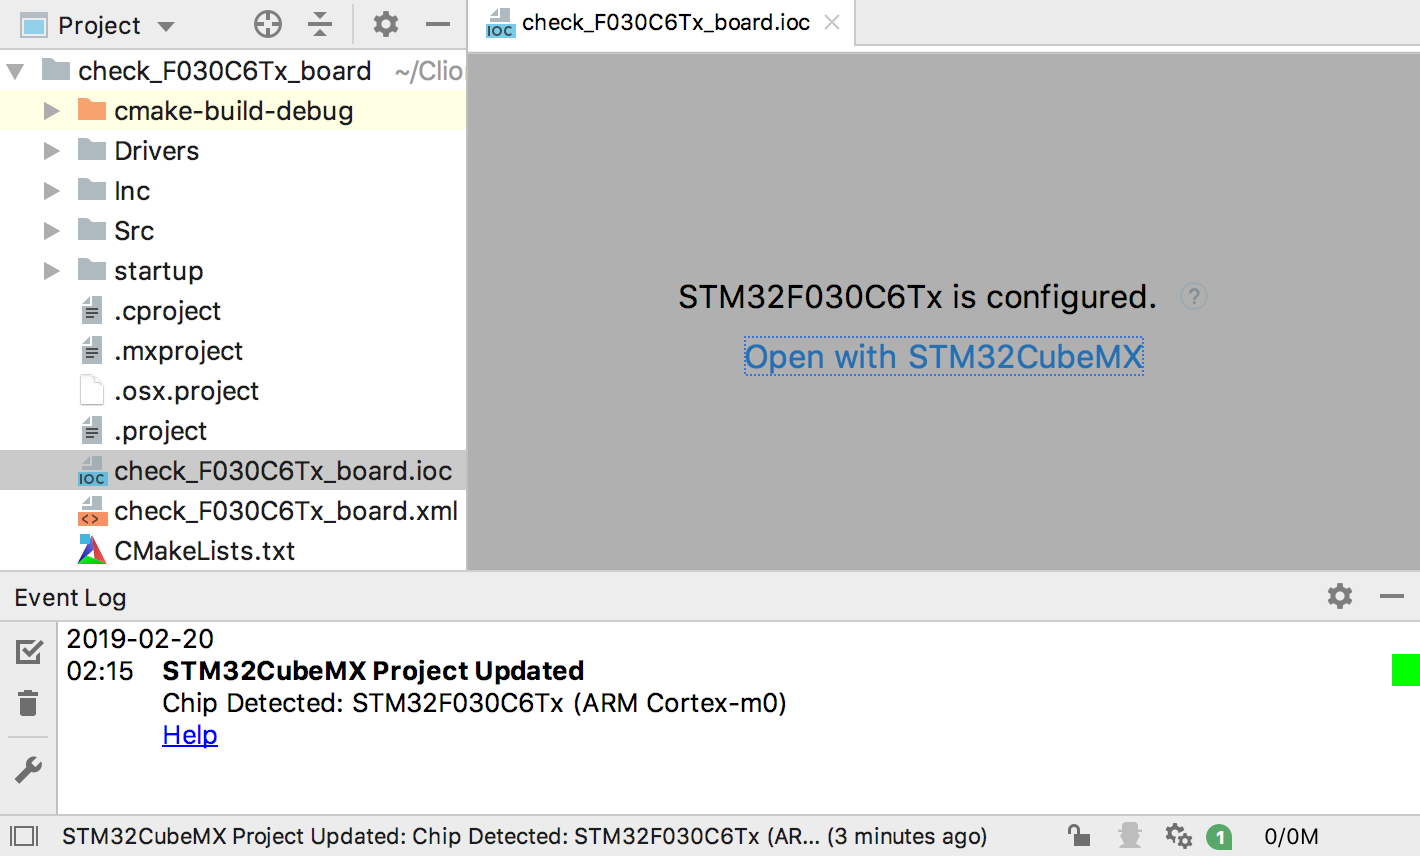
Simply provide the location for the project and CLion will create the .ioc file for you with the default MCU STM32F030F4.
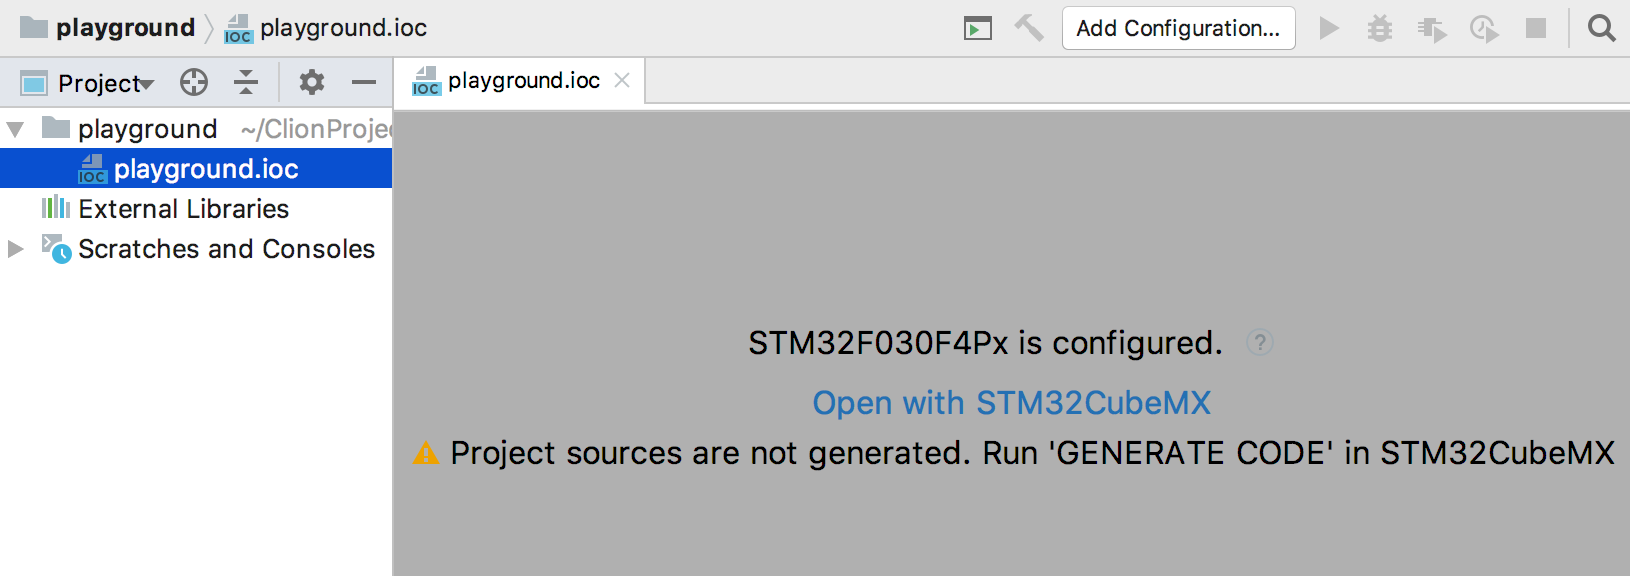
The project sources are not yet generated though, so you should go to STM32CubeMX and run ‘Generate Code’. STM32CubeMX can be opened right from CLion: open the .ioc file and click ‘Open with STM32CubeMX’.
Important:
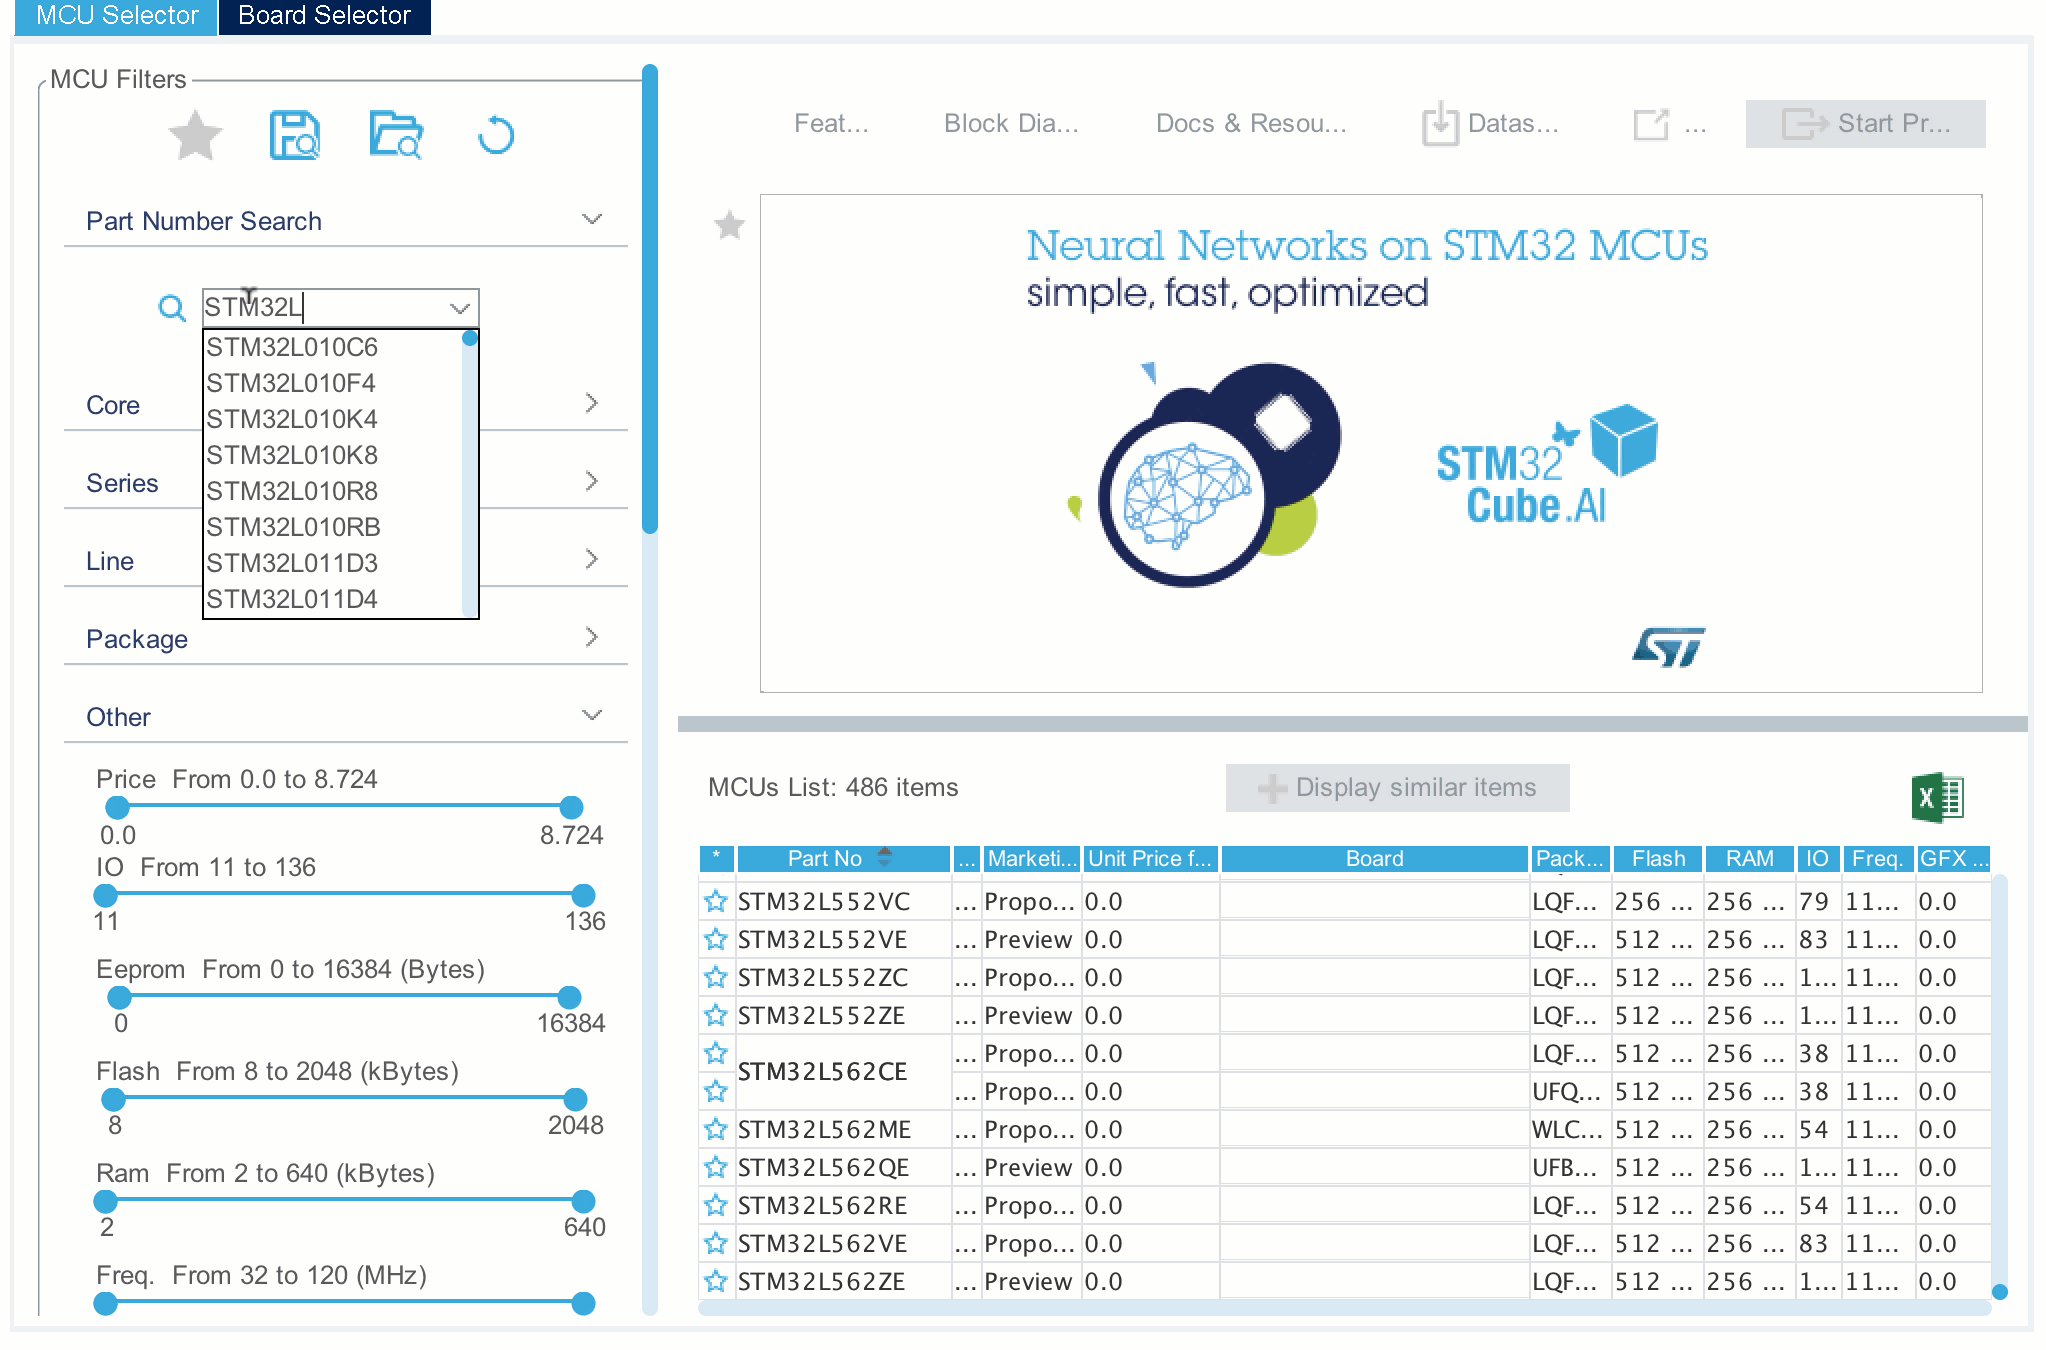
The newly created project in CLion has the MCU set to STM32F030F4. You can change the MCU in the MCU Selector of STM32CubeMX:
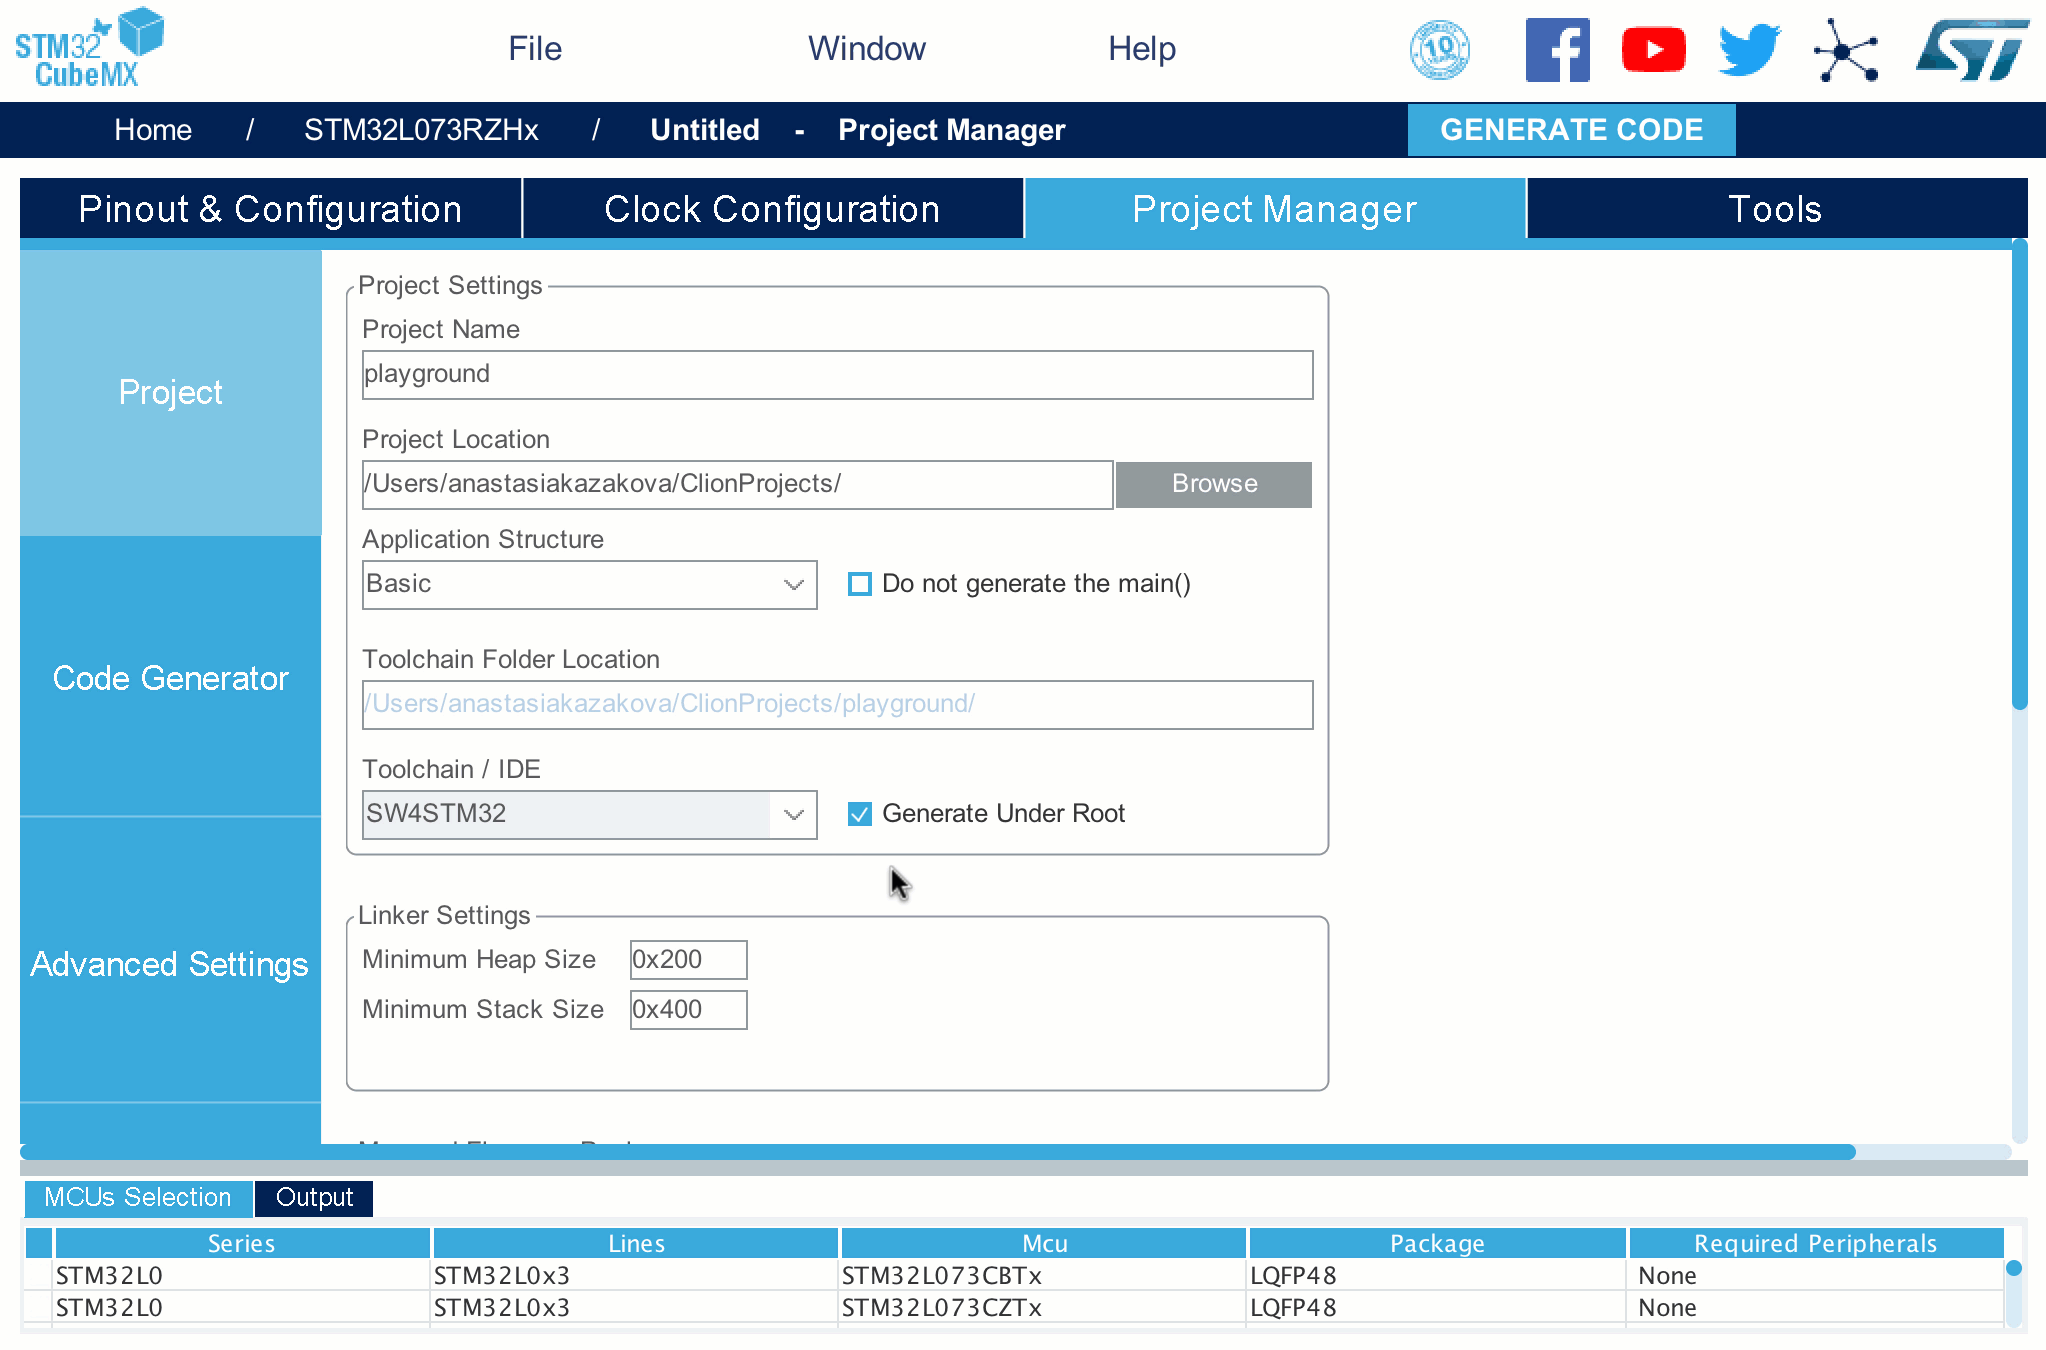
But STM32CubeMX will then reset the project name (as it creates a new one) and you’ll have to provide it in STM32CubeMX’s Project Manager and overwrite the recently created project. You are nearly done here. Just check that the Toolchain / IDE is set to SW4STM32 and check Generate Under Root:
You are ready to generate code now!
Go back to CLion and wait until the project is reloaded. A CMake project will be created for you automatically, and CLion will suggest selecting the board config:

Open an existing project in CLion
If you already have an embedded project, just open it in CLion. When you then first open an .ioc file in the editor, CLion will generate the CMake project for you:
What can I do now with my embedded project in CLion?
When the project is loaded and CMake is correctly generated, a few Run/Debug configurations are created automatically for you in CLion, including the OpenOCD one:
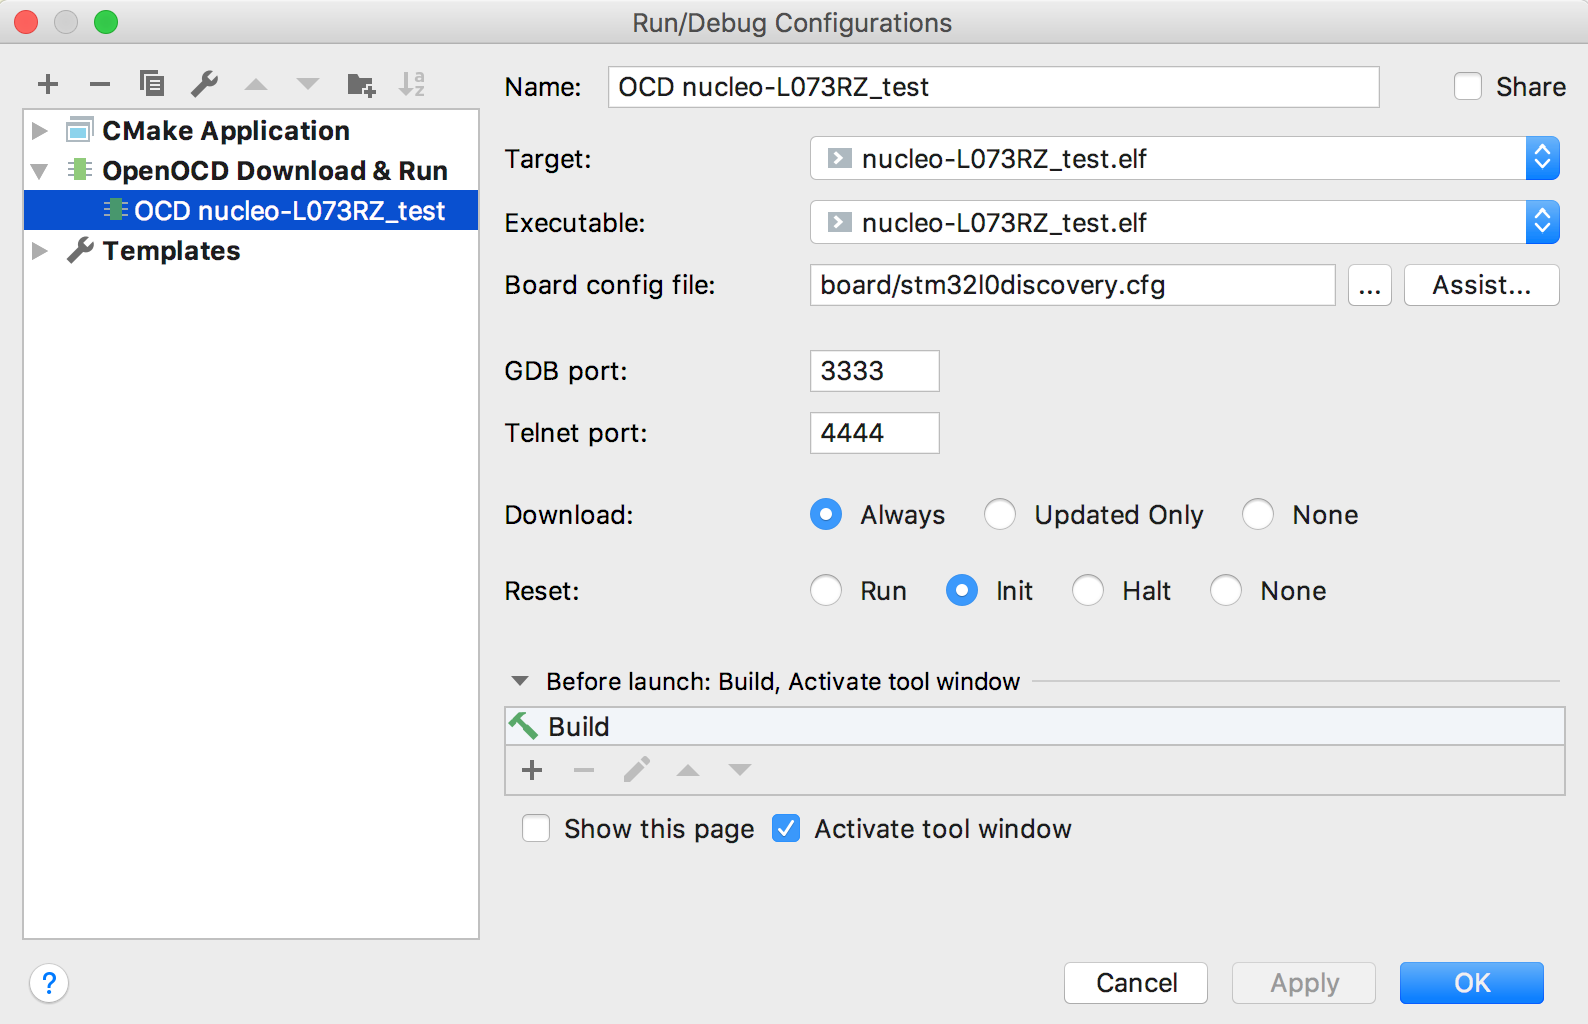
Use it to debug on your microcontroller.
You can also use Tools | CMake | Update CMake Project with STM32CubeMX to regenerate the underlying CMake for your project.
You are now free to create some cool stuff working on your STM board. CLion will assist you with editing and reading the code, and all the smart actions like refactorings and code generation will be available for your project in CLion!
What’s next?
This is just a first step into the vast area of Embedded Development. More smart IDE actions, deeper integration with STM boards and other MCUs, and other big features are definitely coming later this year. Give this EAP build a try, let us know what you think, and stay tuned for more!
By the way, next week, Thursday, February 28th, we’ll do a live webinar on Remote Development with CLion. Remote development on Raspberry Pi will be discussed as an example. There are still a few places left! Register now.
Other improvements
A new IntelliJ Platform feature worth mentioning here is the Recent Locations Popup (Shift+Ctrl+E on Win/Lin, ⇧⌘E on macOS). It lists all the locations that you’ve visited in a chronological order, with the latest visited location at the top and the first visited locations at the bottom.
A few great things to know about this new popup:
- You can filter by changed code locations.
- You can search by file name or code snippet: simply start typing, and the instant search will filter the matches for you.
- You can remove any location from the popup by pressing Backspace or Delete.

That’s it. Read the full release notes if you like, and download and try the EAP build today. We are looking forward to your feedback!
Your CLion Team
JetBrains
The Drive to Develop