Using Jupyter Notebooks With WSL 2 in DataSpell

If you’re a data scientist or machine learning engineer using Windows, you’ll likely already be familiar with the benefits of using Windows Subsystem for Linux 2 (WSL 2). WSL 2 allows you to have a full installation of a Linux distribution running on Windows 10 or 11, using Hyper-V virtualization. This gives you the best of both worlds when it comes to data science or machine learning tasks: you can access all of your applications or files on Windows, but use Linux to run your Python code. This is perfect for analyses or models that use Linux-exclusive packages, saving you the pain of having to try and compile it yourself!
WSL 2 is more lightweight than traditional virtual machines, providing only command line capabilities, which has traditionally limited development environment options in Python to Jupyter Notebooks. The good news is that DataSpell 2022.2 comes with the ability to configure your Python interpreter through WSL 2, meaning you can now run all of those Linux-compatible packages you’d like to use from the comfort of DataSpell on Windows. Let’s have a look at how it works.
Setting up WSL 2
Before using WSL 2, you’ll need to make sure that you are using a compatible version of Windows. Windows 10 version 2004 and higher (Home edition and above) and all versions of Windows 11 support WSL 2.
You’ll then need to install Ubuntu or whatever your preferred Linux distribution is. Ubuntu and a number of other distributions are available from the Microsoft Store and can be installed directly from there.

Next, follow the guide from Microsoft to set up WSL 2 with your selected Linux distribution. There are several steps in this guide, so make sure you complete them all carefully before continuing.
Using Powershell, you can now use WSL 2 by typing wsl into the command line. You can exit WSL 2 at any time by entering exit in the command prompt. Finally, while within WSL 2, make sure that you have the required version of Python 3 installed; otherwise, you should install or update it.
Configuring your interpreter in DataSpell using WSL 2
Python is an interpreted language, which means it requires an interpreter to run. Most of the time this is the python command we use to run our scripts. The Python interpreter is what converts the Python code into something that can be executed by our machine’s processor, as explained in this video. An interpreter is specific to each processor and operating system.
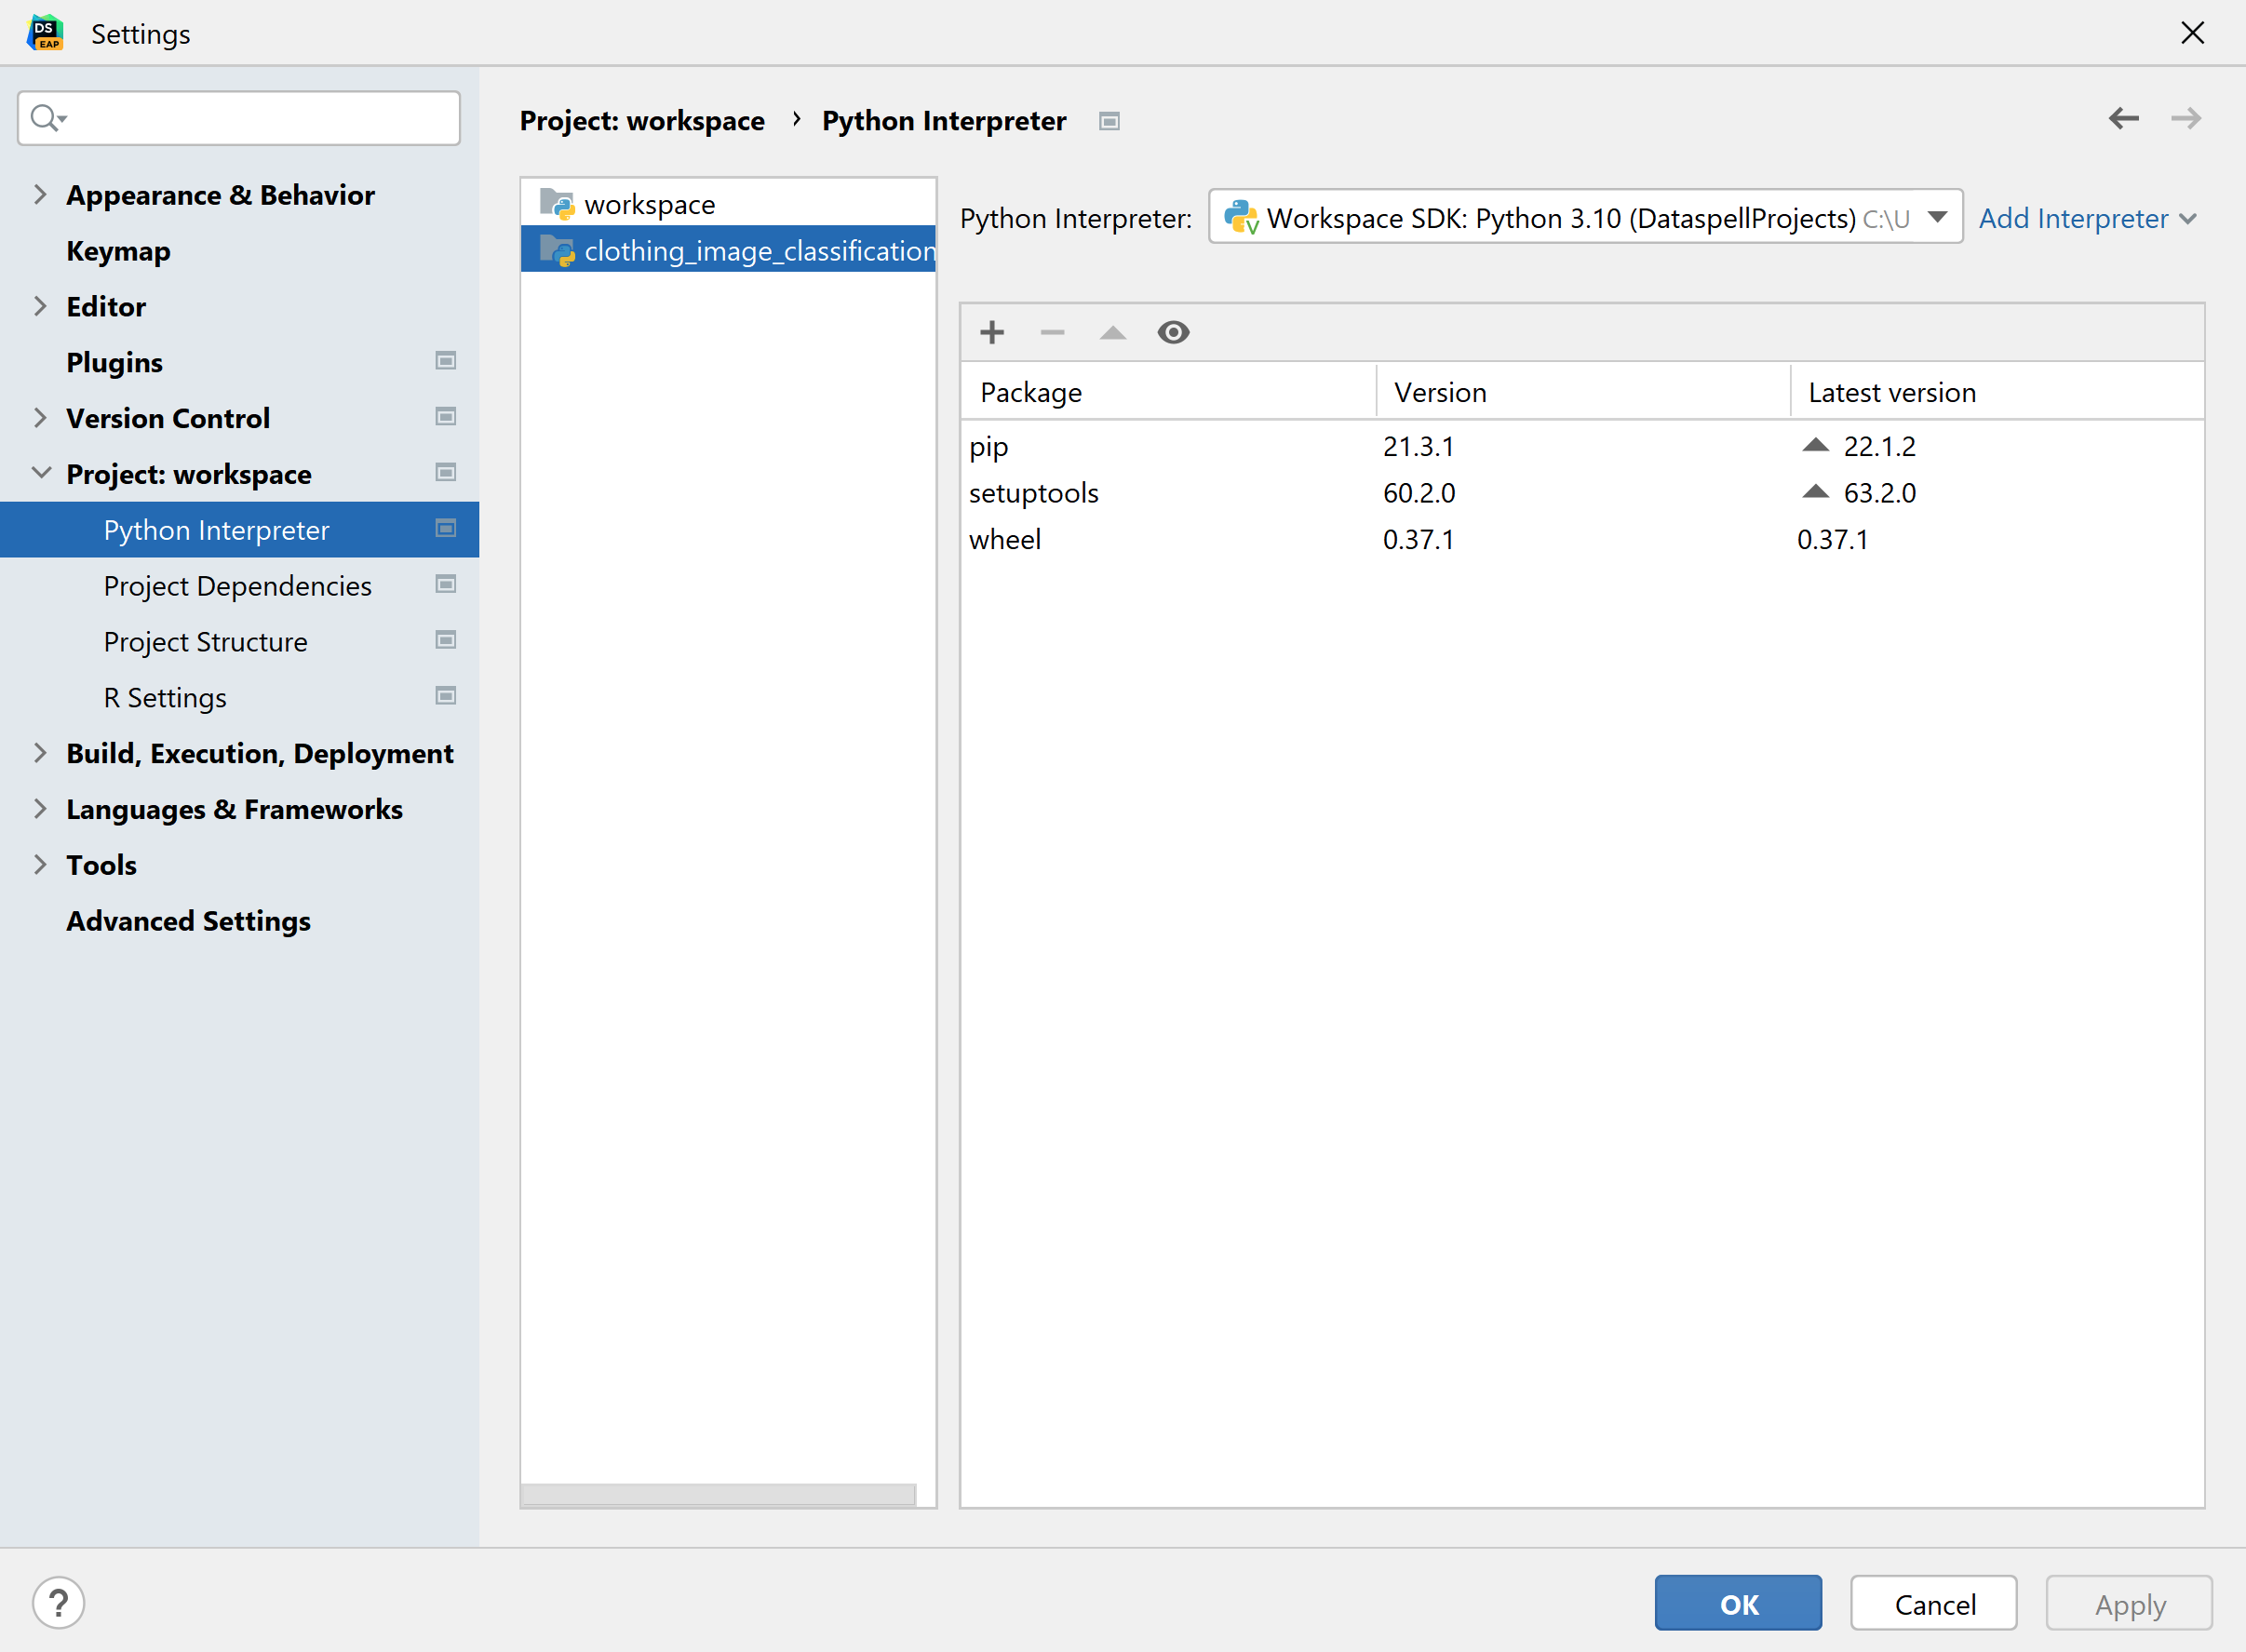
You probably already have Python running in Windows, but to use WSL 2 with DataSpell, we need to tell it to use the Python interpreter from the WSL 2 distribution. To set this up, go to File | Settings | Project Workspace | Python Interpreter. I prefer to set an interpreter per workspace, so I’ve selected clothing_image_classification from the list on the left; however, if you’re fine having a general interpreter for all of your projects, you can just leave the selection as workspace.
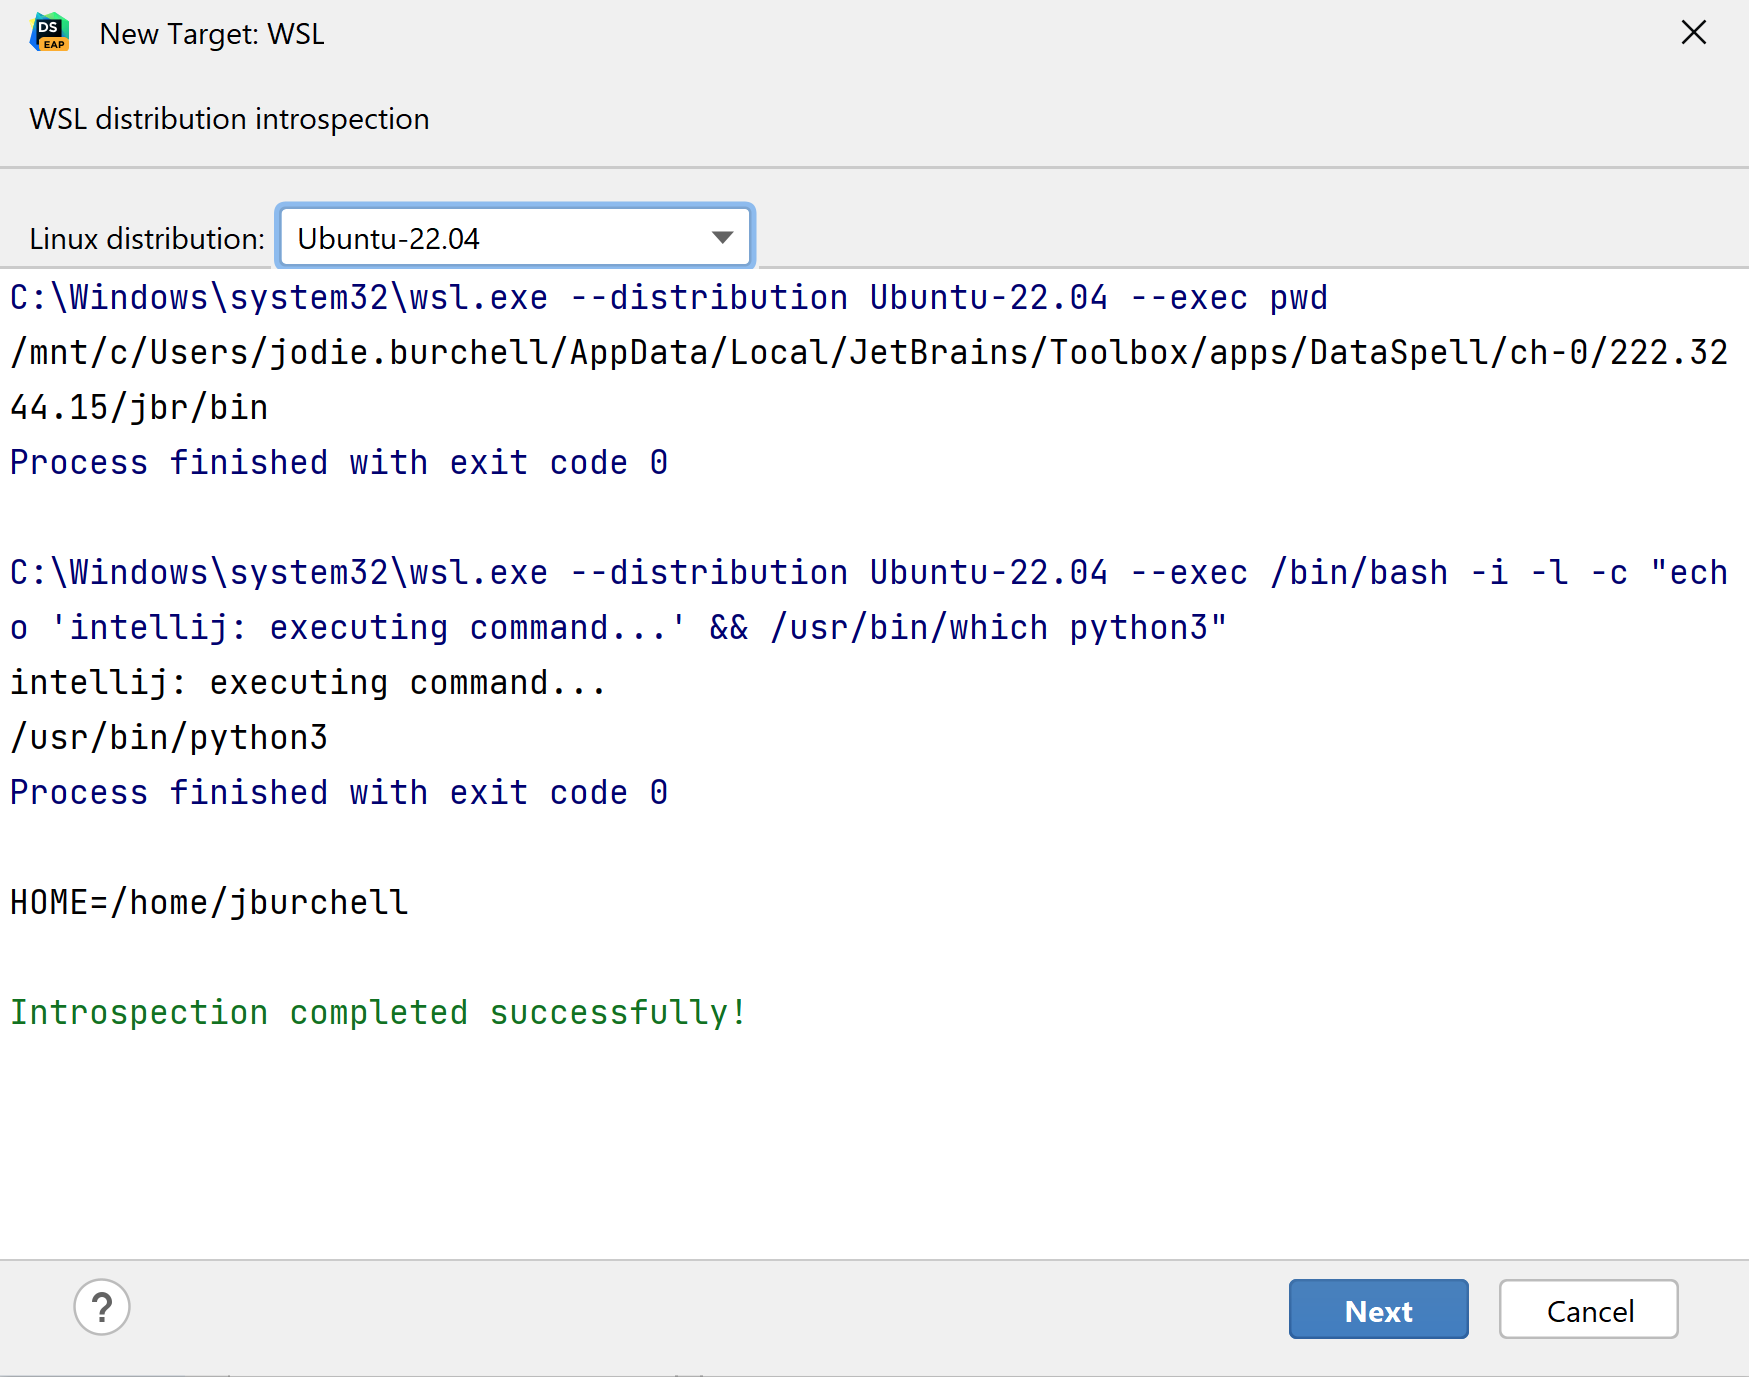
Next, select Add Interpreter next to the dropdown menu in the upper right-hand corner, and select the On WSL… option.

On the next screen, make sure that you have selected your preferred Linux distribution from the dropdown menu. Select Next after the introspection is complete.
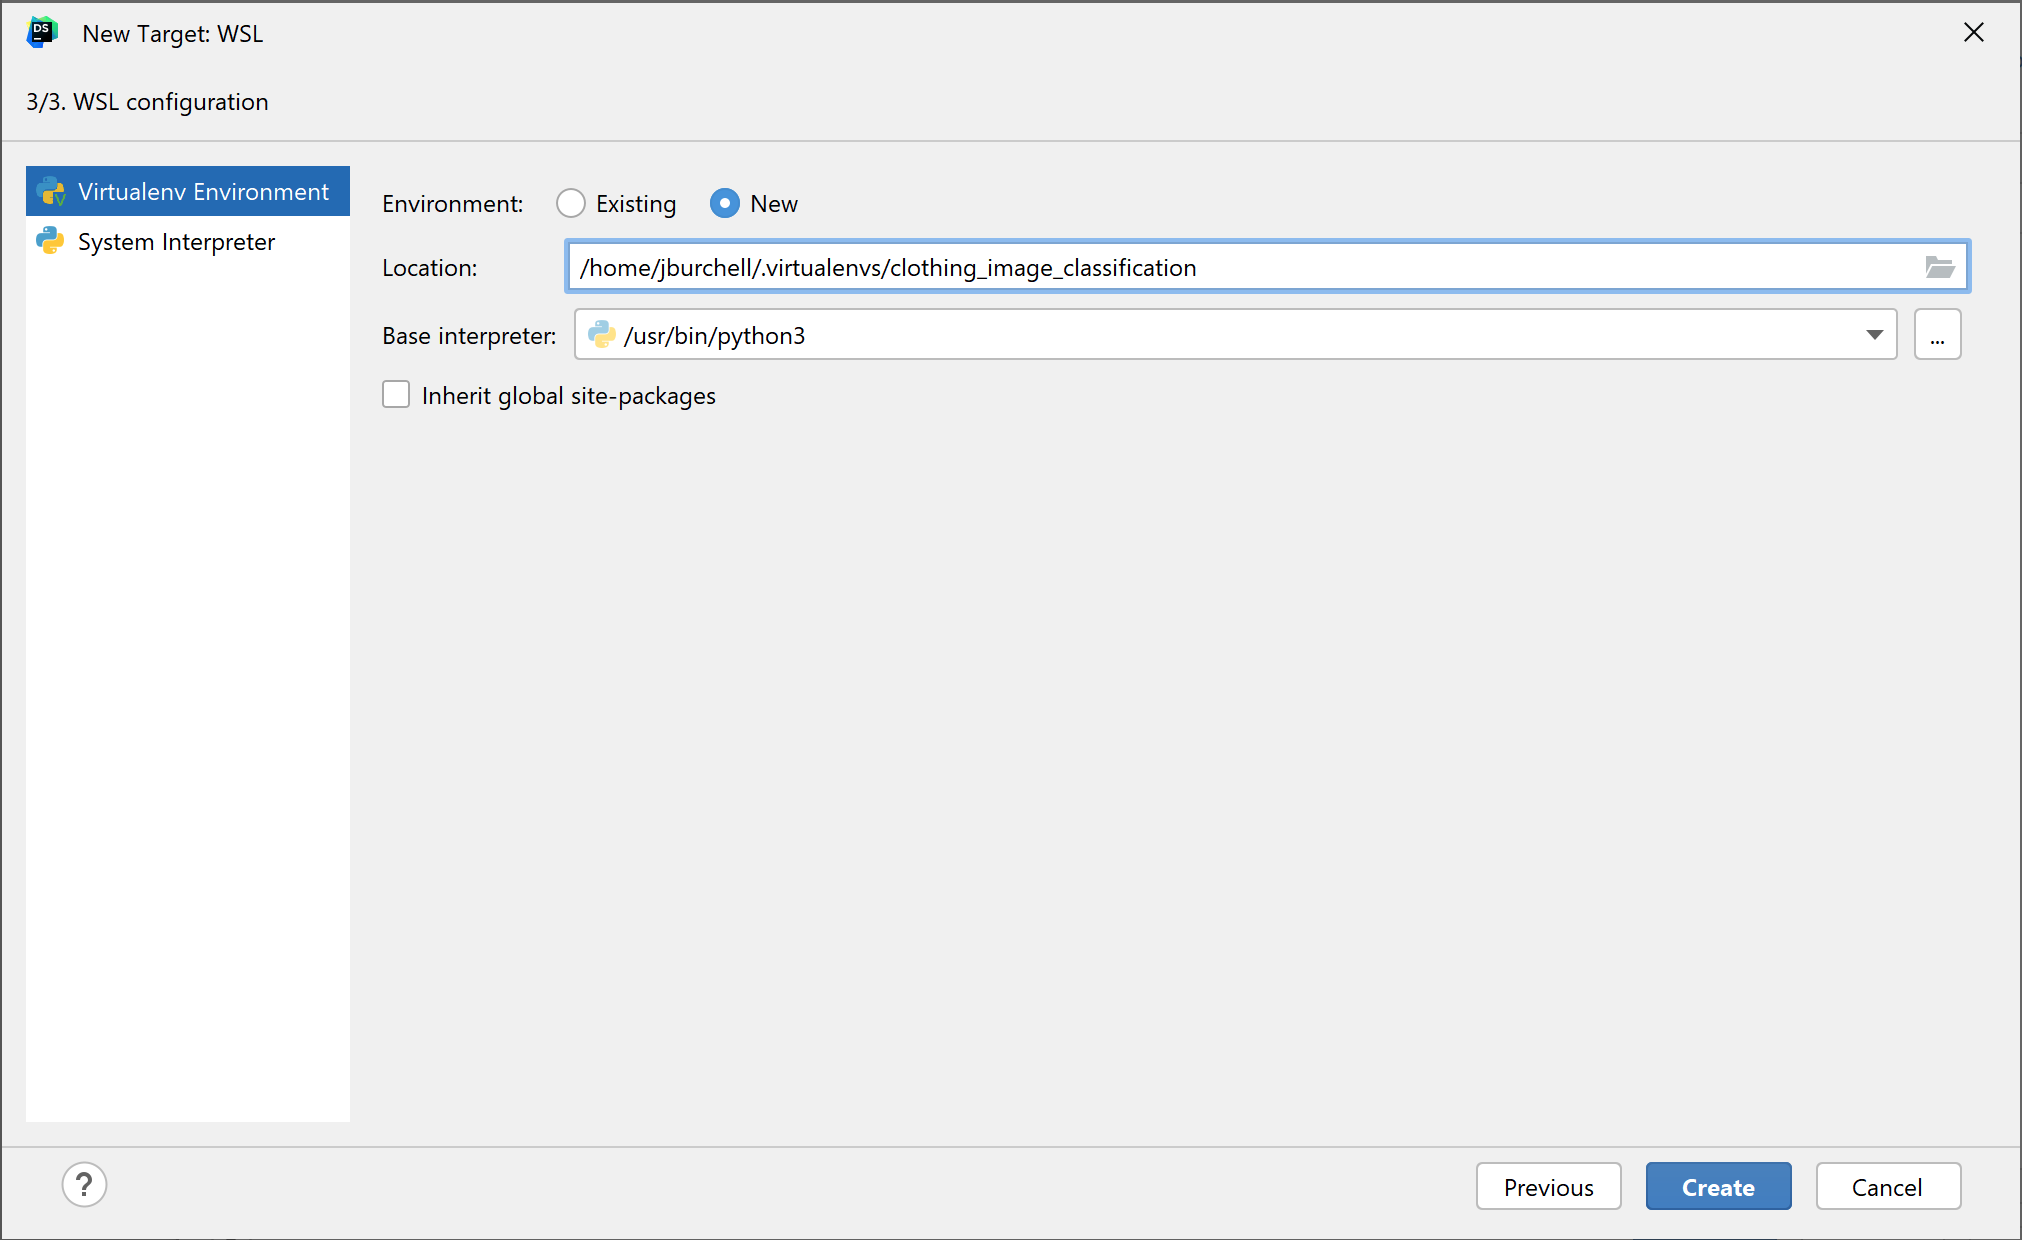
We can now configure our interpreter. DataSpell currently supports using the system interpreter or creating a virtual environment (known as a virtualenv). Using the system interpreter means that the default version of Python on your machine will be used to interpret the code, and any packages that you install will be tailored to this Python version. Using a virtual environment means that you can create an isolated environment with a specific Python version, with its own interpreter and package versions. I’ve chosen to create a new virtualenv and to rename it clothing_image_classification.
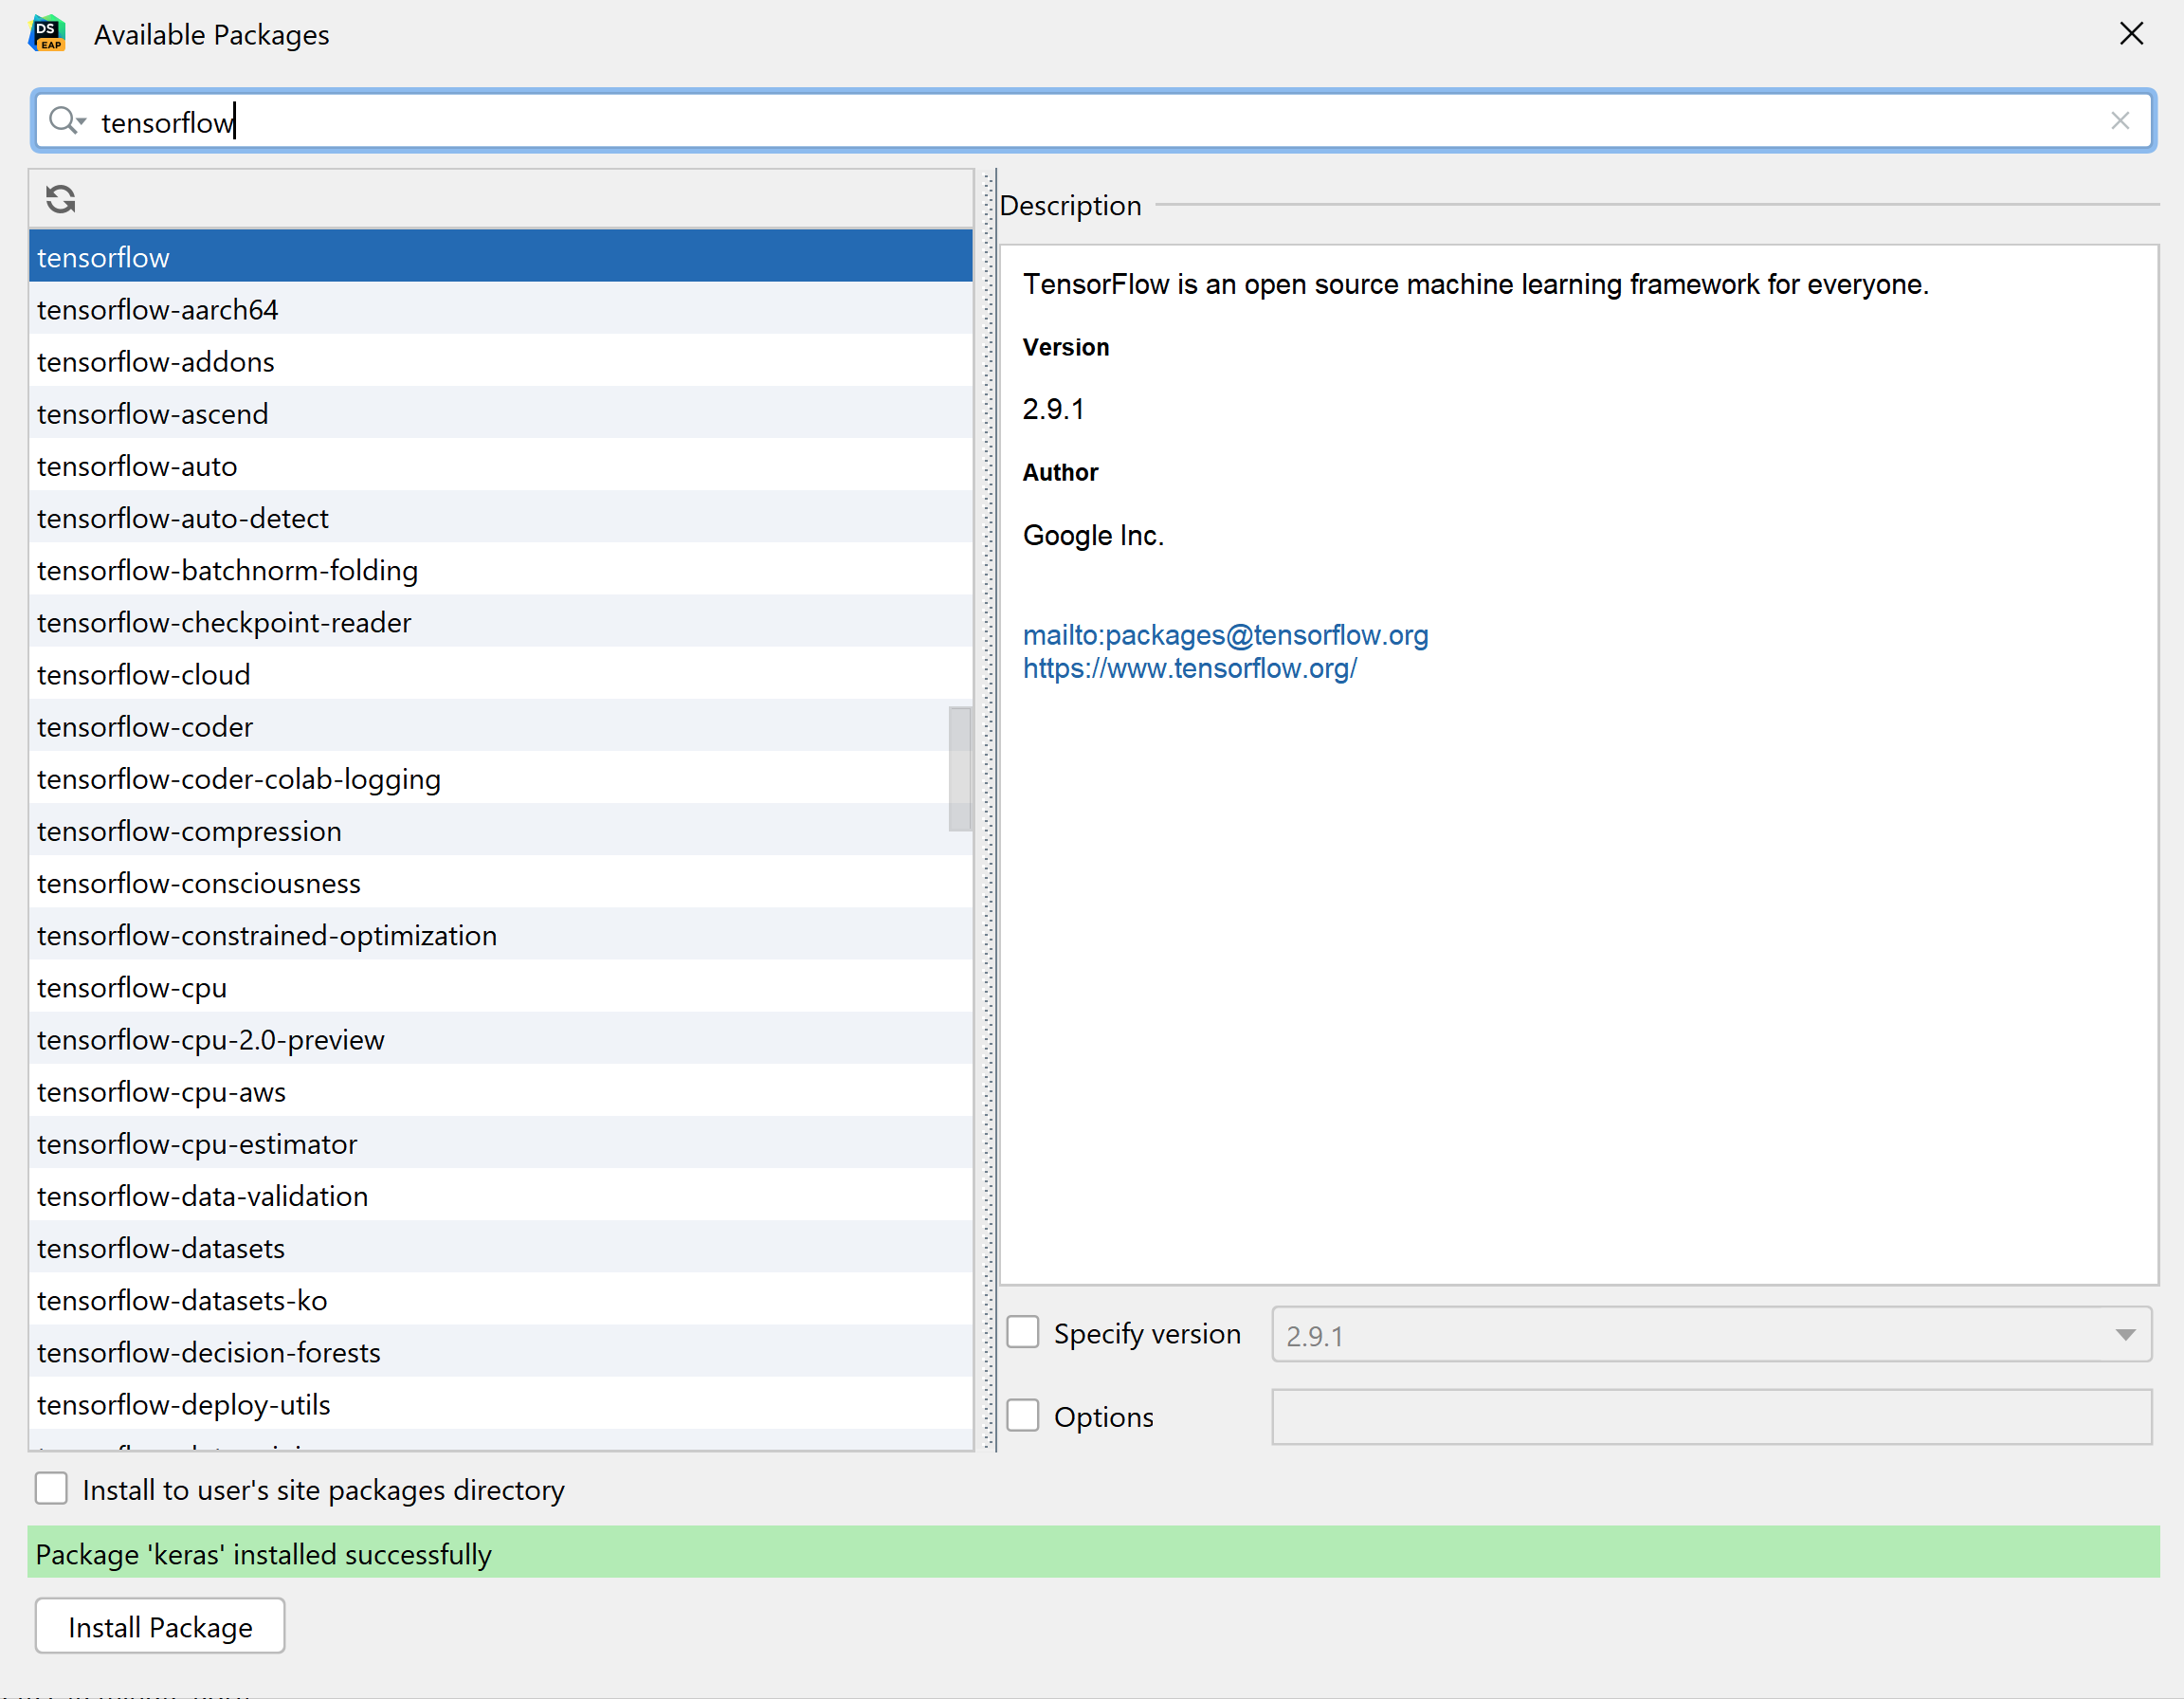
Now that we’ve configured our interpreter and virtualenv, we can import our desired packages. I’ll be using Tensorflow, Keras, and Matplotlib for this project, so I’ve used the UI to find and pip install them as below.
To create a Jupyter notebook, go to File | New | Jupyter Notebook and enter a name when prompted.
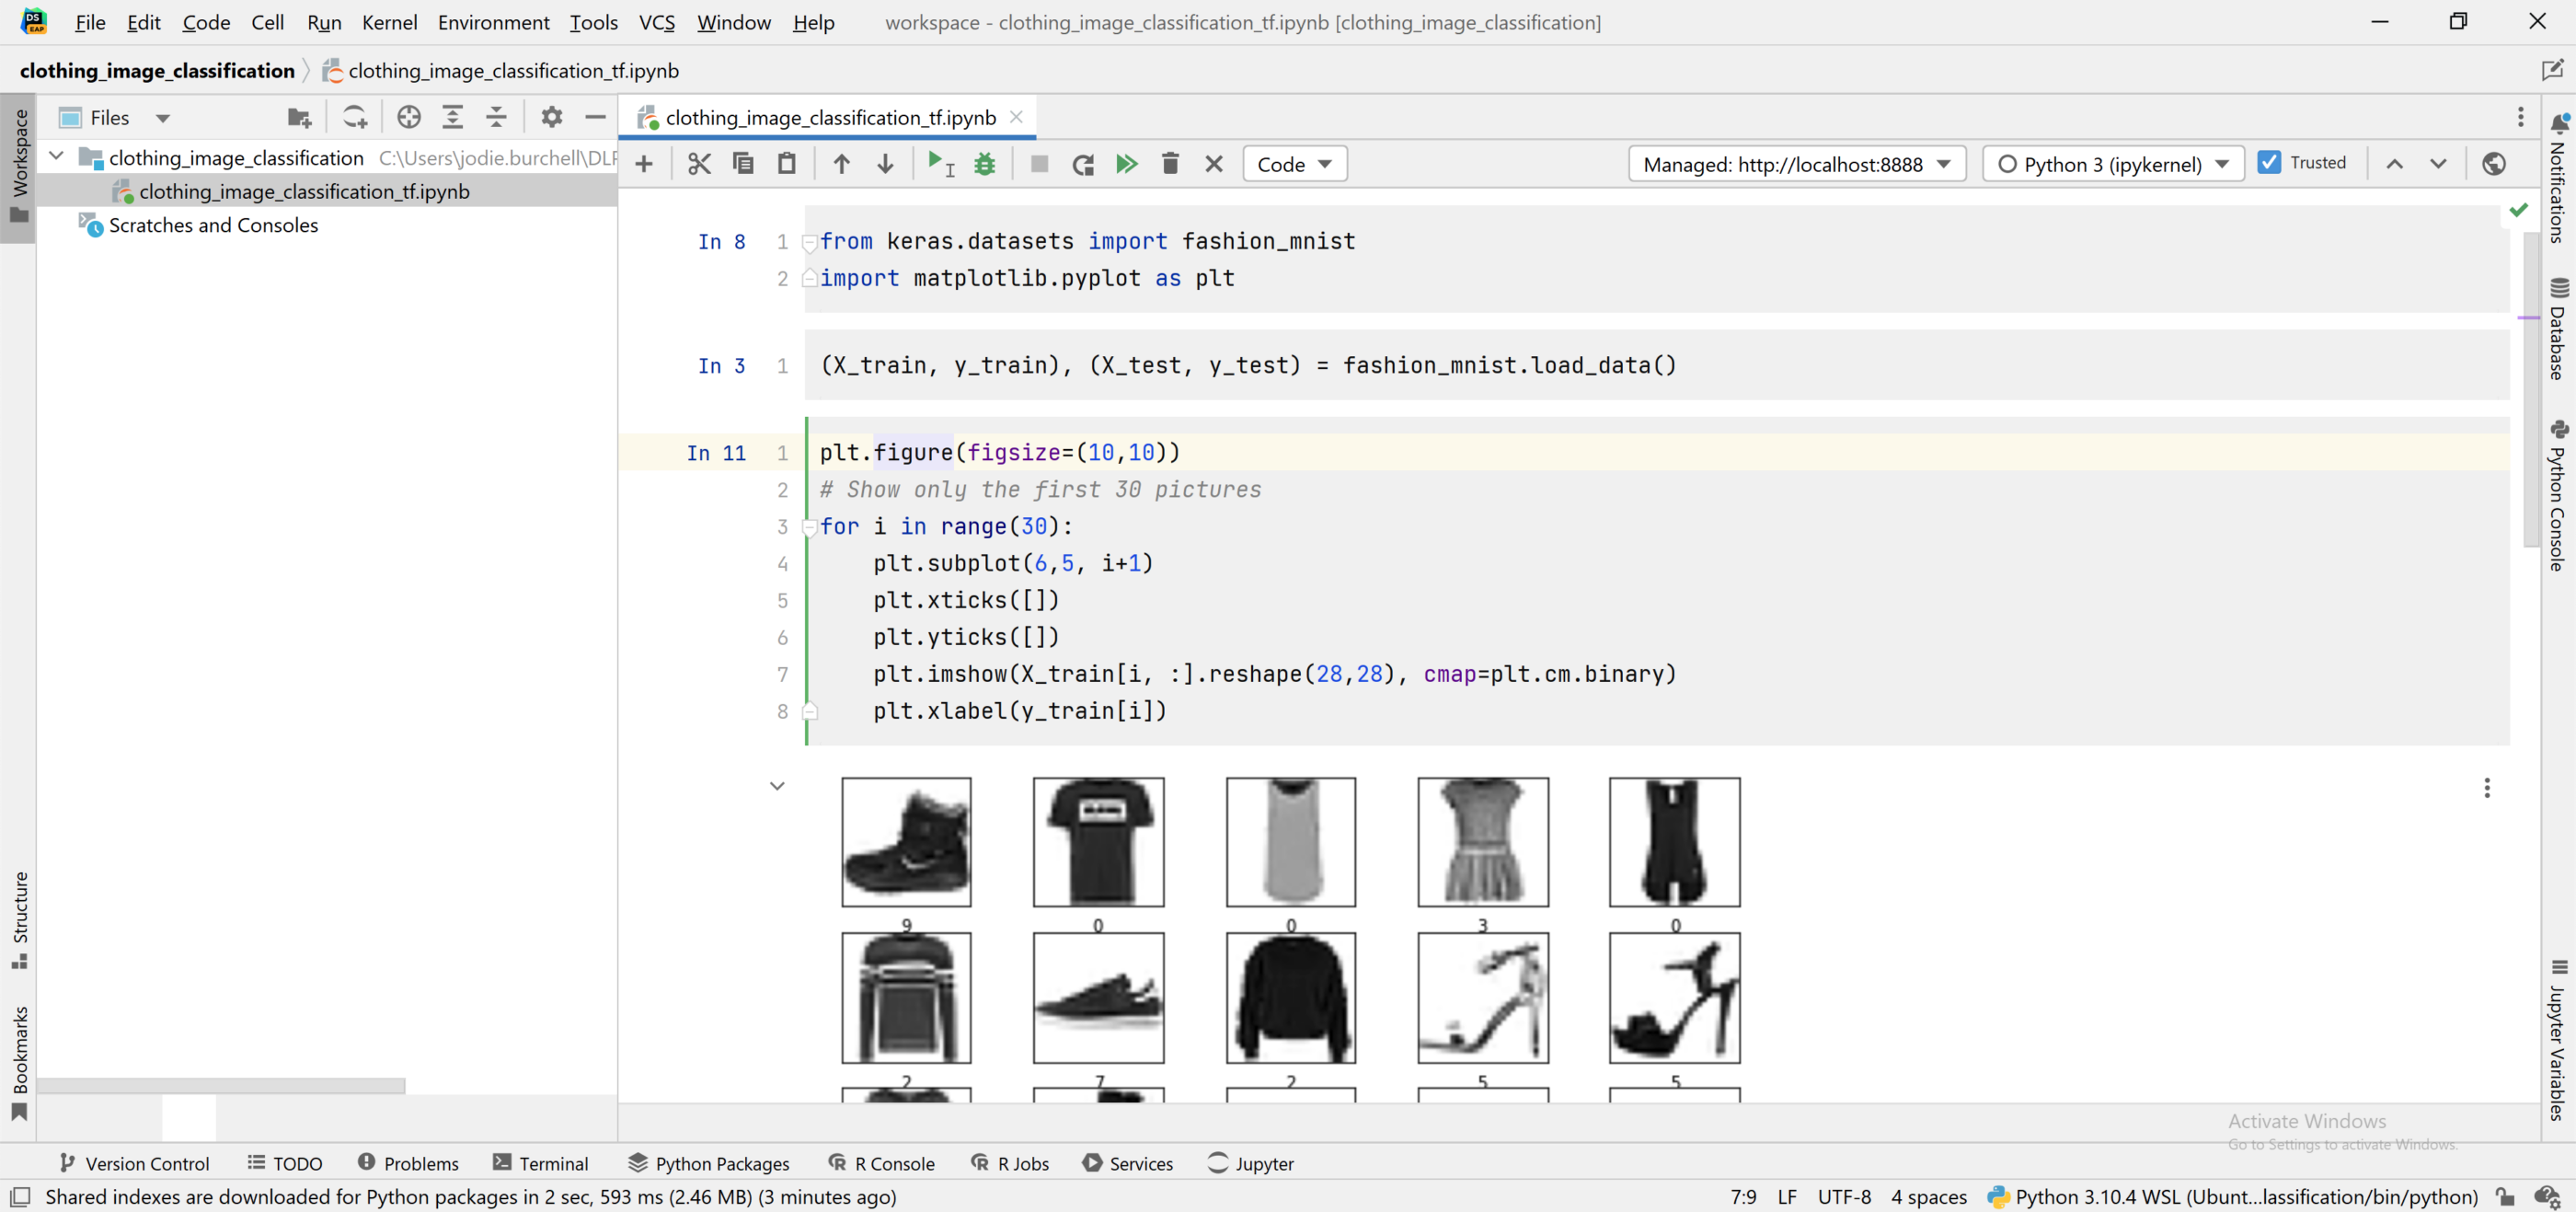
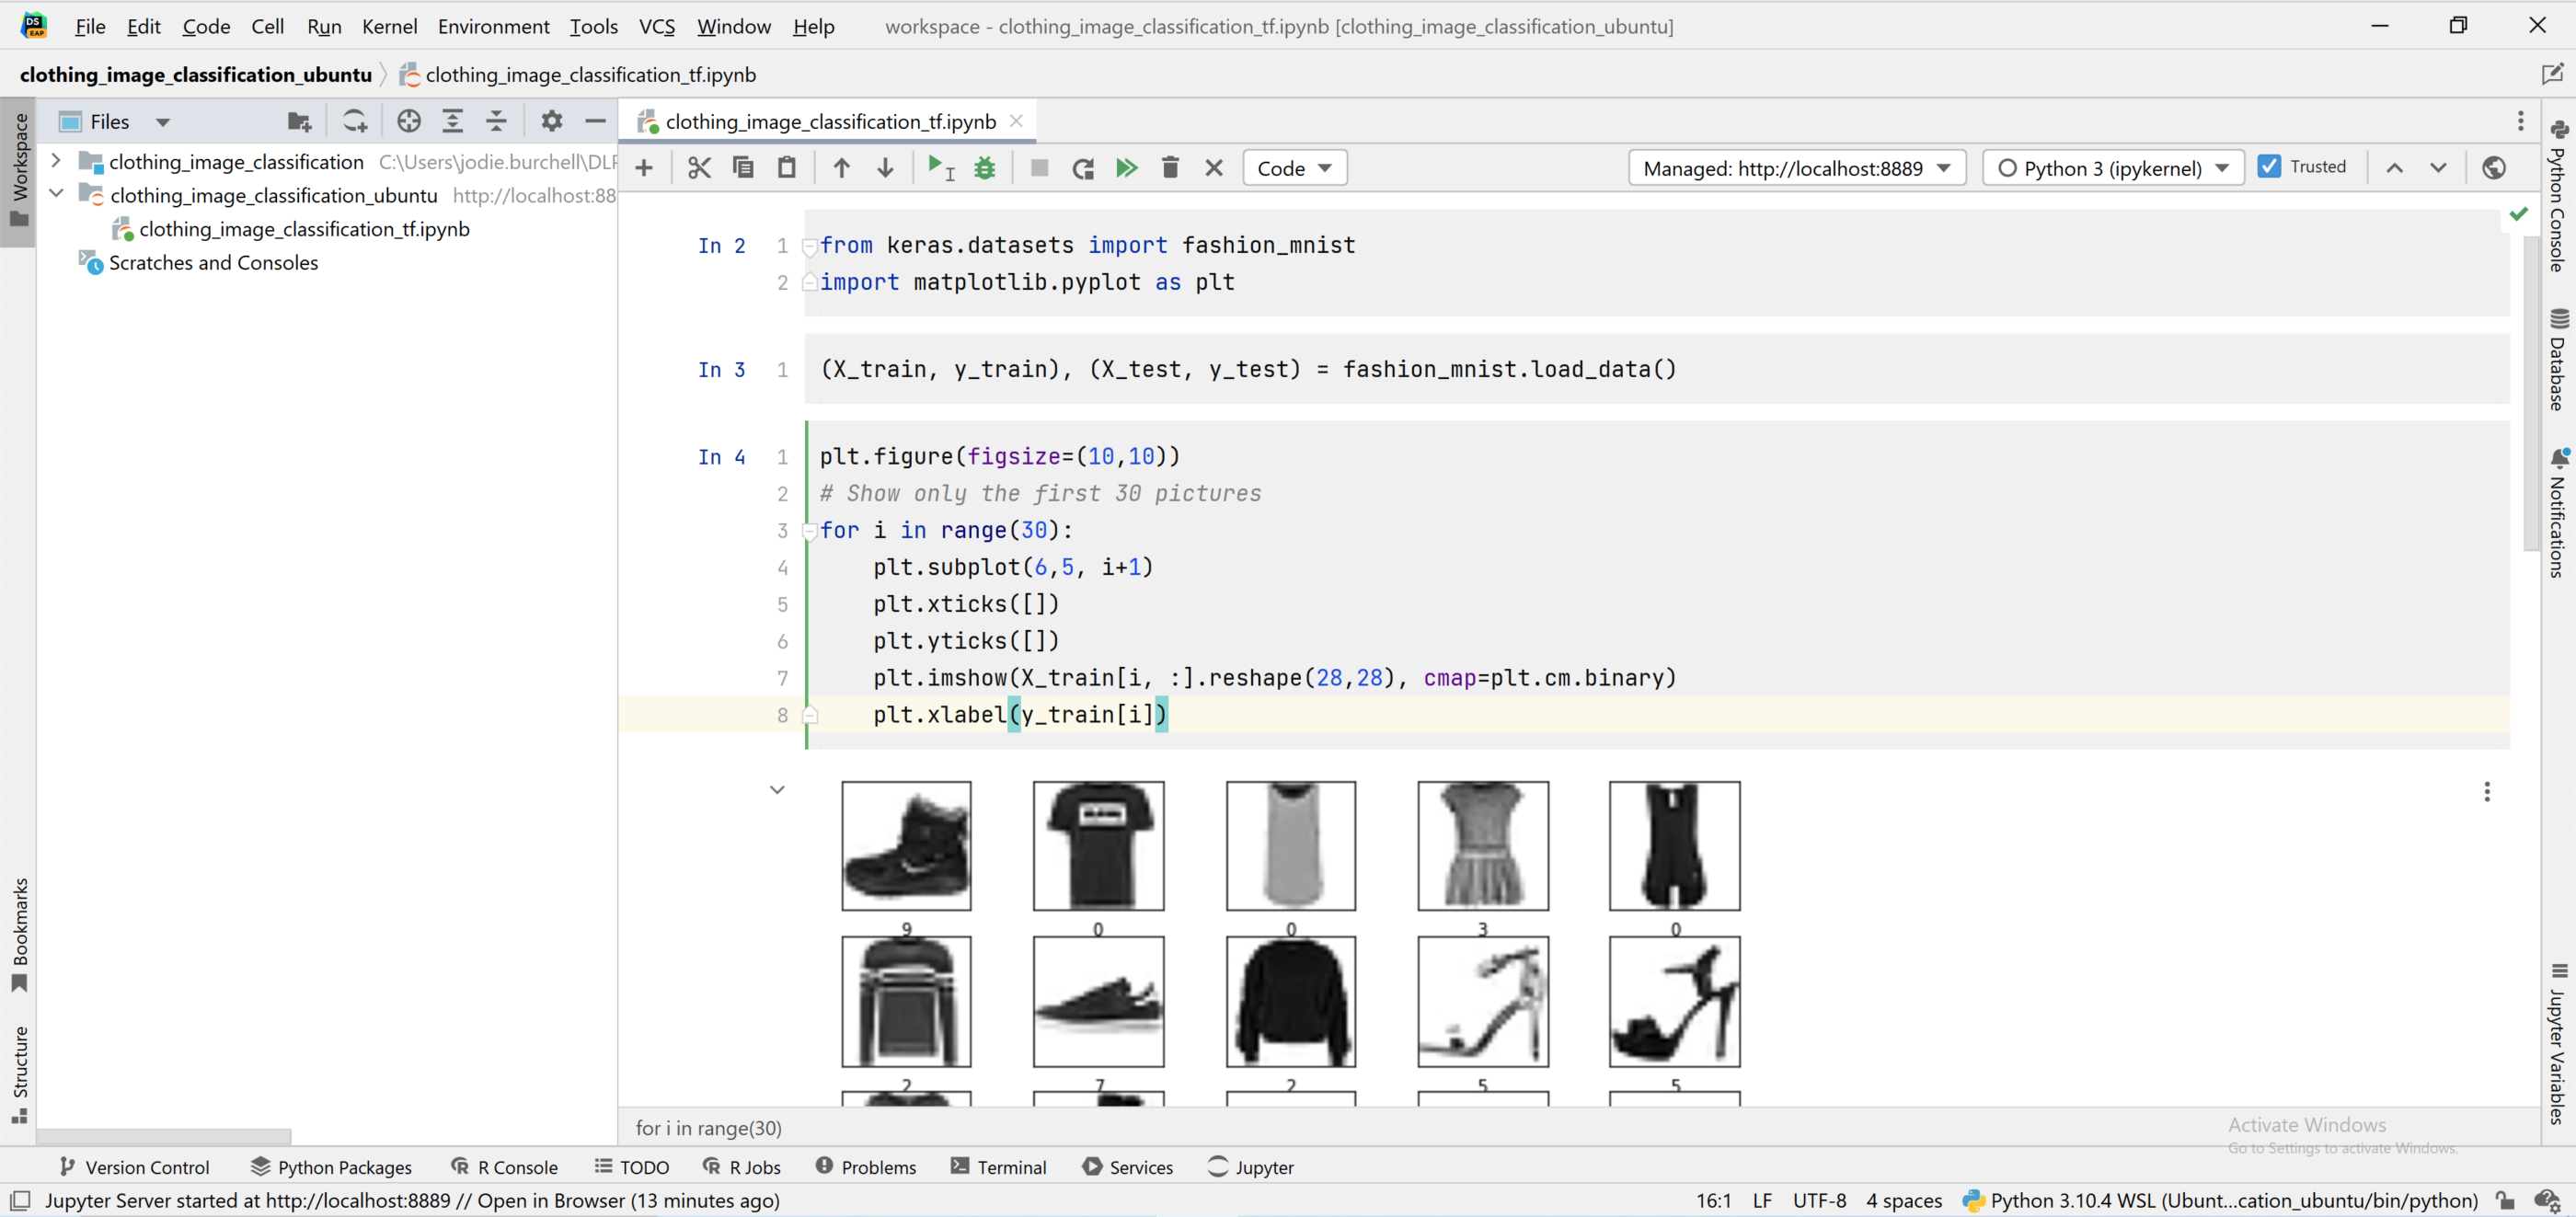
We now have a Jupyter notebook running within DataSpell on Windows, but using an interpreter running on Ubuntu. You can see that we’re successfully able to import a dataset from Keras datasets and visualize part of it using Matplotlib.
Using WSL 2 through Terminal
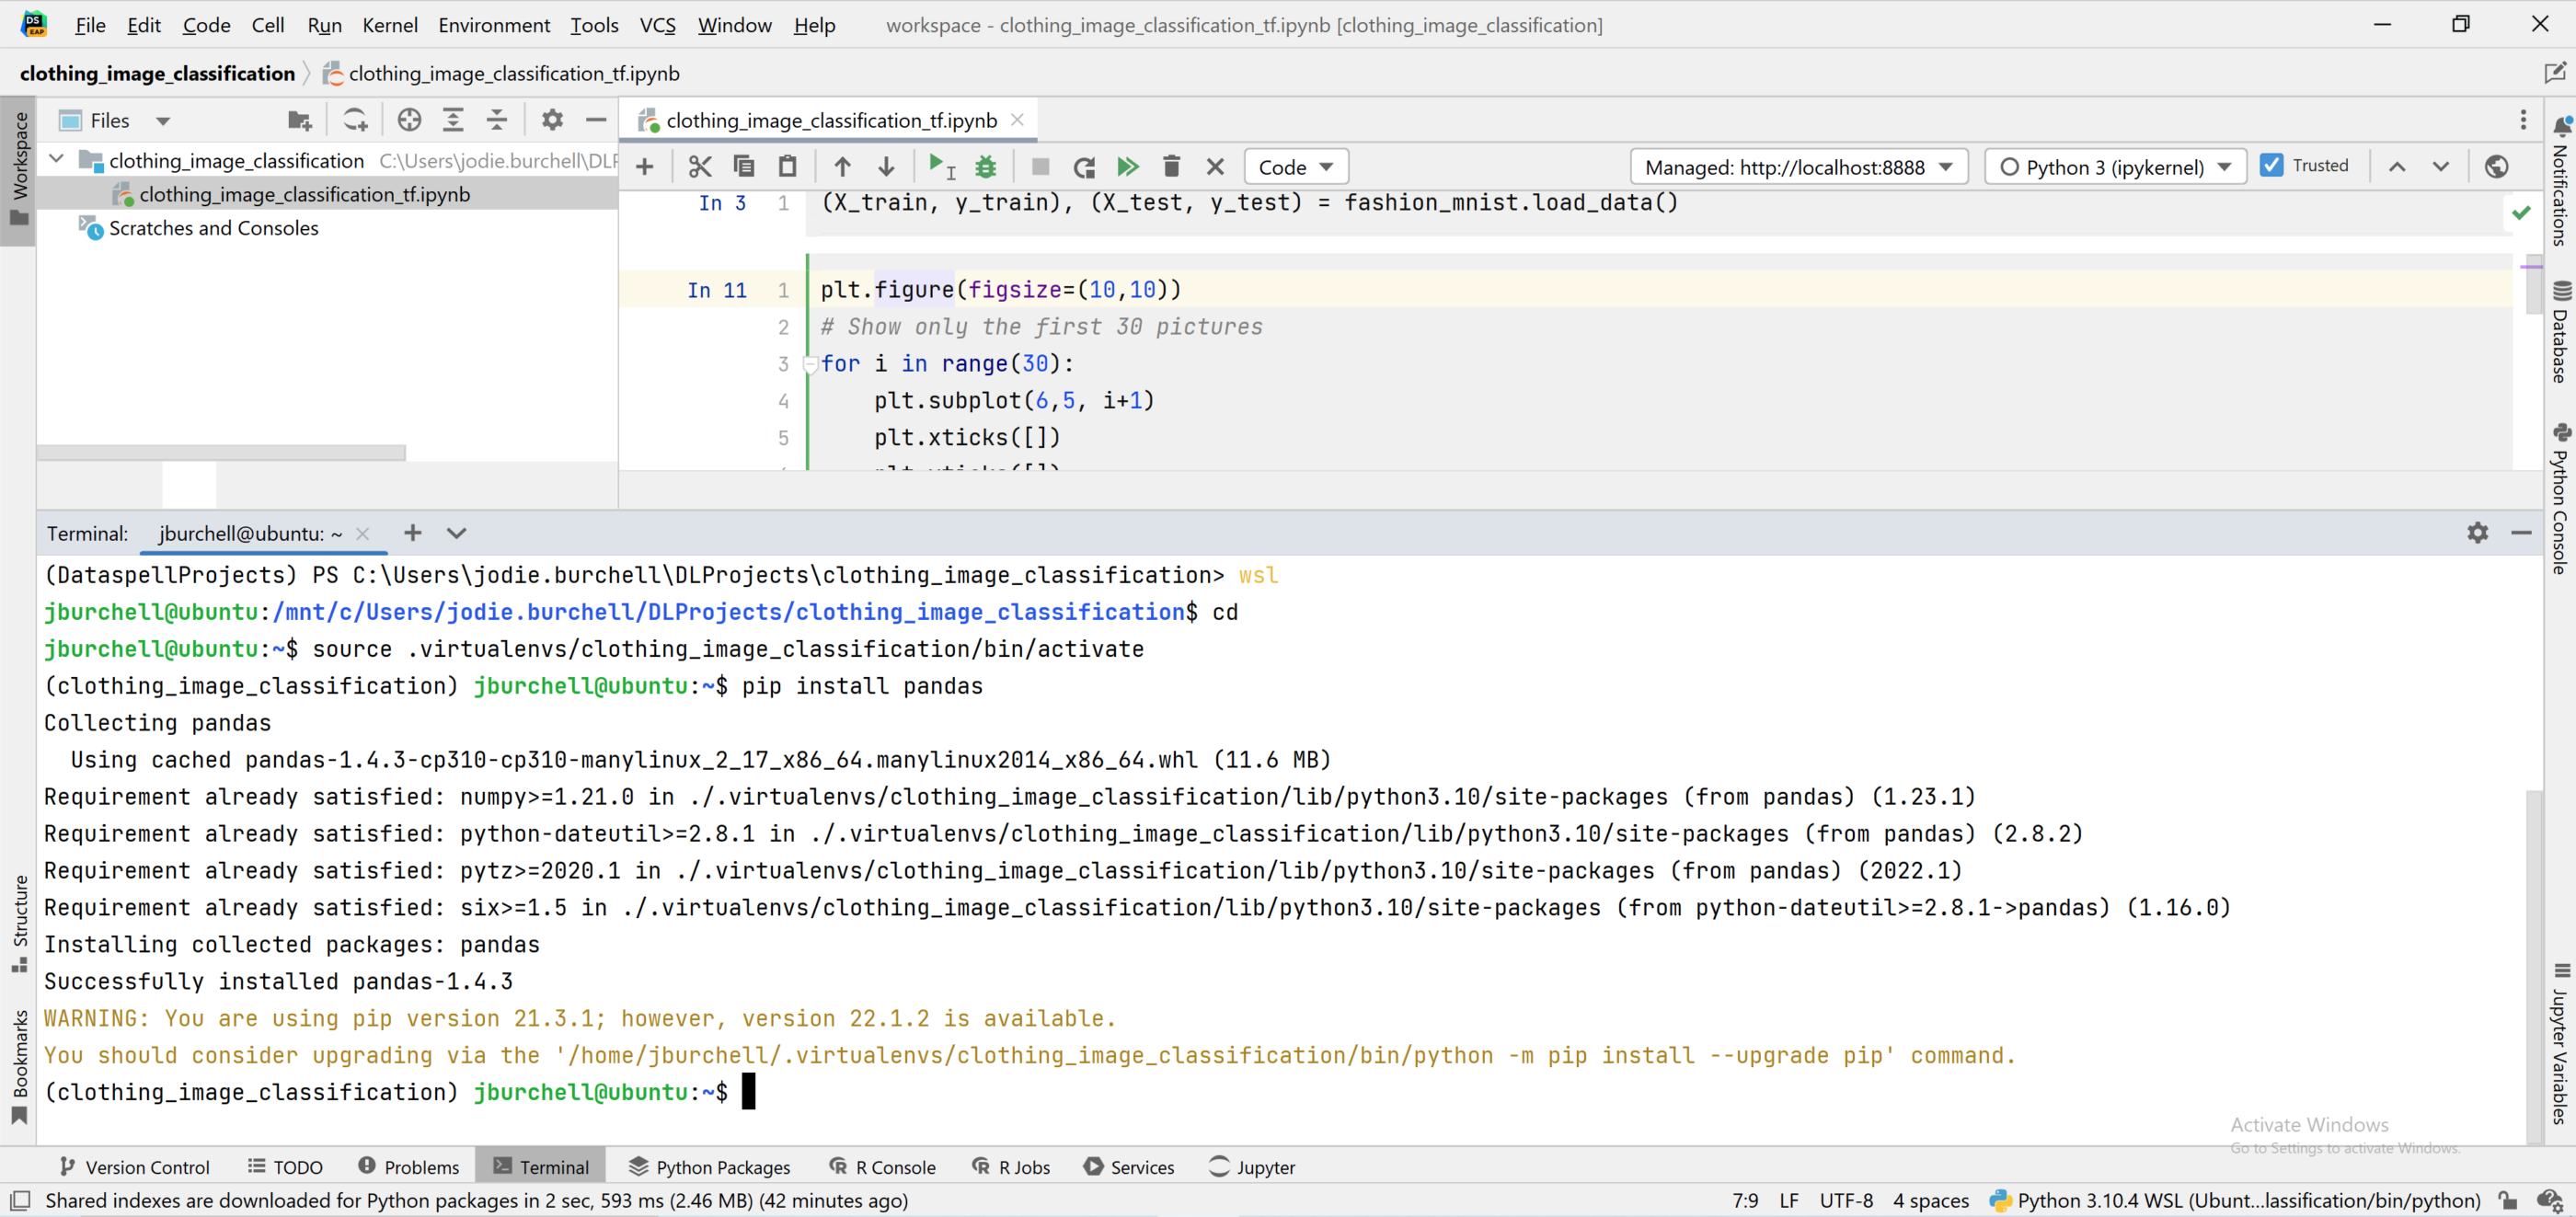
You can also access WSL 2 through the Terminal in DataSpell. Simply open the Terminal tab and enter wsl at the command prompt. This will allow you to run command line arguments in Linux without having to leave the IDE. You can see that I have activated my virtualenv in Ubuntu and pip installed pandas using the command line below.
Accessing files stored on Linux
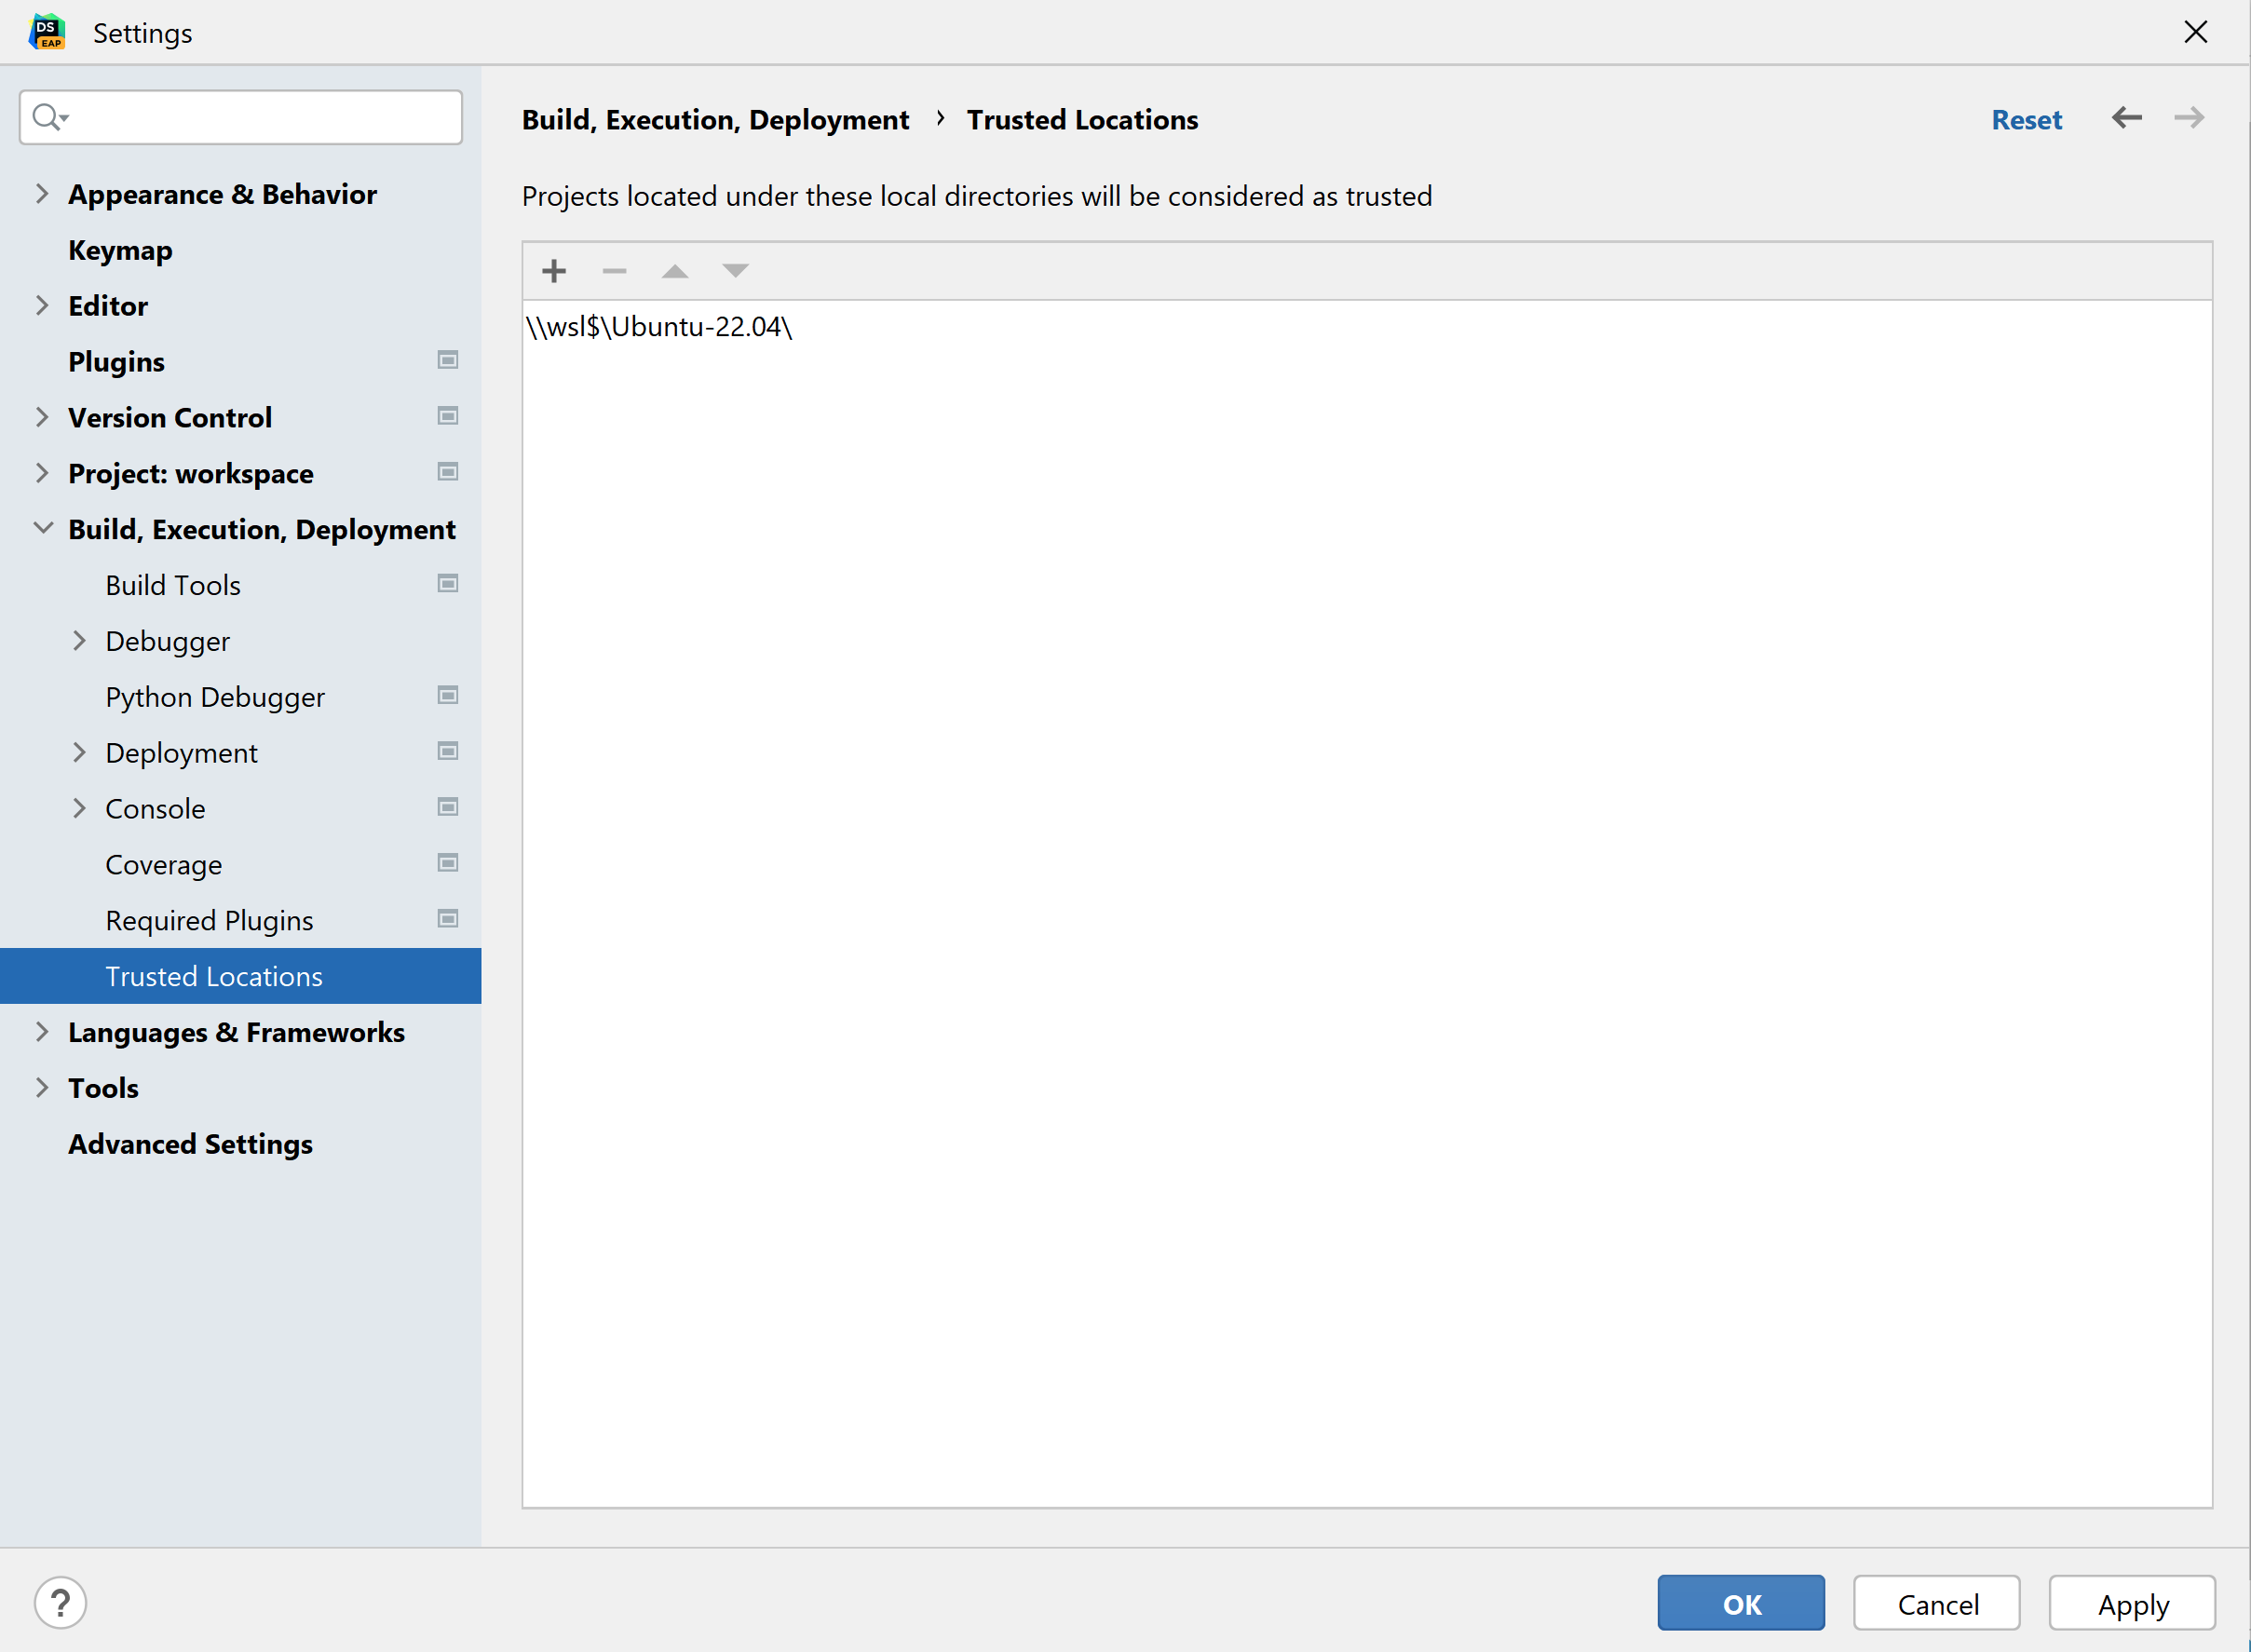
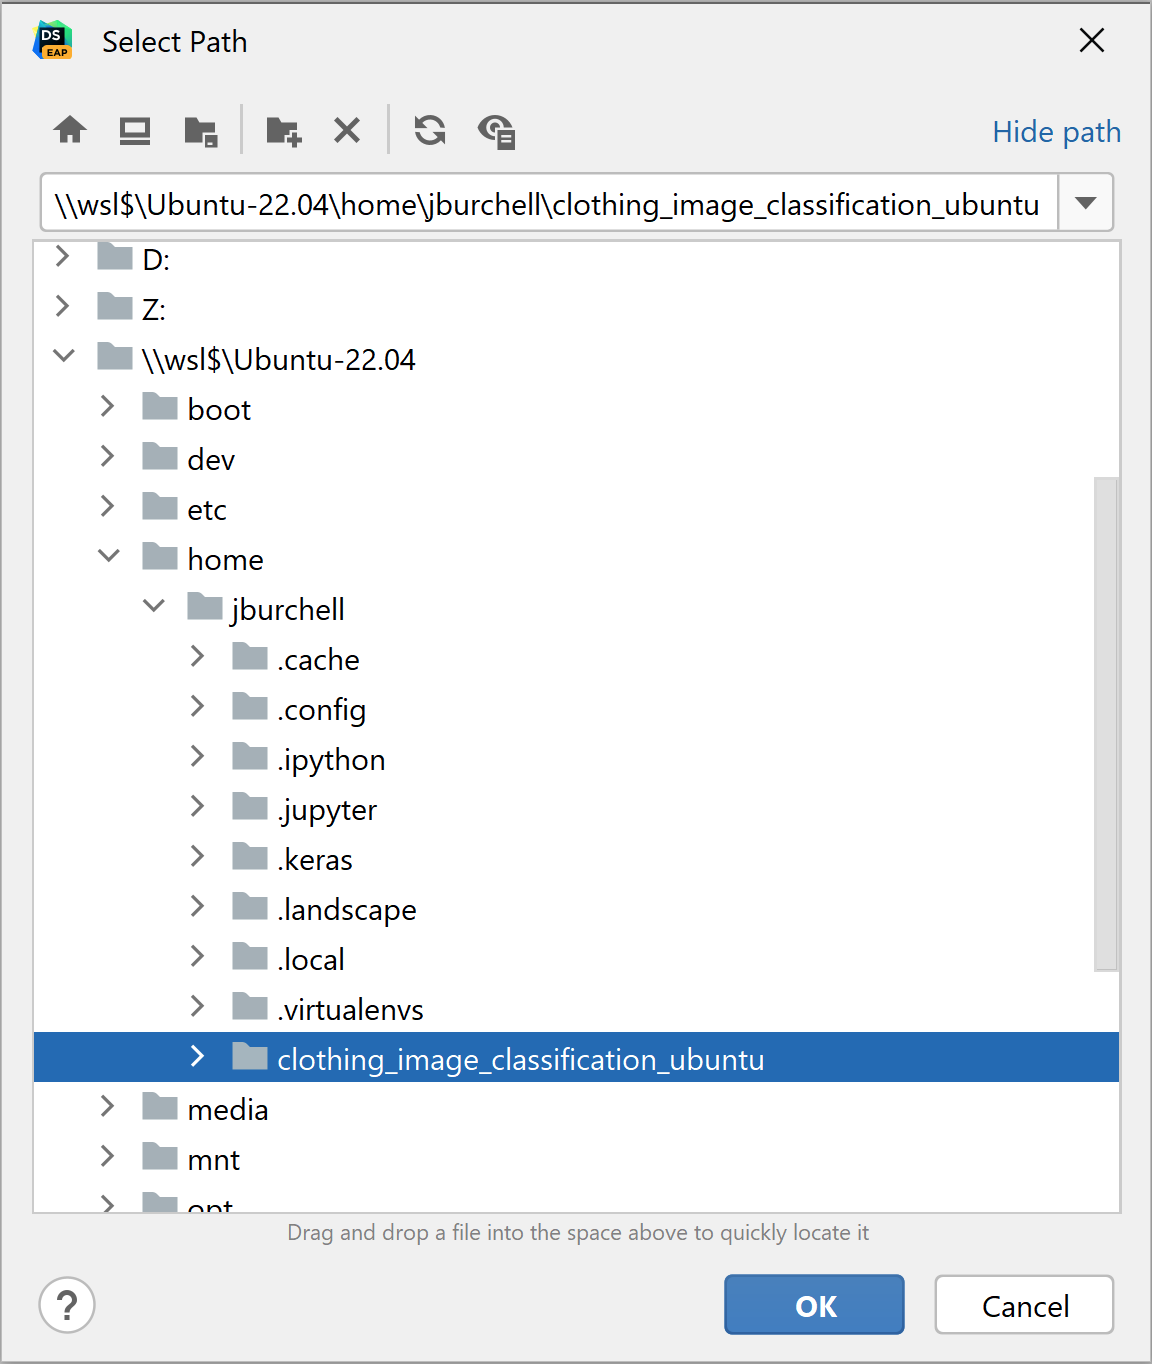
Rather than just using your Linux distribution for the interpreter, you might also want to store files for your analysis on Linux rather than Windows. DataSpell automatically detects the WSL 2 file system “\\wsl$”, meaning you can as easily create a workspace from a Linux directory as a Windows one. Prior to creating a workspace within Linux, you first need to add “\\wsl$” to your list of trusted locations.
You can then create your workspace from a location within the “\\wsl$” directory.
From here, it’s exactly the same workflow as with a workspace created in Windows: we can set up our interpreter on Linux using WSL 2, or even on Windows. Below I have replicated the same notebook I created within Windows within my Ubuntu workspace, using a fresh interpreter and virtualenv configured with WSL 2.
I hope this guide has shown you how straightforward it is to work with Jupyter Notebooks and Windows Subsystem for Linux 2 with DataSpell. With just a few simple steps, you get the best of both worlds: working within the comfort of Windows but being able to access the power of Linux, all without having to leave your IDE.
Subscribe to DataSpell Blog updates