Using Gulp in WebStorm

Whether you’re using Grunt or Gulp as a build system/task runner in your project, WebStorm is here to help you with that. WebStorm 8 introduced integration with Grunt, and now WebStorm 9 brings integration with Gulp.

With Gulp you can easily automate your build process. It helps you execute various tasks, such as optimizing images, compiling the stylesheets, concatenating and minifying files. Gulp uses Node.js streams and, thus, can perform multiple operations on your assets really efficiently without creating temp files. Check Gulp website for more details.
WebStorm can help you run and debug your Gulp tasks. Moreover, since gulpfile.js (a Gulp build file) is a JavaScript code, WebStorm can also provide you with coding assistance for that. Let’s see how it all works.
Installing Gulp
Gulp can be installed via npm. It requires global installation, so you may need to use sudo (for OSX, *nix, BSD, etc.) or run your command shell as Administrator (for Windows) to do this:
npm install -g gulp
Then install Gulp in your project dev dependencies (in the package.json file):
npm install --save-dev gulp
Adding gulpfile.js
Now you need to create a gulpfile.js under your project root where you can describe your tasks.
Note: We won’t provide any recommendations in writing Gulp tasks it this post, we suggest you visiting the Gulp GitHub page where you can learn more about Gulp functions and available plugins and also search for the recipes for common Gulp use-cases.
To get proper coding assistance in gulpfile.js in WebStorm, make sure coding assistance for Node.js APIs is enabled: go to Languages & Frameworks | Node.js and npm and hit Enable.
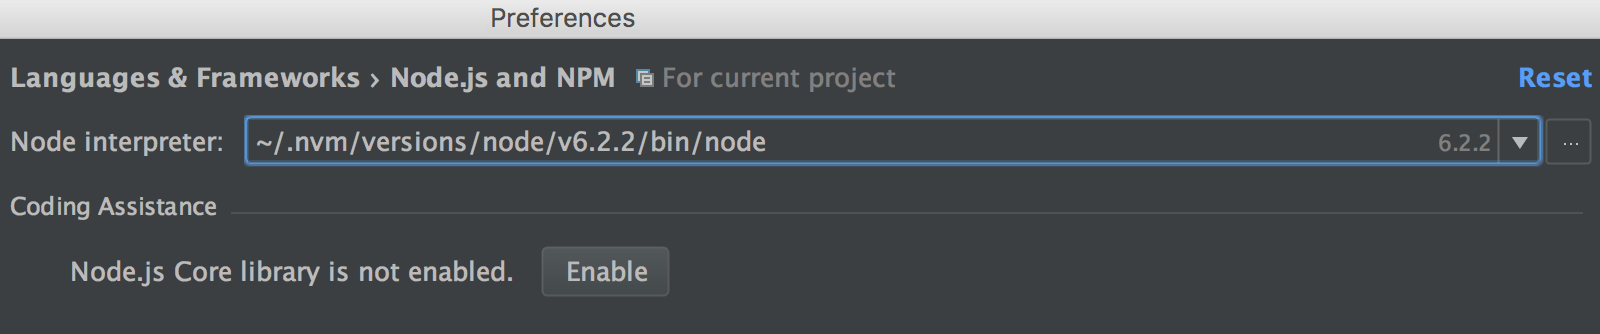
By default that would enable completion for Node.js APIs for the whole project. To limit it to gulpfile.js only, click on the Usage scope… button that would appear, click on the project root in the Library column and select Clear. Then click on the gulpfile.js and select Node.js Core library from the drop-down list.
Running Gulp tasks
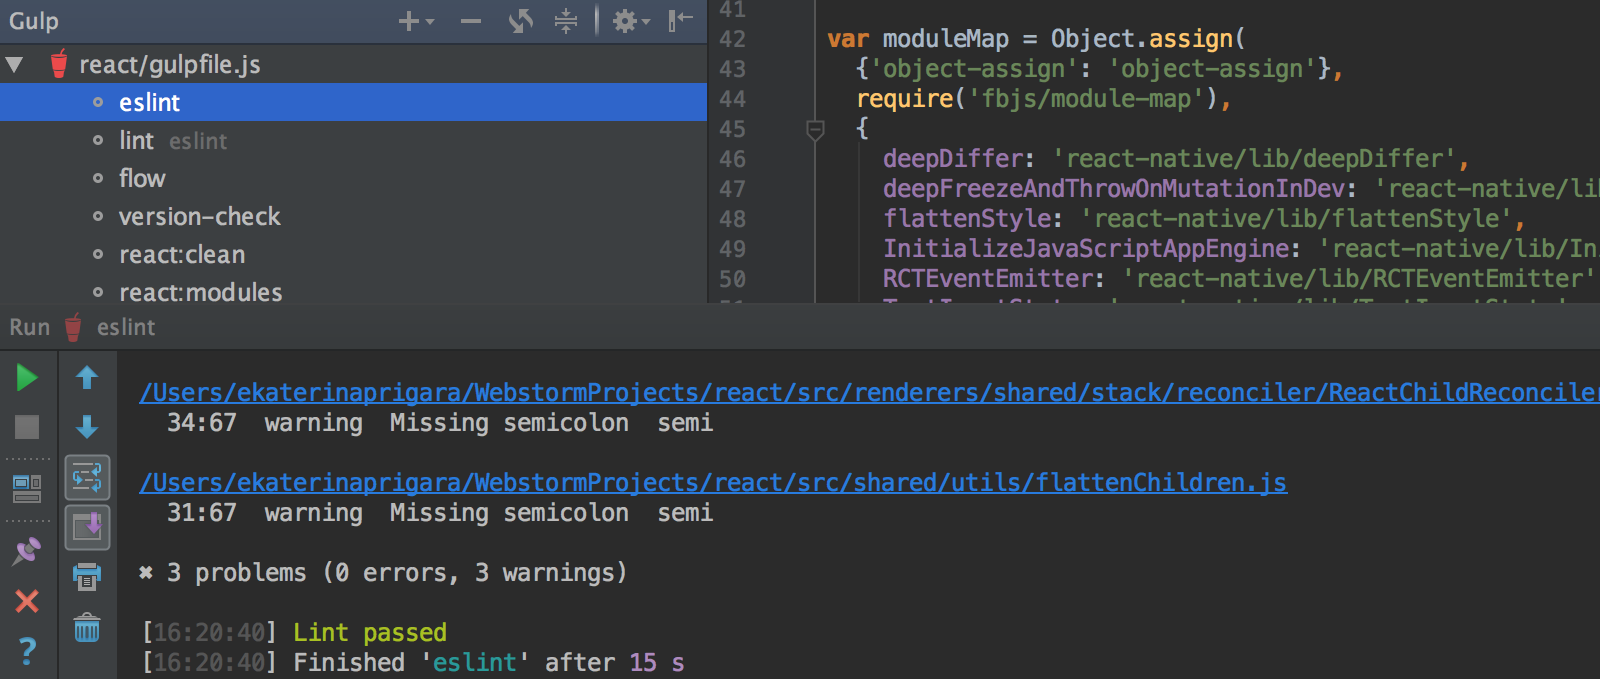
Once you have a gulpfile.js with tasks in your project, right-click this file and select Show Gulp tasks.
You’ll see a nice tool window with a list of the available tasks. You can run any of them simply by clicking it in the tree or selecting the task and hitting Enter. Once the task is started, the Run window with the task execution log will appear.
Another option is to invoke Run Gulp Task popup with Alt-F11 shortcut and then run the selected task by hitting Enter.

You can create a new Gulp Run/Debug configuration for the task.
Similar to any other JavaScript or Node.js configuration you can run a Gulp configuration with the Run… action (menu Run – Run…, Ctrl-Alt-R shortcut on Mac/Ctrl-Shift-F10 on Windows and Linux or the Run button in the upper-right corner of the IDE window) or debug with the Debug… action.
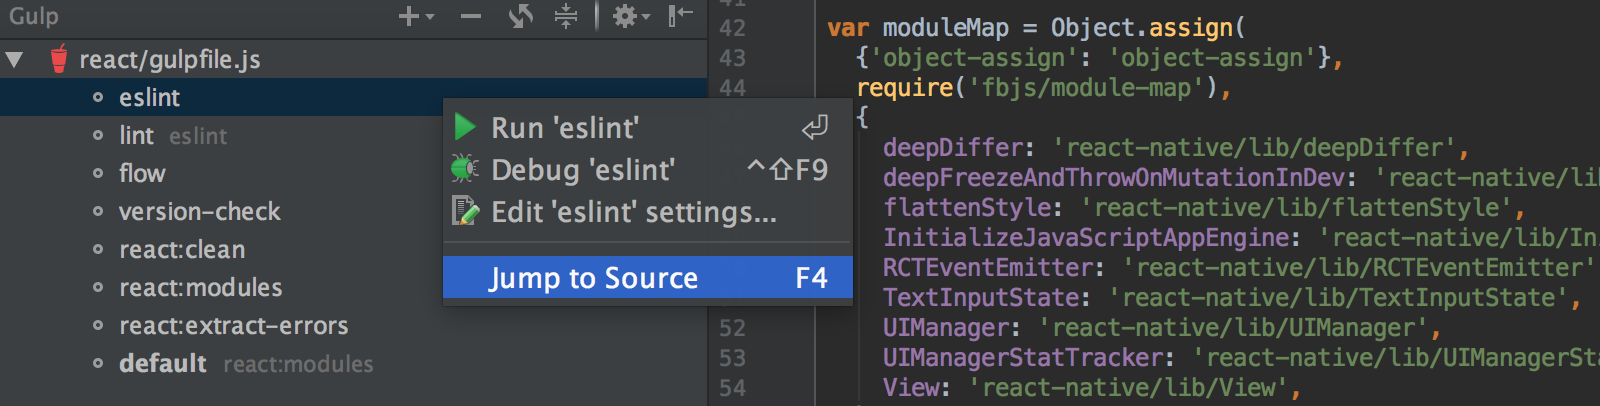
From the task name in the tool window you can run and debug tasks, but also navigate to the task definition — just click Jump to source in the context menu.
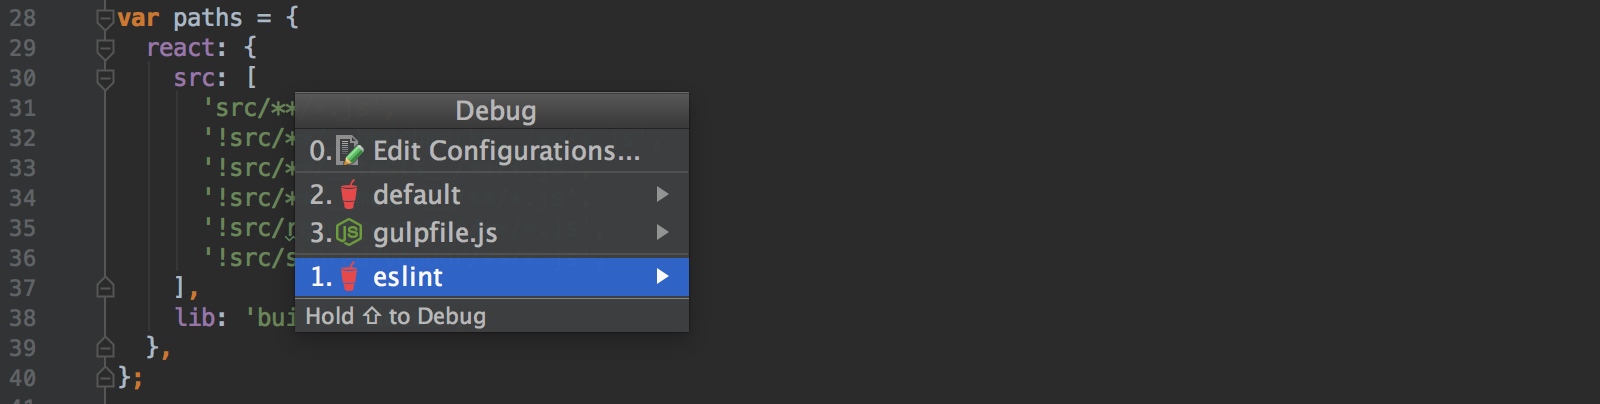
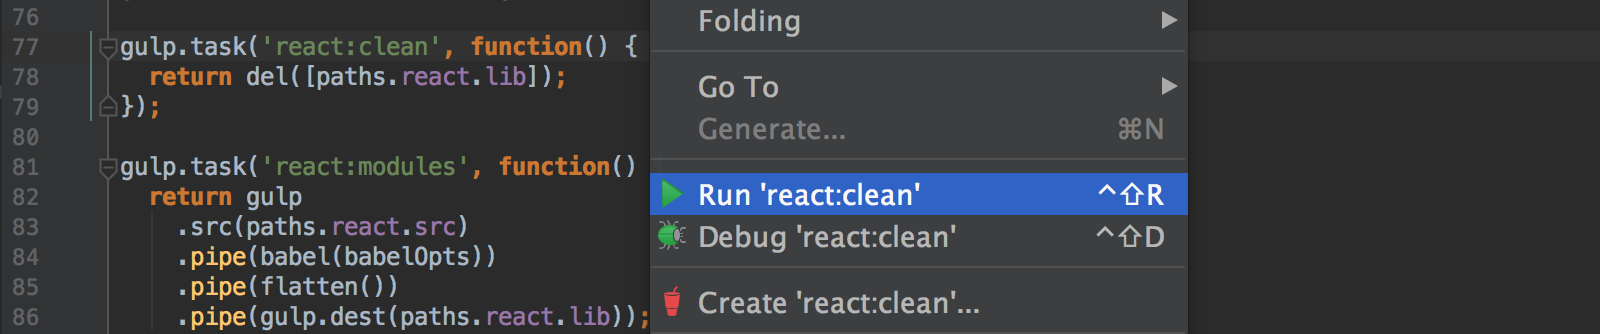
Tip: You can run a task right from the editor while editing gulpfile.js: hit Ctrl-Alt-R on Mac or Ctrl-Shift-F10 on Windows or Linux when the caret is inside the task body or right-click the task — you’ll see the Run and Debug task actions right in the context menu.
Debugging tasks
Gulp integration also allows you to debug Gulp tasks.
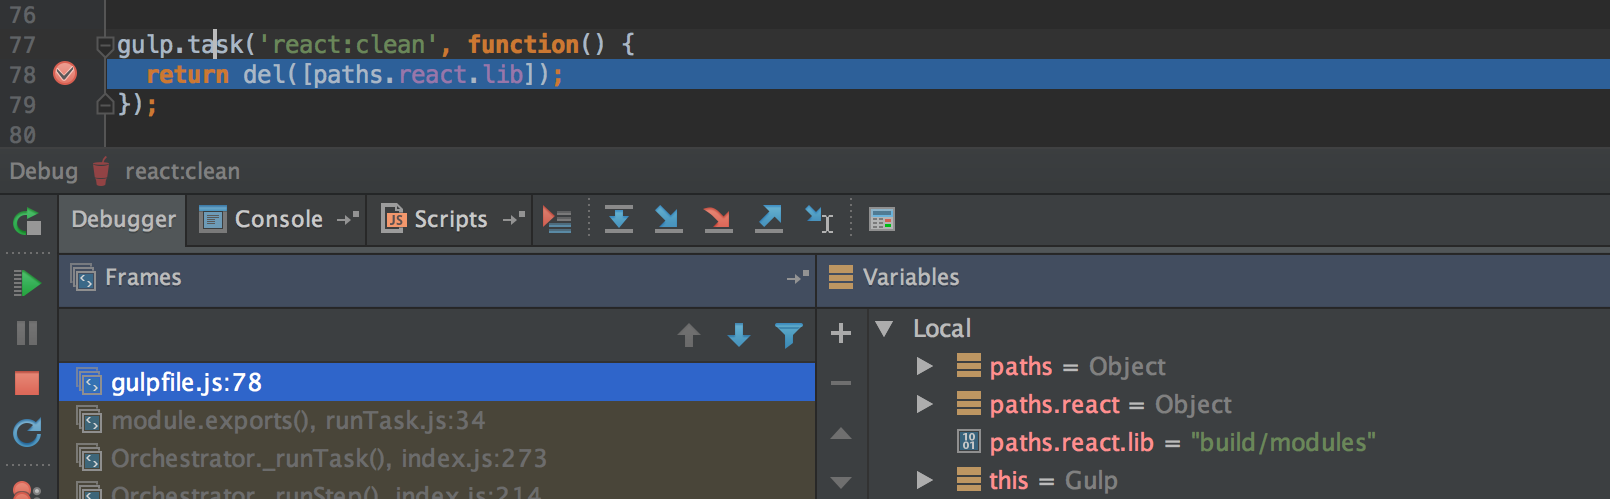
Put a breakpoint in the task and then select Debug task in the context menu in the Gulp tool window. Once the debugger is opened, you can execute the code step by step, evaluate expressions, and explore the variables view.
If you’re using IntelliJ IDEA 14, PhpStorm 8, RubyMine 7 or PyCharm 4, you can also enjoy Gulp integration since it’s a part of the JavaScript Support plugin.
Your WebStorm Team