

JetBrains AI
Supercharge your tools with AI-powered features inside many JetBrains products
Koog 登陆 Java:JetBrains 推出企业级 AI 智能体框架

向企业后端添加 AI 智能体不应以破坏架构为代价。如果您的核心系统是使用 Java 构建的,编排 LLM 并不需要您引入单独的 Python 微服务或重写技术栈。
今天,我们正式发布 Koog for Java。Koog 最初是为了满足 JetBrains 自身活动扩展需求而构建的,它使用结构化、可观测且具备容错能力的工作流取代了不可预测、临时的提示更改方法。
如今,JVM 最强大的智能体框架之一拥有了完全符合 Java 惯用风格的 API。您的 Java 团队可以直接在现有后端中构建可靠的 AI 智能体,借助流畅的构建器风格 API、线程池执行器和原生 Java 抽象,完全不需要担心任何与 Kotlin 不兼容的问题。
Koog for Java 的功能
Java API 可以访问 Koog 的所有功能:
- 多种工作流策略(函数式、基于图和基于规划):精准控制智能体执行任务的方式。
- Spring Boot 集成:直接将 Koog 集成到现有的 Spring 应用程序中。
- 支持所有主流 LLM 提供商:使用 OpenAI、Anthropic、Google、DeepSeek、Ollama 等的首选模型。
- 通过持久性功能实现容错:故障后恢复之前的进度,无需重复开销大的 LLM 调用。
- 通过 OpenTelemetry 实现可观测性:全面了解智能体执行、token 使用情况和成本,并直接支持 Langfuse 和 W&B Weave
- 历史记录压缩:减少 token 使用量,并在大规模使用时优化成本
- 还有更多!
继续阅读,了解通过 Koog 使用 Java 构建智能体的方法。
设置简单
将大语言模型 (LLM) 与您应用程序中的函数(统称为“工具”)相关联,AI 智能体便会运转起来。LLM 会根据您为其指定的任务确定要调用的工具和调用条件。使用 Java 构建智能体时,首先要定义这些工具。使用 @Tool 为现有的 Java 方法添加注解和描述,以便 LLM 理解每个函数的功能:
public class BankingTools implements ToolSet {
    @Tool
    @LLMDescription("Sends money to a recipient")
    public Boolean sendMoney(
        @LLMDescription("Unique identifier of the recipient")
        String recipientId,
        Integer amount
    ) {
        return true; // Your implementation here
    }

    @Tool
    @LLMDescription("Account balance in $")
    public Integer getAccountBalance(String userId) {
        return 1000000; // Your implementation here
    }
}
接下来,使用构建器 API 创建智能体。您需要配置要使用的 LLM 提供商(OpenAI、Anthropic 等)、设置定义智能体角色的系统提示,并注册您的工具:
// Connect to one or more LLM providers
var promptExecutor = new MultiLLMPromptExecutor(
    new OpenAILLMClient("OPENAI_API_KEY"),
    new AnthropicLLMClient("ANTHROPIC_API_KEY")
);

// Build the agent
var bankingAgent = AIAgent.builder()
    .promptExecutor(promptExecutor)
    .llmModel(OpenAIModels.Chat.GPT5_2)  // Choose which model to use
    .systemPrompt("You're a banking assistant")  // Define the agent's role
    .toolRegistry(
        ToolRegistry.builder()
            .tools(new BankingTools())  // Register your tools
            .build()
    )
    .build();

// Run the agent with a user task
bankingAgent.run("Send 100$ to my friend Mike (mike_1234) if I have enough money");
当您运行此智能体时,它将:
- 使用
getAccountBalance()检查帐户余额 - 如果资金充足,则使用正确的形参调用
sendMoney() - 向用户返回响应
这样一来,您的 Java 应用程序的功能便会与一个完全自主的 AI 智能体关联起来,该智能体可以自主判断执行的操作。
通过自定义策略实现可预测的工作流
在上面的简单示例中,所有决策由 LLM 自主完成,包括调用的工具和工具的调用顺序。但对于生产系统来说,通常需要更精细的控制。如果您要确保某些操作在其他操作之前执行,该怎么办? 要限制每个步骤可用的工具呢? 要实现验证循环呢?
Koog 提供了不同的方式来定义智能体工作流:函数式(基于代码)、基于图和基于规划。
函数式策略允许您在代码中编排个别智能体步骤。可以将此策略当作编写常规 Java 方法,但每个步骤都可能涉及 LLM 调用和工具执行。您将大型任务拆分为较小的子任务,每个子任务都有自己的提示、限定的工具集和类型安全的输入/输出:
var functionalAgent = AIAgent.builder()
    .promptExecutor(promptExecutor)
    .functionalStrategy("my-strategy", (ctx, userInput) -> {
        // Step 1: First, identify the problem
        // Only give the agent communication and read-only database access here
        ProblemDescription problem = ctx
            .subtask("Identify the problem: $userInput")
            .withOutput(ProblemDescription.class)  // Type-safe output
            .withTools(communicationTools, databaseReadTools)  // Limited tools
            .run();

        // Step 2: Now solve the problem
        // Give the agent database write access only after problem identification
        ProblemSolution solution = ctx
            .subtask("Solve the problem: $problem") // Use output from step 1
            .withOutput(ProblemSolution.class)
            .withTools(databaseReadTools, databaseWriteTools)
            .run();

        // Verify the solution and try to fix it until the solution is satisfying
        while (true) {
            var verificationResult = ctx
                .subtask("Now verify that the problem is actually solved: $solution")
                .withVerification()
                .withTools(communicationTools, databaseReadTools)
                .run();

            if (verificationResult.isSuccessful()) {
                return problemSolution;
            } else {
                problemSolution = ctx
                    .subtask("Fix the solution based on the provided feedback: ${verificationResult.getFeedback()}")
                    .withOutput(ProblemSolution.class)
                    .withTools(databaseReadTools, databaseWriteTools)
                    .run();
            }
        }

    })
    .build();
利用此方式,您可以灵活编写代码,同时仍能够为个别步骤使用 AI 智能体。请注意您控制操作顺序的方式以及每个步骤可用的工具。您可以在此处查看完整的可运行示例。
图策略将工作流定义为具有类型安全节点和边缘的有限状态机。与函数式策略不同的是,图策略将逻辑(节点和边缘)与其执行分离。这样便可实现诸如细粒度持久性等强大功能 – 如果您的智能体崩溃,它可以从停止的确切节点恢复,而无需从头开始执行:
var graphAgent = AIAgent.builder()
    .graphStrategy(builder -> {
        // Define the overall graph structure
        var graph = builder
            .withInput(String.class)
            .withOutput(ProblemSolution.class);

        // Define workflow elements: individual nodes (steps) and subgraphs
        var identifyProblem = AIAgentSubgraph.builder()
            .withInput(String.class)
            .withOutput(ProblemDescription.class)
            .limitedTools(communicationTools, databaseReadTools)
            .withTask(input -> "Identify the problem")
            .build();

        var solveProblem = … // subgraph for solving a problem

        var verifySolution = … // subgraph for verifying a solution

        var fix = ...// subgraph for fixing a problem

        // Connect the nodes with edges to define execution flow
        graph.edge(graph.nodeStart, identifyProblem);
        graph.edge(identifyProblem, solveProblem);
        graph.edge(solveProblem, verifySolution);

        // Conditional edges: if verification succeeds, finish; otherwise, attempt a fix
        graph.edge(AIAgentEdge.builder()
        	.from(verifySolution)
        	.to(graph.nodeFinish)
        	.onCondition(CriticResult::isSuccessful)
        	.transformed(CriticResult::getInput)
        	.build());

        graph.edge(AIAgentEdge.builder()
        	.from(verifySolution)
        	.to(fix)
        	.onCondition(verification -> !verification.isSuccessful())
        	.transformed(CriticResult::getFeedback)
        	.build());

        graph.edge(fix, verifySolution);

        return graph.build();
    })
    .build();
如果您需要持久、复杂的分支逻辑,或希望直观呈现智能体的工作流,图策略是理想的选择。您可以与 ML 同事共享可视化内容并进行讨论:
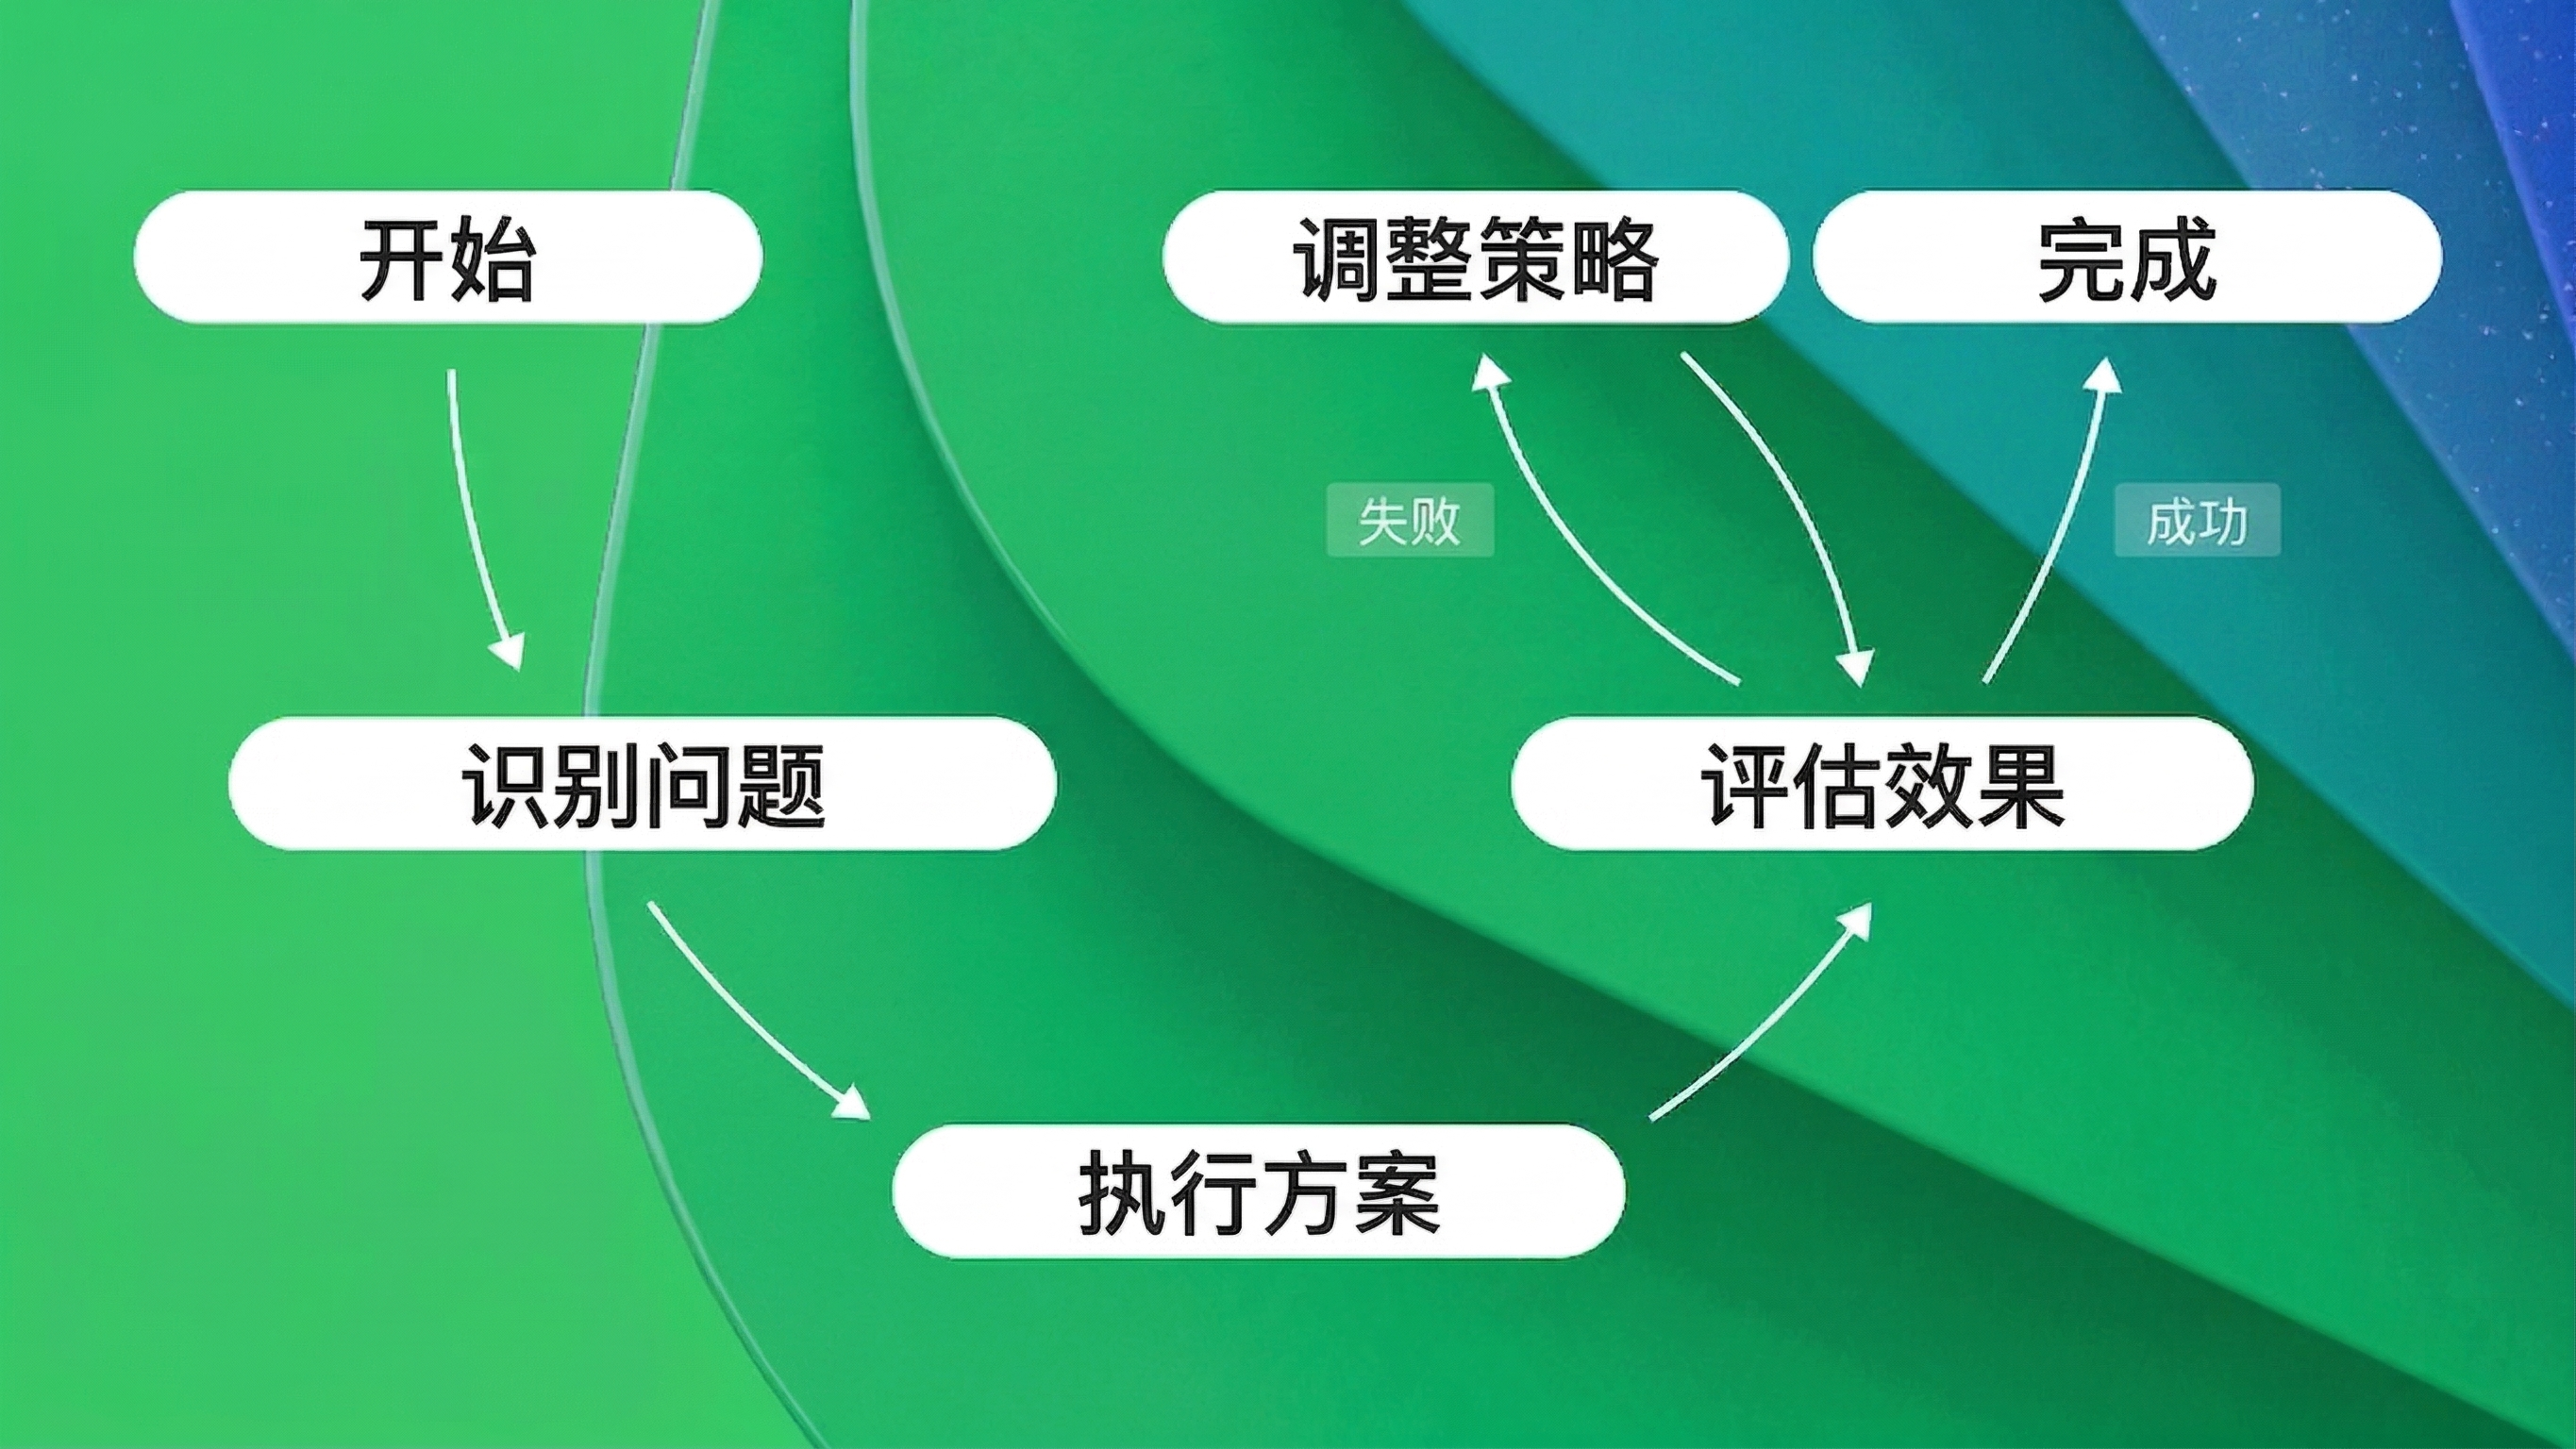
每个节点都是类型安全的,从而确保一个节点的输出与下一个节点的预期输入相匹配。您可以在此处查看完整示例。
规划策略使用以目标为导向的行动规划 (GOAP) 或基于 LLM 的规划。您无需定义具体的执行顺序,而是定义:
- 可用操作及其前提条件(操作的运行条件)
- 效果(它们对智能体状态的更改)
- 目标条件(智能体应实现的目标)
规划器会自动找出为达到目标而采用的最佳操作执行顺序。对于存在多种可行路径的复杂场景,或者要求动态变化的情况,此策略可以发挥强大作用。在此处查看详细示例。
通过持久性功能实现容错
AI 智能体通常会处理复杂的多步骤任务,这些任务可能需要数秒甚至数分钟才能完成。在此期间,服务器可能会崩溃,网络连接可能中断,或者可能进行部署。如果不具有持久性,您的智能体将不得不从头开始执行,将时间和金钱浪费在重复的 LLM 调用上。
Koog 的持久性功能可在每个步骤执行完毕后将智能体状态保存到磁盘、S3 或数据库。如果发生故障,基于图的智能体可以从停止的确切节点恢复,而无需从头开始执行。智能体将恢复到最后一个单独节点,并保留故障前完成的所有进度:
// First, configure where to store checkpoints
// Can be Postgres, S3, local disk, or your own implementation
var storage = new PostgresJdbcPersistenceStorageProvider(
    dataSource = dataSource,
    tableName = “banking_agent_checkpoints”
)

// Install the Persistence feature on your agent
var recoverableAgent = AIAgent.builder()
    // ... other agent configuration
    .install(Persistence.Feature, config -> {
        config.setStorage(storage);
        config.setEnableAutomaticPersistence(true);  // Auto-save after each step
    })
    .build();

// First run - starts fresh
recoverableAgent.run("Help me with my account", "user-session-0123");

// If a crash happens mid-execution...

// Second run with same session ID - automatically recovers and continues
recoverableAgent.run("Help me with my account", "user-session-0123");
会话 ID 会将检查点数据与特定用户会话(如用户 ID 或请求 ID)绑定。这样一来,您可以同时运行多个智能体实例,而不会发生冲突。
通过 OpenTelemetry 实现可观测性
在生产环境中运行智能体时,您需要了解智能体的行为。它们调用了哪些工具? 每个 LLM 请求使用了多少 token? 哪里出现了瓶颈? 成本来自哪里?
将 Koog 与 OpenTelemetry 集成可以了解这些信息。连接到 Langfuse 或 W&B Weave 这类后端可以查看智能体执行的具体跟踪信息,包括嵌套事件(节点、工具调用和 LLM 请求)、 token 数量、成本和用时信息:
var observableAgent = AIAgent.builder()
    // ... other agent configuration
    .install(OpenTelemetry.Feature, config -> {
        // Export telemetry data to your observability backend
        config.addSpanExporter(OtlpGrpcSpanExporter.builder()
            .setEndpoint("http://localhost:4317")  // Your OpenTelemetry collector
            .build());
    })
    .build();
配置完成后,每次智能体运行时都会自动生成详细的跟踪信息,供您在可观测性工具中查看。
历史记录压缩
当智能体处理复杂任务时,随着每次的 LLM 调用和工具调用,它的对话历史记录都会不断增加。此历史记录会随每个后续请求一起发送,以提供上下文。但上下文越长,意味着:
- LLM 响应速度越慢
- 成本越高(为每个 token 支付的费用)
- 最终会达到上下文窗口的限制
Koog 的历史记录压缩功能会以智能方式总结关键信息,或从历史记录中提取关键信息,从而解决上述问题,同时减少 token 使用量,并保留重要信息:
var agentWithCompression = AIAgent.builder()
    .functionalStrategy("compressed", (ctx, userInput) -> {
        var response = ctx.requestLLM(userInput);
        // Your agent logic...

        // When history gets long, compress it
        ctx.compressHistory();
    })
    .build();
您可以自定义压缩的实现方式:
HistoryCompressionStrategy.WholeHistory– 将整个历史记录压缩成一个摘要。HistoryCompressionStrategy.FromLastNMessages(100)– 只压缩最后 N 条消息。HistoryCompressionStrategy.Chunked(20)– 以 N 条消息为一组进行压缩。RetrieveFactsFromHistory– 从历史记录中提取特定事实(例如“客户叫什么名字?”,或“执行了哪些操作?”)。
您还可以实现自己的历史记录压缩策略。
管理 Java 线程
在典型的 Java 应用程序中,您需要对线程池进行细粒度控制。您可能会为受 CPU 约束的工作指定专属的线程池,并为 I/O 操作指定另一个线程池。Koog 允许您为智能体执行的每个部分指定单独的 ExecutorService:
var threadControlledAgent = AIAgent.builder()
    .promptExecutor(promptExecutor)
    .agentConfig(AIAgentConfig.builder(OpenAIModels.Chat.GPT5_2)
        .strategyExecutorService(mainExecutorService)      // For agent logic
        .llmRequestExecutorService(ioExecutorService)      // For LLM API calls
        .build())
    .build();
通过这种分离操作,您可以优化资源使用情况 — 例如,为受 I/O 约束的 LLM 请求使用较大的线程池,同时为策略执行逻辑保持较小的线程池。
试用 Koog for Java
Koog for Java 通过自然且符合 Java 惯用风格的 API,为您的 Java 应用程序带来了企业级智能体工程。无论是构建简单的工具调用智能体,还是构建具有持久性和可观测性的复杂多步骤工作流,Koog 都能提供您需要的提取能力。
点击此处立即开始:https://docs.koog.ai/
本博文英文原作者: