Using TypeScript to Check Your JavaScript Code
There are several things WebStorm can do to help you find potential problems in your JavaScript code and improve its quality.
First, there are dozens of smart built-in inspections that check your code as you type and offer various quick-fixes for the problems they detect. Second, you can see warnings and errors from linters like ESLint right in the editor. Third, you can use Flow in your project.
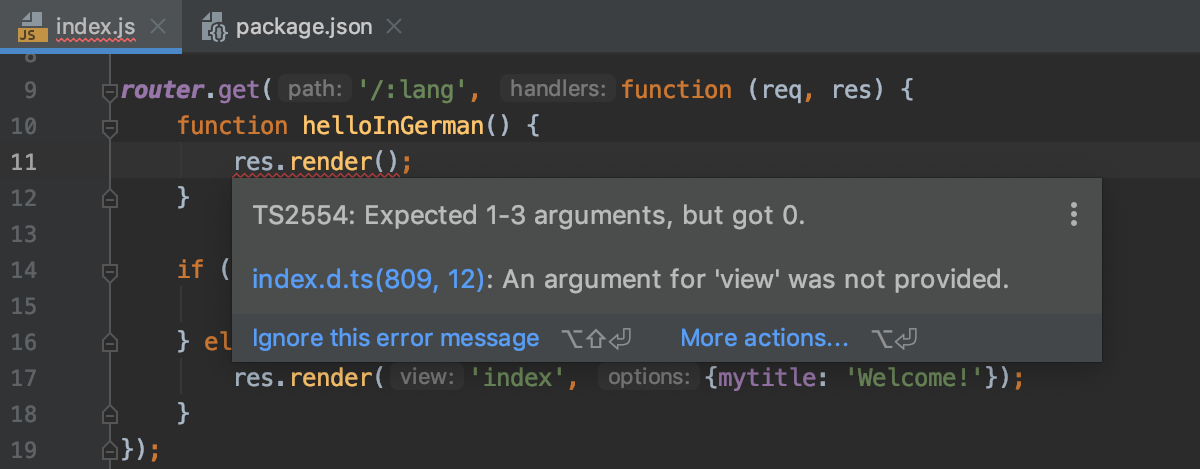
One more option that we’re going to talk about in this blog post is using TypeScript for checking your JavaScript code.
TypeScript is a superset of JavaScript (more precisely, of its latest specification, ECMAScript 2019). That allows the TypeScript language service (which you actually get when you run `npm install typescript`) to check your JavaScript code as if it were untyped TypeScript code.

Here’s how you can enable TypeScript in your JavaScript project, and see errors and warnings from it in WebStorm:
Add a tsconfig.json file
tsconfig.json is a configuration file that TypeScript uses. In it, you can provide information about your project to TypeScript and specify what sort of checking you want to do. In TypeScript projects, the file also describes how the code should be compiled, but that’s not what we are interested in right now.
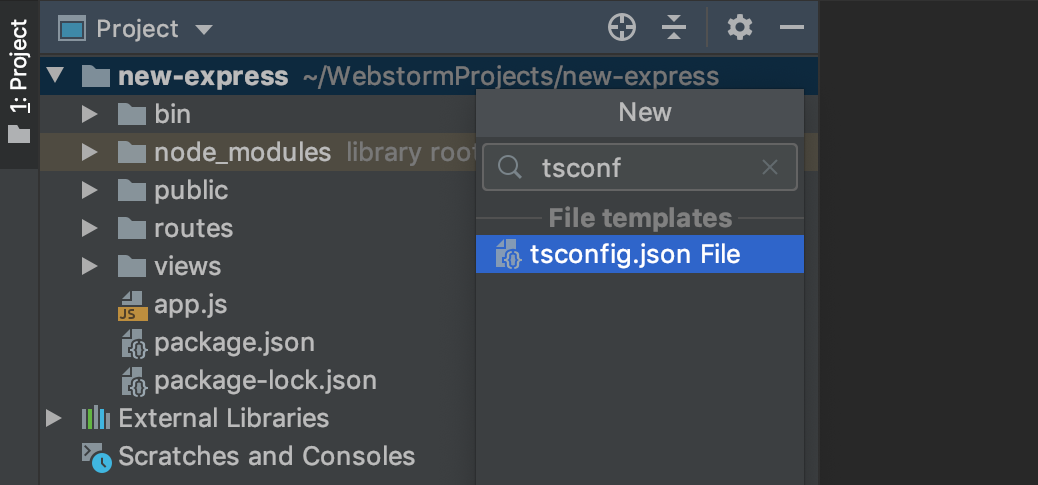
To add a tsconfig.json file, you can use the New… action in the Project view and select tsconfig.json from the list.

Now for the most important step: we need to add the option "allowJs": true to the compilerOptions property in tsconfig.json. This will allow TypeScript to check your JavaScript files.
{
  "compilerOptions": {
    "module": "commonjs",
    "target": "es5",
    "sourceMap": true,
    "allowJs": true
  },
  "exclude": [
    "node_modules"
  ]
}
Turn on checking
Now we have to decide if we want to check all files by default, or only some files.
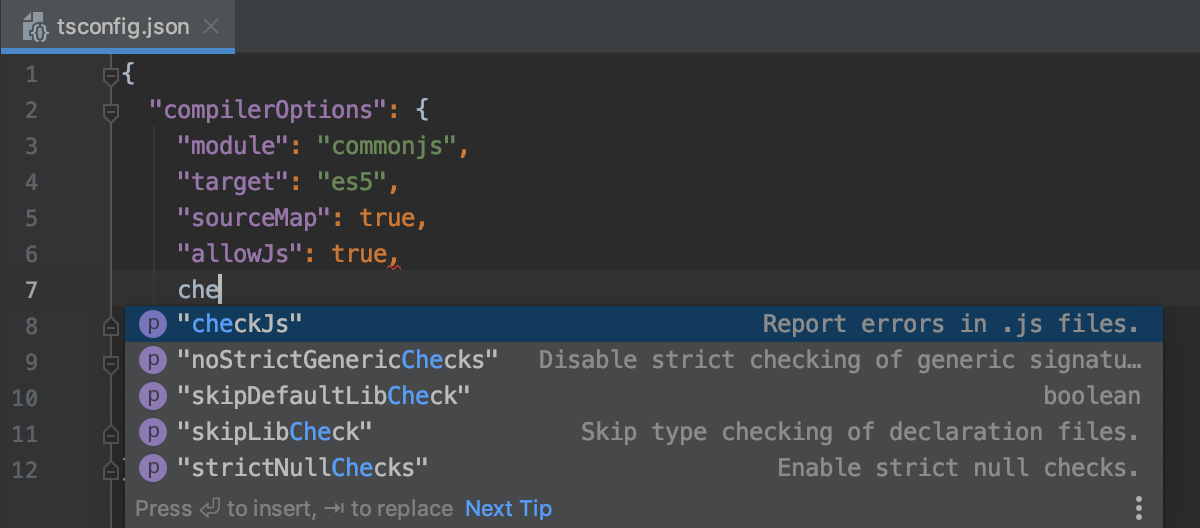
To check all files, we need to add the "checkJs": true option to tsconfig.json – this will enable TypeScript for all JavaScript files in your project.

To check only some files, we can add a // @ts-check comment at the top of the file we want to check.
Add type definitions
If you’re using some libraries or frameworks, then, to provide relevant results, TypeScript will need to you install type definitions for the packages you use. They are available in the DefinitelyTyped repo and available on npm under the @types scope. E.g. for React, you need to run npm install --save-dev @types/react.
WebStorm’s own code completion will also benefit from adding the type definitions. For more about this see the WebStorm docs.
Select TypeScript version
You don’t need to install TypeScript in your project because WebStorm will use its bundled TypeScript version. You can see the version in Preferences | Languages & Frameworks | TypeScript. Of course, you can install and use a different version if you prefer – just make sure the path to it is selected in the TypeScript field.
Bonus: completion suggestions and quick fixes from the TypeScript service
As you may know, the TypeScript language service can also provide you with code completion suggestions and fixes for the errors it finds.
Similar to how WebStorm uses these suggestions to improve its code completion in the TypeScript files, with the "allowJs": true option you’ll get these suggestions in JavaScript files too. They will be merged together with WebStorm’s own suggestions.
The same goes for quick-fixes from the TypeScript service – you’ll see them if you press Alt-Enter, marked with the TypeScript icon.
This configuration can also be a good starting point if you want to migrate your project from JavaScript to TypeScript. For more about that, read this blog post from Microsoft.
The WebStorm team
Subscribe to WebStorm Blog updates


