Tips for creating games with Unreal Engine 4 in CLion
Rider with the full Unreal Engine support is now released. Rider is already well known in the worlds of .NET and Unity game development and we are now ready to take on the world of Unreal Engine development! First-class C++ support, no compromises on IDE performance, knowledgeable about Blueprints, assists with the Unreal Engine reflection mechanism, understands HLSL – it’s all about Rider for Unreal Engine. Try now!
C++ game development is strongly linked with Unreal Engine 4, one of the most popular and widely spread C++ game engines. It is no surprise that we are getting lots of requests about UE4 setup within CLion. In this blog post we’ll share our own experience along with a couple of tips and useful links.
Background
The story started some time ago when one of our team members decided to try UE4. At that time CLion relied heavily on CMake project model (now it’s also Gradle and compilation database options), so it was crucial to get a CMake-based UE4 project. The official Linux-only CMake generator for UE4 projects had existed for some time, but it wasn’t perfect and more importantly, limited to Linux. Philipp Smorygo from the AppCode/CLion team investigated the source of this problem and contributed to Unreal Engine repository with his CMake + UE4 changes. You can read about his experience in his own blog.
Good news! With Unreal Engine v4.20 the things became much easier – Unreal Editor can now generate CMake project and open it in CLion in a couple of clicks!
Setup
Short instructions on how to get started with UE4 in CLion:
- Get the engine
- Register at Epic Games and download the Epic Games Launcher.
- Run it and let it download all the necessary Unreal Engine 4 binaries for you.
- Create or open your project with UE4 Editor to generate an *.uproject file.
- Get Mono
- Download and install Mono to be able to launch on Linux and macOS.
- Go to Unreal Editor settings, General | Source Code. Select CLion as an editor in the dropdown list. You can also make it default to survive the editor restart:

- Now you need to generate CMake for your Unreal Engine project. For this, go to File | Refresh CLion Project (don’t forget to do this every time you change the project, for example add a new class):

Now you can call File | Open CLion, use CLion for your UE4 project and enjoy all of its features! Bu the way, don’t forget to build your Unreal Engine project to get all the generated headers ready, otherwise the IDE won’t be able to resolve some symbols in your project.
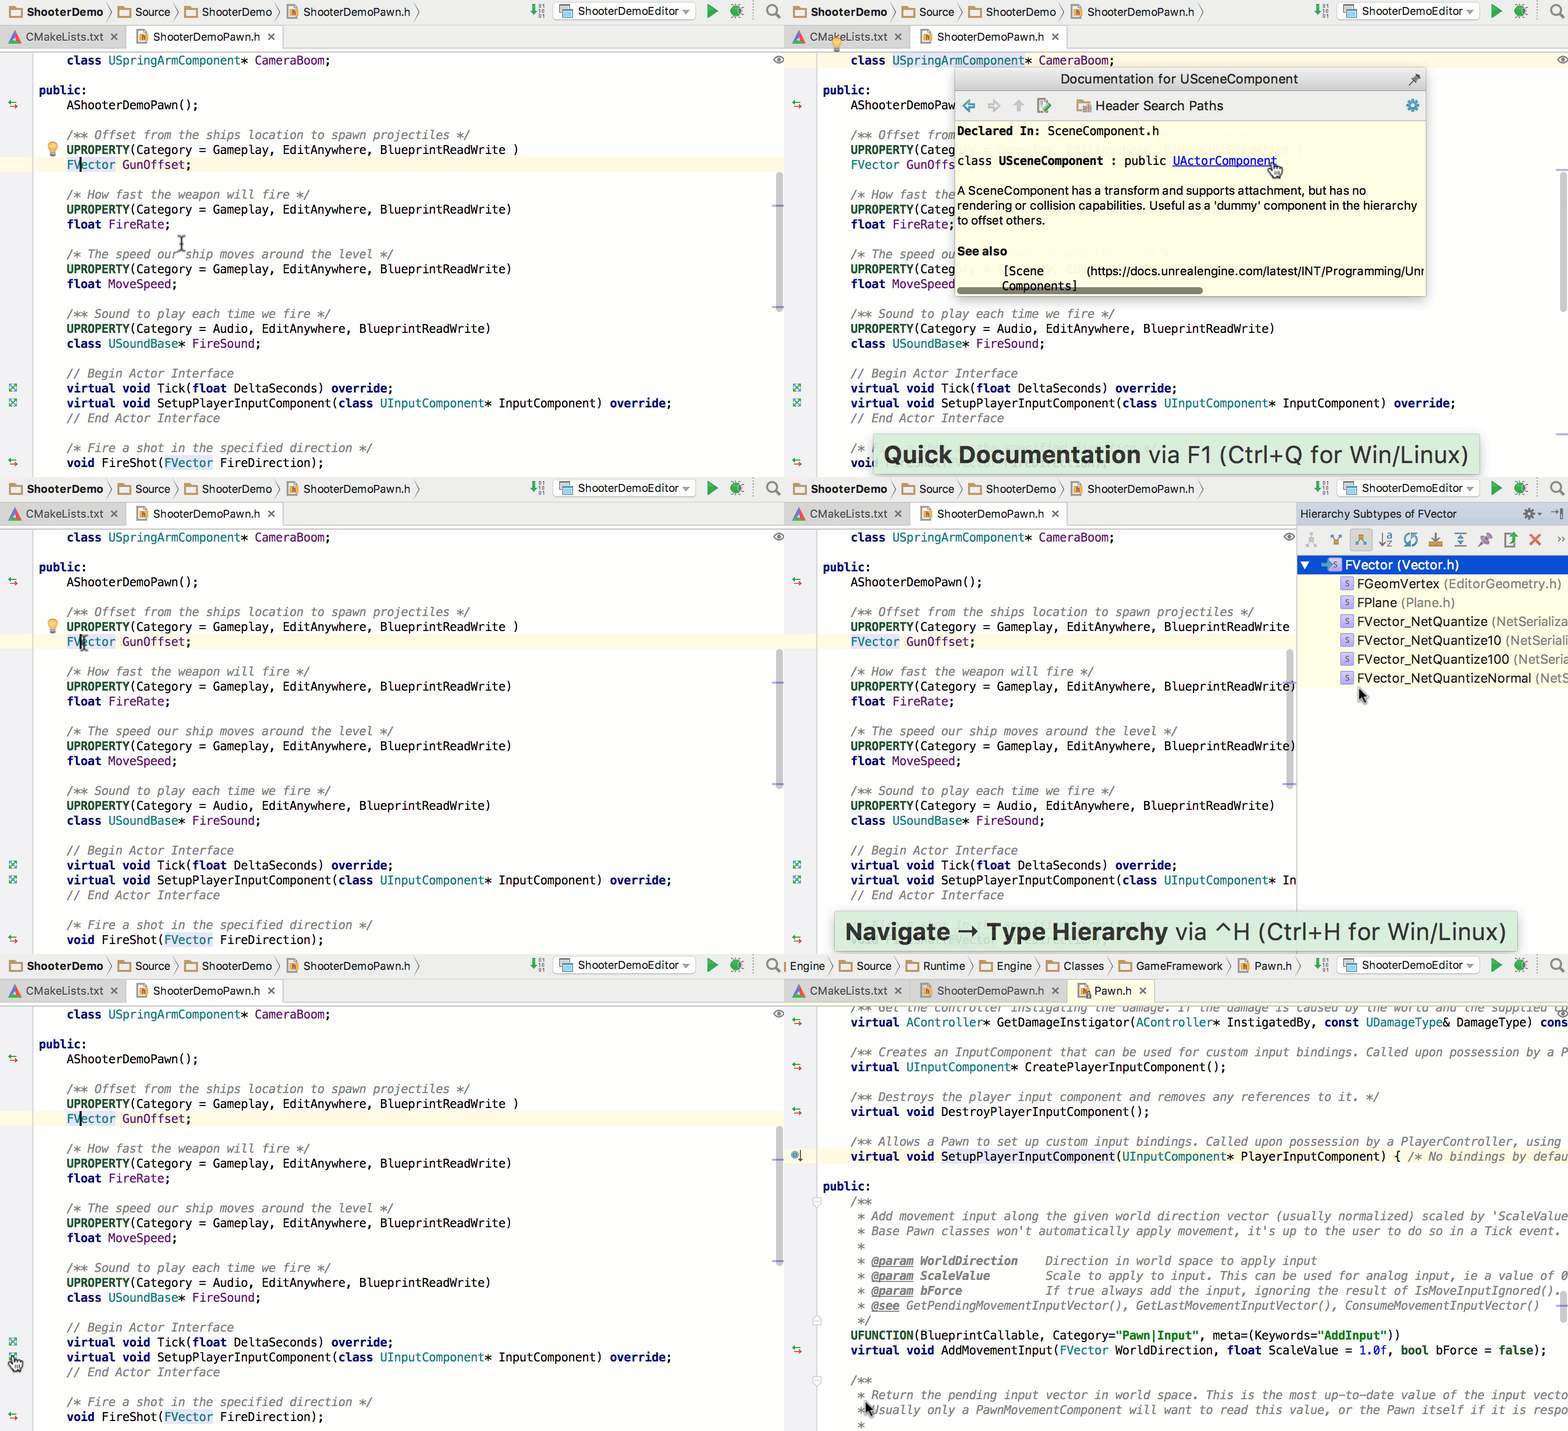
Plugin also generates custom targets for building and cleaning your game. Fake target is added for CLion needs to make all the intellisense possible.
Unreal Engine 4 SDK Support plugin
If you write games with UE4 in CLion, you may also find useful an Unreal Engine 4 SDK Support plugin from Philipp, our team member. To install it, go to Preferences/Settings | Plugins and Browse repository to search for it:
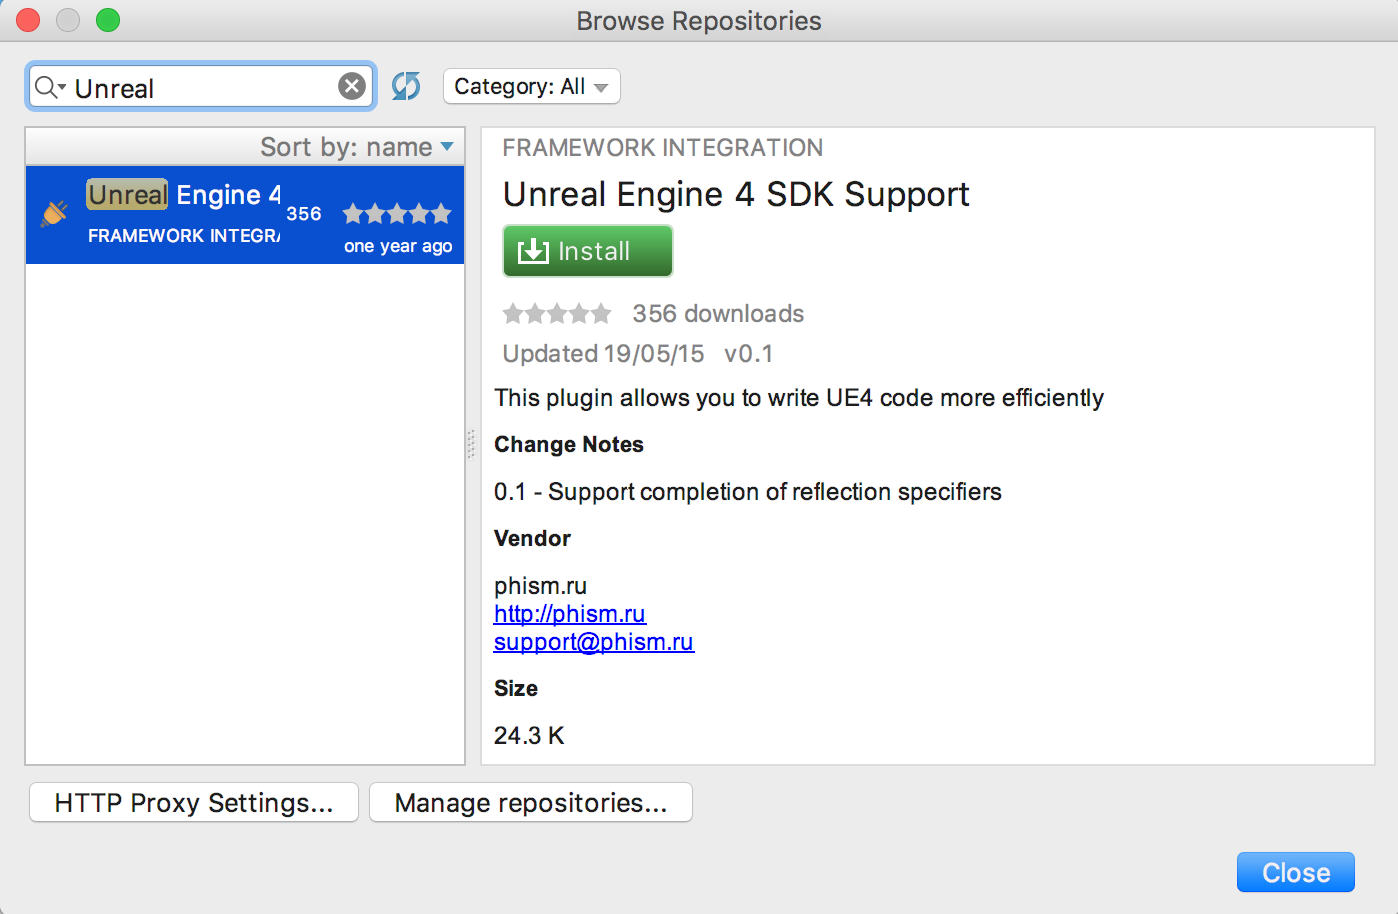
The plugin adds extra completion options for reflection specifiers, which CLion is unable to provide by default:
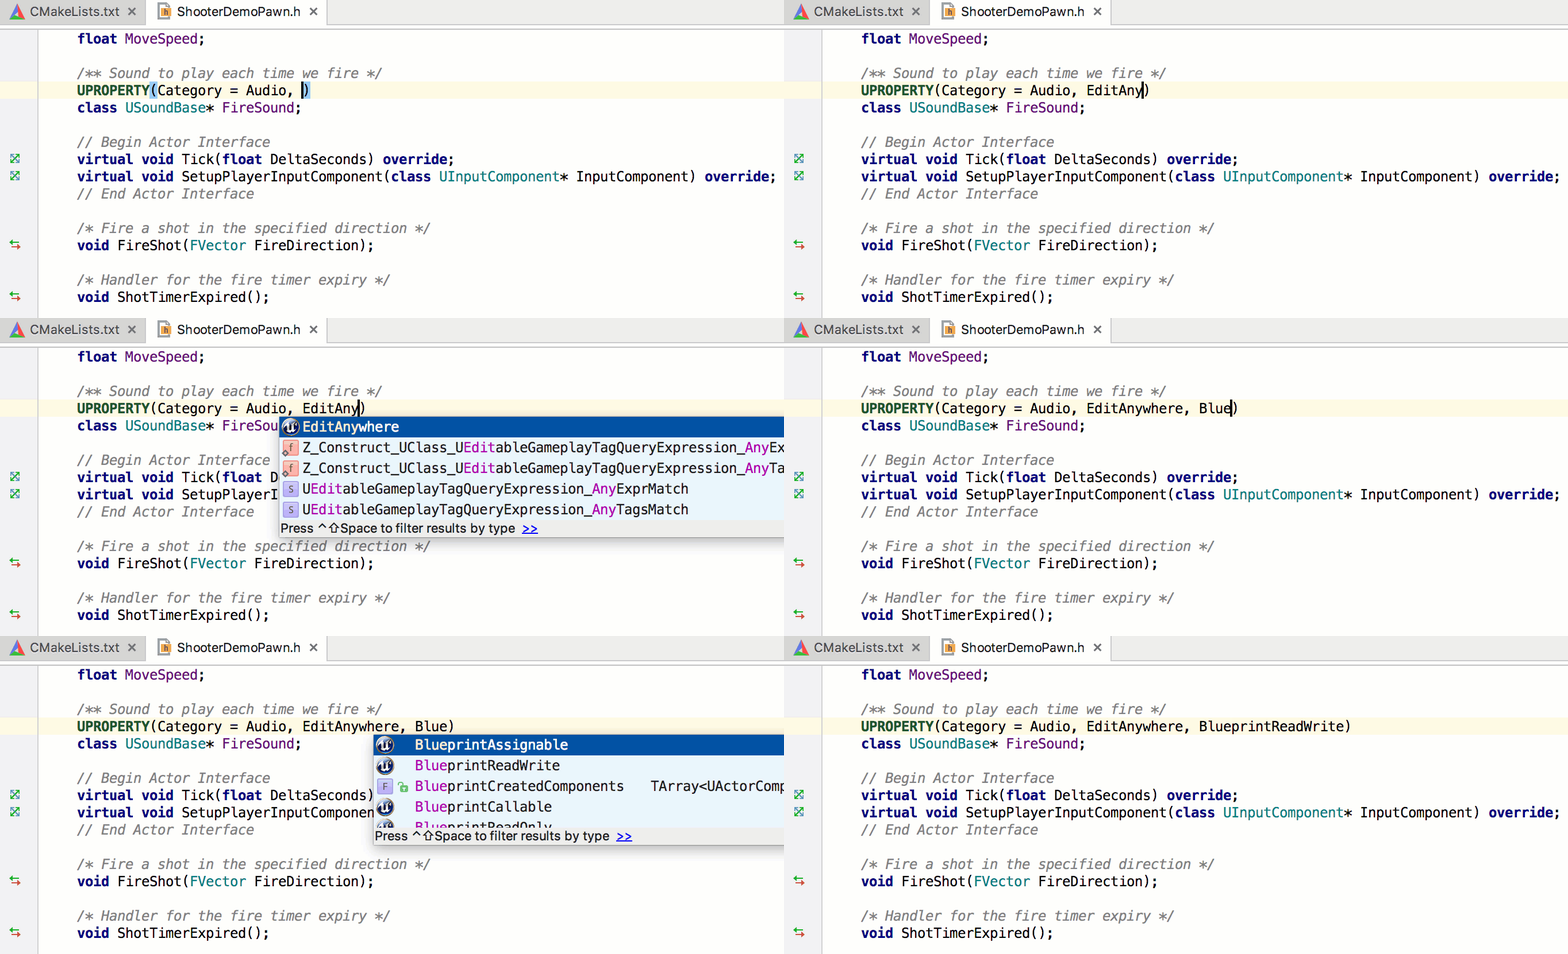
Performance and known issues
Our experience shows that initial indexing time is acceptable, as the CMake project model generated this way allows CLion not to index and build symbols for the entire engine source, but only for necessary engine headers and source files.
However, we still recommend that you increase the amount of memory used by CLion, or at least check the real usage by switching on the memory indicator (Preferences/Settings | Appearance & Behavior | Appearance | Show memory indicator).
While on Linux and macOS it works fine, on Windows there are a few moments worth mentioning:
- Unreal Engine generator produce CMakeLists.txt with the incorrect escaping sequence (it’s underlined with red in the CLion editor): use \\ instead of \U in the top-level CMake file.
- Sometimes you might get CMake loading error (command line is too long): it is related to the MSVC bug (CPP-9026) and is fixed in VS 2019 Preview.
- Mind, the MSVC-compatible debugger on Windows is available in CLion v2019.2 and higher, and it’s currently running as an experimental feature (read more).
We’ll appreciate your feedback on the whole workflow! Let us know in the comments section below.
Subscribe to CLion Blog updates


