To Catch a CLion

![]()
CLion is a cross-platform IDE for C++ development (which happens to have a built in test runner).
Catch is a cross-platform test framework for C++.
I’m the original author of Catch and am now working at JetBrains so this seems to be an ideal match! As of the 2017.1 release I’m pleased to say that CLion fully supports Catch as a first class test framework. That means you can create Catch test runner configurations that let you specify test names (with wildcards) or tags, see the results of your test runs, hierarchically, in the test runner window, and can re-run failing tests, or the test where the cursor is, with just a single shortcut. You can even run all tests in a source file.
But why would you want to use Catch in the first place? In the post I’ll take you through using Catch with CLion’s new integration and give you a flavour of what to expect.
Getting and using Catch
Catch is distributed as a single header file, with no external dependencies (beyond the C++03 standard library). You can always get the latest version of this header directly at this URL.
Or you might prefer to clone the whole repository from GitHub. That will also give you the docs, tests, scripts and source files that get used to build the single include. If you do this you’ll find the single header file in the `single_include` directory.
Once you have the file you just need to drop it into your project directory – or somewhere else on your include path. Because Catch is a single header you can directly include it in your own repository.
Now to use it just include the header in your test files. Additionally, in exactly one source file you’ll also need to precede the `#include` with either `#define` `CATCH_CONFIG_MAIN` or `CATCH_CONFIG_RUNNER`. The former instructs Catch to define `main()` for you, and will take care of parsing command line arguments and exit codes. Use the latter identifier if you want to supply your own `main()`. There are then several levels you can hook in at. See the documentation for more on that.
#define CATCH_CONFIG_MAIN
#include "catch.hpp"
To start a test case just use the `TEST_CASE` macro and give it a test name – as a freeform string. Optionally give it a second string containing one or more tags in square brackets. Assertions are usually `REQUIRE` – which aborts the test on failure, or `CHECK` – which reports the failure but carries on. For more details on these macros and more see the documentation.
Within a `REQUIRE` or `CHECK` just use normal C++ comparison operators. Catch uses expression templates to decompose the expression so it can report the left-hand-side and right-hand-side operands independently.
Here’s an example of everything we just discussed:
int theAnswer() { return 6*9; }

TEST_CASE( "Life, the universe and everything", "[42][theAnswer]" ) {
  REQUIRE( theAnswer() == 42 );
}
Notice that Catch test cases are modelled as free functions. There is no need to create a “test fixture” class (although that is supported too). Instead, tests can be organised by dividing top level test cases into sections. You can even nest sections within each other, or use the BDD style bindings that give you GIVEN-WHEN-THEN blocks. For more see the docs on test cases and sections
If you build and run this now it will use the default console reporter to give a textual report on the results. This already works quite nicely. But to take advantage of CLion’s Catch integration you just need to add a unit test configuration.
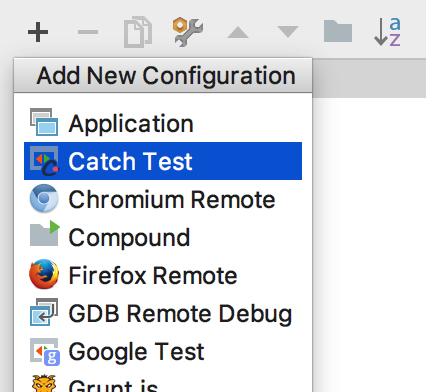
Go to `Run | Edit Configurations` (or from the configurations drop-down at the top-right) and click the `+` icon at the top left of the configurations dialog. Select `Catch Test` from the drop-down and give it a name (e.g. “Unit Tests”). There are some more options here but that’s all you need to start using Catch with CLion’s test runner.
Click `OK` and, now, running the tests will open the test runner tool window.
Fully Integrated
The left-hand pane shows a hierarchical representation of all the tests that have been run. You can hide or show passing or ignored tests with the green and orange icons at the top, as well as various sorting and folding options.

When you click on a test name you’ll see the output from the test on the right. Or if you double-click you’ll also be taken to the start of the test case in the code. Where file and line numbers appear in the output you can click there to go to individual assertions in the code (especially useful if you have many assertions, or they are not directly in the body of the test case).
By default only failing tests have detailed output. But Catch has a command line option to force passing tests to show output, too. Edit the configuration again and in, `Program Arguments` write `-s`. Run the tests again and now output is shown for all tests, pass or fail. Catch has a rich set of command line options which, again, can be found in the docs.
Being selective
The test runner gives you several options for running your tests. With the editor caret inside a test case, Pressing `^⇧R` on a Mac, or `Ctrl+Shift+F10` on Windows/ Linux (or use the the option from the context menu) will run just that test – or press `^⇧D`/ `Ctrl+Shift+D` to debug it. If the caret is outside any particular test case, but still within a test file, the same command will run all tests in the file. (Note that whenever you selectively run tests using one of these features a new, temporary, configuration will be created and selected. Remember to select your main test configuration to run all tests again).
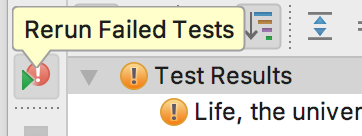
And if you just want to re-run all test that failed in the previous run you can do that too. Just click the `Rerun Failed Tests` icon in the tool window.
If you want even more control over which tests are run go to `Edit Configurations` again. Here you can select tests by `Tags / Test` or `Pattern`.
With the first option selected the next field is `Tags:`.

Start typing tag names (in square brackets) here and you’ll get completions right in the text entry field! For our example, start typing `[t` and you’ll
immediately be offered `[theAnswer]`. You can select more than one tag to narrow the set of tests further.
With one or more tags selected the `Test:` field becomes active. This is a dropdown of all tests matching the current tags. You can, optionally, choose a specific test from this list – or just leave it to run all matching tests. It can also be handy to just drop down this list to reassure you that the tags are selecting the set of tests you think they should be.
Alternatively, if you set `Test kind:` to `Pattern` and go to the `Pattern:` field, you can write a test name, or part of a test name with a `*` wildcard at the beginning and/ or the end to match one or more tests.

About time
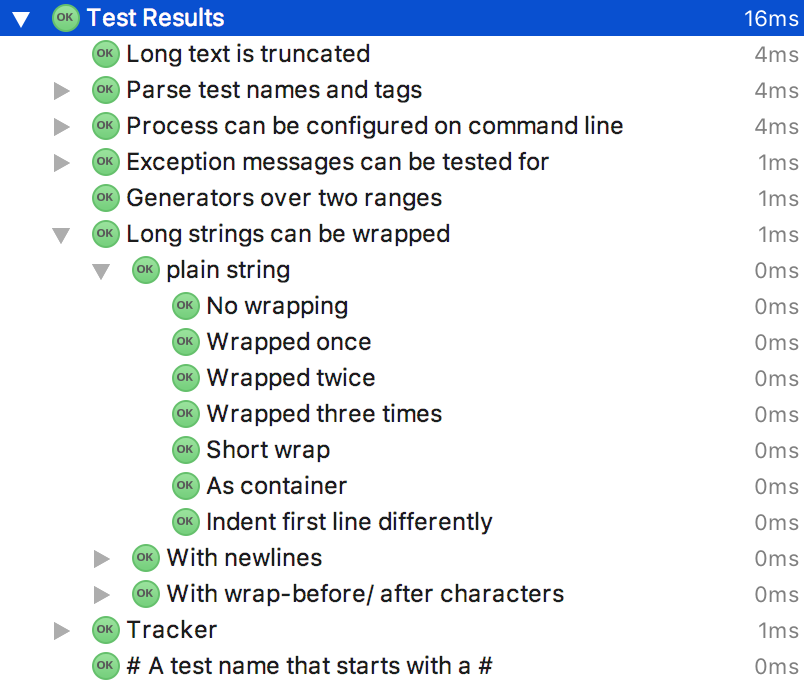
To the right of the `Test Results` hierarchy are timings for each test, as well as groups of tests. If you’re writing simple unit tests it’s likely these timings will all be rounded to 0ms. But in the case of longer running tests it can be useful to keep an eye on these numbers. One of the sorting options is “by duration”, which can be helpful to see where the time is going if your tests are taking too long to run, for example.
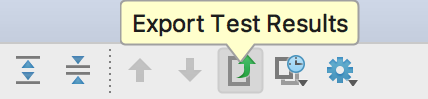
Further along the toolbar are icons for exporting and importing with test results. They can be exported as Html or Xml reports, saved to a file. Reports exported this way can later be imported, of course. But if you click the `Import Test Results` icon you’ll see that it also lists your recent test runs – which have automatically been saved (temporarily) for you.
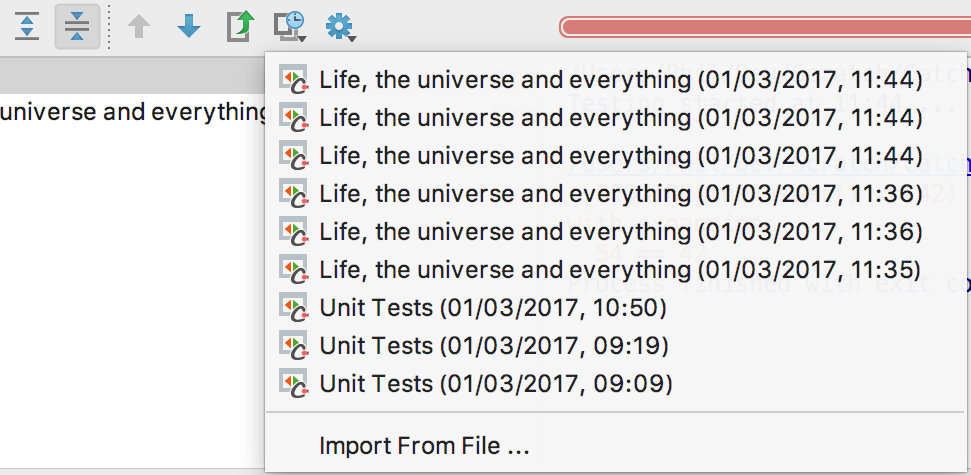
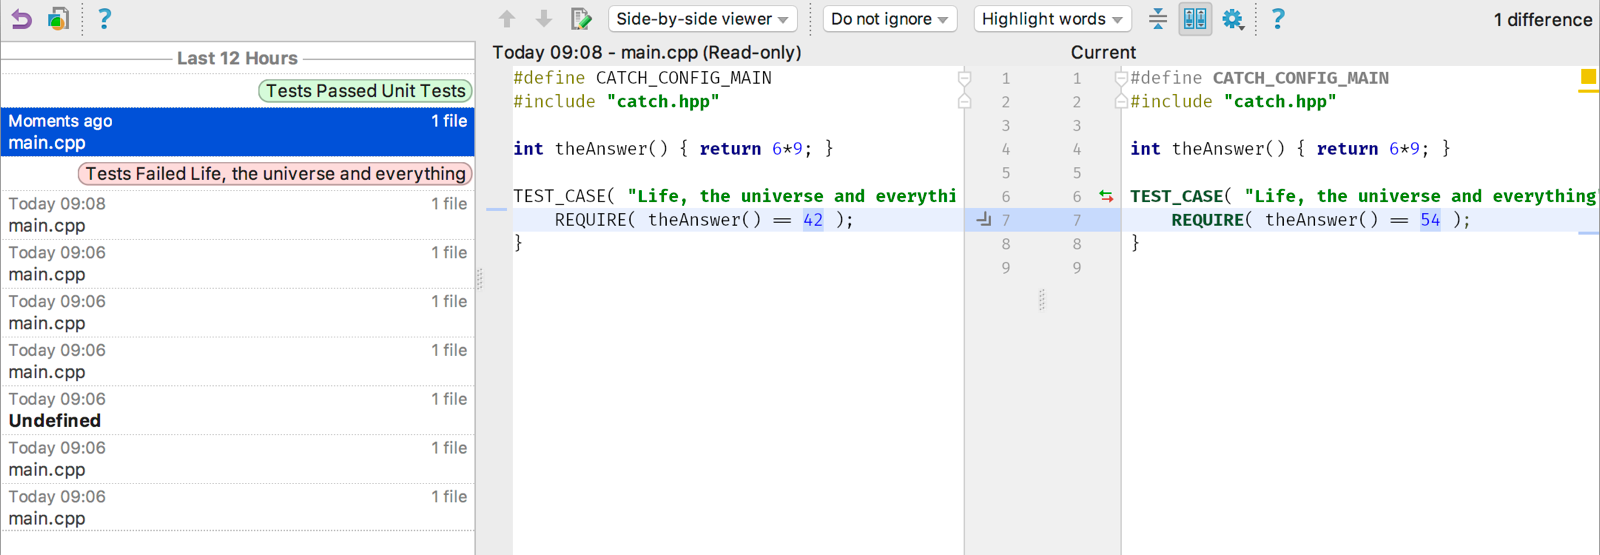
This can be useful if you want to remind yourself what state you were in earlier and fits nicely with CLion’s `Local History` feature (under `VCS | Local History`) for getting back to earlier versions of your code – independently of using a fully-fledged version control system. CLion automatically saves a snapshot of your changes every time you run and, with test integration, automatically labels each test run with pass/ fail status.
Catch up
So CLion’s Catch integration gives us more conveniences in how we run our tests, as well as a rich set of viewing and reporting options. Altogether this can make us more productive and offers a faster feedback loop – all important in testing practices such as TDD and BDD.
Catch itself has many more features than we have touched on here, so do be sure to read the docs, maybe starting with the tutorial.
You might also want to follow my personal blog where I often write about Catch.
Subscribe to CLion Blog updates