IntelliJ IDEA
IntelliJ IDEA – the Leading IDE for Professional Development in Java and Kotlin
Stay Organized with Tasks in IntelliJ IDEA

The average day of a software developer often begins with browsing the tasks that are due in the issue tracker. But what if you could access all the tickets that are assigned to you right from the IDE?
IntelliJ IDEA can connect to your issue tracker and pull the required information about your tasks. With issue tracker integration, you don’t need to switch between the IDE and your browser as you work on your tasks. So you can keep working without distractions and stay in the flow.
Even if you don’t use an issue tracker but still want to stay organized, IntelliJ IDEA lets you create tasks for yourself right in the IDE.

Integrate IntelliJ IDEA with your issue tracker
IntelliJ IDEA provides integration with most popular issue trackers by means of the Task Management plugin that is available in both IntelliJ IDEA Ultimate and IntelliJ IDEA Community Edition.
Out of the box, IntelliJ IDEA can connect to YouTrack, Jira, Lighthouse, PivotalTracker, Redmine, Trac, FogBugz, Mantis, Asana, Assembla, Sprint.ly, Trello, GitLab, Bugzilla, and GitHub.
If your issue tracker is not supported out of the box, IntelliJ IDEA can still connect to it and pull the information about issues.
To configure issue tracker integration, go to Settings on Windows and Linux or to Preferences on macOC, and then click Tools | Tasks | Servers. Select the required issue tracker from the list and specify the server URL and your credentials.
For example, for YouTrack we specified https://youtrack.jetbrains.com/ as the server URL and JetBrains as the username. Instead of a password, YouTrack uses access tokens, which we generate and add to the Token field.
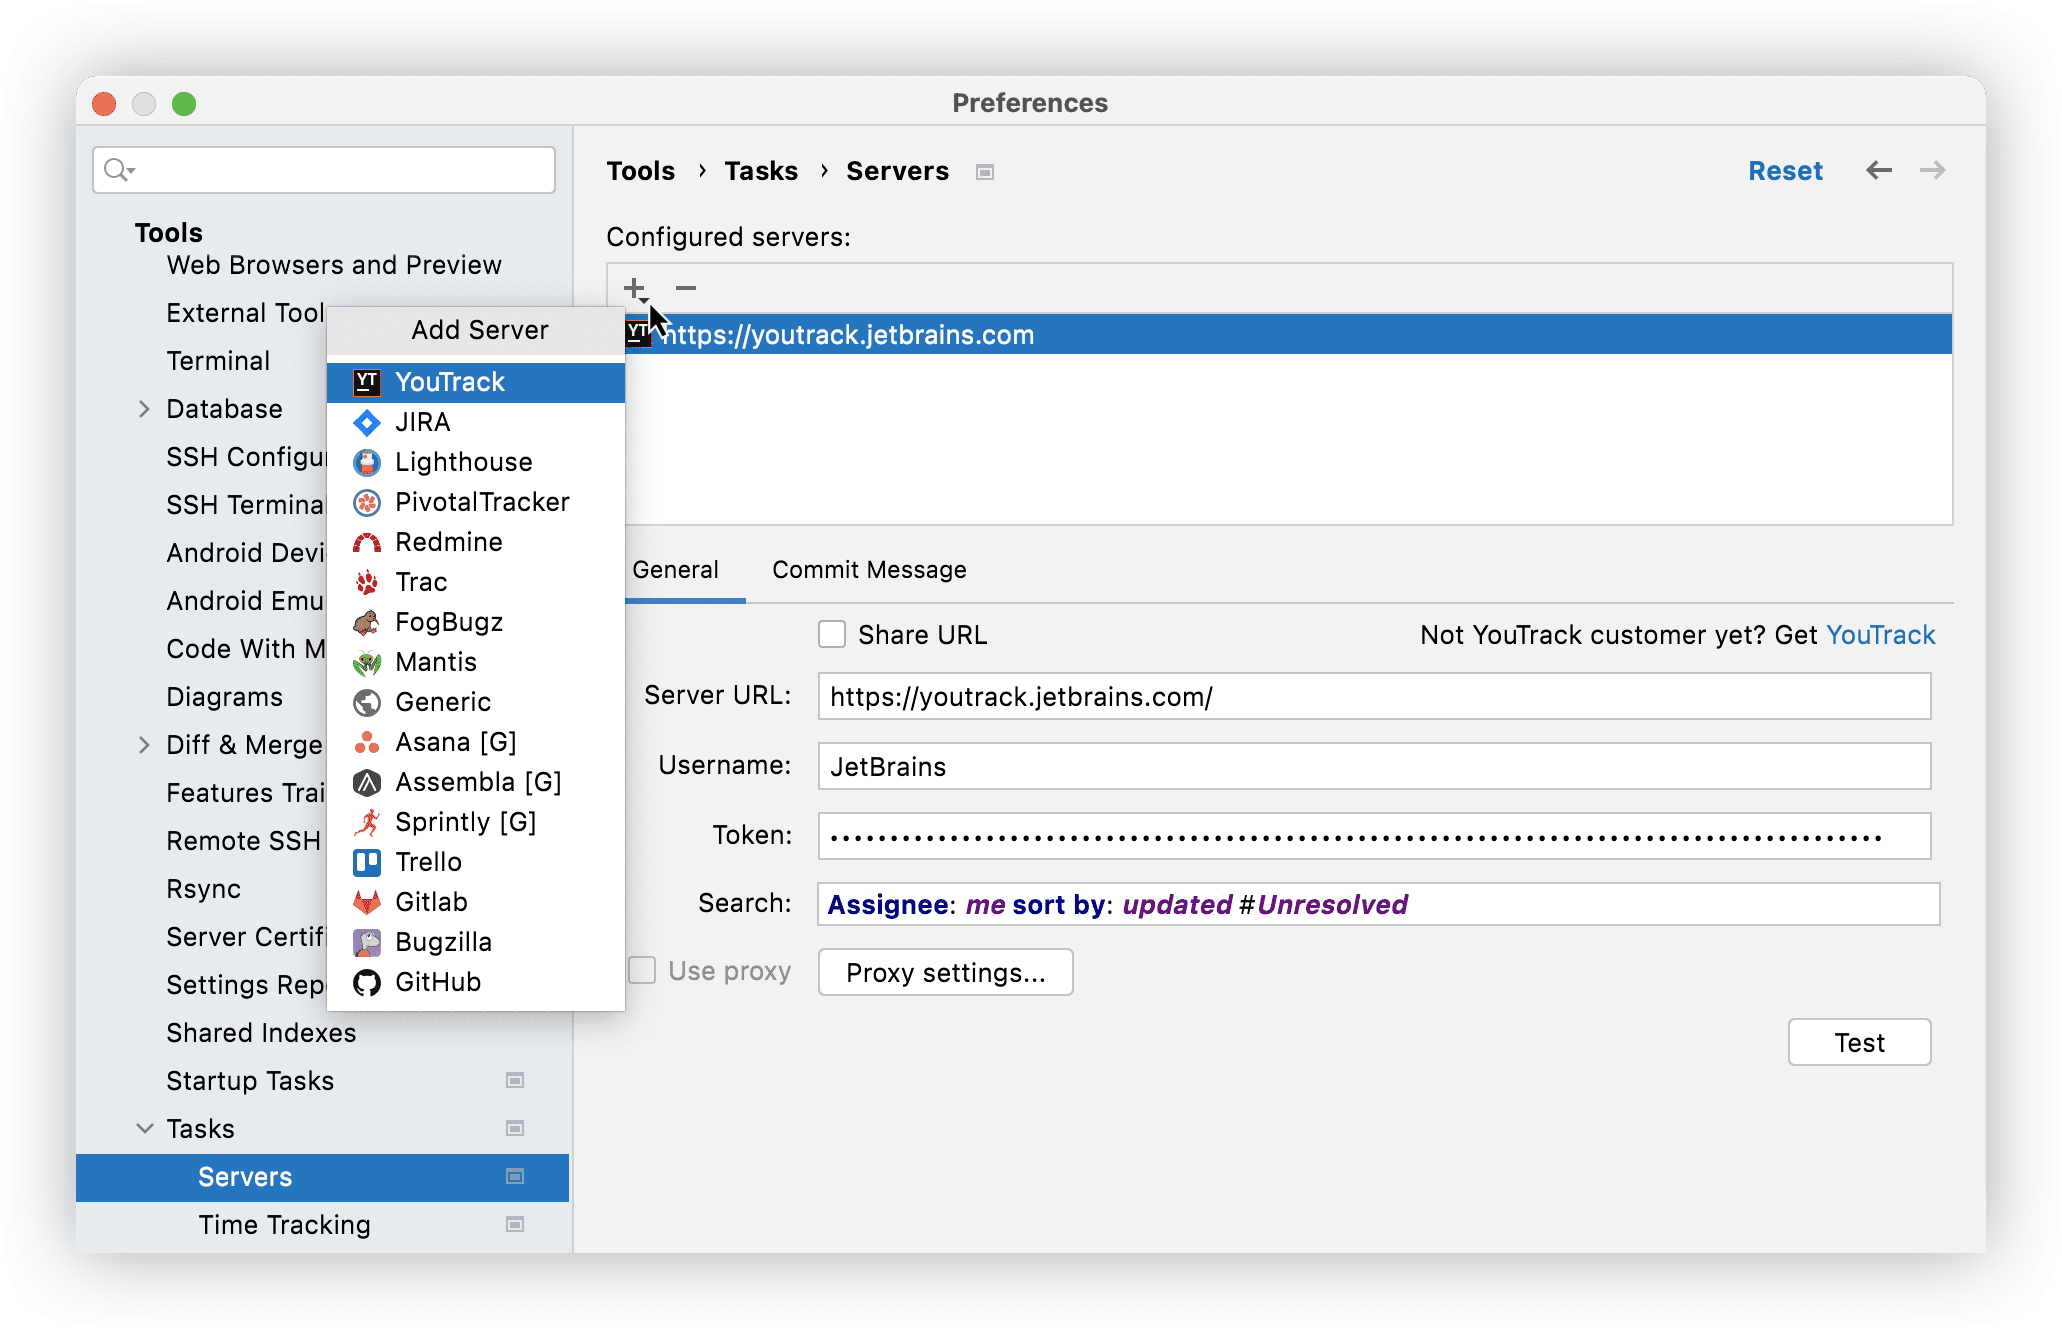
To connect to a tracker that is not on the list, select the Generic option. This type of connection requires a bit of configuration, but you can find an example of how to do it in the IntelliJ IDEA documentation.
Once integration is established, you will see a task drop-down list on the toolbar.
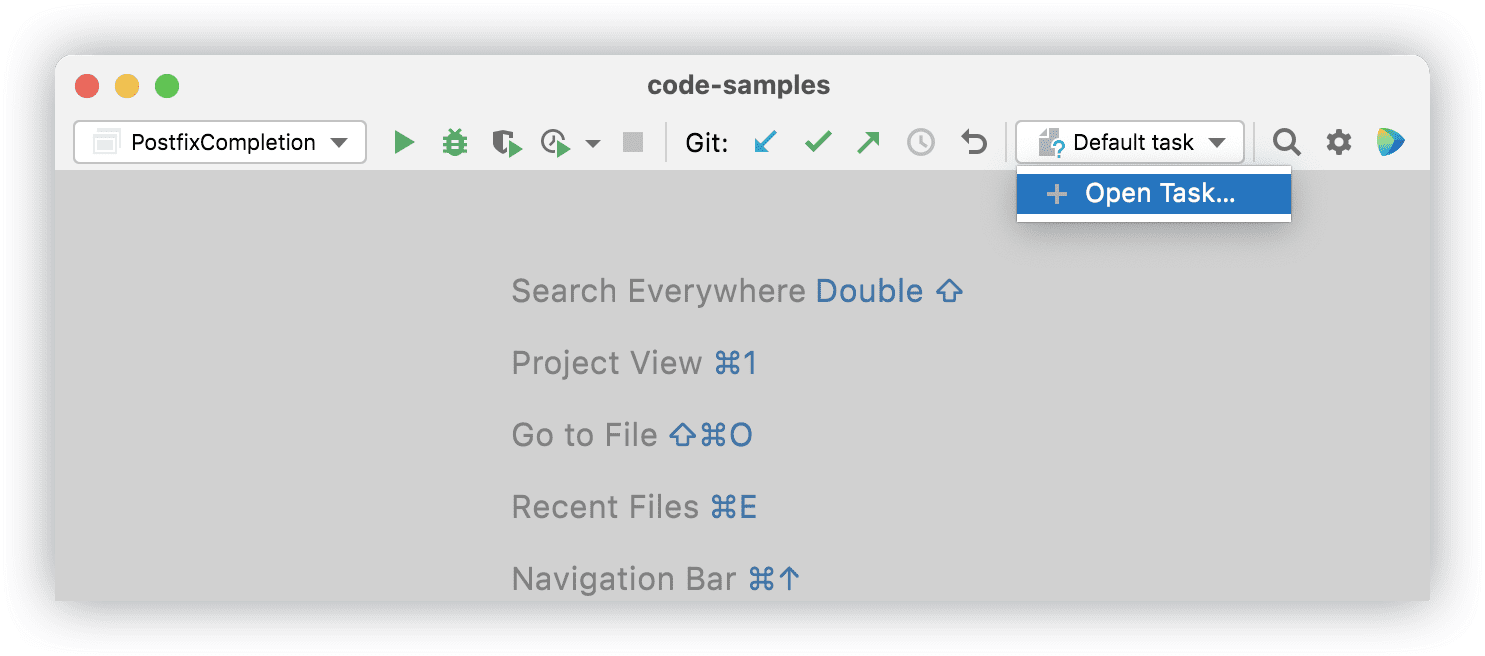
From this list, you can access issues assigned to you right from the IDE. What’s more, you can create new changelists and branches to work on features or bugs, update issue states, and even merge created feature branches as soon as you’ve finished working on an issue.
No issue tracker? Create your own tasks
If you enjoy being organized but you don’t use an issue tracker, you can still use tasks in IntelliJ IDEA.
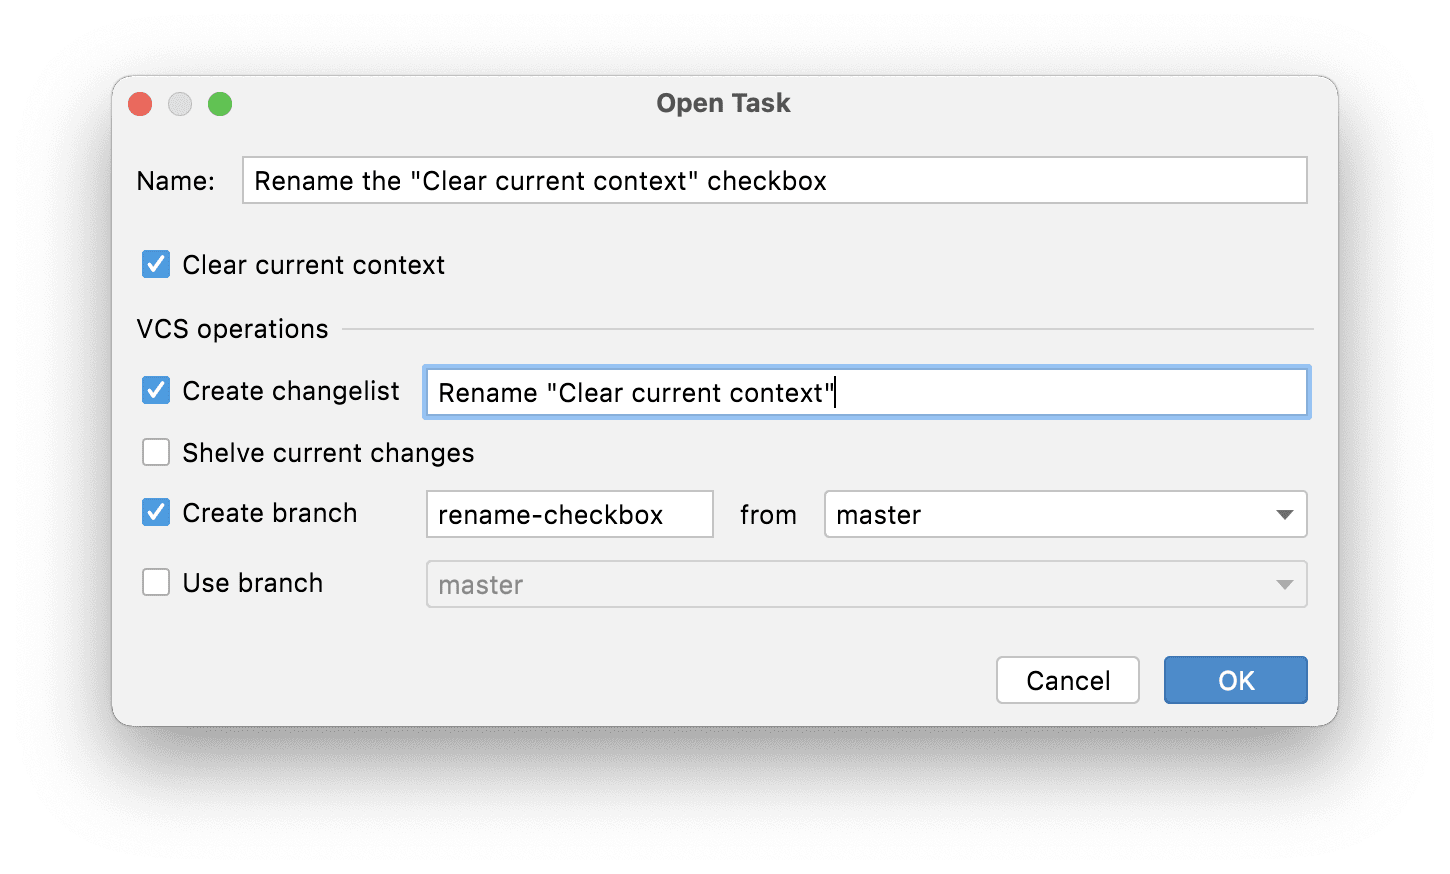
In this case, you will have to create tasks yourself: from the main menu, select Tools | Tasks & Contexts and then click Open Task. Name the task, and in the next dialog configure the VCS options for the task if your project is under version control.
For IntelliJ IDEA Ultimate users, the IDE also offers a bundled plugin called Time Tracking. Use it to automatically track how much time you spend working on an issue and then post the results to your issue tracker, or just to monitor your own productivity.
So how organized are you? Which style of work do you prefer: spontaneous and chaotic or organized and structured? Let us know in the comments!
Happy developing!