

WebStorm 2020.3 EAP #7: Tailwind CSS Support, Multi-File Templates, and More

WebStorm 2020.3 EAP build #7 is now available with a lot of enhancements! Please try them out and share your feedback with us so we can make v2020.3 better for you.
If you’re unfamiliar with our Early Access Program, check out this blog post where we explain what the EAP is about and why you should take part in it (spoiler: you could get a free WebStorm license). To catch up on all the new features, check out our previous EAP blog posts.
The Toolbox App is the easiest way to get the EAP builds and keep both your stable and EAP versions up to date. Or you can manually download the EAP builds from our website.
Important! WebStorm EAP builds are not fully tested and might be unstable.
Here are some of the highlights of WebStorm 2020.3 EAP #7. For the full list of issues fixed in this update, see the release notes.
- Tailwind CSS support
- Better formatting for template literals with CSS and HTML
- Custom multi-file templates
- A new mode for reading project files
- Improvements to LightEdit mode
Tailwind CSS support
One of the most long-awaited improvements, support for Tailwind CSS, has finally landed in WebStorm 2020.3! Let’s see how this can help you work with this popular framework more efficiently.
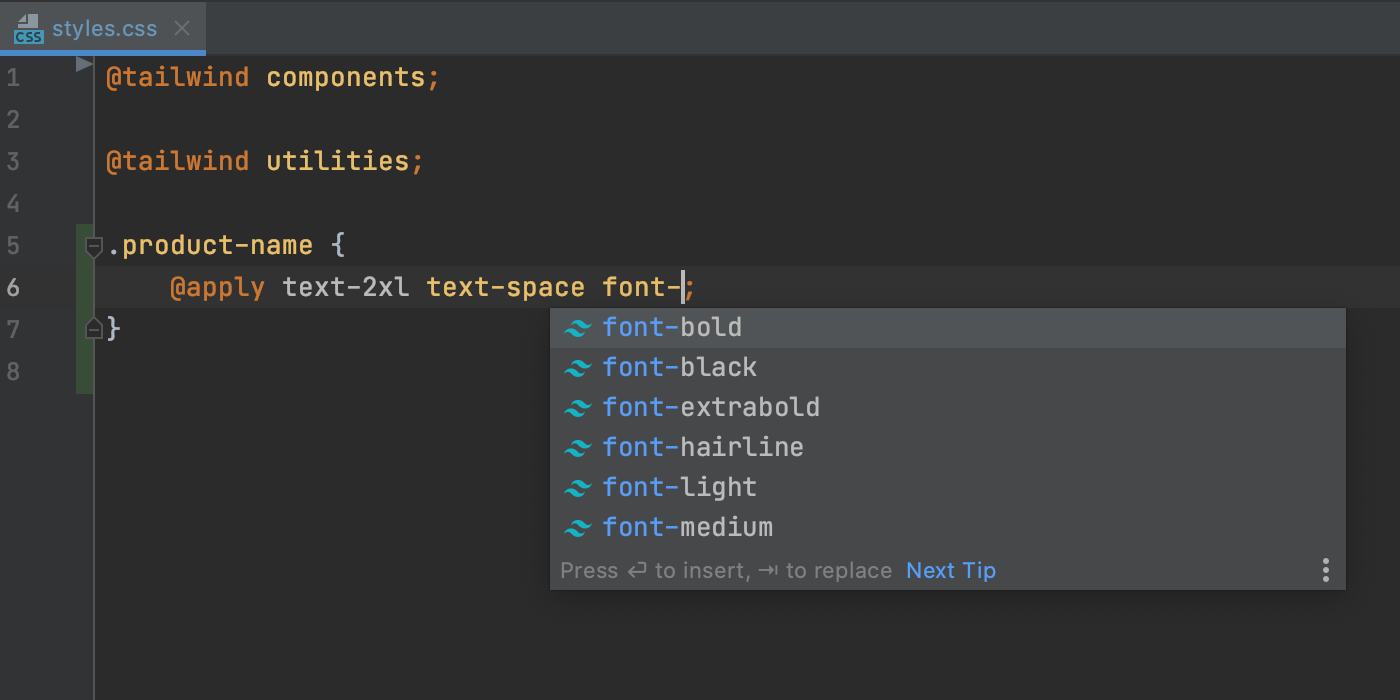
First, you can now expect WebStorm to autocomplete Tailwind classes in your HTML files and after the @apply directive.
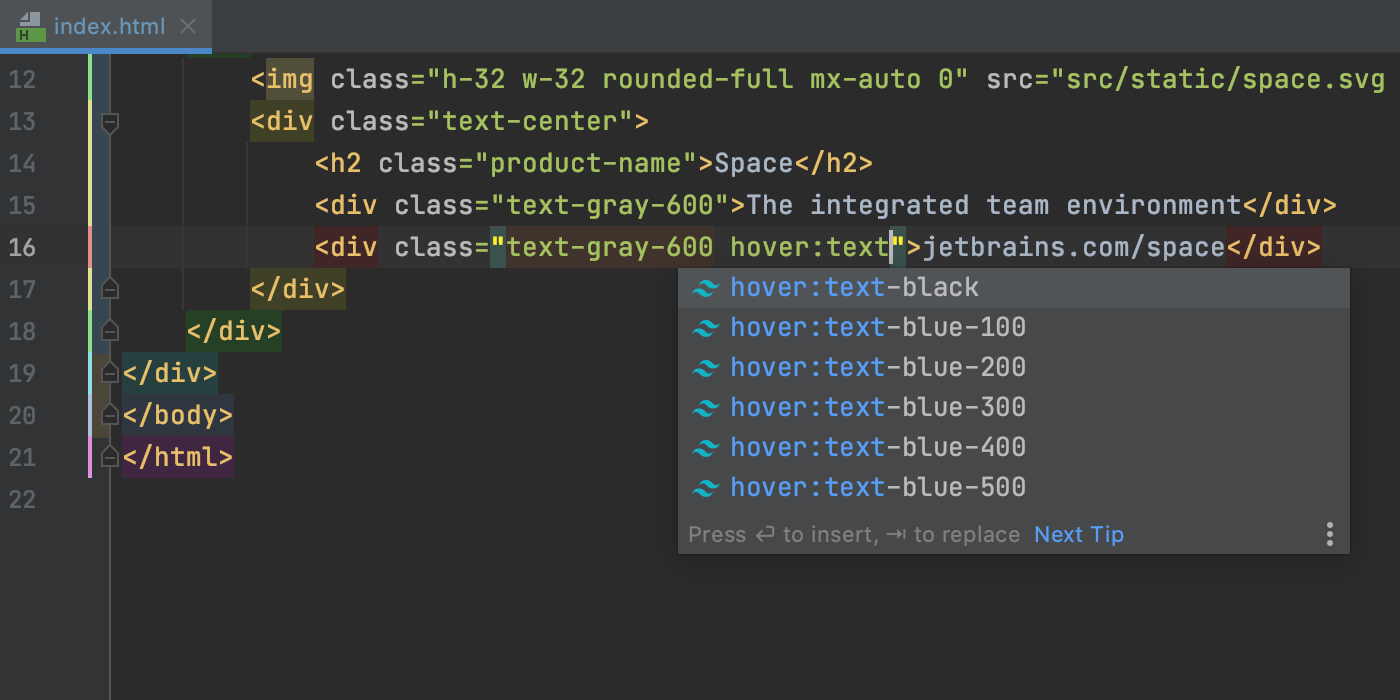
You’ll also see completion suggestions for pseudo-class variants.
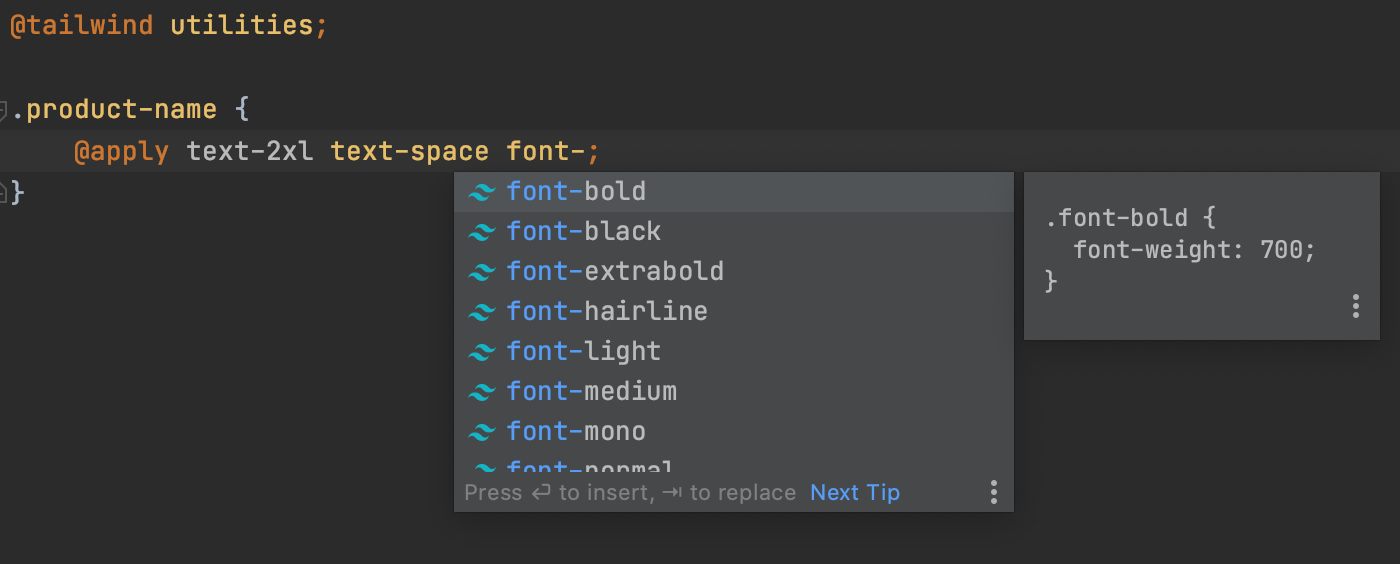
If you hover over a class in your HTML and CSS files, the IDE will show you the preview of the resulting CSS. You can also see this preview when autocompleting your code with the help of the Documentation popup (F1/Ctrl+Q).
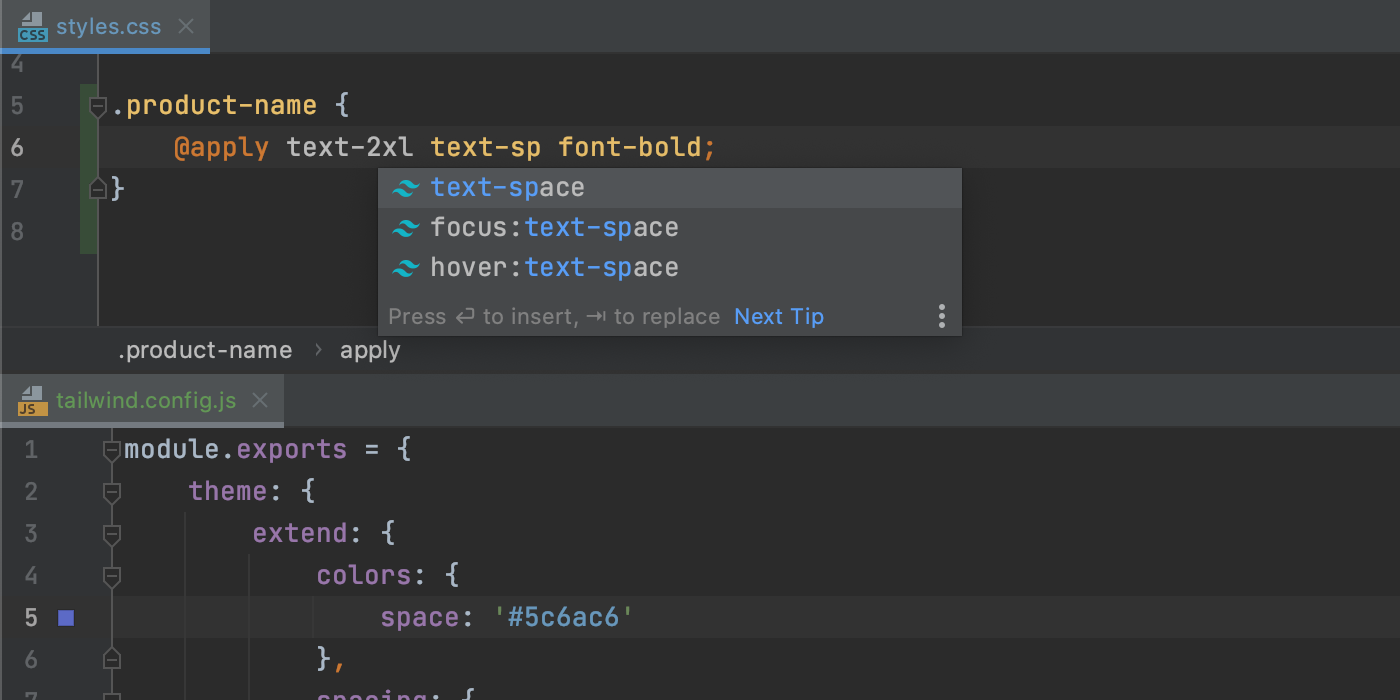
Besides that, WebStorm now supports the customizations you make using tailwind.config.js files. The IDE analyzes those files and provides completion based on your customizations. If you define a custom theme with new colors, for example, you’ll see newly generated classes with the name of the custom color in the completion popup.
Lastly, Tailwind CSS support is provided through the corresponding plugin bundled with WebStorm. If you’re using any other JetBrains IDE and want to take advantage of the new functionality, you can install the plugin from Preferences/Settings | Plugins.
That’s all for now about Tailwind CSS support. Please try the existing features and share your feedback with us! We plan to improve this support further.
Better formatting for template literals with CSS and HTML
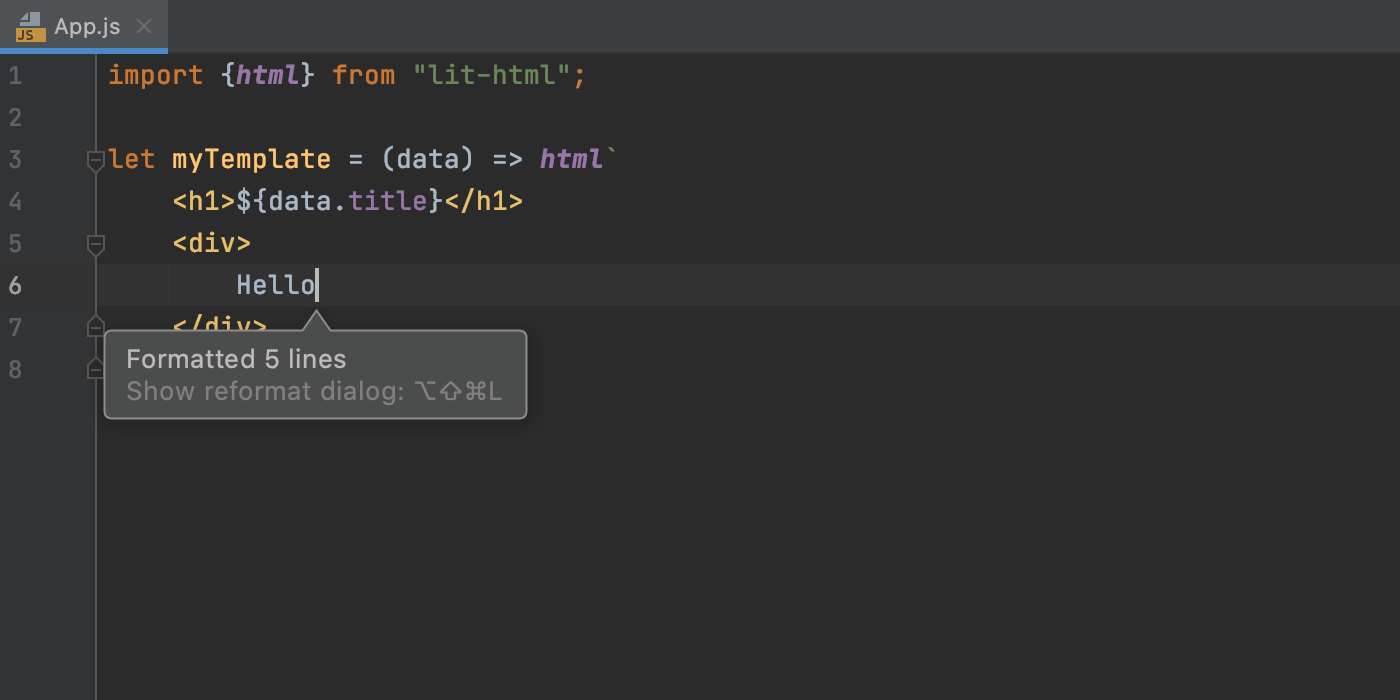
With libraries like styled-components and lit-html becoming more popular, quite a lot of CSS and HTML code is now written inside JavaScript template literals. These blocks in JavaScript code can also have expression interpolations with JavaScript in them.
Starting with v2020.3, WebStorm will properly support code formatting in JavaScript for multiline CSS and HTML blocks with JavaScript inside them. The IDE will indent correctly when you add code in these more complex template literals or reformat your code.
Custom multi-file templates
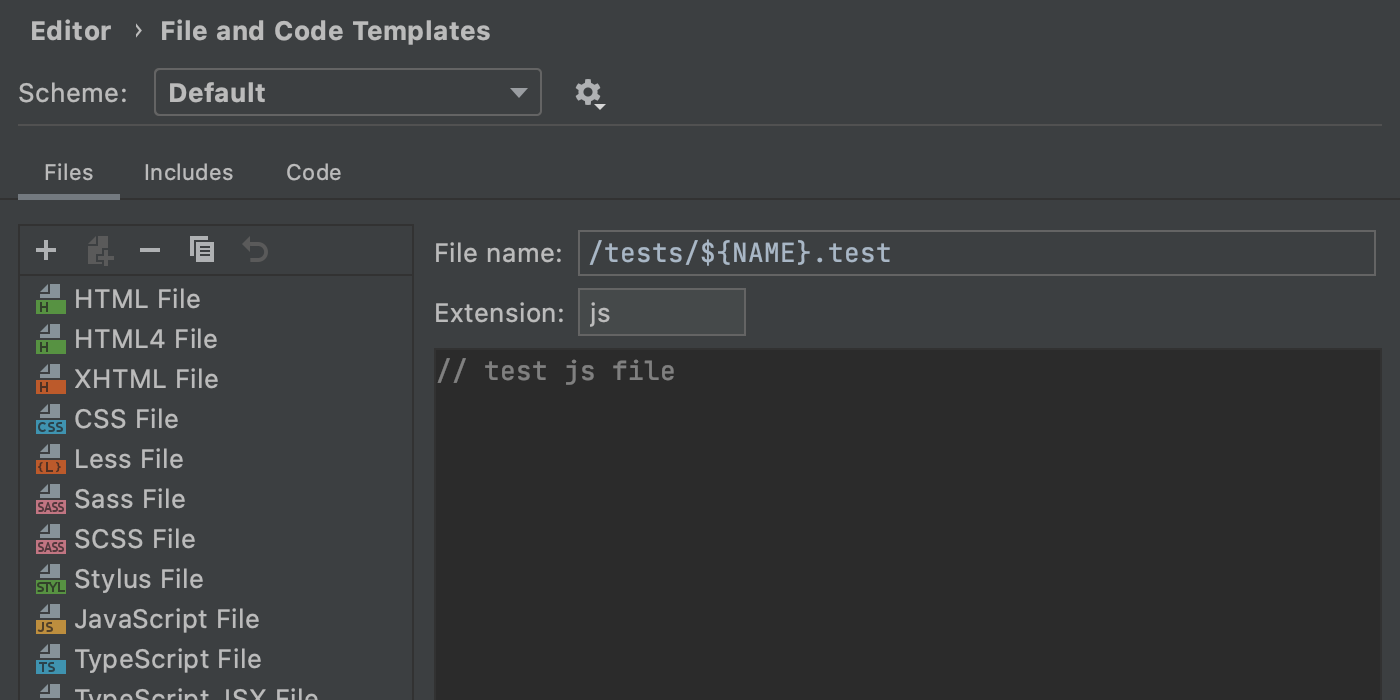
We’ve implemented the ability to add custom file templates that create several files at once. This can be handy when, for example, you need to add a .js file along with a test file for it.
To give this new functionality a try, go to Preferences/Settings | Editor | File and Code Templates, click + to create a new template, and then click the Create Child Template File icon next to +. You’ll see a new node appear under the parent file.
In the File name field, you can specify a pattern for generating a file name and a path to it using the supported syntax.
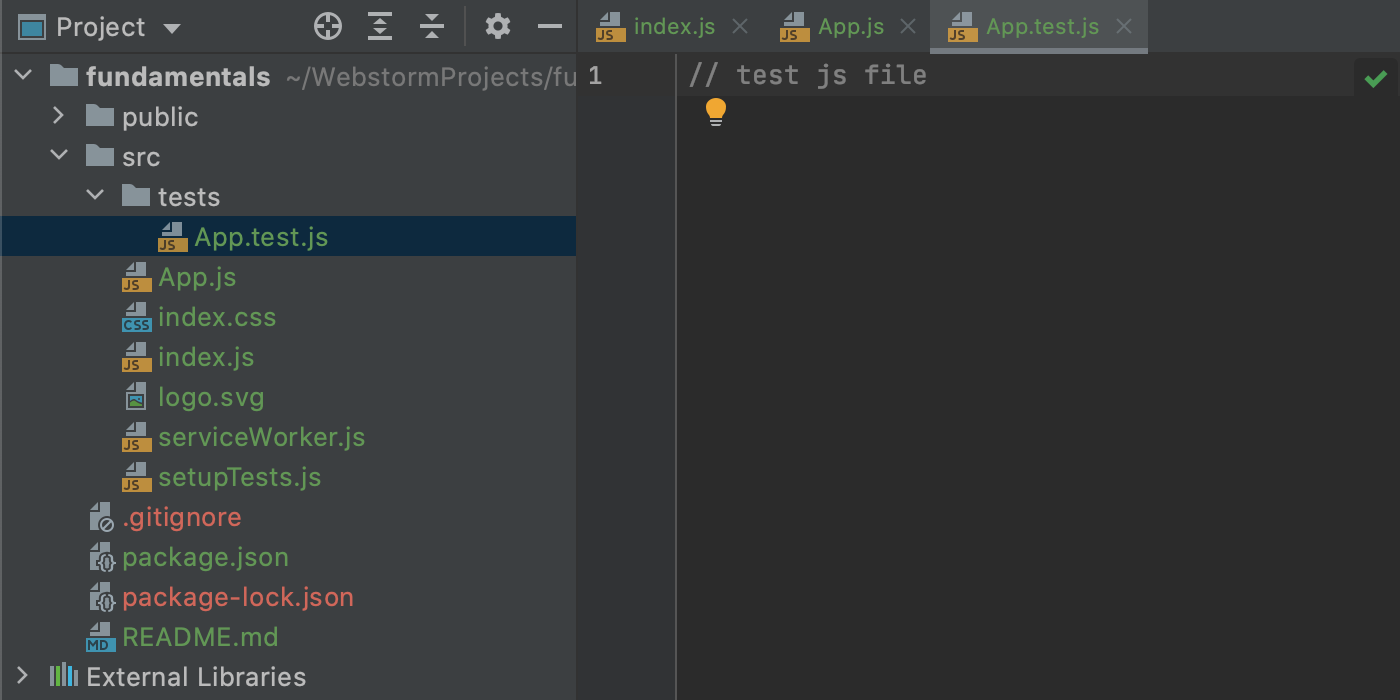
Once you’ve saved the new template, you can start using it as usual.
A new mode for reading project files
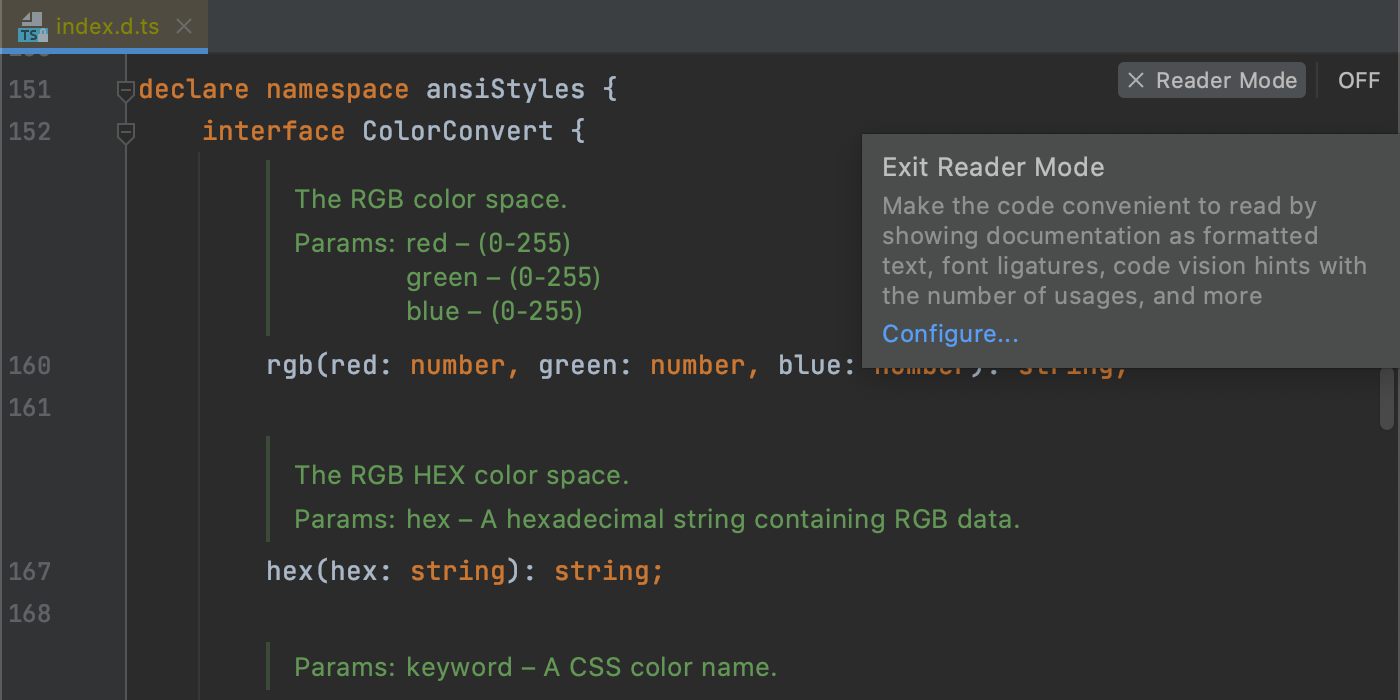
Going through huge library files or other large project files can be a cumbersome process because of the multiple comments they contain. To make it a bit easier, we’ve implemented a new Reader mode.
This new mode is available for library and read-only files. To try it out, open the file you need and click on the book icon located in the top right-hand corner of the IDE. To exit Reader mode, click on that icon again.
If you’d like to turn this feature on by default or tweak some other settings for it, go to Preferences/Settings | Editor | Reader Mode.
Improvements to LightEdit mode
WebStorm 2020.3 also comes with several usability improvements to LightEdit mode, a feature for quick file editing that we introduced in v2020.1.
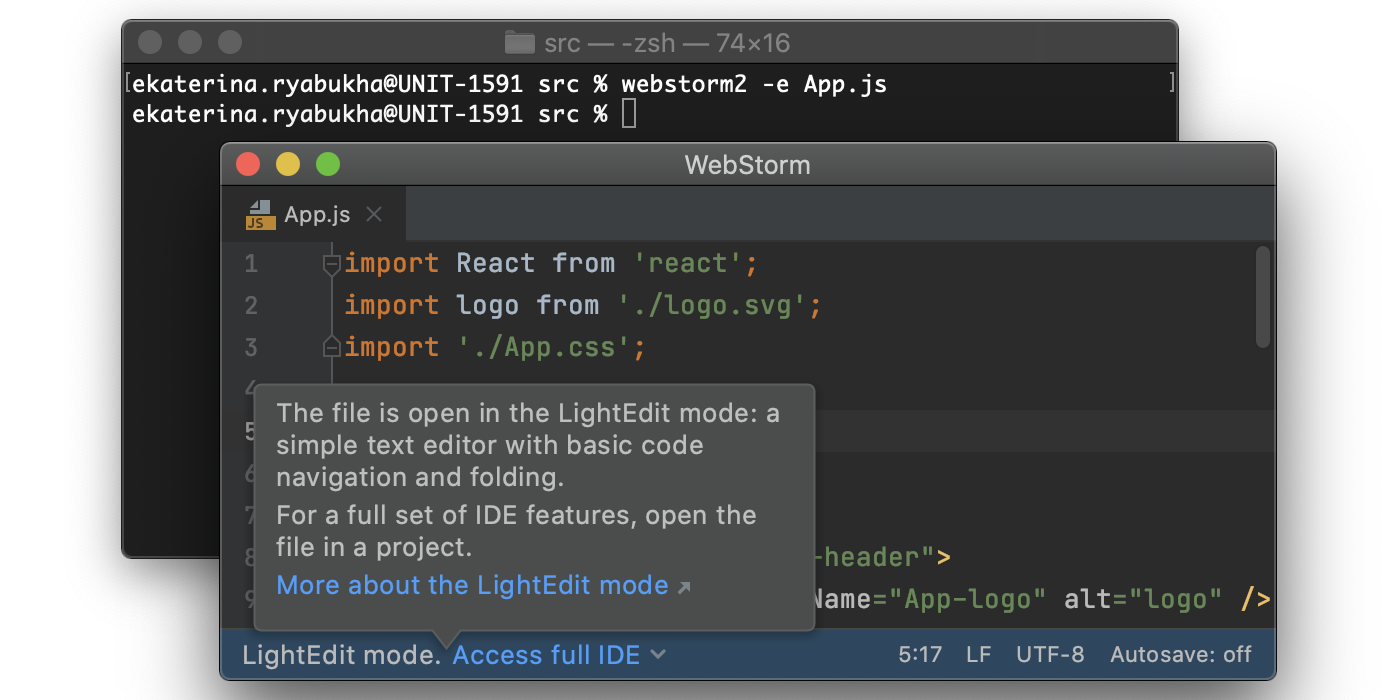
First, you can now use LightEdit mode in parallel with an already launched instance of the IDE. Previously, if WebStorm was running, the file would open up there instead of in the new quick editing mode. To try this out, type the name of your launcher script in the command line, followed by -e and a file name. The IDE will also let you create a new file – simply add the name of the file you want to create after -e.
Without -e, WebStorm will open the file in a temporary project that lets you use all the IDE features.
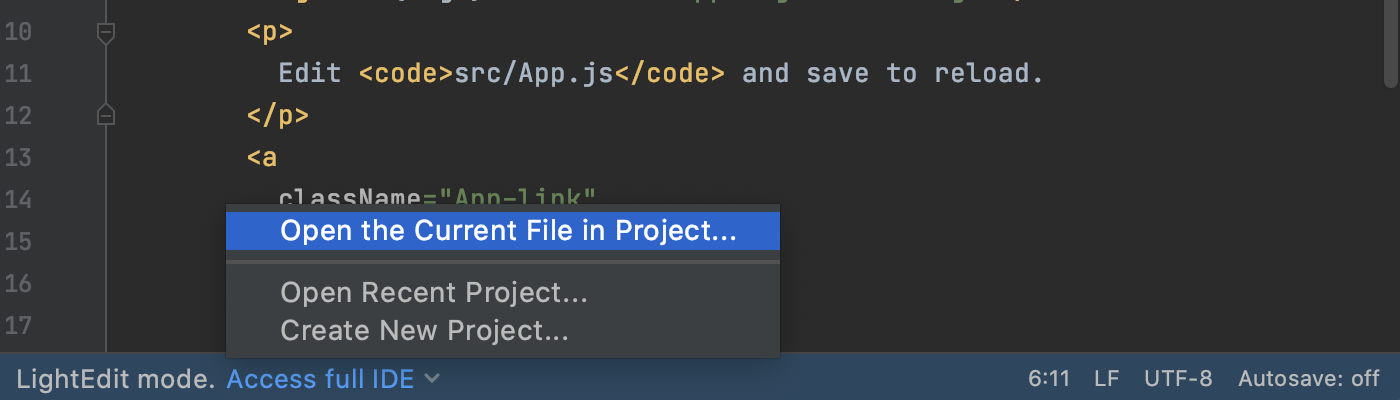
We’ve also added the status bar to the LightEdit mode window. It provides quick access to the full set of IDE features and makes it easier to distinguish that the file is open in a special mode.
Here are some other important improvements:
- We’ve implemented support for the -w (–wait) option.
- Files opened in LightEdit mode are reloaded automatically every time you focus on the editor. You can now do a forced refresh – use the new Reload from Disk action available under File in the main menu.
- It’s no longer possible to open a file in LightEdit mode from the Welcome screen. If you try to open a file in this way, WebStorm will create a temporary project for it. This was the default behavior before we introduced LightEdit mode. We’re bringing it back because the new way of doing things proved to be less intuitive.
That’s it for the biggest highlights. Please report any issues you encounter to our issue tracker, and stay tuned for next week’s update!
The WebStorm team


