Using Storybook With 11ty

Storybook is great for component-driven development. It lets you organize all your components, and all their variations, in a productive workflow. I introduced Storybook in my First Five on Storybook “unboxing” video.
But what if you want Storybook for a less-JS project, such as 11ty as a static site generator? Storybook is heavily-tilted towards framework projects – React, Vue, Angular, etc. But with Storybook for HTML, you can control the “component rendering” yourself.
It’s a little messy, but the end result is – surprisingly! – quite fun. In this blog post, I’ll show you how.
About Storybook and 11ty
While it’s well-known, Storybook isn’t super well-known. The unboxing video is a quick introduction. For the purposes of this blog post, let’s set the scene.
I’m working on a Gatsby-less rewrite of the WebStorm Guide. Long story. Suffice it to say, we’re looking at slimming down the JS used, and Eleventy, aka 11ty, is a popular choice for static websites. I want a productive way to iterate on developing and discussing the ported UI.
Enter Storybook. This lets me break my development down into components and write stories about each of them. The stories get rendered into a “book” and folks can see them, read about them, etc. I can even hook these stories up to Jest and do automated testing. It’s a productive, collaborative workflow.
The secret idea behind it is: I want to use 11ty shortcodes as components in the workflow of component-driven development.
Wrong JavaScript Engine
So a piece of cake, right? I just write my render functions to call 11ty, get an HTML string, and feed it to the story?
Bzzzt. 11ty is a NodeJS application. Storybook is a browser-JS application. When Storybook renders the stories, it doesn’t have access to NodeJS and its API/library. You can’t call 11ty from Storybook. In fact, you can’t even read a file from disk.
This was a painful discovery. The attempts at workarounds? More painful.
Is that the end of the story (pun intended)? Not quite yet.
Storybook and HTML Starter
Storybook for HTML, is Storybook’s solution for essentially any rendering it doesn’t handle. With this, you write a function that gets called when you want the story’s HTML. Storybook makes setup easy by providing a scaffold that generates a sample project.
I’ve made a repo for you (look out for the Code on GitHub at each stage of this tutorial). Here you can see an example of the story for a rendered “header” component. The repo has a cleaned-up check-in of the Storybook scaffold, plus the parts below.
“Wait,” you say. “That’s just reading some HTML from disk!” And indeed it is. That’s the workflow. You have an 11ty sample site, you do your stuff, generate output, and Storybook reads it. Let’s look at the 11ty part next.
This One Goes To 11ty
We’ve used the Storybook scaffold to generate a “Storybook for HTML” site, and provided one story for a “header” component. Now we’ll add 11ty, a shortcode, and start generating that HTML file.
First, we need to add 11ty using:
$ npm install -S @11ty/eleventy
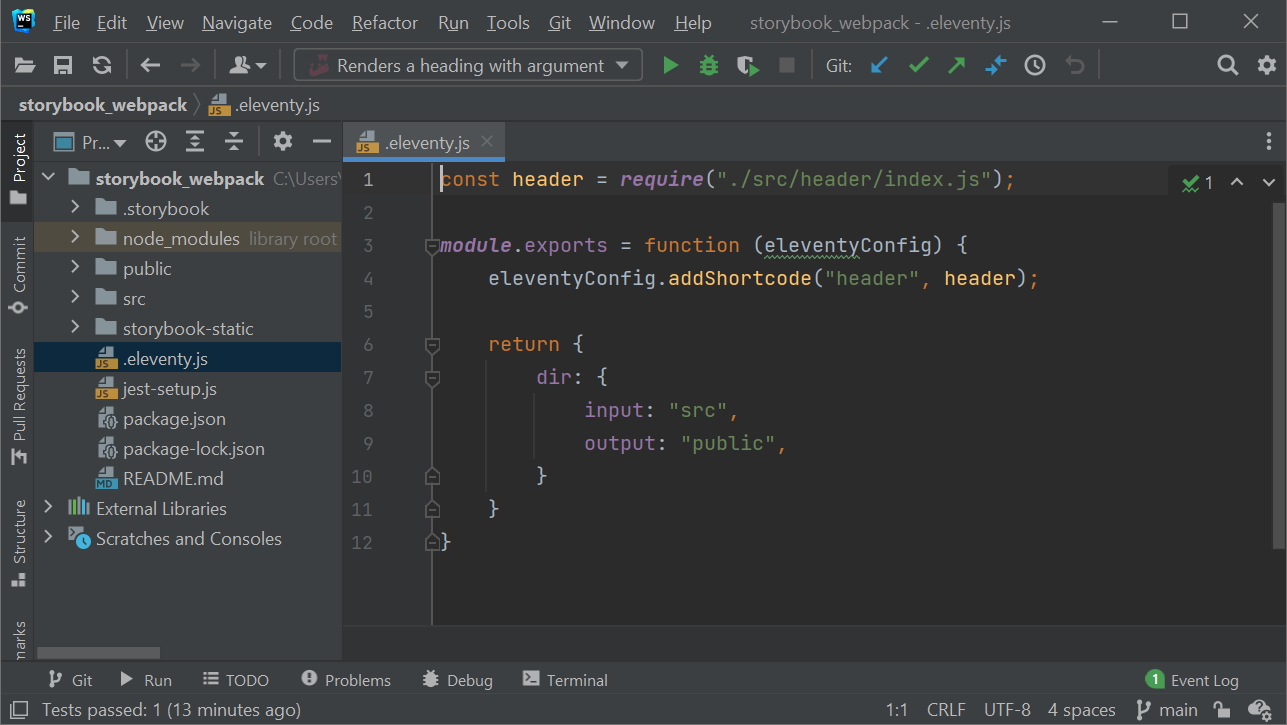
To setup 11ty, we need to add an .eleventy.js file at the project root:
Code on GitHub
This registered an 11ty “shortcode” which we will treat as kind of a component. Here is the header “component” at src/header/index.js:
Code on GitHub

We need this to be used in a page somewhere, so in the same component directory, we will need to add an 11ty page at src/header/index.md:
Code on GitHub

One step up, in the root of the 11ty site, we’ll create a catalog of all our components at src/index.md:
Code on GitHub

With this in place, we can add a “build” command in the projects package.json file:
"eleventy": "eleventy --serve",

When we run this, we’ll get a hot-reloading dev server that generates the component HTML on each change.

Eagle-eyed readers will notice that we didn’t use Nunjucks, Liquid, or any of the usual suspects as the template language. We’re just using JavaScript templates. This makes everything more self-contained if we publish our component library as an npm package.
Add a Component Story
That’s the 11ty shortcode with a generated page that uses it. Let’s now write a Storybook story and see it in our UI.
In our src/header component directory, let’s add a Storybook story file named header.stories.js:
Code on GitHub

The first line is actually a bit of a tip-off. We’re using import, but in the 11ty code, we were using CommonJS require. 11ty doesn’t yet support ESM imports. Storybook is Babel+webpack->browser. Jest (below) is Babel+webpack->NodeJS. *Sigh*.
This story says to “render” the output for the Storybook <iframe> by…reading the rendered 11ty HTML from disk. It’s dead simple. And since this is webpack, any change to the ../../public/header/index.html HTML leads to a hot reload. And so, if the 11ty server is running, it is also watching, and with a bit of luck the changes will update the HTML file. Fingers-crossed.
With this in place, you can run the Storybook script in package.json:

This is hot-reload, so changes in the Storybook story will re-run and re-load. After clicking on the Storybook server link in the tool window, we can now browse our stories and look at the Header:

Automated Story Testing With Jest
Ok, that’s pretty cool. But can we get even cooler? Right now, with each change, we have to go look at the browser and click around to see if anything is broken. Wouldn’t it be great to automate this using testing?
First, we need to install a test runner. We’ll use Jest:
$ npm install -D @testing-library/dom @testing-library/jest-dom jest
This adds not just Jest, but jest-dom: “Custom Jest matchers to test the state of the DOM.” It’s maybe a little overkill for this simple example, but it could be useful later if we want to make richer test assertions about the document, rather than just strings.
We also want Jest to use a configured DOM environment, so we need to add some Jest configuration to the package.json file:
"jest": {
    "testEnvironment": "jest-environment-jsdom",
    "setupFilesAfterEnv": [
      "<rootDir>/jest-setup.js"
    ]
  }
}
With this in place, let’s write a test for our header component at src/header/header.test.js:
Code on GitHub

We import the component, call it with a Shrek-compatible argument of “donkey”, then attach the string result as innerHTML. From that point on, we can do all kinds of DOM-oriented test assertions.
WebStorm has great in-IDE support for Jest, so we can just click in the gutter to run the test:

In fact, we could set a breakpoint in our component’s JavaScript function and stop the test execution there in the debugger:

And That’s a Wrap
At this point we have a pleasant, pseudo-component development experience for an 11ty site, using Storybook and Jest.
It leaves out a number of things you would get from a full React component DX, such as importing and bundling the JS (or CSS, or PNG) to be used in the browser for that component. But that’s OK. 11ty folks are usually looking for a more-static site anyways.
If you have any questions or comments, don’t hesitate to leave them below.
The WebStorm team