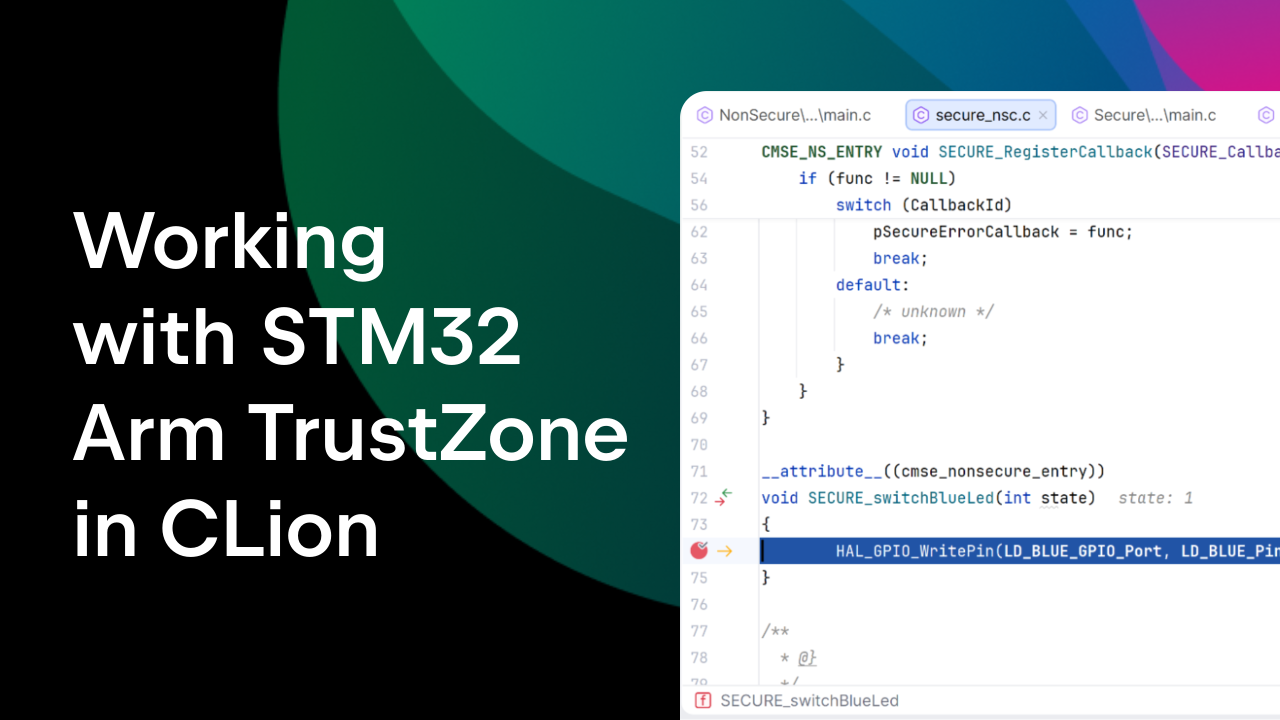
Swift plugin for CLion

Hi,
Upd. Version 2017.1 brought Swift 3.1 support, SourceKit-based inspections and intentions, create new project wizard and ability to generate type from usage. Read more.
Upd. Swift plugin for CLion 2016.3 version adds Swift 3 support. Read more.
Upd. Swift plugin for CLion 2016.2 version adds Swift 2.2 support, Introduce Variable refactoring and parameter placeholders for Swift.
Recently we’ve opened the Early Access Program for CLion 1.5. In this post we highlight another new feature: Swift support in CLion!
Background
This summer Apple promised to open source Swift language before the end of 2015, and just recently they did it! Now developers can contribute to Swift compiler and standard library, SourceKit, core libraries like Foundation, libdispatch and XCTest, Swift package manager, LLDB for Swift, and more.
This work involved not only OS X, with many Linux developers joining in as well. This has created a growing need for a Swift IDE on several platforms, especially on Linux. We at JetBrains do support iOS/OS X development, including Objective-C and Swift languages, with a standalone IDE called AppCode. It’s compatible with Xcode and its main focus is iOS/OS X development (meaning toolchains, environment, etc.). Unfortunately, if you’d like to try Swift on Linux, AppCode is not a proper choice.
CLion, on the other hand, is cross-platform. And with Swift compiler and libraries open-sourced, we’ve managed to take the platform-independent part of Swift support and brought it to CLion via a separate plugin. That means you can use CLion as a Swift IDE on Linux!
Initial setup
Getting started with Swift in CLion takes a few simple steps:
- Install the plugin from our repository.
- Download and setup the Swift toolchain (make sure you get the development snapshot, not the release one).
- In CLion settings
Build, Execution, Deployment | Swiftspecify a Swift SDK (on OS X the default is /Library/Developer/Toolchains/swift-latest.xctoolchain, and on Linux it’s empty):
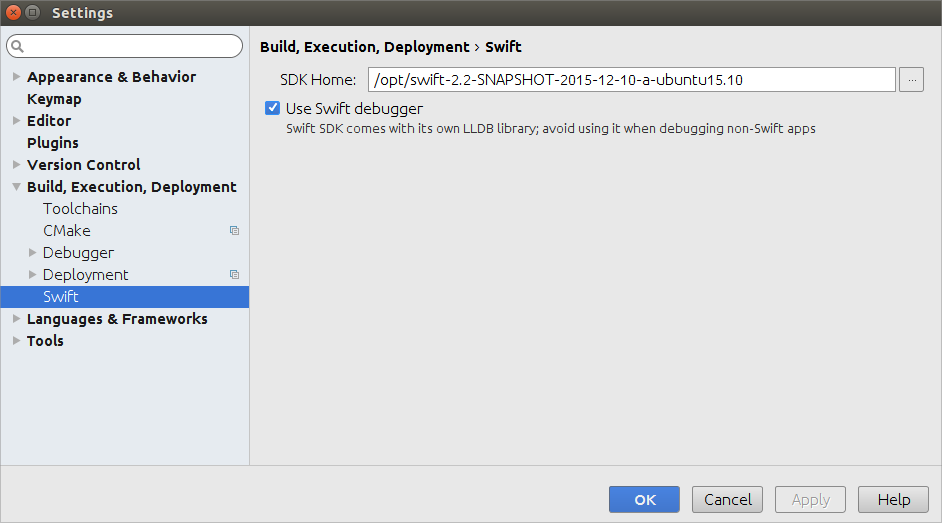
- If you are planning to use Swift debugger, enable Use Swift debugger.
(Note: Since the debugger comes from the Swift SDK and is customized, avoid using it for debugging non-Swift programs.) - CLion relies on CMake project model, so you need to start a CMake project for Swift. To simplify the configuration process, we’ve added a special CMake live template that adds a Swift build target:
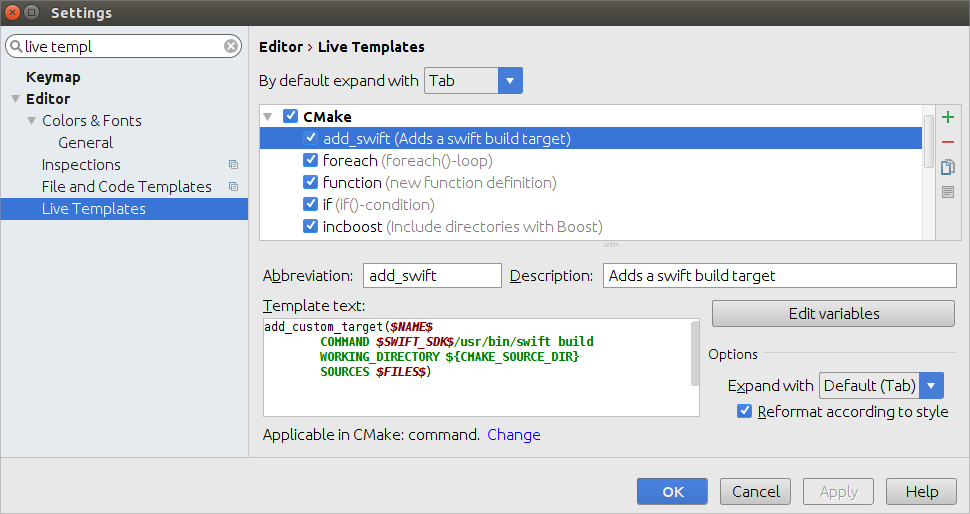
SWIFT_SDK variable expands to the value specified in the settings. - A sample CMake configuration file may look like this:
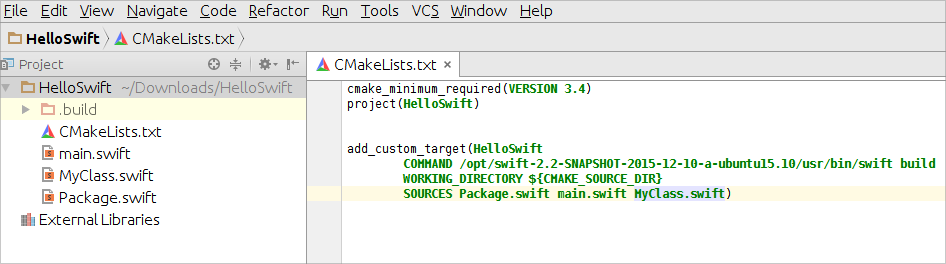
- After you build the project, .build directory will be created in your project folder. Now all you need to run the project is to add an executable that is located in .build directory to the configuration corresponding to your target name (in our case it’s HelloSwift).
And now you are ready for Swift!
Features
The set of features includes the most essential ones for you to try:
- Parse/resolve classes in project and standard library (note that non-standard libraries are not resolved yet).
- Code highlighting and completion:

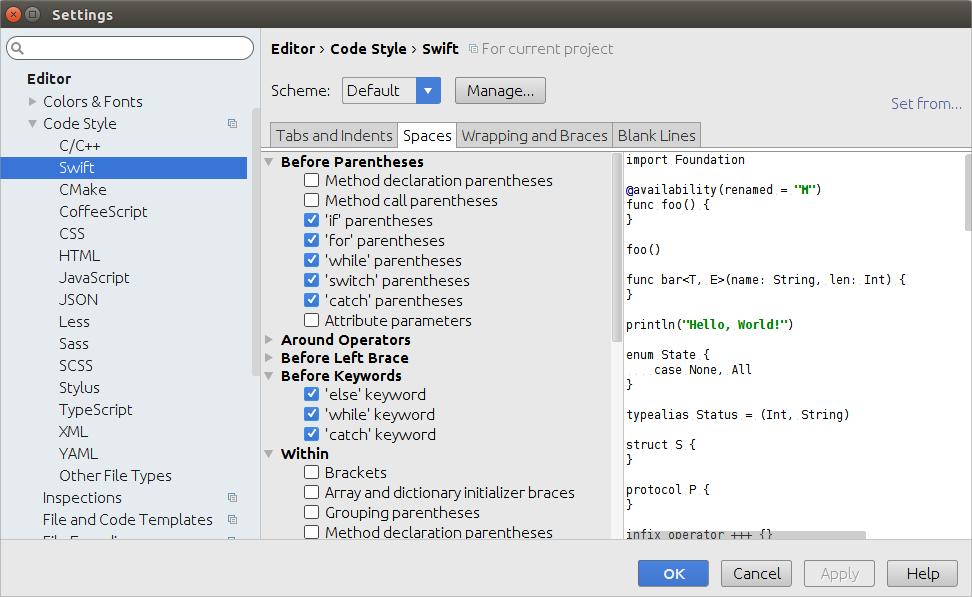
- Swift code formatter with a separate set of Swift code style settings:
- Navigation actions and File structure view.
- Find usages.
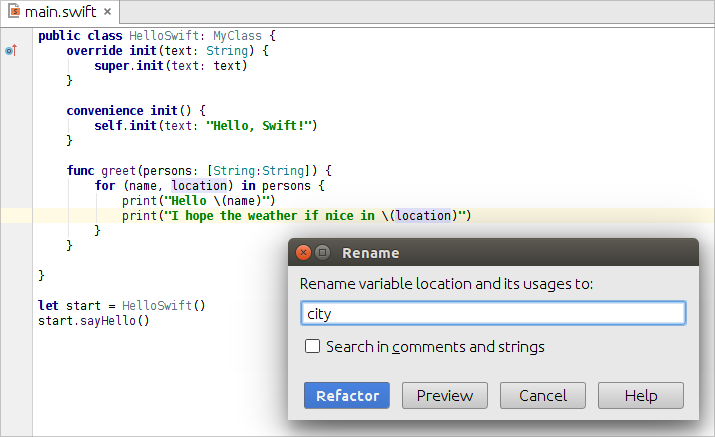
- Rename refactoring:
- Override/Implement for functions and protocols.
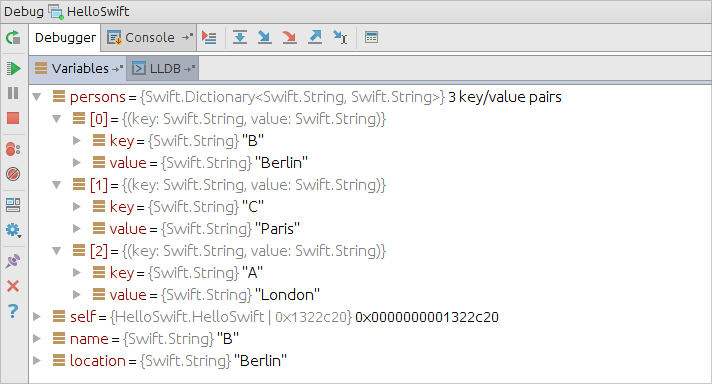
- And even a debugger, including proper rendering of variables and types:
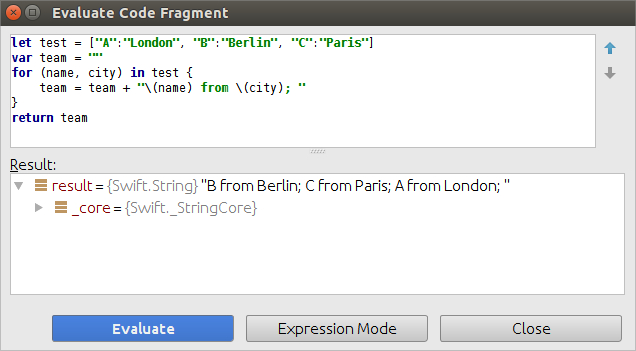
and expression evaluation:
Please note that on OS X the Swift debugger itself seems to have problems and fails to render classes correctly.
To see the above features in action, watch this short demo:
https://www.youtube.com/watch?v=PQ1dL47dPr0
Share your feedback in the comments section below. We’ll be glad to hear what you think about the Swift plugin for CLion! And we’ll rely on your feedback in our decision where to move forward with the plugin.
Sincerely yours,
The CLion Team