IntelliJ IDEA
IntelliJ IDEA – the Leading IDE for Professional Development in Java and Kotlin
Tips and Tricks for the Project Tool Window

The Project tool window shows you the tree of your application along with its dependencies. It also allows you to create new classes, files, and folders, add frameworks, rename and relocate items, and so on. In IntelliJ IDEA, there are several options that can make your work with the Project tool window even more convenient. Let’s take a look at them.

In IntelliJ IDEA, the Project tool window is usually located on the left. You can open it by pressing ⌘+1 on macOS or Alt+1 on Windows and Linux, or by selecting View | Tool Windows | Project from the main menu.
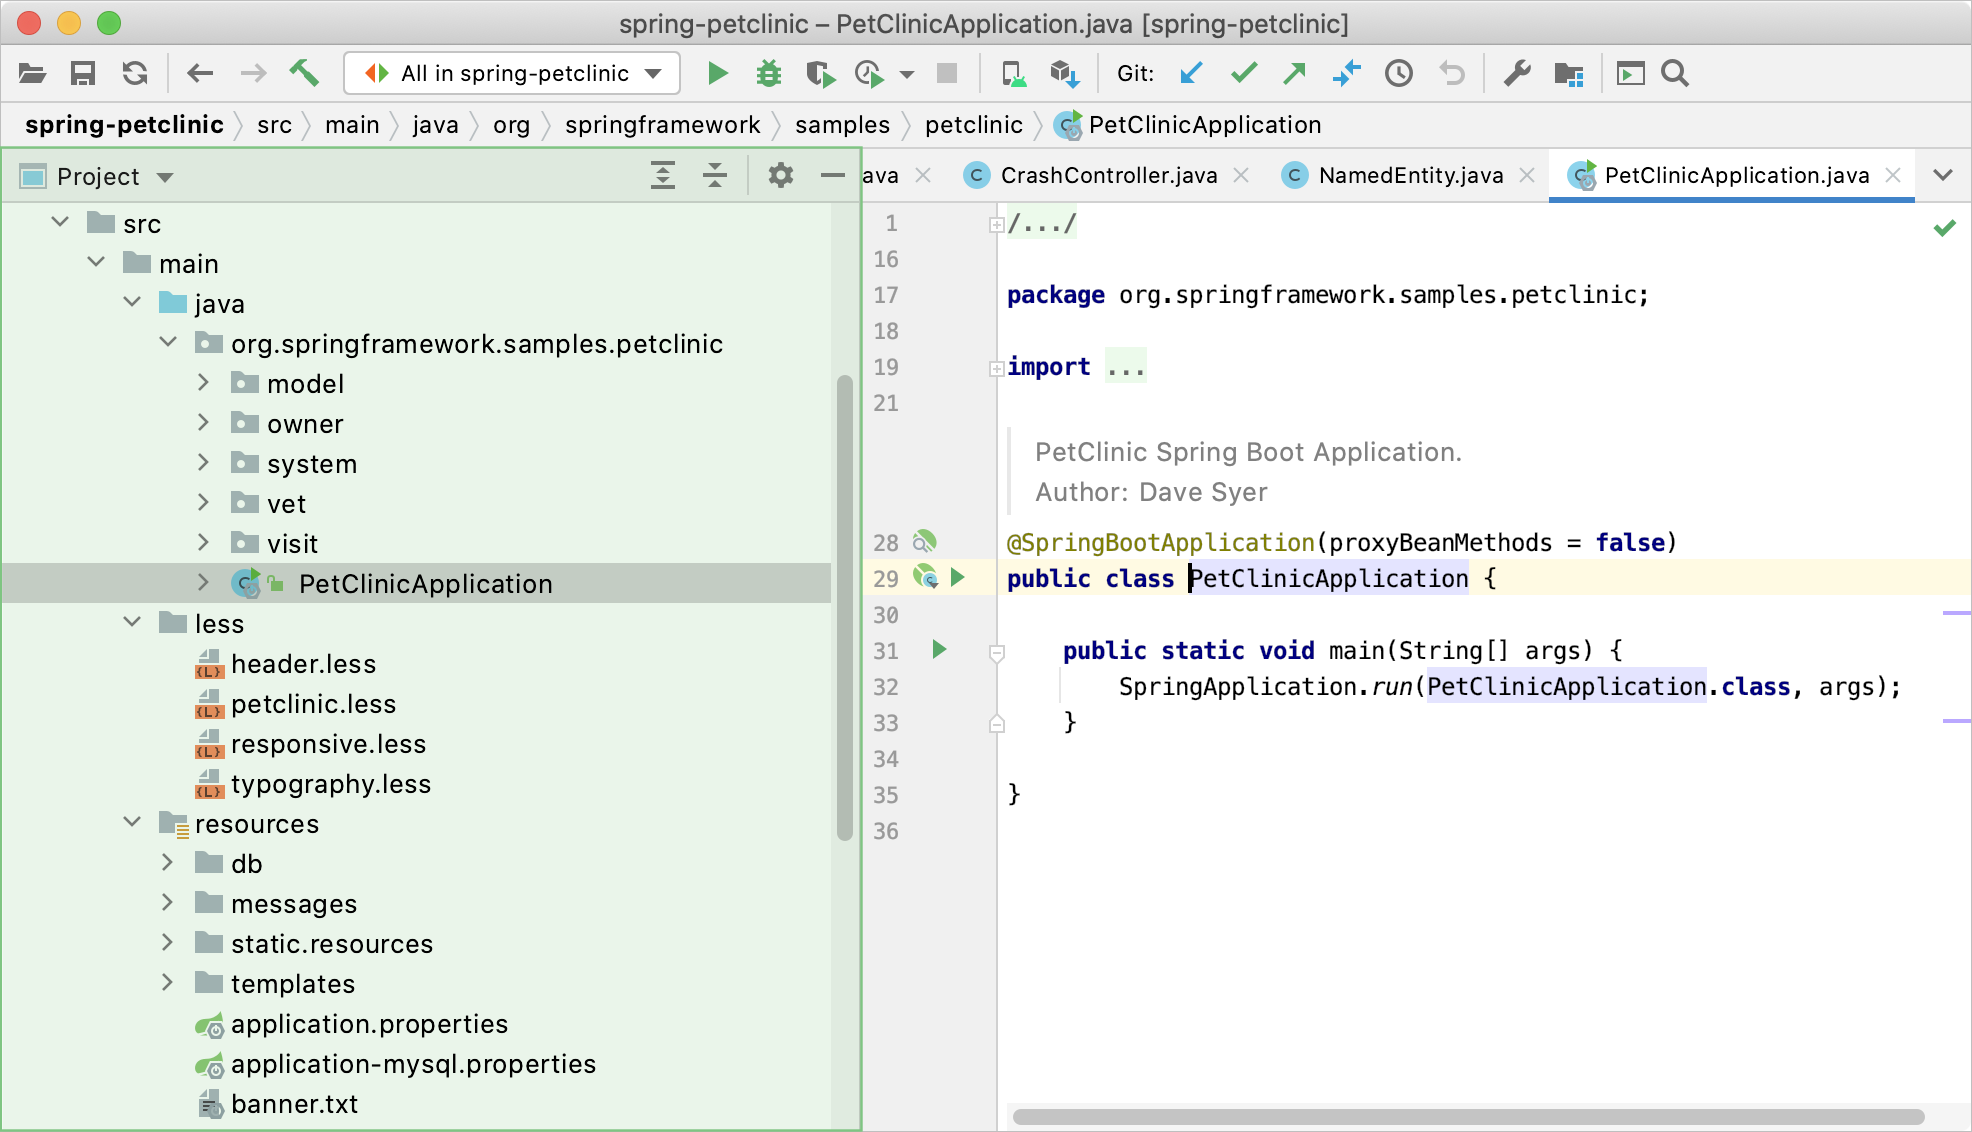
The window visualizes the structure of your project and shows you all its components including modules, directories, packages, classes, libraries, SDKs, and so on. Items in the Project tool window have icons that help you identify them at a glance.
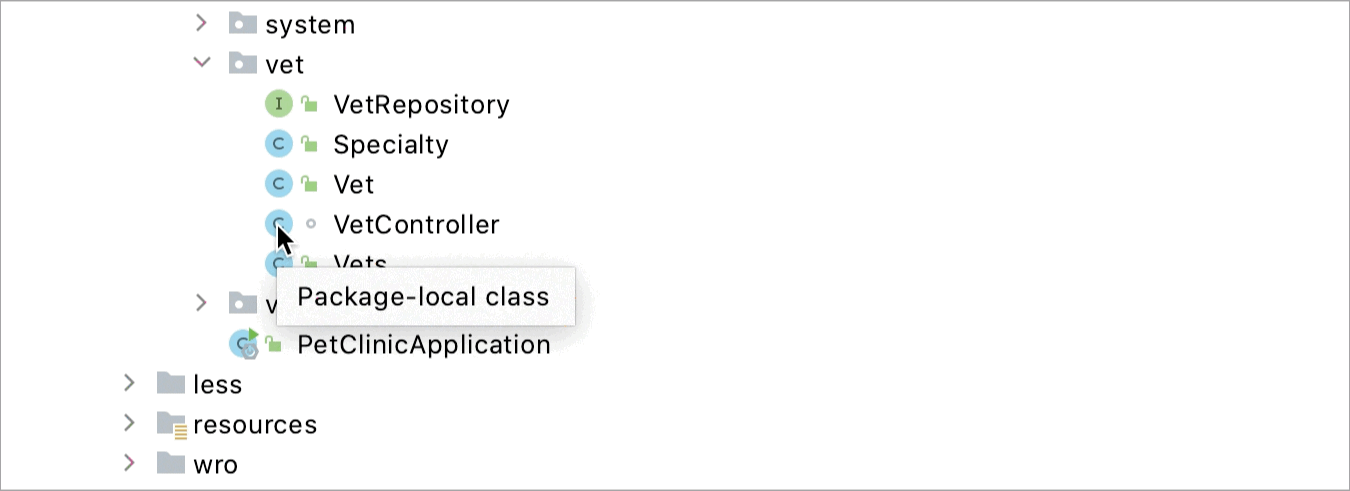
If you see an icon for the first time and you don’t know what it represents, just hover the mouse pointer over it. IntelliJ IDEA will show you a tooltip with an explanation, so you don’t need to memorize the meaning of each icon or go looking for it in the documentation.
Display timestamps
When you’re the only developer on a project, you’re aware of all changes in the files. But if you work in a team, it’s difficult to track every modification. In this case, you can enable timestamps.
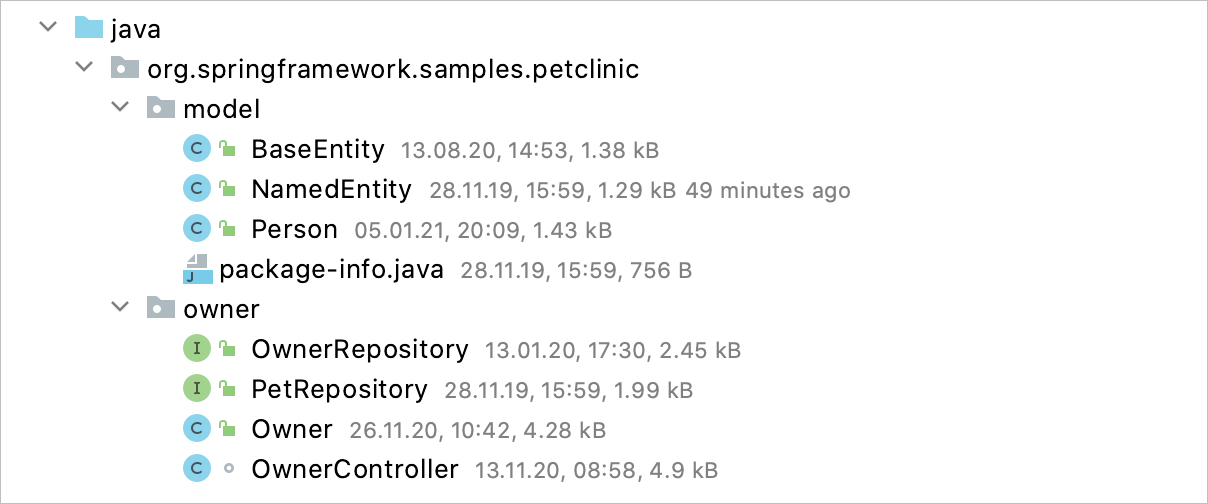
Timestamps are useful when you need to quickly see when a file was last modified without digging into the file history. Additionally, they display the size of each file.
To enable timestamps, select View | Appearance from the main menu and enable the Details in Tree Views option.
Display indent guides
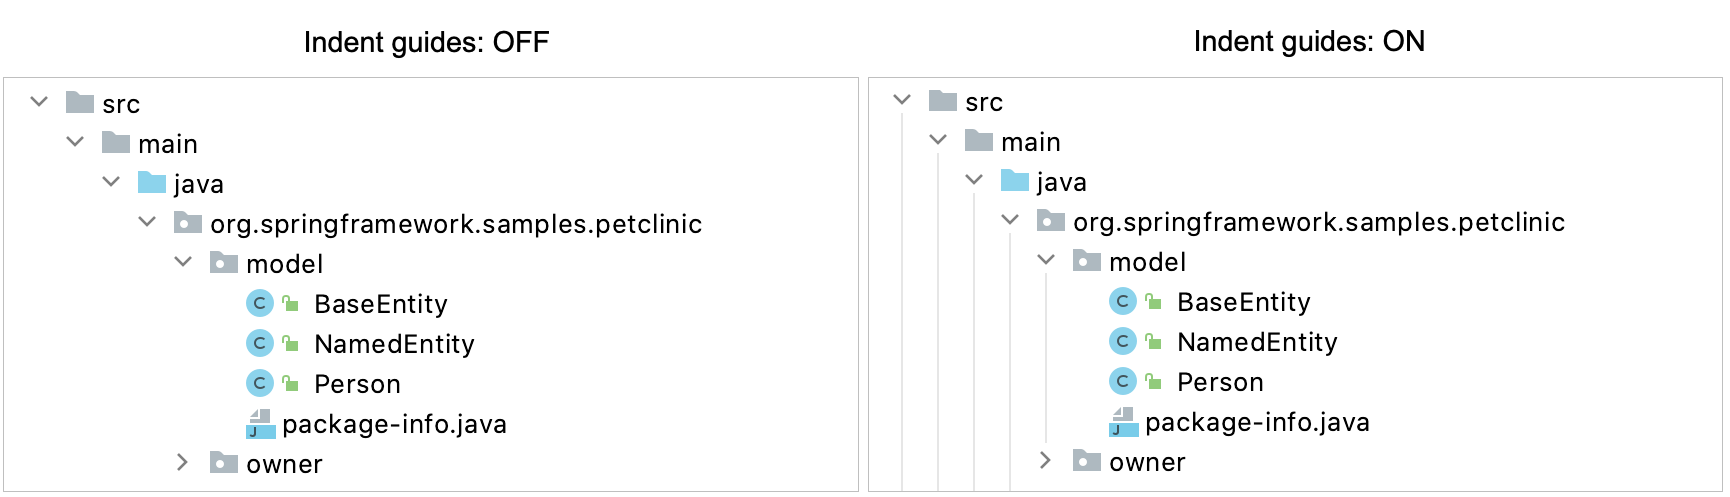
In large projects, navigating the tree structure might be challenging due to the large number of items. To be able to easily see how the files are nested, you can enable tree indent guides. These are vertical lines that mark indent levels and help you interpret the hierarchy of the components in your project at a glance.
To display these lines, open the Settings/Preferences dialog (⌘, on macOS or Ctrl+Alt+S on Windows and Linux), go to Appearance and Behavior | Appearance, and enable the Show tree indent guides option.
Note that the indent guides will appear not only in the Project tool window, but also in other tree views, for example, in the Structure tool window.
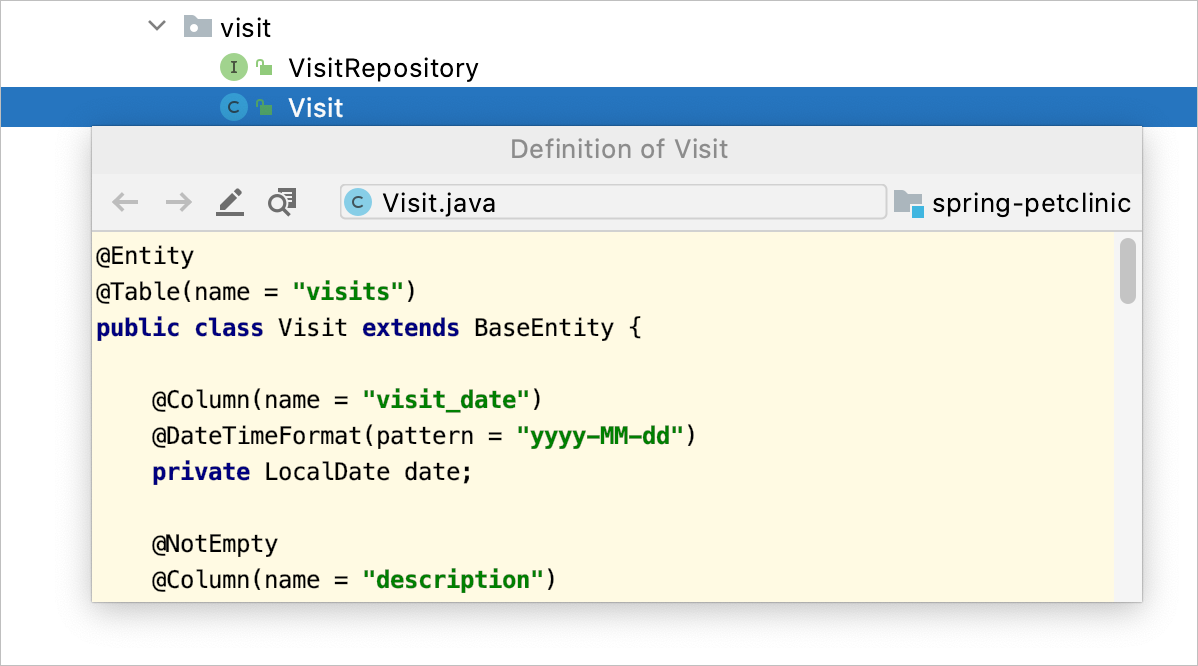
Preview file content
In IntelliJ IDEA, you don’t need to open a file in a separate tab in order to see what’s inside it. Just select a file in the Project tool window and press the spacebar. The file will open in a popup, which is usually enough to look through the contents and decide whether you want to work with it or not. This is useful when you need to look through several files without exceeding the tab limit.
You can also use the preview tab if you need comprehensive code highlighting together with some other IDE features, such as code reference information or search within a file.
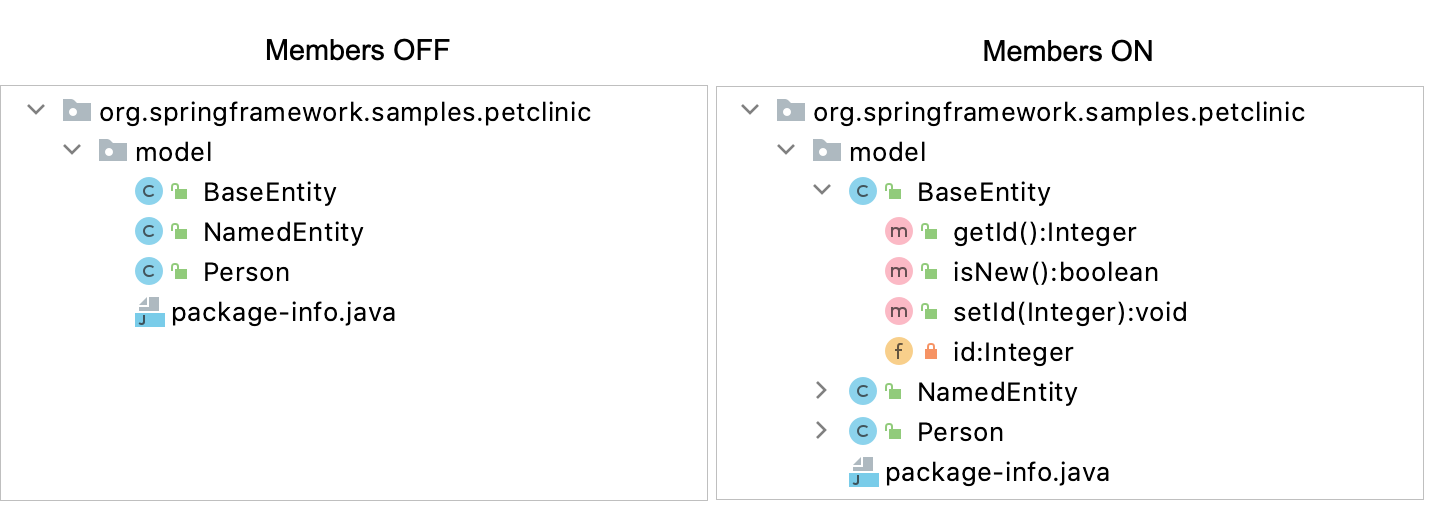
Display class members
For even better clarity, you can configure the Project tool window to display class members. In this case, the classes in the project tree turn into nodes. When expanded, they show you all their members, such as internal classes, fields, methods, and so on.
To display class members, right-click the Project tool window title bar and select Show members from the context menu.
The Project tool window is great for navigating and managing your applications. We hope that the features it provides will make your work with the IDE even smoother.
What’s your favorite feature of the Project tool window? Let us know in the comments below. If you still don’t have IntelliJ IDEA, grab a build and tell us what you think.
Happy developing!