IntelliJ IDEA
IntelliJ IDEA – the Leading IDE for Professional Development in Java and Kotlin
Build a Spring Boot App with AI Assistant

In this article, we’ll be building a small Java Spring Boot web application in IntelliJ IDEA with the help of JetBrains AI Assistant.
If you’d like to follow along with this tutorial, you’ll need IntelliJ IDEA Ultimate, as well as an active subscription to AI Assistant or the free seven-day trial license.
Creating a new Spring Boot application
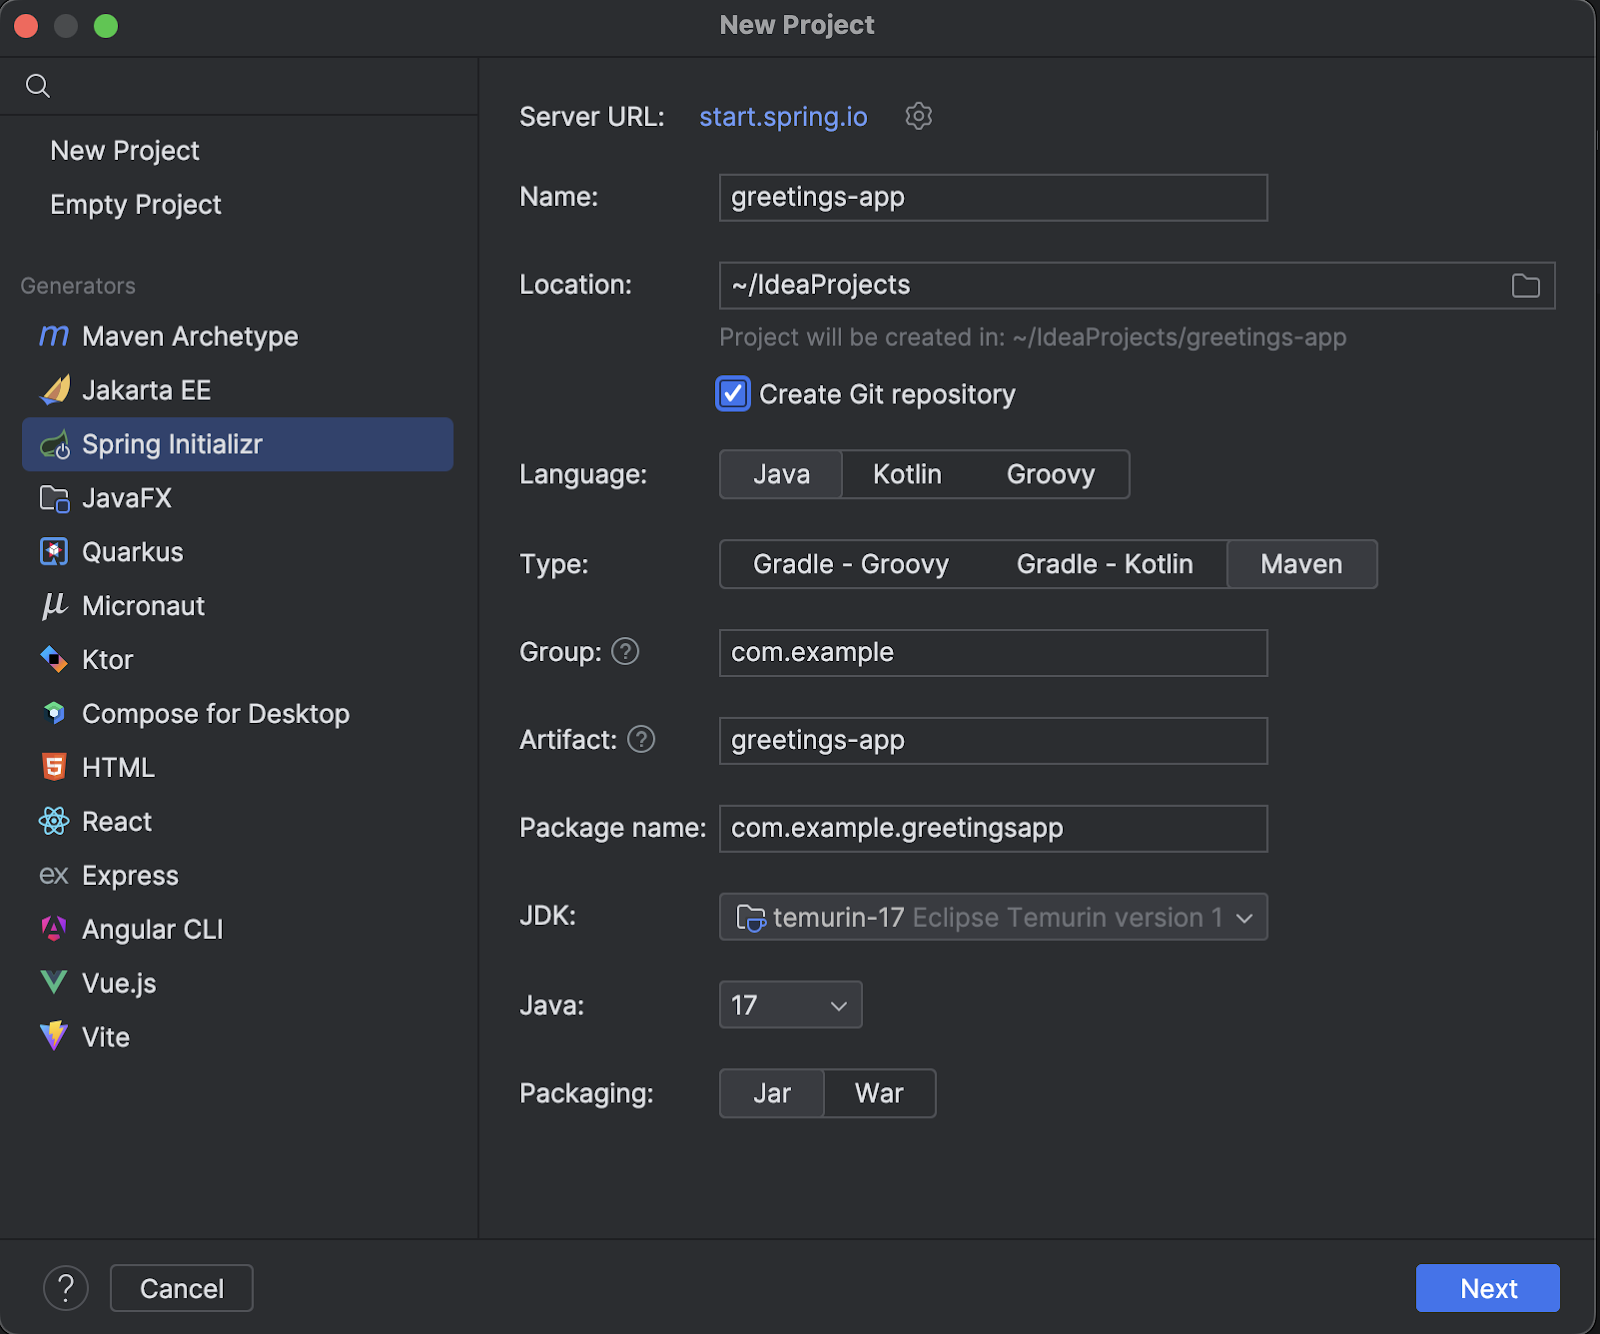
Our first step is to create a new project, which we can do right from the Welcome screen by clicking the New Project button, or (if we already have a project open), from the main menu by selecting File | New | Project.

In the New Project dialog, select Spring Initializr on the left. Change the name of the project to greetings-app, select Create Git repository to add the project to version control, select Maven as the type, and click Next.
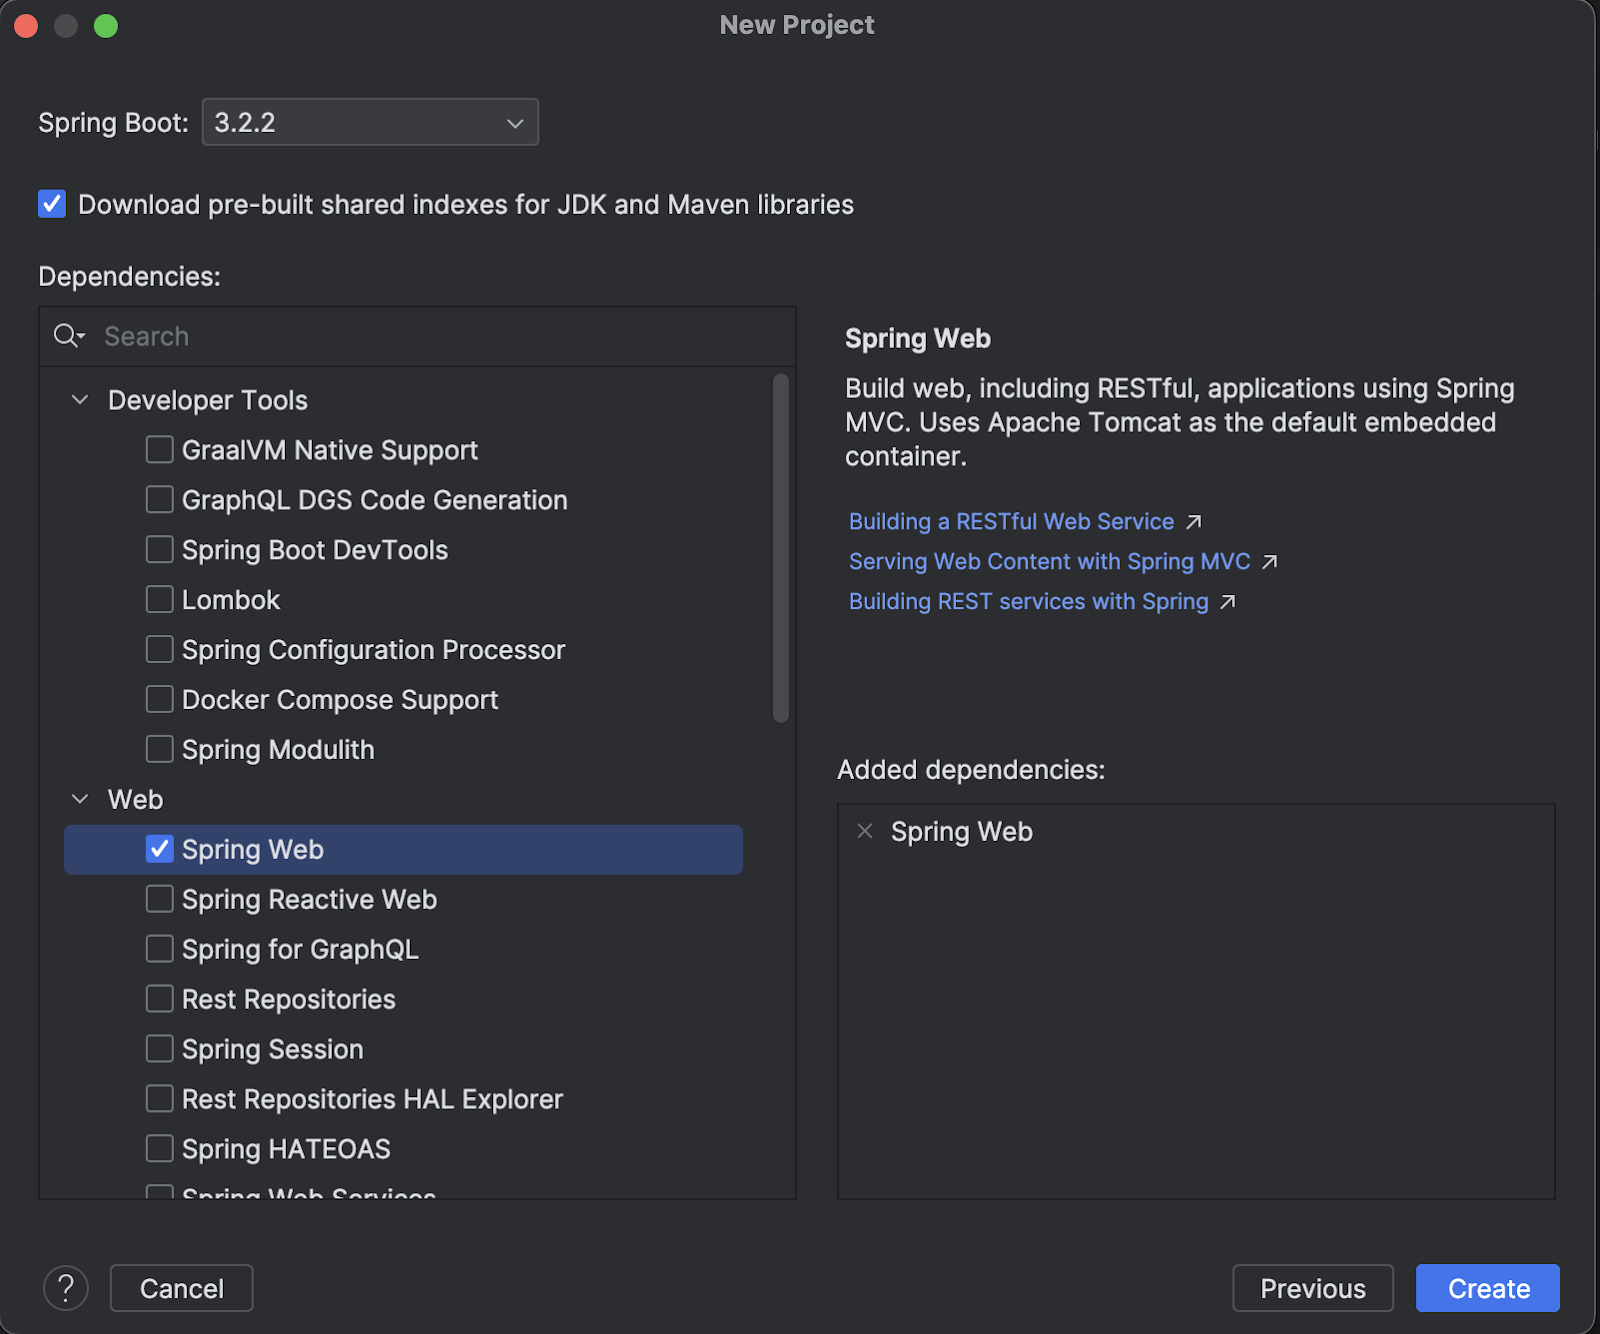
In the next screen, we can select which version of Spring Boot we want to use. We’ll go with the latest stable version, which currently is 3.2.2. We can also select the dependencies we want to add to our project here. Expand the Web section under Dependencies, select Spring Web, and then, click on Create.
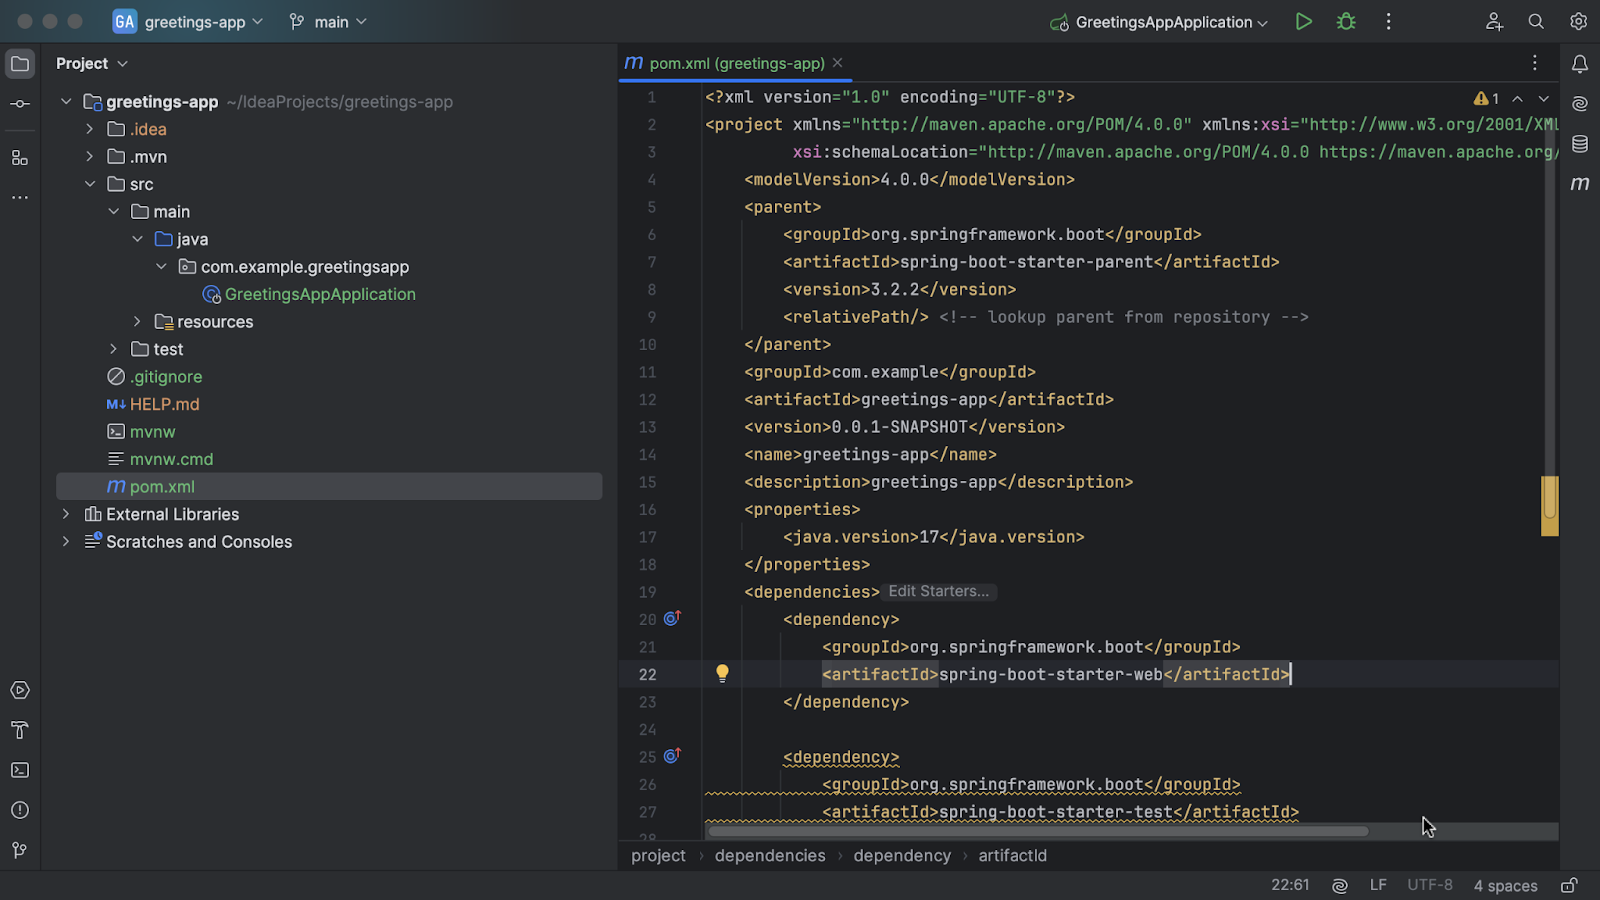
As you can see, IntelliJ IDEA has created the Spring Boot project for you, with a default Maven project directory structure, and a pom.xml that includes the dependency we selected when creating the project. Open the pom.xml to see the dependencies.
Adding code using AI Assistant
Now, let’s add some code to this project. First, we need to add a class. In the Project tool window on the left, select the directory src/main/java/com.example.greetings-app. Add a new Java file using the shortcut ⌘N (on macOS) or Alt+Insert (on Windows/Linux). Alternatively, right-click the Project tool window to open the context menu and select New | Java class. Name this class HomeController.
Add the following comment to the code:
// Create a Java web rest controller for a web application containing a hello endpoint,

// which takes a String parameter called name and append this parameter

// to the String "Hello", using “World” as the name default value
When you press Enter after the comment, AI Assistant will suggest code to you. To accept the suggested code, press the Tab key.

Some of the code is shown in red, which means there are some issues. IntelliJ IDEA can help you resolve them. Use F2 to navigate to the next problem, or Shift+F2 to navigate to the previous problem, and Show Context Actions (⌥⏎ on macOS, or Alt+Enter on Windows/Linux) to see suggestions on how to solve the problem, for example, to import the relevant class.
At the moment, our code looks like this:
package com.example.greetingsapp;

import org.springframework.web.bind.annotation.GetMapping;

import org.springframework.web.bind.annotation.RequestParam;

public class HomeController {

// Create a Java web rest controller for a web application containing a hello endpoint,

// which takes a String parameter called name and append this parameter

// to the String "Hello", using “World” as the name default value

   @GetMapping("/hello")

   public String hello(@RequestParam(defaultValue = "World") String name) {

       return "Hello " + name;

   }

}
We can run the application by clicking the green Run button at the top right (or using ⌃R on macOS, or Shift+F10 on Windows/Linux).
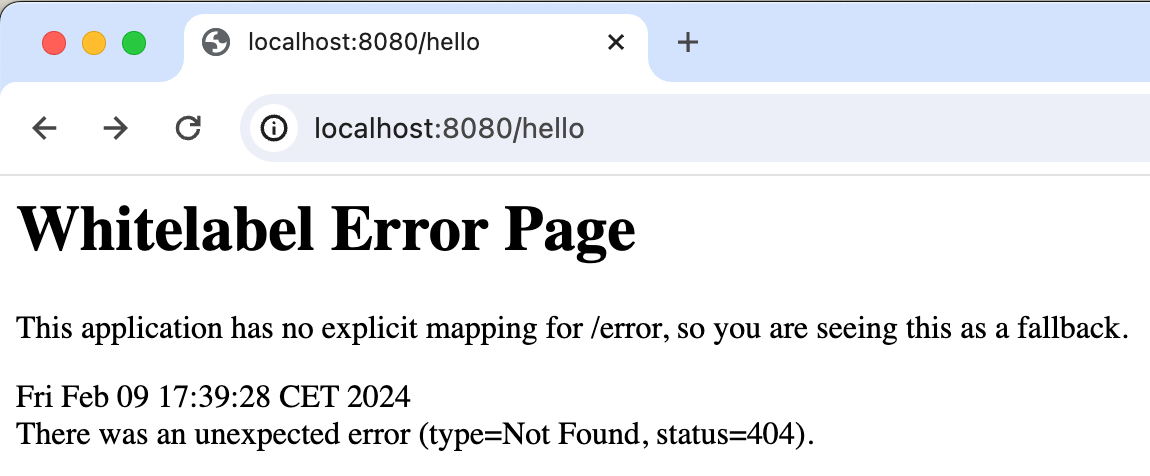
Open the application on localhost: http://localhost:8080/hello
As you can see, we get a Whitelabel Error Page. That means that something’s not quite right. Let’s see if we can solve this issue using AI Assistant.
Find and fix problems
There are several ways we can ask AI Assistant to help us fix this problem.
First off, we can ask directly in the chat. Open the AI Assistant chat window on the right, and type your question. For example, “Why does this code return a Whitelabel Error Page?”. We see that (among other things) AI Assistant suggests we need to ensure that our class is annotated with @RestController.
As AI Assistant is powered by LLMs, the result is not deterministic. For the same request, you might get a different response. It might also take some fine-tuning of the prompt to get the desired result. In general, the more detailed your question, the more specific the result will be.
Alternatively, we can use AI Actions | Find Problems to see whether this will include the solution to our problem. Right-click in the editor to open the context menu, including AI Actions, or select AI Actions in the floating toolbar and select the Find Problems option. This will open a chat window with a predefined prompt, including the selected code. Once again, AI Assistant suggests we need to add @RestController to our class.
We can copy the suggested code from the chat window into our code by clicking the Insert Snippet at Caret button.
As we have seen, both the response in the AI Assistant chat and the answer for Find Problems suggest we should use the @RestController annotation on our controller. We can do so by inserting suggested code from the chat window, or we can do this ourselves.
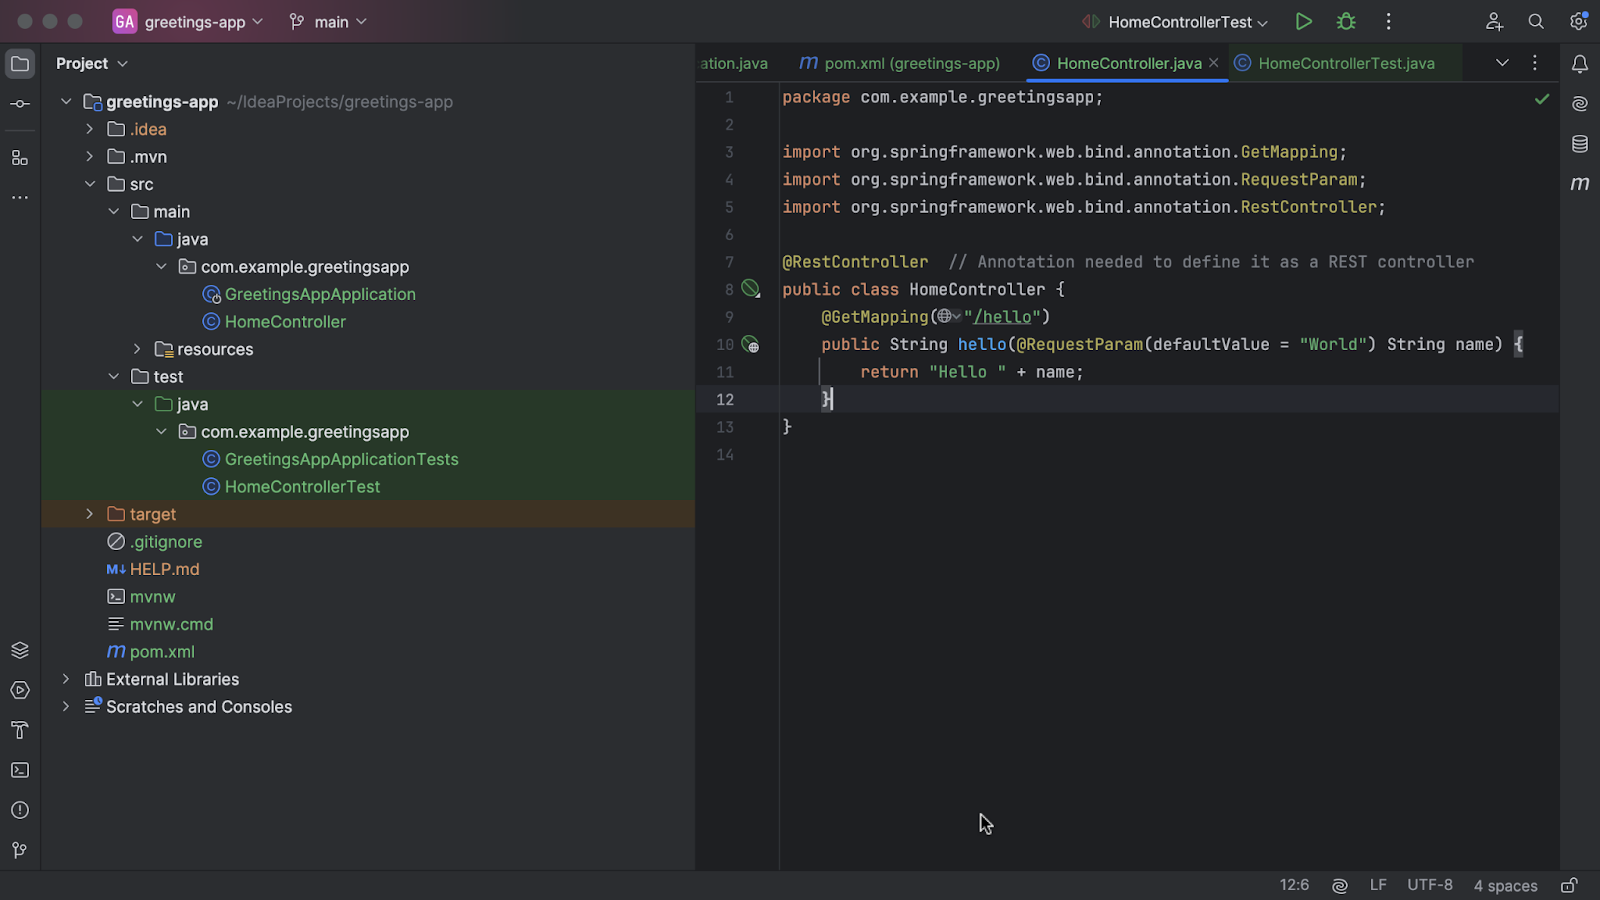
The code should now look like this:
package com.example.greetingsapp;

import org.springframework.web.bind.annotation.GetMapping;

import org.springframework.web.bind.annotation.RequestParam;

import org.springframework.web.bind.annotation.RestController;

@RestController  // Annotation needed to define it as a REST controller

public class HomeController {

   @GetMapping("/hello")

   public String hello(@RequestParam(defaultValue = "World") String name) {

       return "Hello " + name;

   }

}
If you are following along and want to check if your code is the same, you can use Compare with clipboard to do so. To use this feature, first copy the code snippet above, then select your code in the IDE, and right-click on your code in the editor to open the context menu. Select the option Compare with clipboard from the context menu to open the diff between your code and the clipboard. The diff will say “contents are identical” if there are no differences, or it will highlight any differences found in the code.
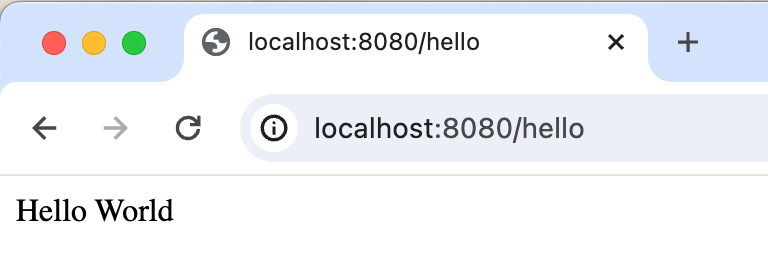
Now, we can run the application and try localhost again: http://localhost:8080/hello.
You should get the following result:
 We can also call the endpoint with a parameter: http://localhost:8080/hello?name=Marit
You should get the following result:
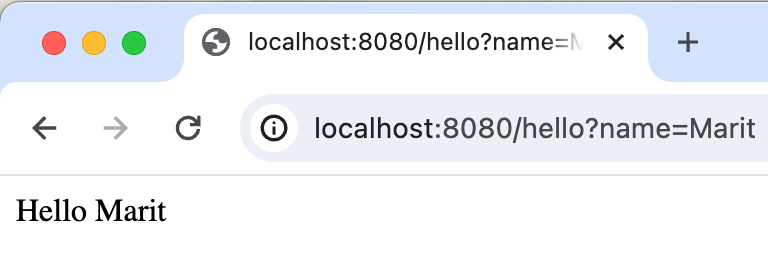
I’m using my name here – feel free to use your own!
Generate Unit Tests with AI Assistant
Next, let’s add some tests to our application. Of course, we can do so ourselves. We can navigate to tests, or create the test file if there aren’t any tests yet by using the shortcut ⇧⌘T on macOS or Ctrl+Shift+T on Windows/Linux. IntelliJ IDEA supports a number of testing frameworks, including JUnit 5, which we will use here.
In the test class, we can use Generate (⌘N on macOS or Alt+Insert on Windows/Linux) and select Test Method to add a test. Give the test a name that explains the intended behavior, and add the relevant test code.
Alternatively, we can have AI Assistant generate the unit tests for us! Let’s delete the class we just created and try again.
Open the context menu in the editor and select the AI Actions | Generate unit tests option. Note that AI Assistant can only generate unit tests for methods. If you get the “Test generation is not supported for the target code element” message, make sure to select the option Generate unit tests from a method in your code.

If we’re happy with the tests that have been generated, we can select Accept all. If not, we can fine-tune them by selecting Specify and providing an additional prompt to ask AI to improve the result. Alternatively, we can click the Regenerate button to generate the tests again.
When we accept the result, we can select Run All Tests (⌃⇧R on macOS or Ctrl+Shift+F10 on Windows/Linux).
AI Assistant will then generate the tests in a new file. This file is created in the correct place in our project, as seen in the Project tool window on the left, using the default name HomeControllerTest. If a file by that name already exists, it will use an alternative name, like HomeControllerUnitTest.
If the tests pass, we now know there are no compilation issues, and the tests can run.
However, never trust a test you haven’t seen fail! We want to ensure the tests will also fail if they get the wrong result. Let’s change the expected results in the tests and rerun them. Now we see they fail, we can undo the changes and keep the original tests.
You might want to think about whether the generated tests cover everything you want to cover. Do they include just happy flows as well as unhappy flows and exceptions? Are there any boundary cases you need to cover? We can either add additional tests ourselves or ask AI Assistant to generate specific test cases for us.
Conclusions
We’ve now seen several ways IntelliJ IDEA and AI Assistant can help us build a simple Java Spring Boot application more quickly. To build something more complicated, we can use the same steps shown here, with different prompts – either in the comments in the editor to prompt code generation or by asking AI Assistant for specific code in the chat.
Give AI Assistant a try and see if you can expand the application we created in this blog post or build your own – and do let us know how it goes in the comments!
Links
- JetBrains AI Assistant
- IntelliJ IDEA – AI Assistant
- JetBrains AI Assistant – FAQ
- IntelliJ IDEA – Spring
- Creating a Spring Boot “Hello World” Application with IntelliJ IDEA
- Your First Spring Boot Application