PyCharm Edu 2017.3: Enhanced Stepik integration, course filtering, better UX, and more

PyCharm Edu versioning and release timetables are now aligned with our other JetBrains products, to help us focus on delivering more continuous value. So we’re switching to an aligned 2017.3 version from the previous version 4.0.
Please note, that all the PyCharm Edu 2017.3 features are also available in PyCharm for Python courses, as well as IntelliJ IDEA for Java courses and IntelliJ IDEA and Android Studio for Kotlin courses with the help of the EduTools plugin.
PyCharm Edu 2017.3 new features
Enhanced Stepik integration for learners
- Getting access to the Stepik courses
- Course progress synchronization
- Importing more courses
- Filtering the list of courses with tags
New course management UI for educators
- Setting up Virtualenv or Conda environment
- Managing PyPI and Conda packages
- Working with your course dependencies
Enhanced Stepik integration for learners
Stepik can be used by an educator to share courses with you privately. And it also has a lot of public courses available, which are free to learn. You can get access to these courses from PyCharm Edu as well.
Getting access to the Stepik courses
First, you’ll need to create an account and log in:
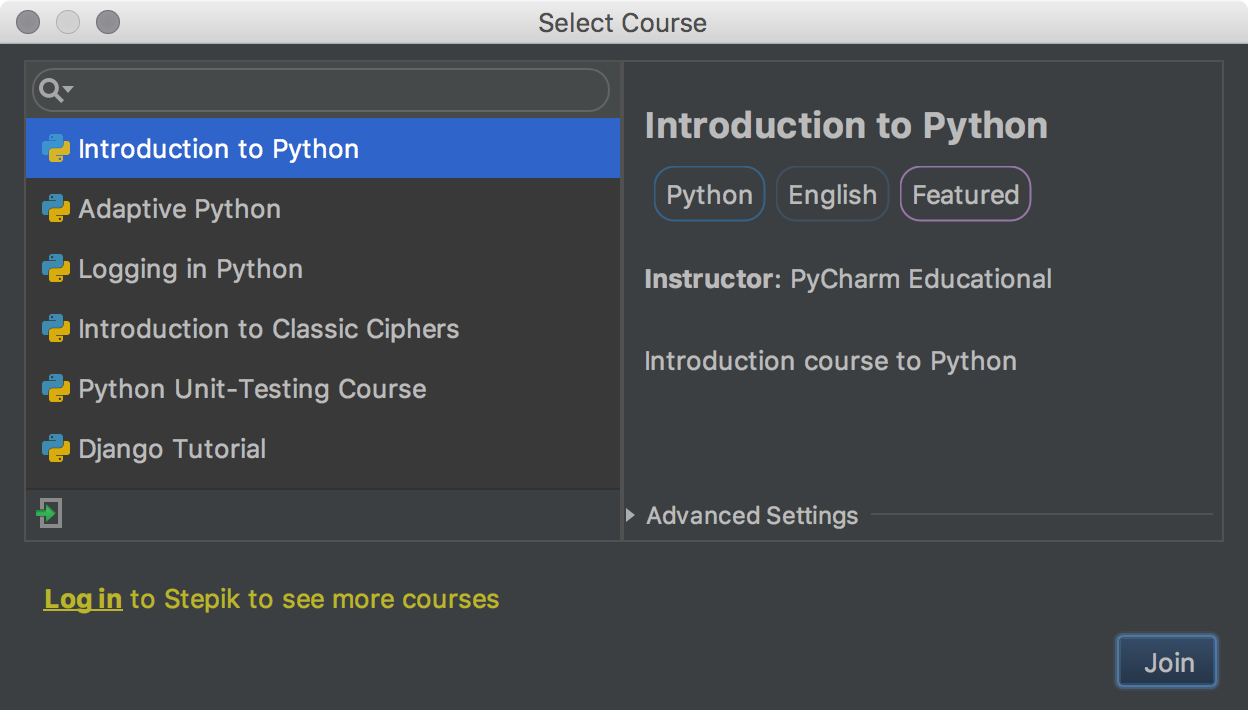
Going back to PyCharm Edu, you can now log in to Stepik from the Browse Courses window:
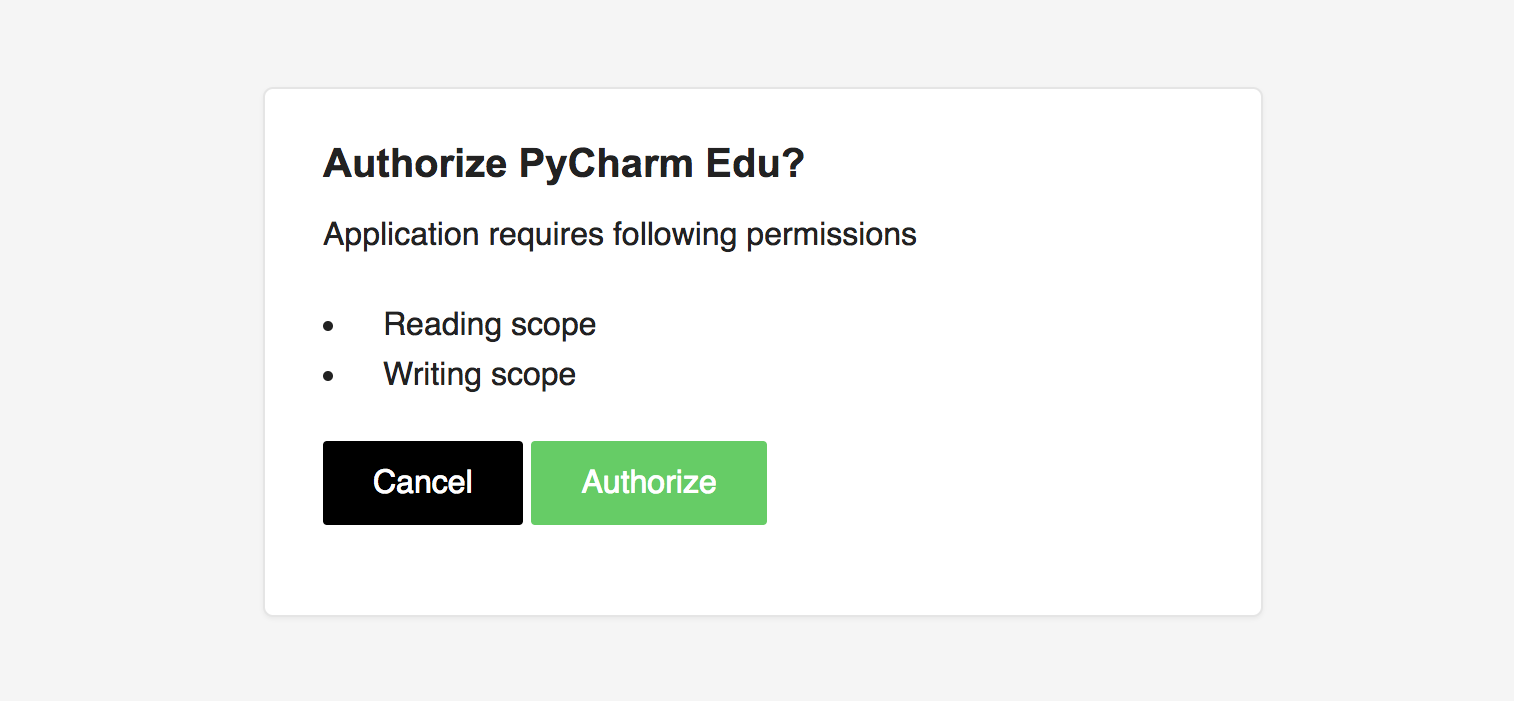
Use the link Log in to be redirected to Stepik.org and authorize PyCharm Edu:
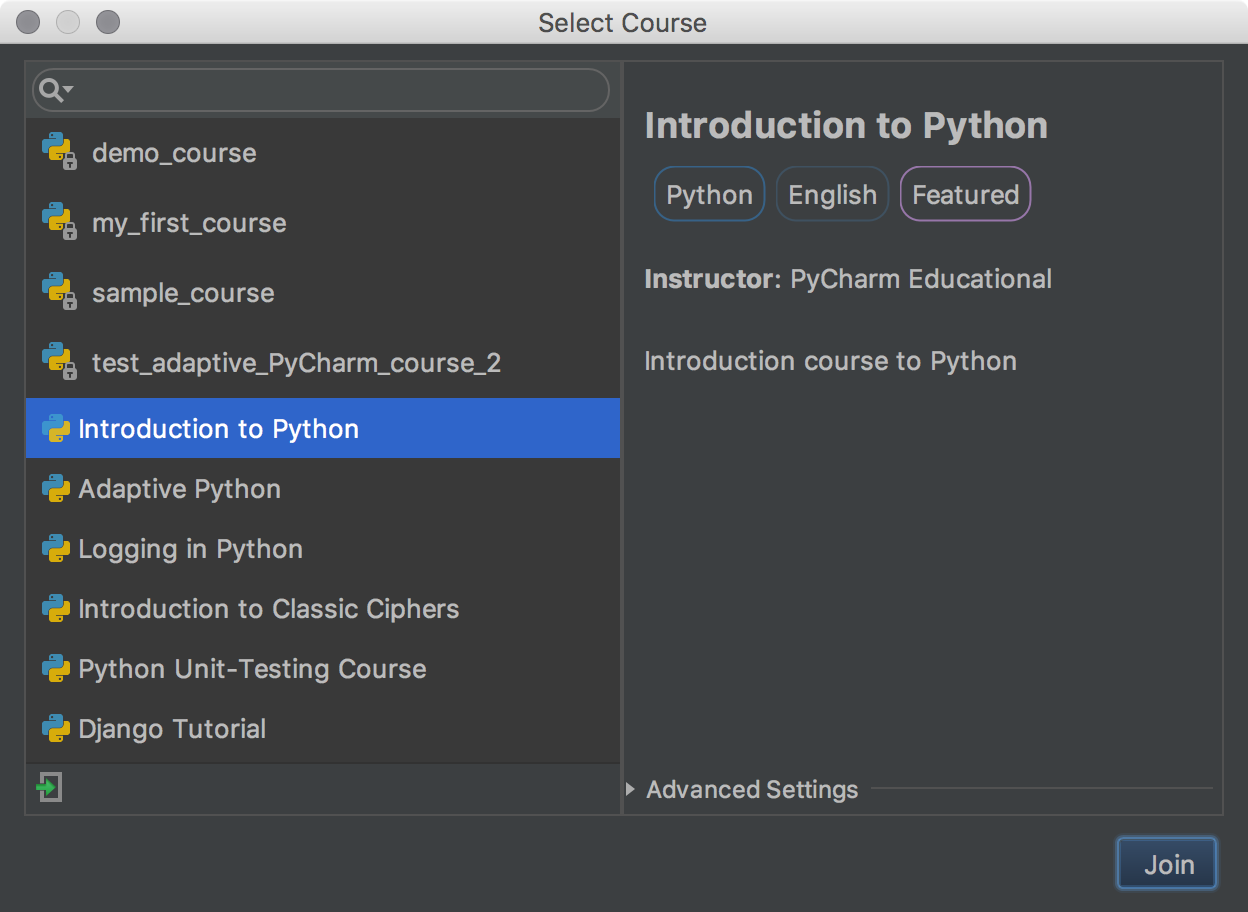
The list of courses will be updated after you authorize to include any private courses that have been shared with you:
Now you can join any of the courses listed and start learning.
Course progress synchronization
After you’ve logged into Stepik and started learning, you don’t need to worry about losing your course progress. All your progress is synchronized between Stepik and PyCharm Edu.
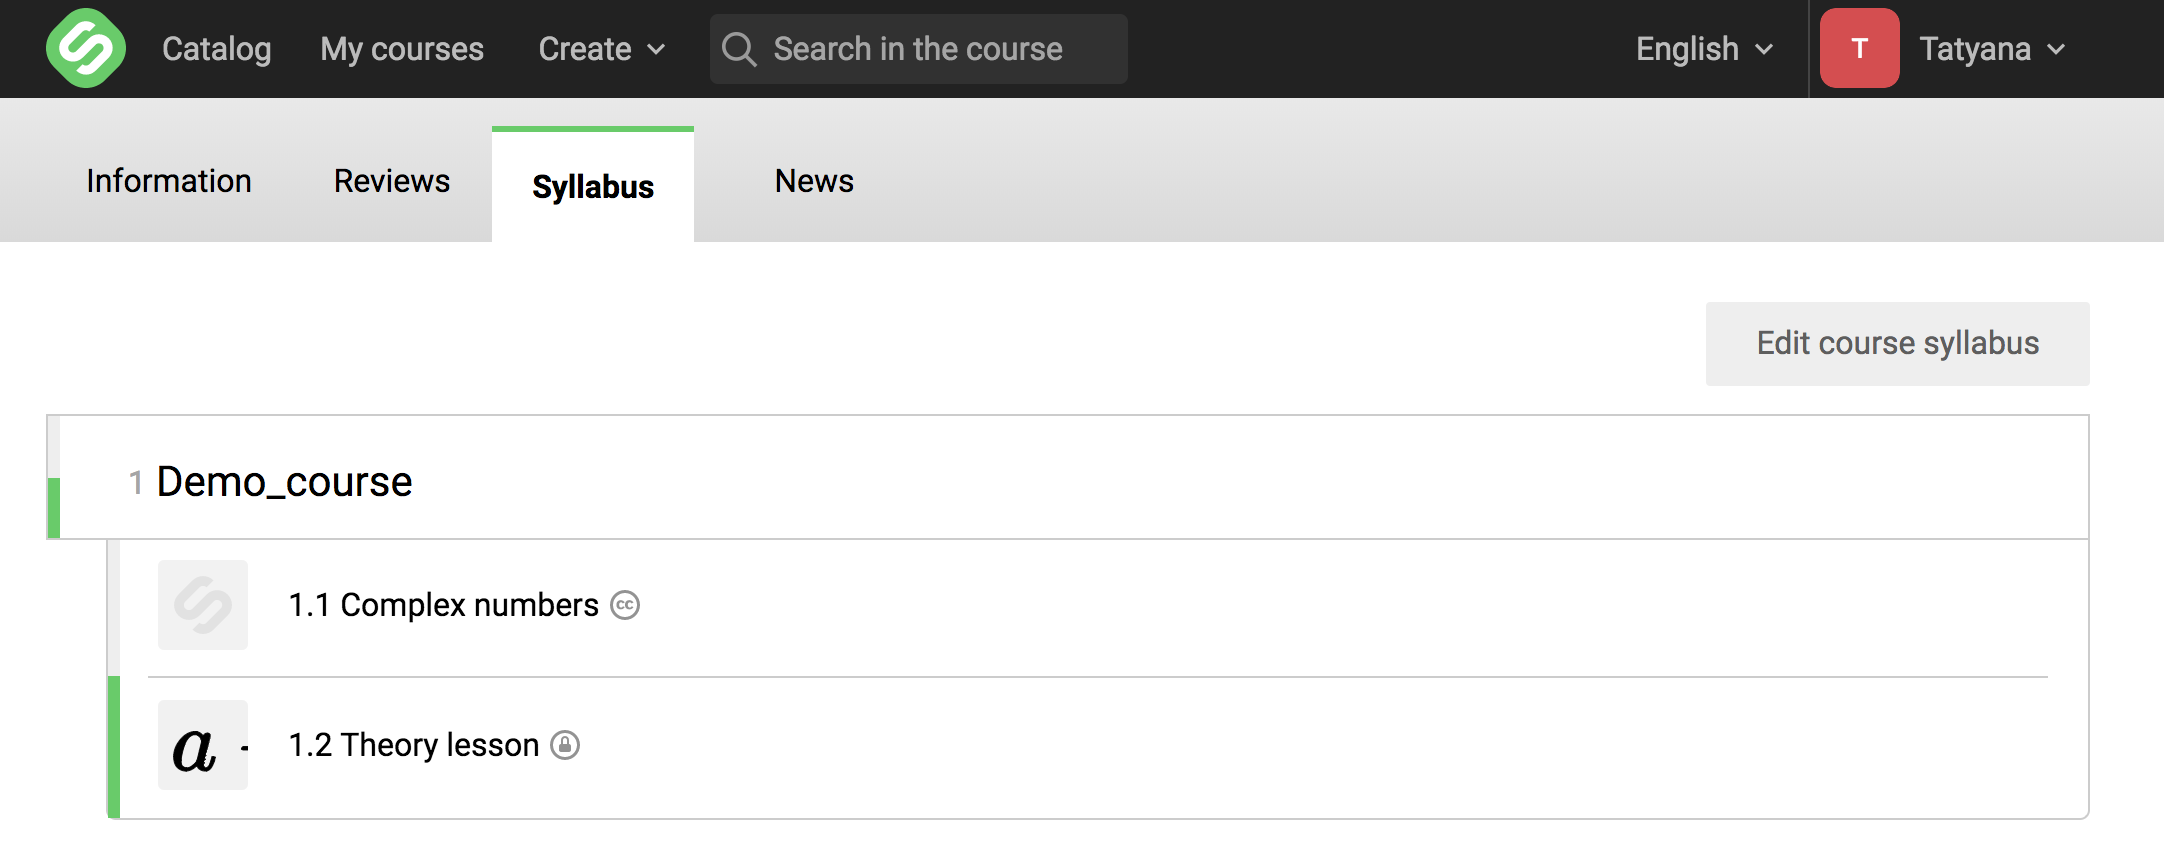
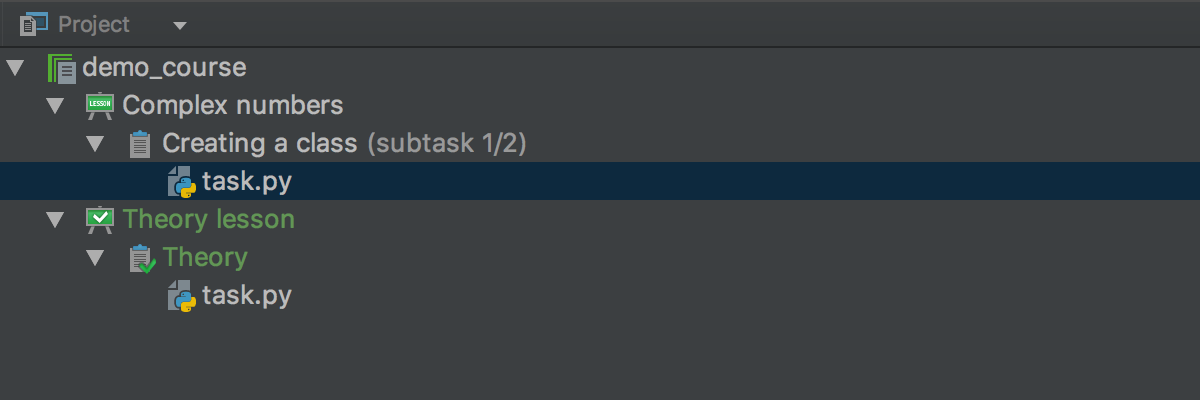
Which means you can start the course on Stepik for the theory lessons for example, then go back to PyCharm Edu to do the coding exercises – and your progress will always be there for you from exactly where you left off:
And what’s more, your progress is available between different computers, which is especially useful if you use several for learning. When you join the course on your computer, there is a course folder created locally so you can open it every time you get back to the course.
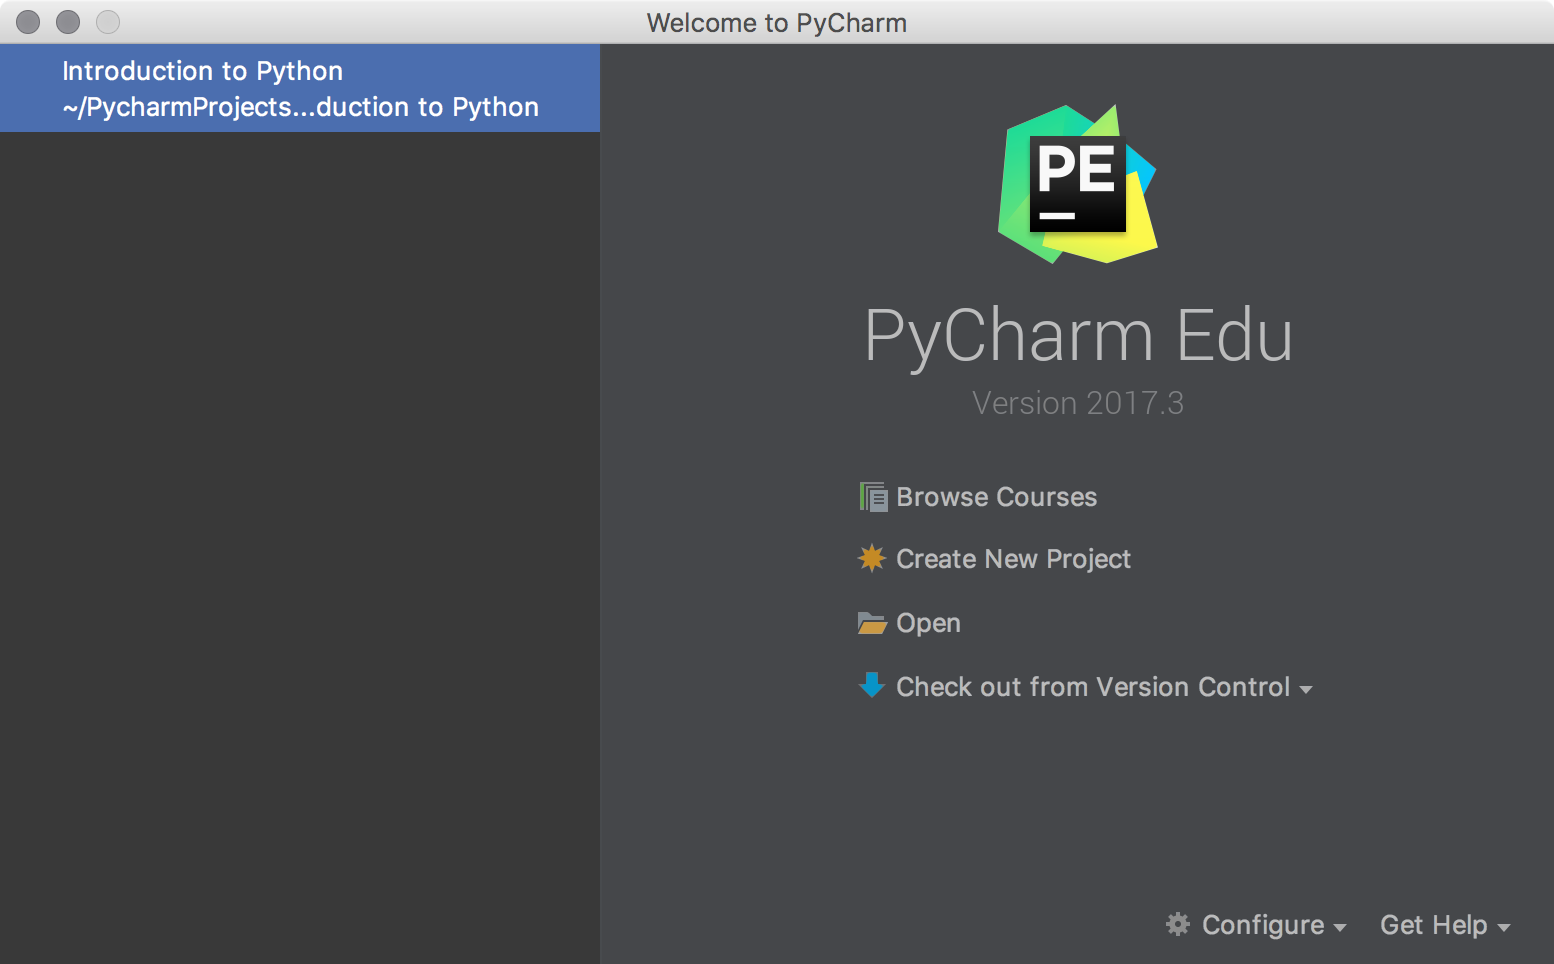
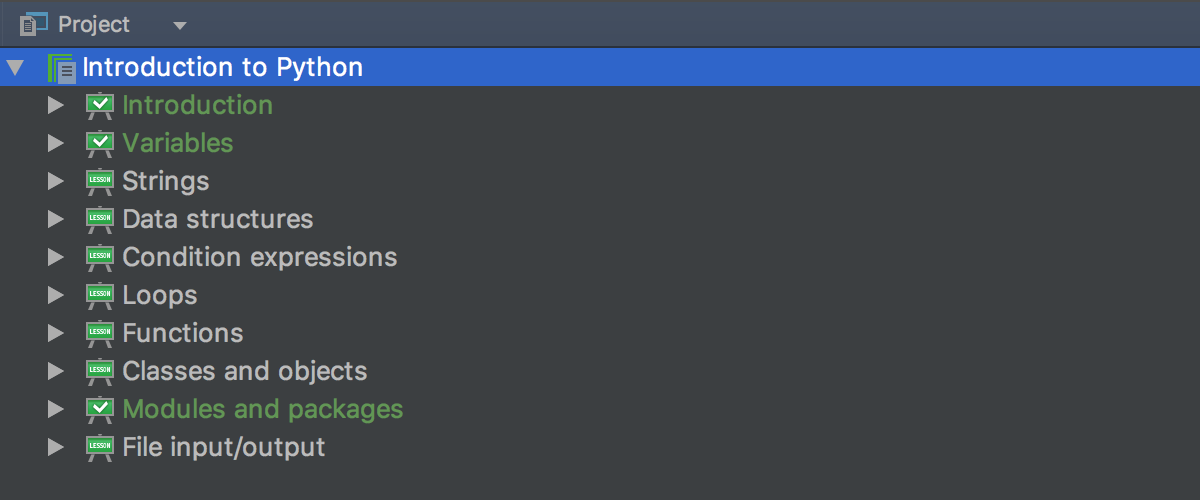
For example, after you join the Introduction to Python course, it will appear on the left of the Welcome Screen, so you can reopen it:
But if you open PyCharm Edu on another machine, or you lose the course folder, you need to join that course once again, and a new course folder will be created. But don’t worry, the course progress will still be there:
Importing more courses
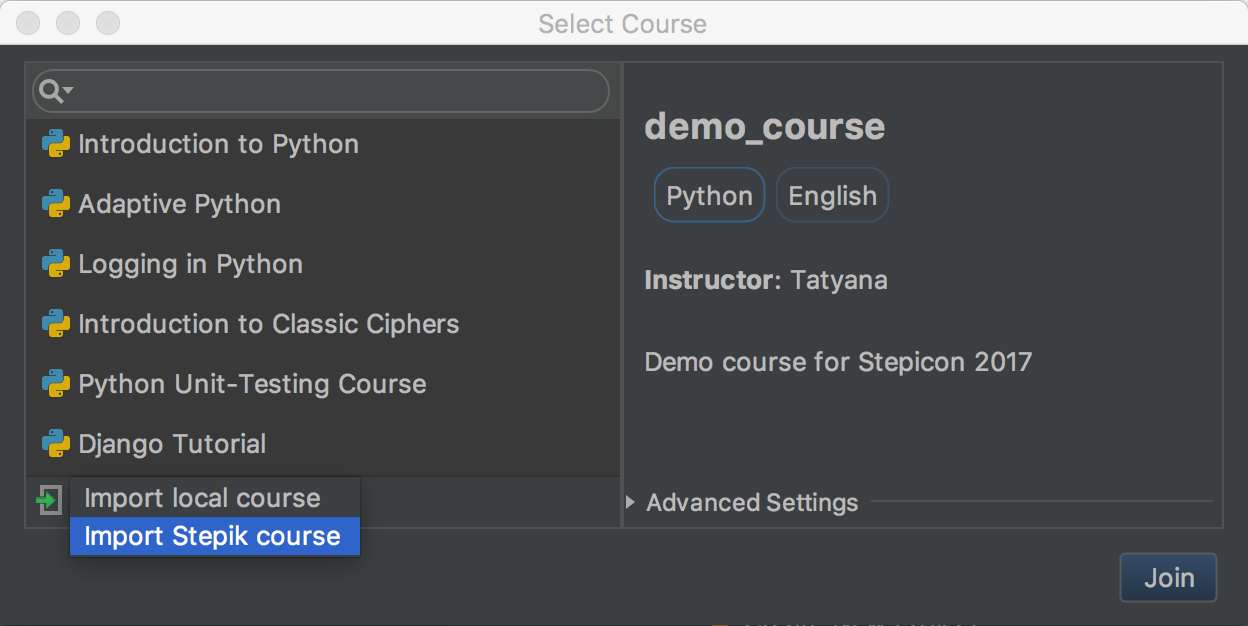
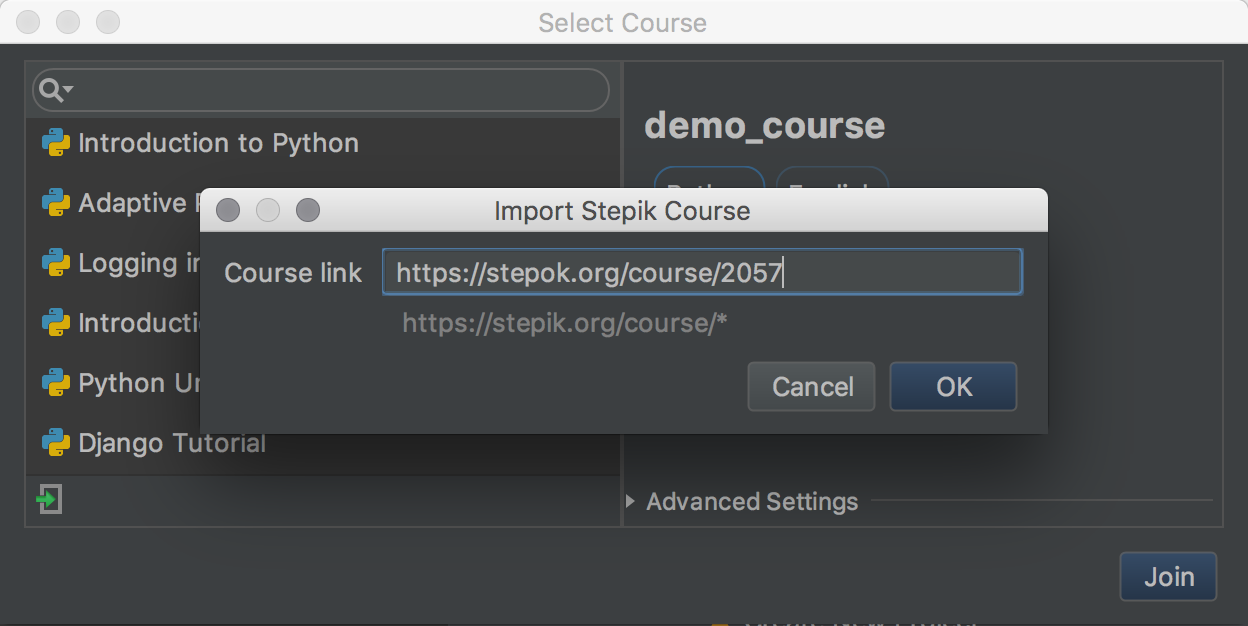
If you find a public course on Stepik that you are interested in which has Python code problems to solve, but you can’t find it in the list of courses in PyCharm Edu, you can always import it with the special icon at the bottom of Browse Courses window:
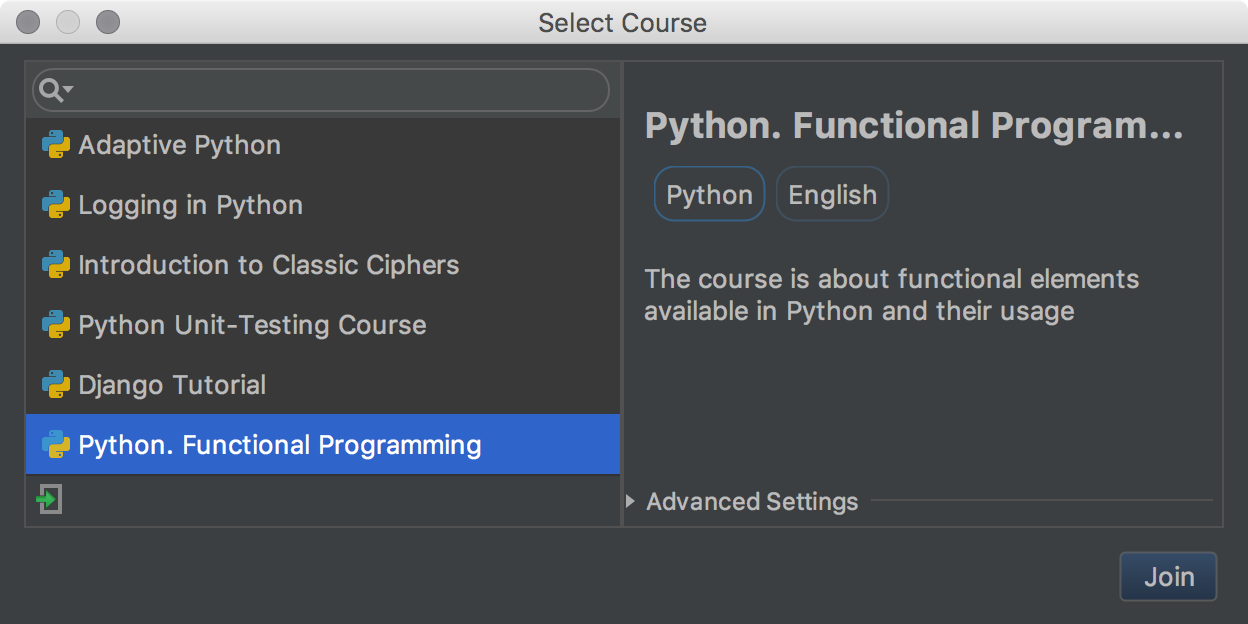
Now you can join the course:
Please note, you need to import and join the course once again if you change your computer or lose the course folder. The course progress will be saved though.
Filtering the list of courses with tags
With much more courses now available in the list, you may want to filter the list to show you only the types of courses which you are interested in. You can now use specific feature tags for this purpose.
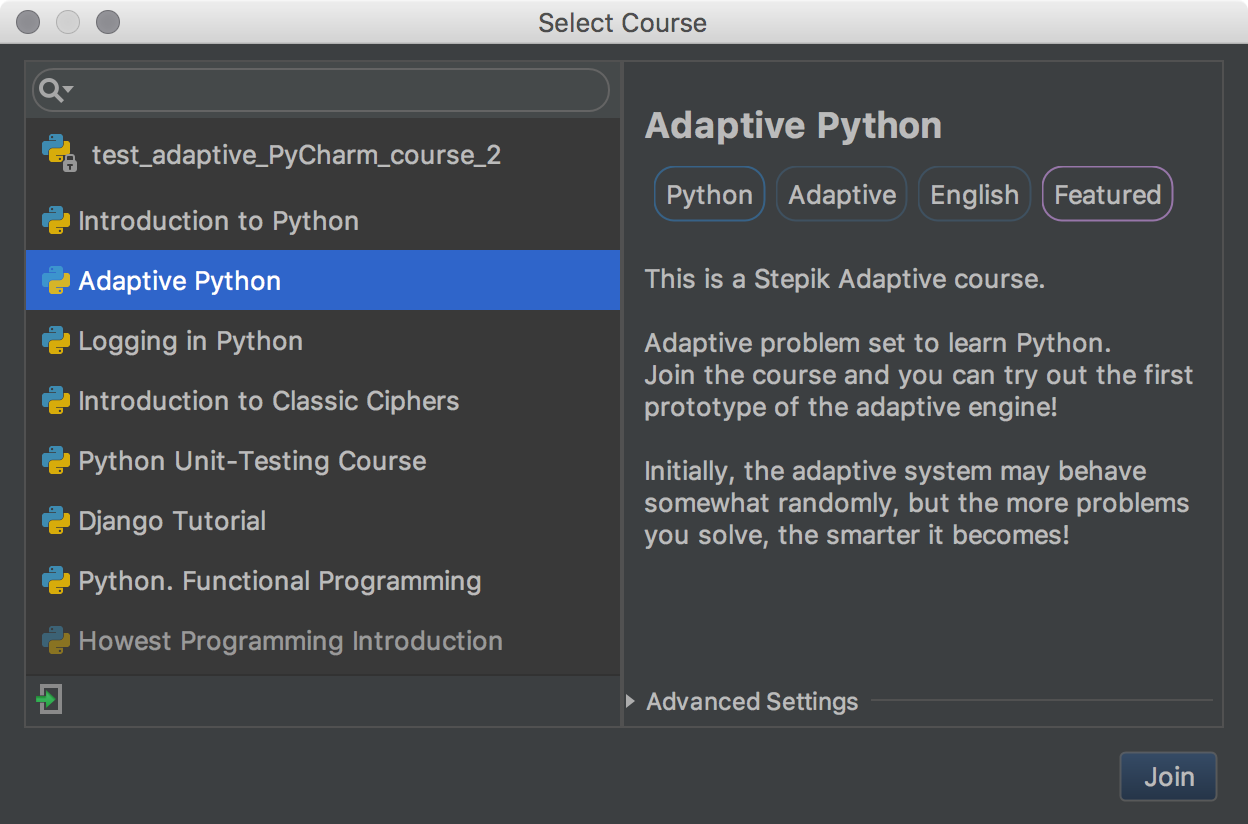
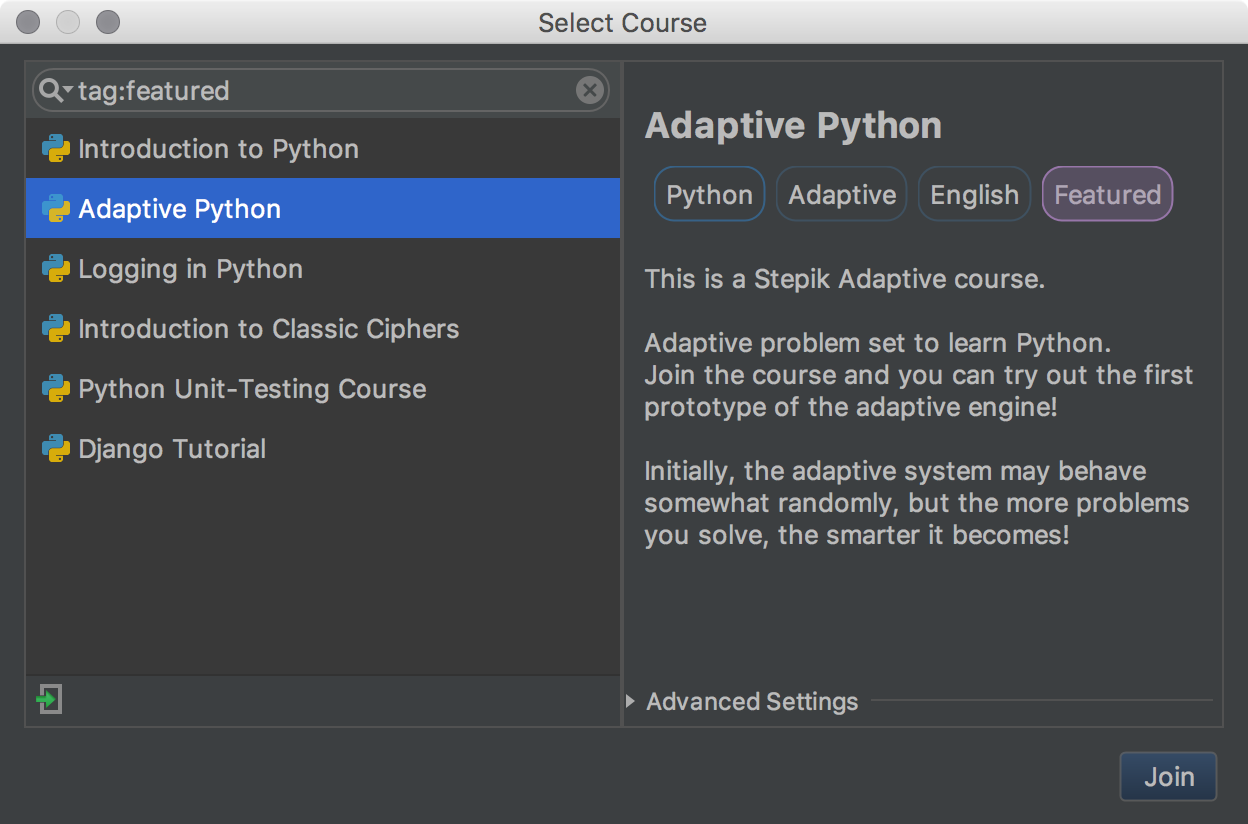
Take a look at the list of courses and their descriptions. For example, the Adaptive Python course is tagged with: Python, Adaptive, English, Featured. Which means it is an adaptive course for learning Python in English, and it is approved by JetBrains:
Just click on a tag label in the course description to filter for courses which meet this condition:
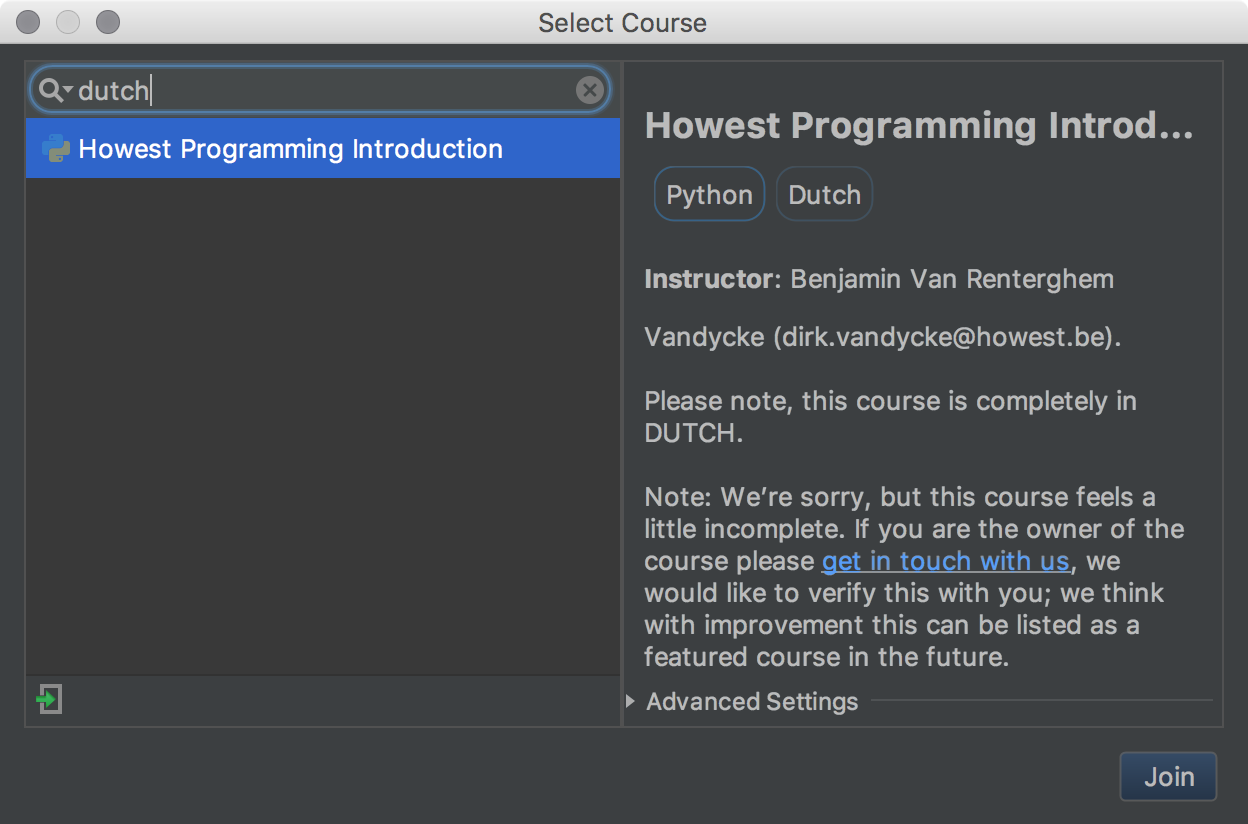
Or, start typing a tag name in the search field:
If you need to log out of Stepik, please go to Preferences | Tools | Education -> Stepik | Log Out. Or use the Stepik Status Bar icon:

New course management UI for educators
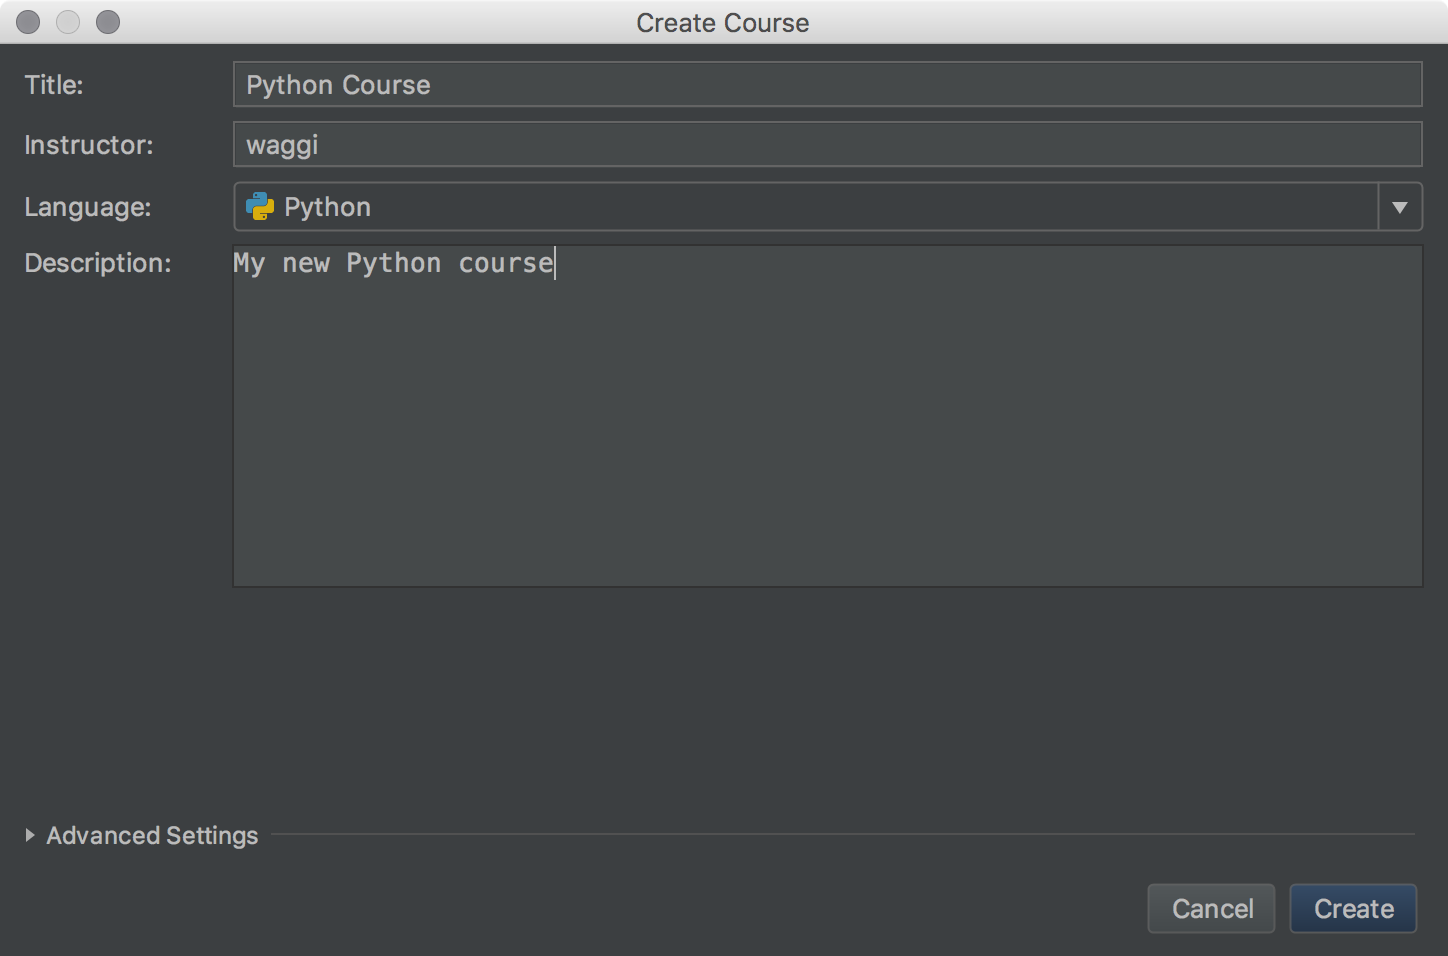
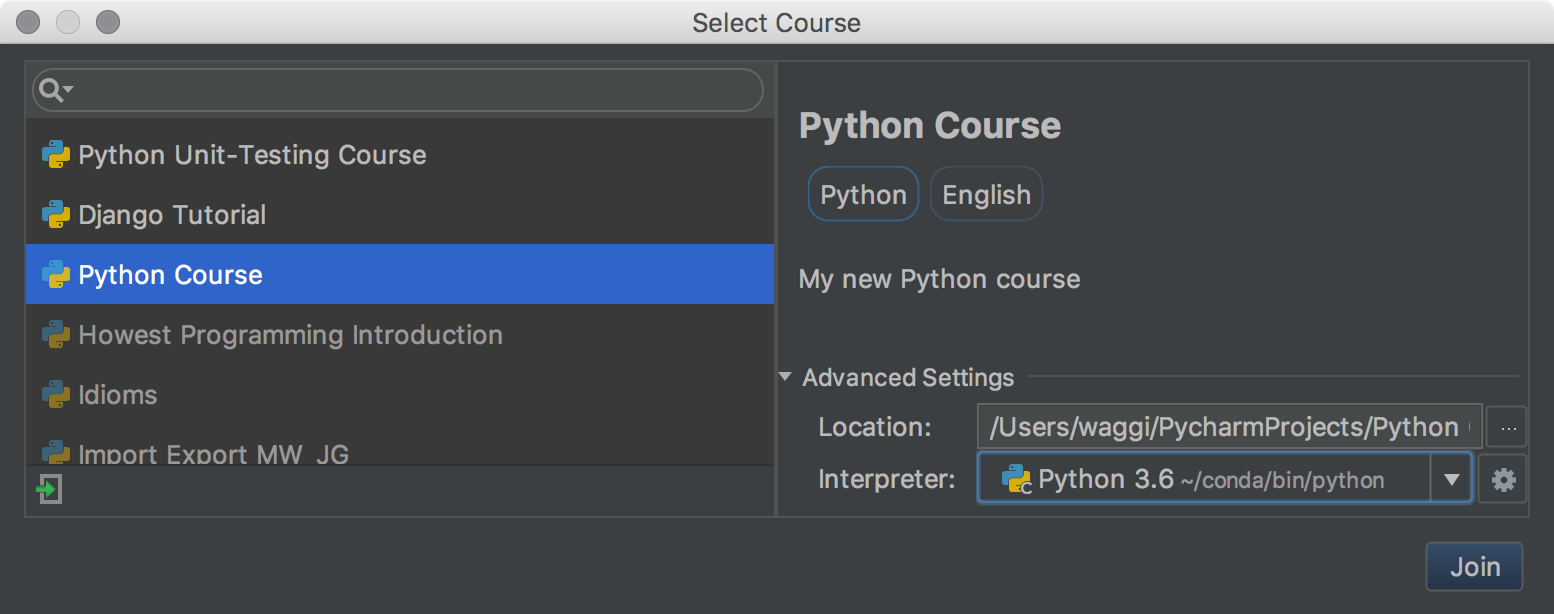
The Create New Course window has been improved and is now much clearer. The advanced settings, such as course file path and interpreter, are now hidden by default:
Setting up Virtualenv or Conda environment
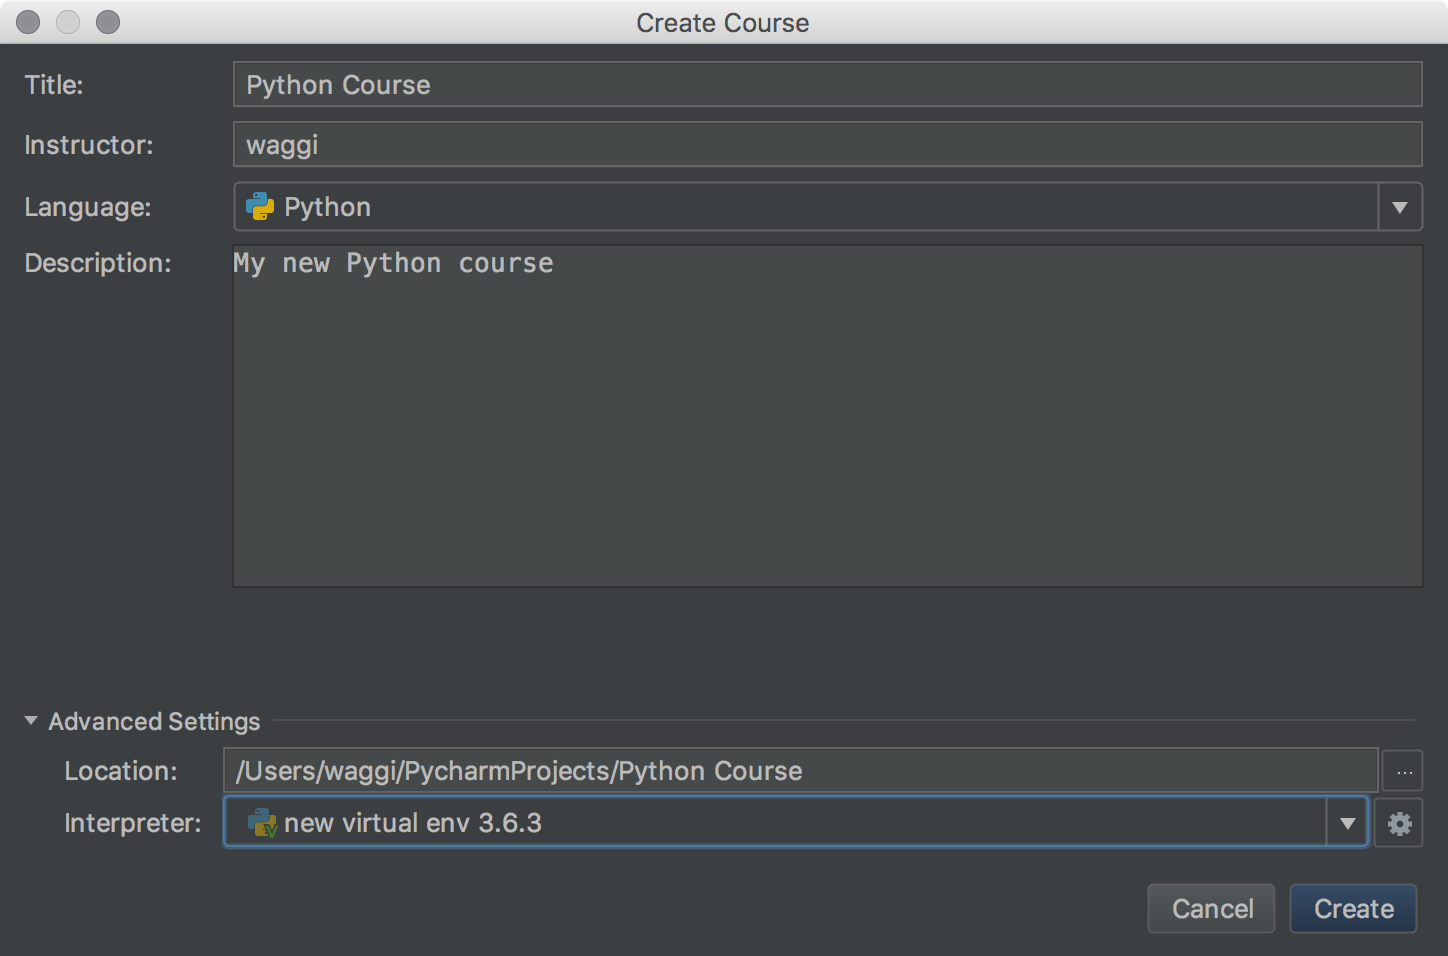
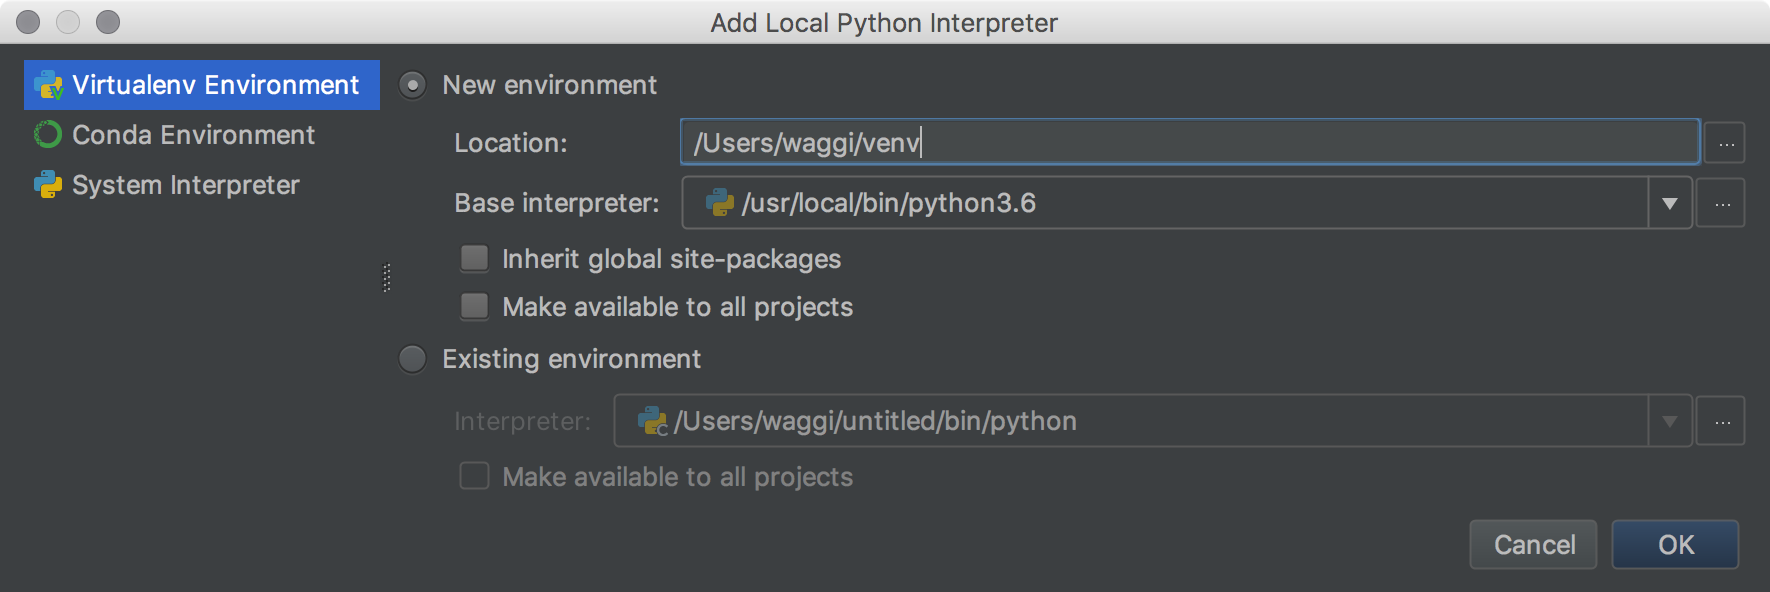
If you feel the default Python interpreter doesn’t answer all the needs of the course, and you want to set up a specific interpreter for the course, please open Advanced Settings section:
The course interpreter dropdown options now only have the virtualenvs you specifically configured for that particular course and the virtualenvs that you’ve specifically configured to share between courses. Under the gear icon, you will find ‘Add Local’. A new dialog makes it much easier to configure a new virtualenv:

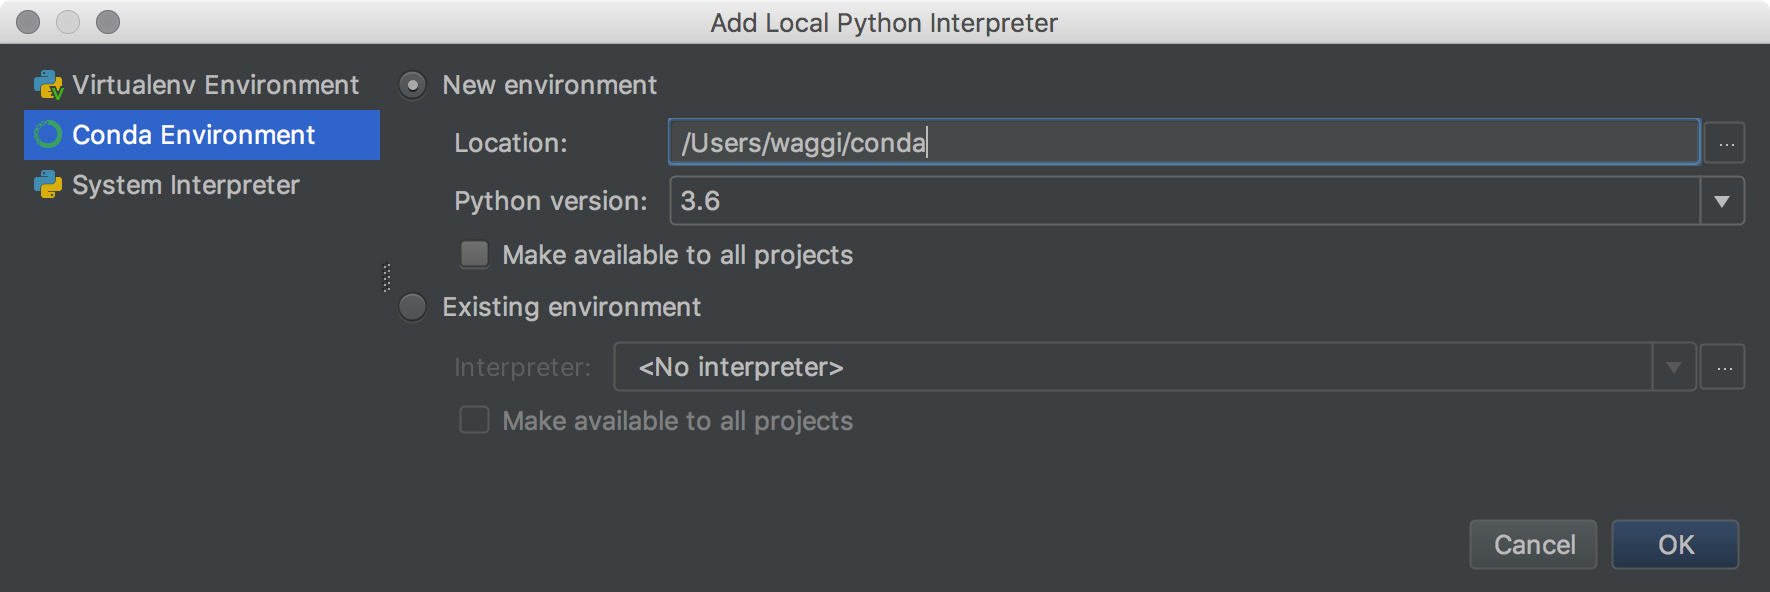
Or conda environment:

Managing PyPI and Conda packages
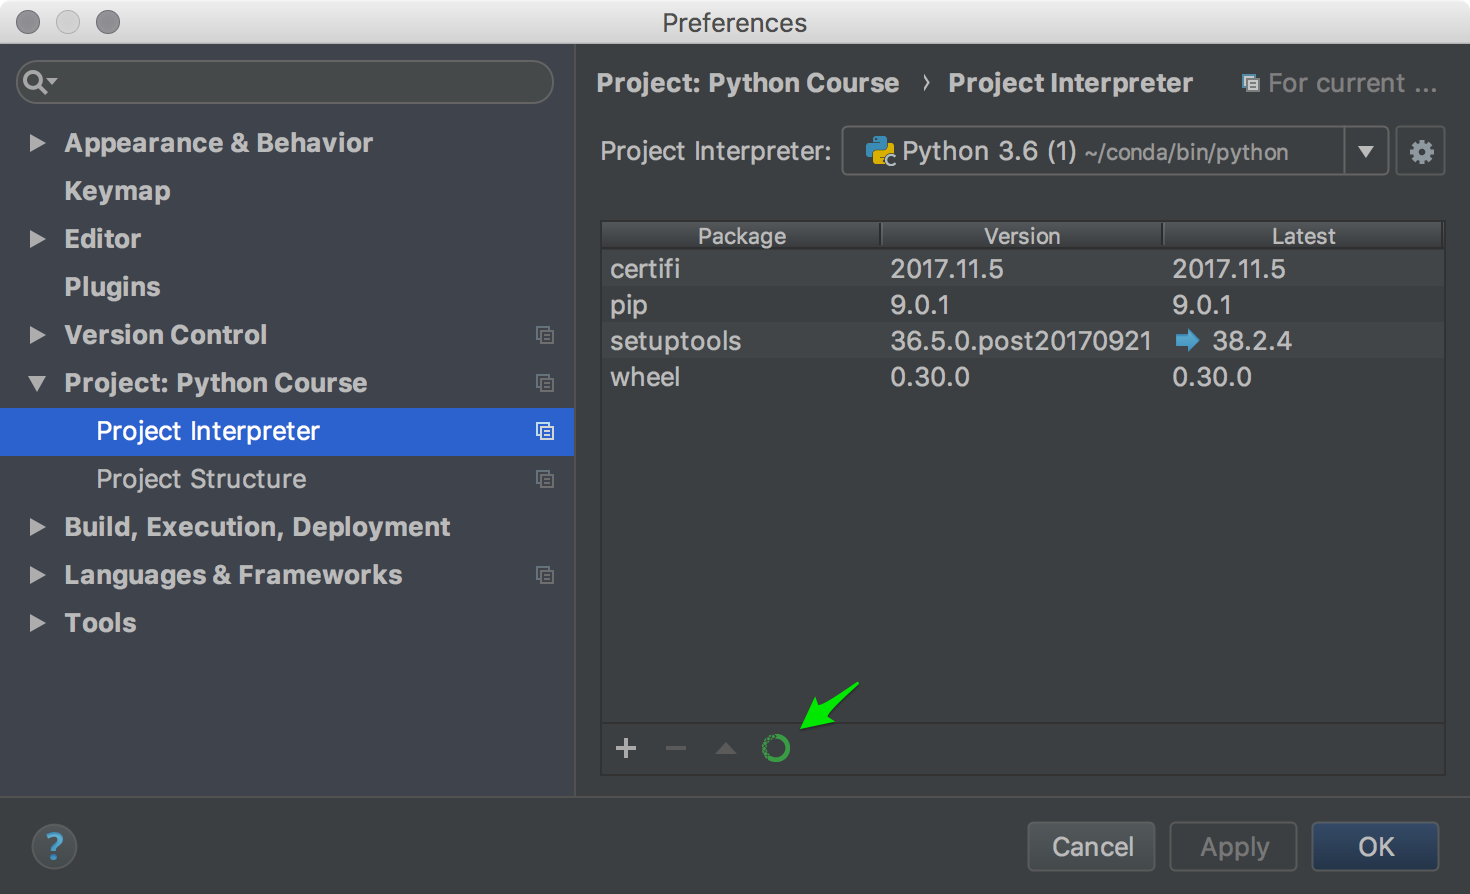
Now you can install the packages needed for your course, for example, a numpy Conda package. Go to Preferences | Project: Python Course | Project Interpreter, click the + icon and install the package:

If you want to install PyPI packages into a Conda env, click the Conda button on the right to switch between Conda and PyPI mode:
Working with your course dependencies
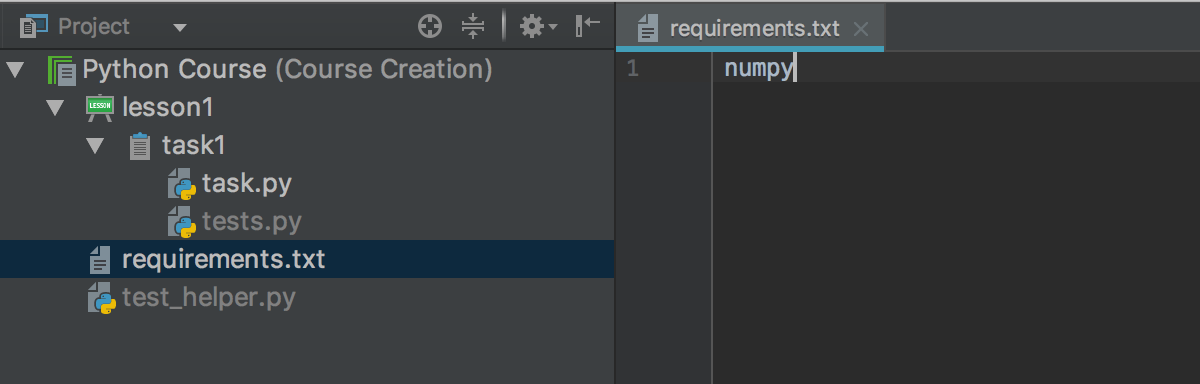
To make sure all the packages and libraries needed for the course are installed on a student’s machine, list all the dependencies in the requirements.txt file:
When a learner opens a course on their computer, PyCharm Edu will create a separate virtual environment based on the default Python interpreter and suggest installing all the required dependencies:

If you use Conda, please make sure the learner has set the Python interpreter up right when joining the course. It can be done in Advanced Settings section:
Download PyCharm Edu 2017.3, check out the new features and give it a try. Don’t forget to share your feedback!
Your PyCharm Edu Team