
Quality Assurance
Tools for Quality Assurance and Test Automation
Test as Text Approach in IntelliJ IDEA

In this article, we’ll give an overview of how IntelliJ IDEA can help Agile teams manage test cases and keep them synchronized with automated tests and feature branches. The approach that we follow could be more closely described as “Test as Text” or “Test as Code”. This approach involves storing test cases in a simple textual format, preferably in the version control system and next to the code of the project. Doing this allows us to manage test scenarios right from our IDE, keep them synced with the automated tests, see the change history, and develop test scenarios along with new features.
If you want to try this approach in your team, all you’ll need is IntelliJ IDEA Community Edition and the Test Management plugin.
Prepare test cases
Let’s imagine we are working in an Agile team and our developers are actively working on a new feature in a dedicated branch. As QA engineers, we need to prepare test scenarios and checklists in advance to be ready for testing.
The Test as Text concept requires us to keep our test cases in a simple, text editor-friendly format and, if possible, use a version control system. Let’s choose a folder where we want to add test scenarios and create a new test case.
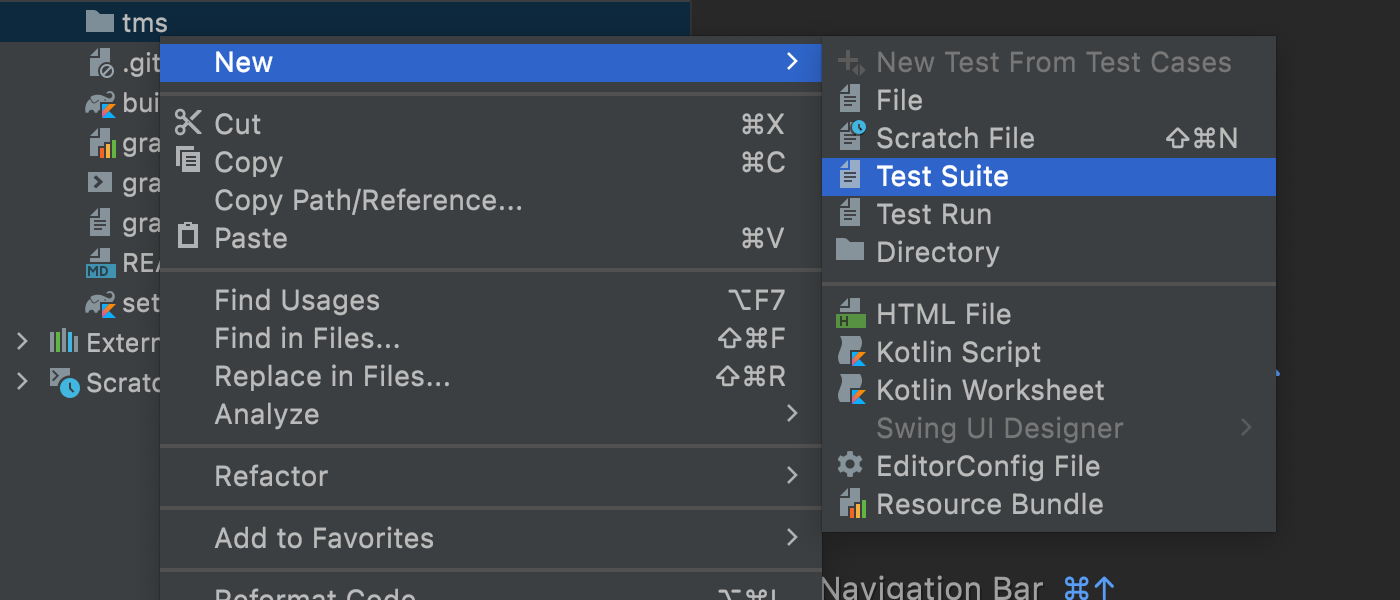
From the context menu, select “New Test Case” and provide a name for the test case. Our IDE will create a markdown file with some example text.
While the content of the file is pure Markdown, notice the unusual extension: .t.md. That extension indicates that the purpose of this markdown file is to store test scenarios.
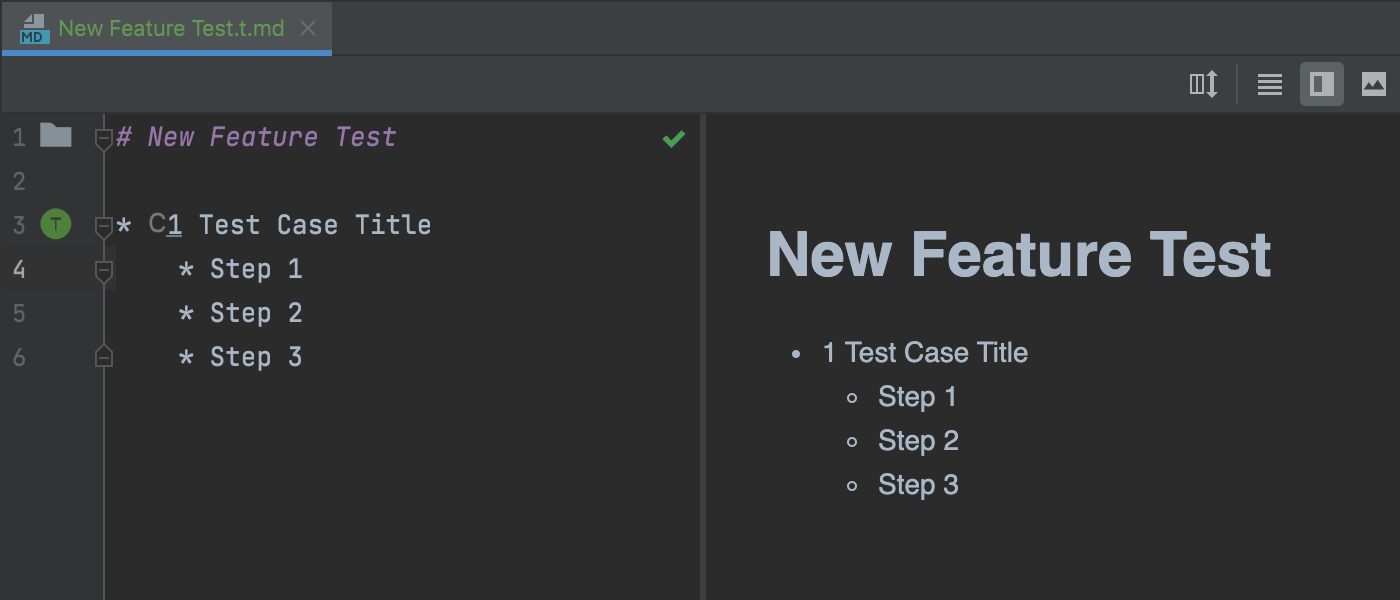
As we can see from the example text, the format of the file is pretty simple. The Markdown header describes the name of the test suite (checklist), and the bullets are the names of the checks or test cases. If we want to decompose the test case into steps, we can do so using a nested bulleted list. IntelliJ IDEA will help us distinguish between test cases and steps by marking each with a corresponding gutter icon.
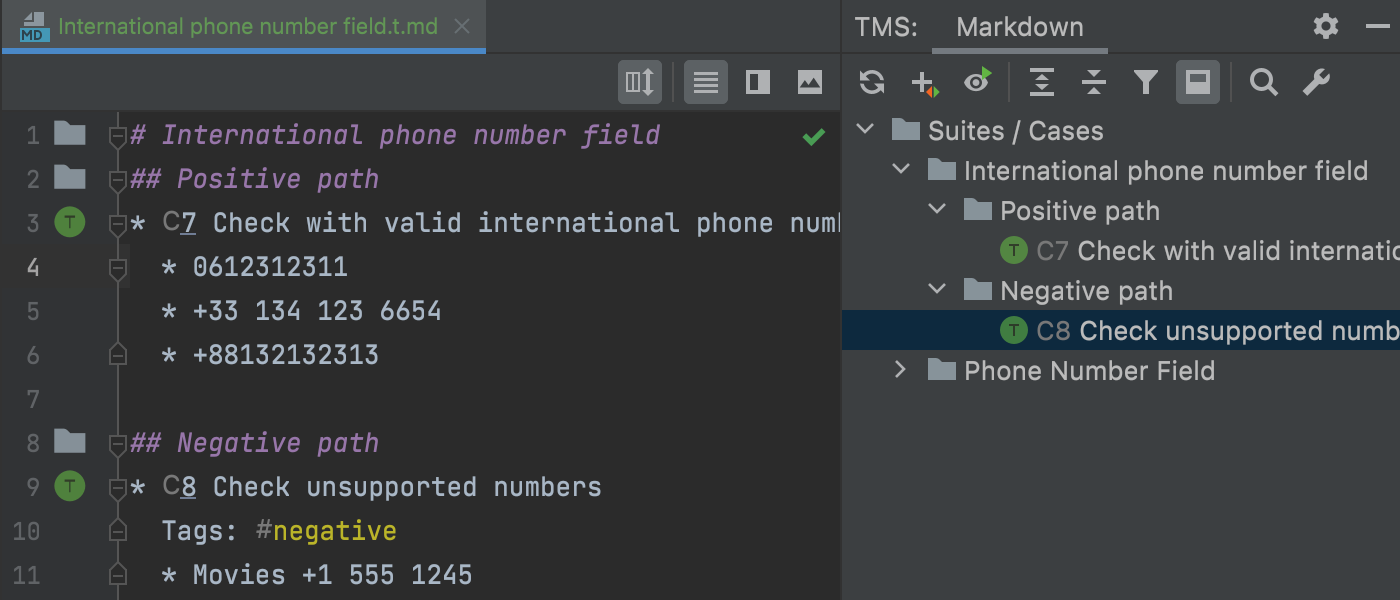
Let’s define a couple of test cases that will describe the new functionality being developed in this branch. We can also declare some tags and meta information for these tests.
As soon as we finish, we can commit our results to the VCS to share them with the rest of the team.
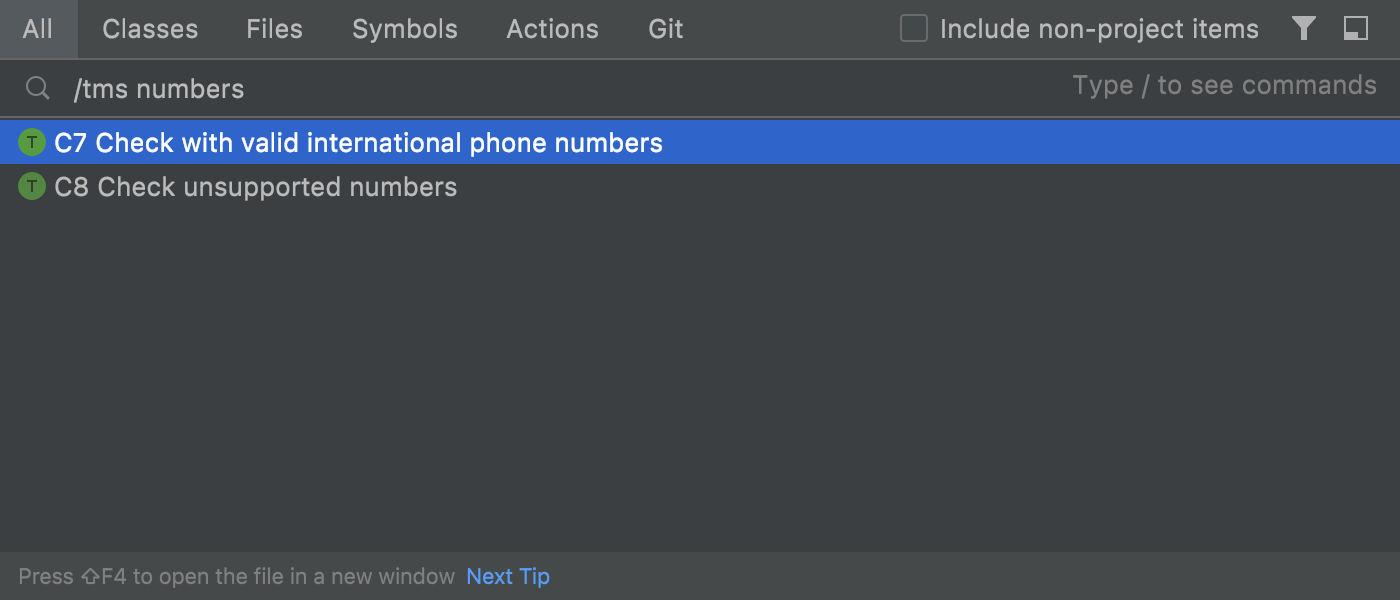
We can browse and filter all our existing and newly created test cases in the TMS tool window. To quickly navigate to the test scenario, we can use Search Everywhere and type the name of the test. To narrow the results we can use the /tms prefix or use Navigate | TMS item from the main menu.
Perform checks and store results
Now that we’ve created test cases for our new functionality, we can perform the checks as soon as the developers are ready.
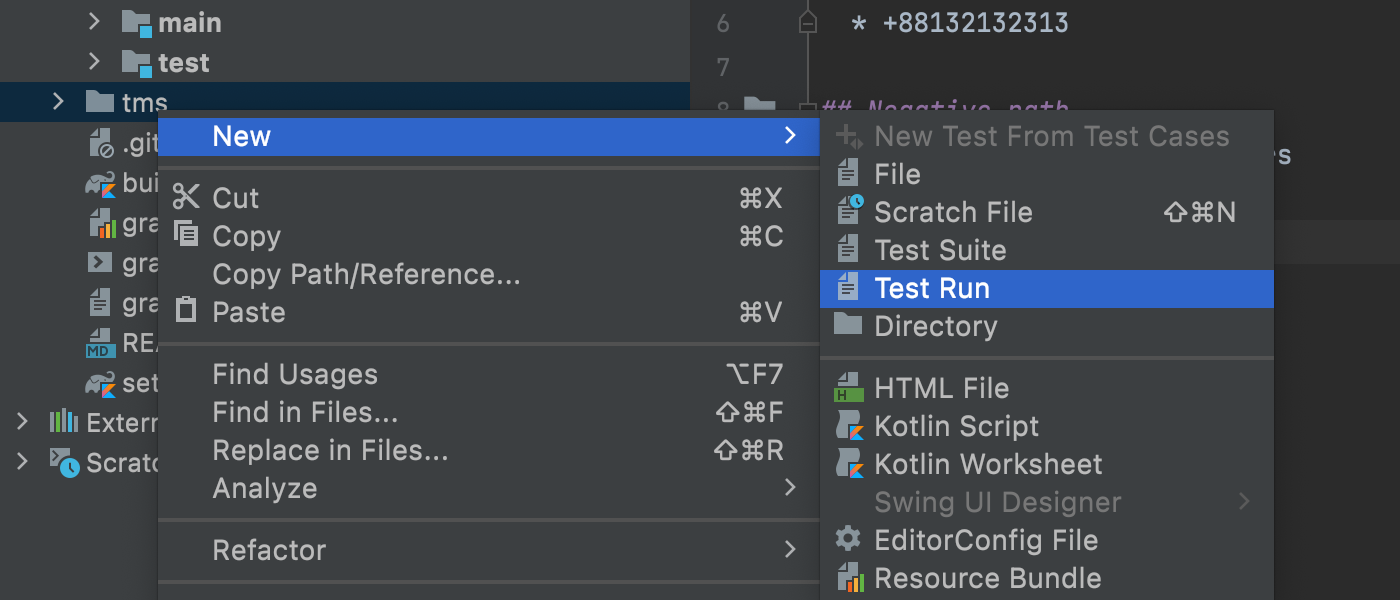
From the context menu, select New Test Run (in our example we will do it in the folder where we store our test cases) and provide a name for it. Select the tests that we want to perform and confirm the selection.
The IDE will create a markdown file, but this time with the “.r.md” extension, indicating that the file is used to store the results of the performed checks.
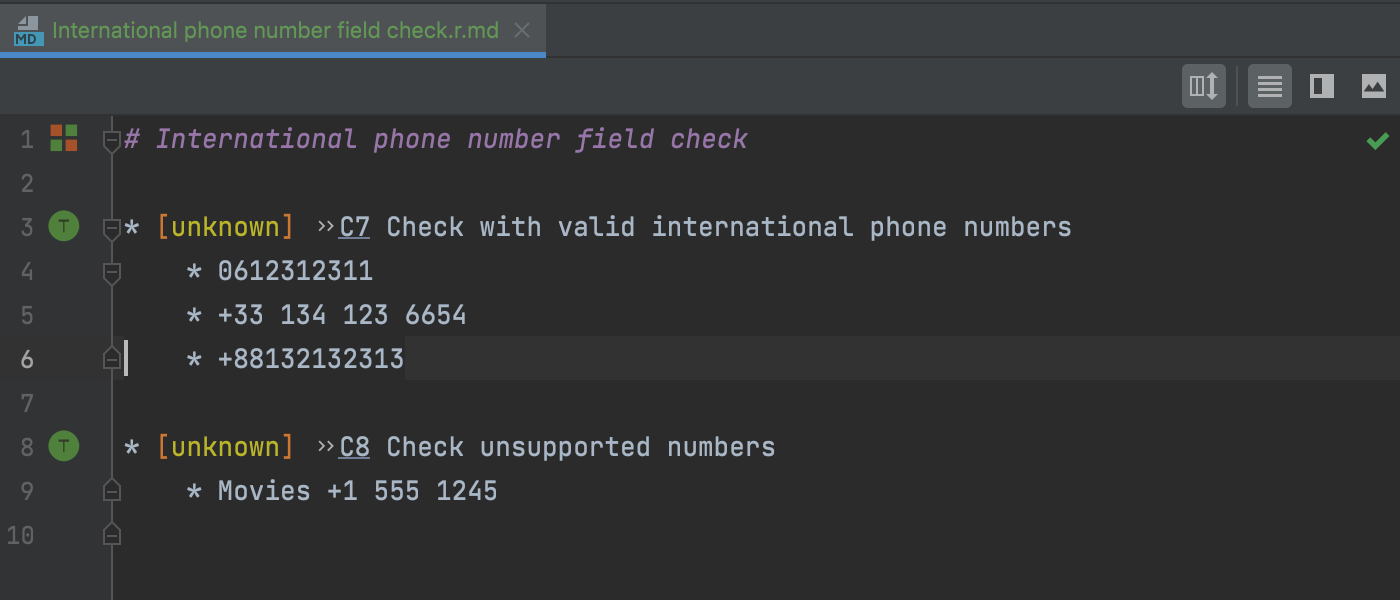
The steps for the test scenarios are copied to the test run, and by default each scenario has the “unknown” status. The name of the test run should be formatted as a header in Markdown. IntelliJ IDEA marks each test and its results with gutter icons and highlights them in the editor.
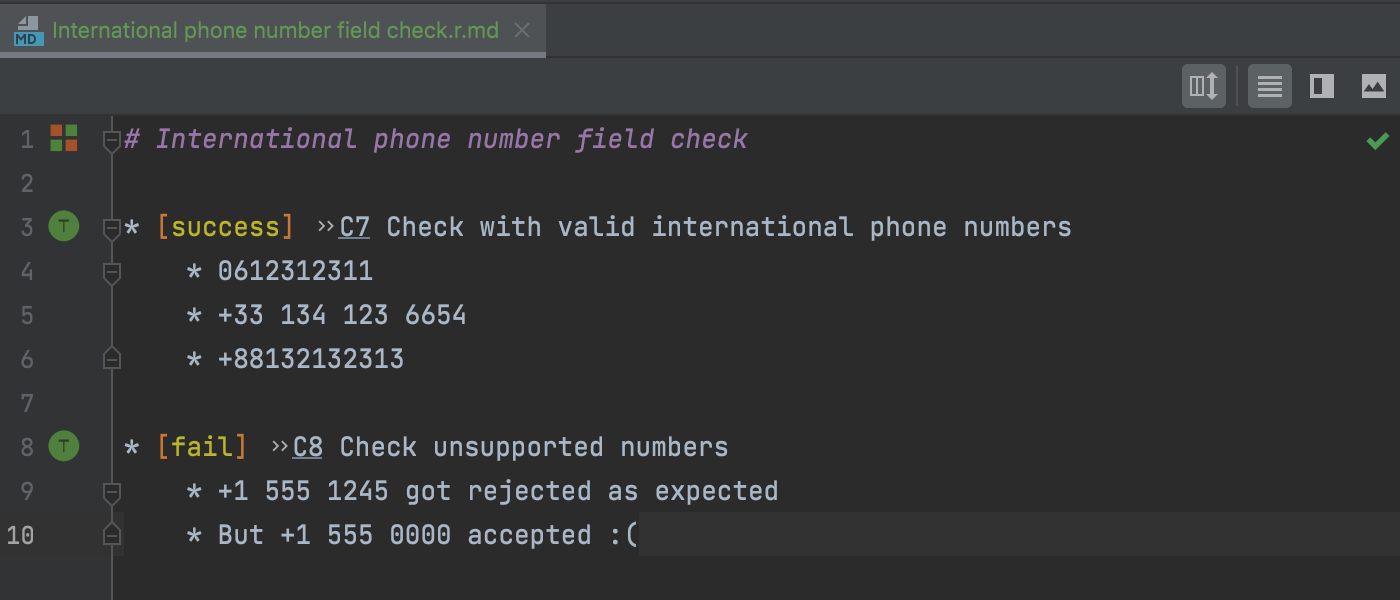
As soon as we perform a check, we can make a record of the results and replace the “unknown” status with the standard “success” or “fail”, or use any other word we prefer as the status indicator. We can use any status we’ve agreed on in our team with zero configuration. Sometimes we have to step away from the test scenario, or we want to indicate details of actions that were performed. We can do this by altering the description of the steps in the corresponding test.
Our test run also appears in the TMS Tool window. When we finish, we can commit the results of the checks (the test run file) to the VCS and share them with the team.
Create an automated test
As we approach the final steps of the feature implementation, it’s time to automate at least some of our tests.
There are multiple ways that IntelliJ IDEA can help us with that. Let’s open the unit-test class where we want to add a new automated test.
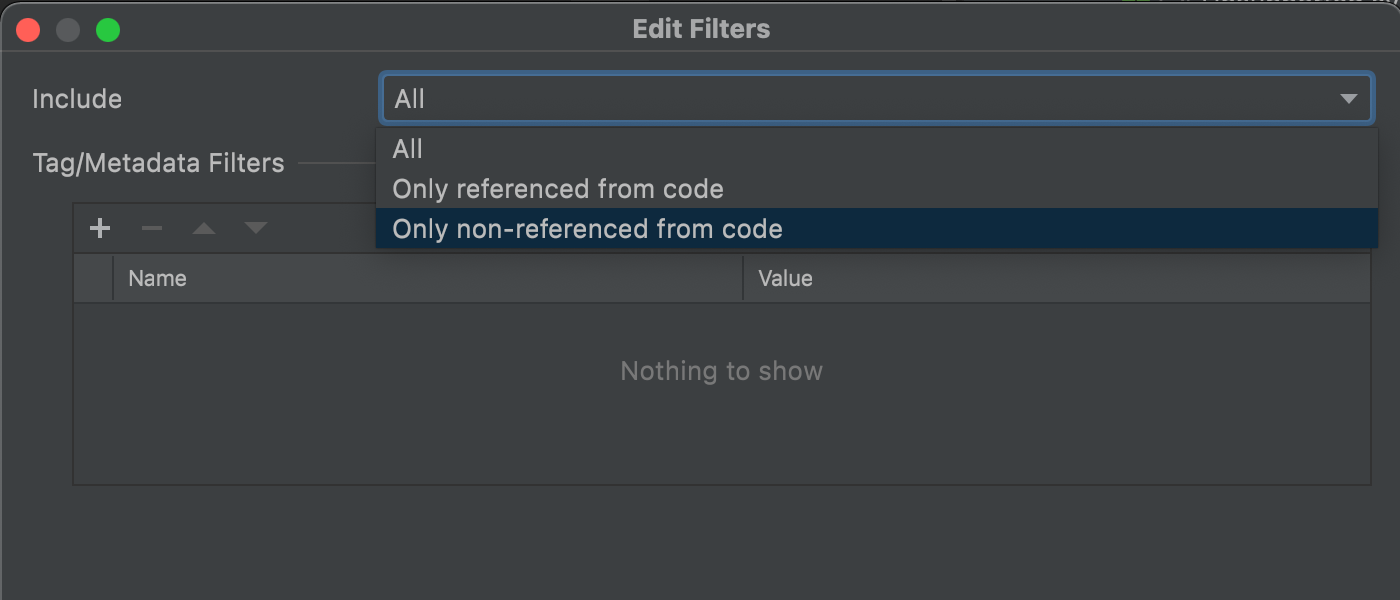
After that, find the test case we want to automate in the TMS tool window. To see all non-automated tests, open the Filtering dialog and choose to show all test cases that are not referenced from code. As we haven’t automated our newly created test cases yet, we will see all of them in the TMS tool window.
Copy the test you want to implement using the shortcut or the context menu, then paste it in the unit test class.
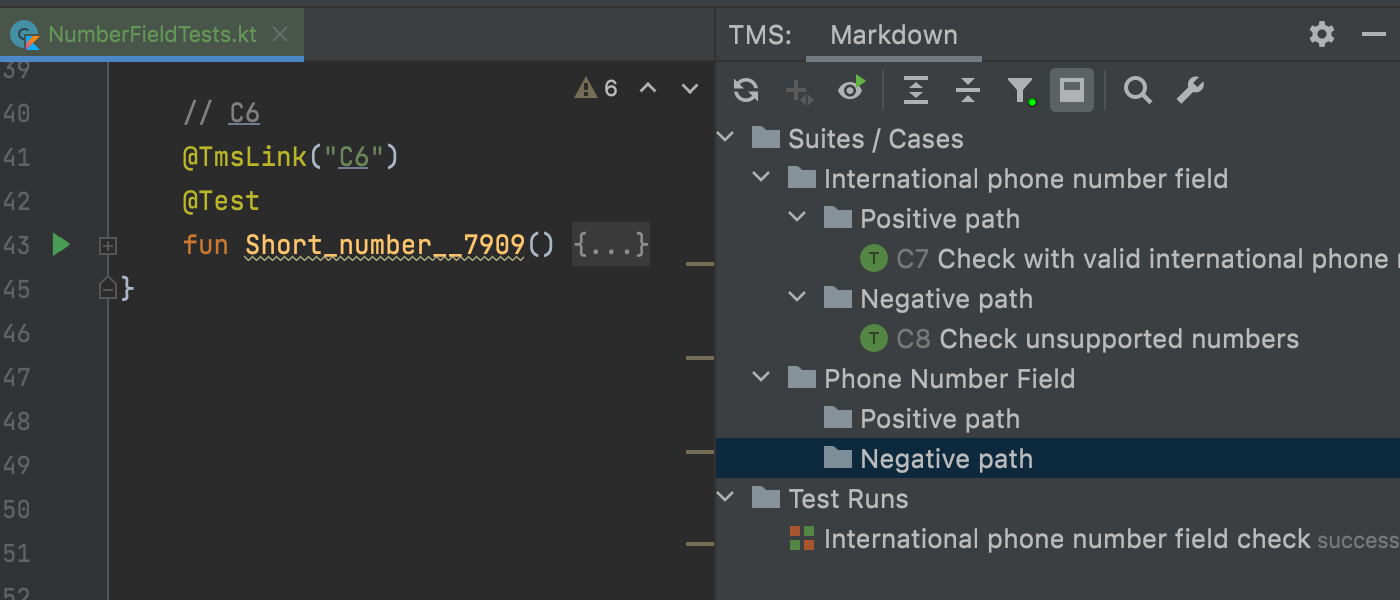
IntelliJ IDEA will insert a test function template with the corresponding name and all of the preconfigured Java annotations. The body of the function will contain the steps of the test scenario as a code comment. Now we are ready to implement our automated tests.
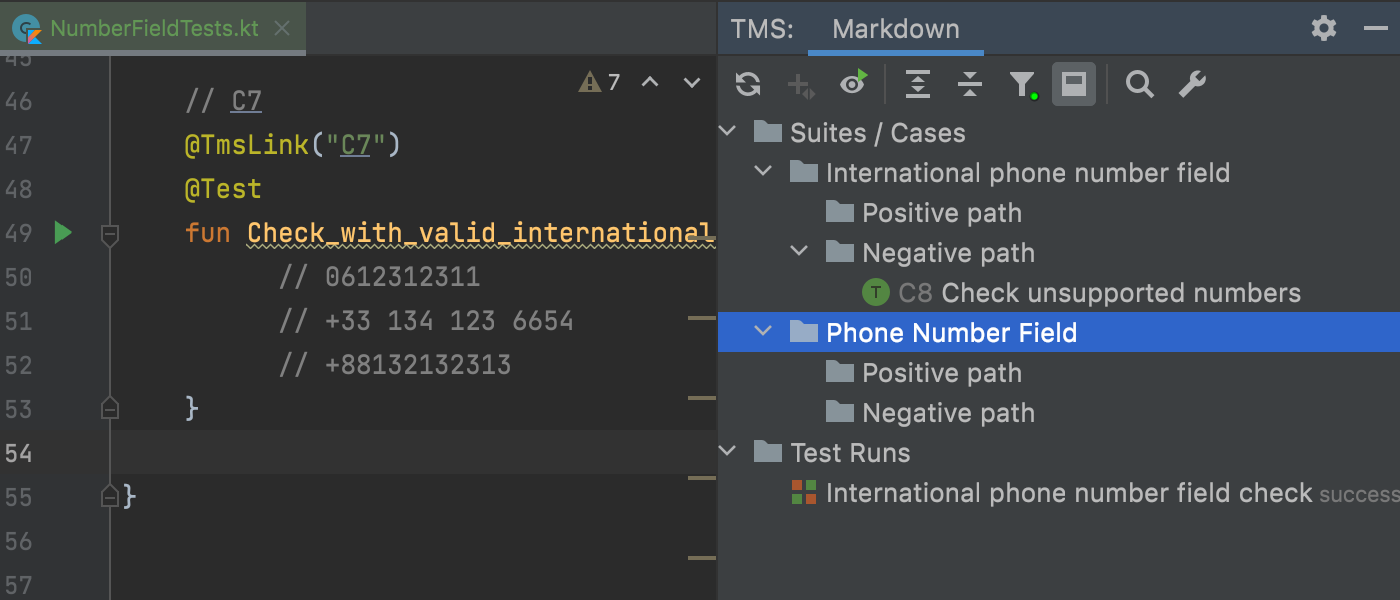
This test scenario is no longer displayed in the TMS tool window, as it is now referenced from the code.
We can navigate to the declaration of the test scenario by clicking the reference in the comments or our custom TmsLink annotation. When the implementation of the feature is completed, our team will merge it to the main branch.
The list of test scenarios and performed checks can be viewed as a quality report for the new feature, and we can use test scenarios for future regression checks and test automation.
How to try it
You just need to install the Test Management plugin to your JetBrains IDE. You can browse and edit test cases in any supported JetBrains IDE, but integration with unit-tests is currently available only for Java, Kotlin, and Python (IntelliJ IDEA Community Edition 2021.2 and PyCharm Community Edition 2021.2).
Please see the official documentation to learn how to enable Local TMS (Test as Text), configure custom Java annotations and Python decorators as TMS links, and adjust code generation templates.
The latest version of the Test Management plugin supports test suites, sub-suites, checklists, and test cases with steps. You can specify tags and metadata (key values) to organize and filter TMS elements. You can also assign a unique number, which the IDE will check, to any test case or checklist item, allowing you to reference it from the code.
Test Suite (.t.md) and Test Run (.r.md) files can be stored in any folder in the project. However, we recommend using a single directory for your local TMS data.
Conclusions
The Test as Text approach helps us maintain test scenarios in an Agile way, as we can design tests and perform checks while the feature is being developed. Because everything is stored in the same project under the VCS, we can see the change history and developers can access the test scenarios for debugging. This approach suits Agile teams and increases the efficiency and transparency of testing.
If you would like to participate in an interview to share your feedback and help us improve our tools for quality assurance, please sign up here. To suggest new features and report bugs, please create an issue in YouTrack.
Sign up and help us improve our tools


