Get Started Building Apps With Vue.js 3 in WebStorm

Note: This post was updated in January 2024.
Vue.js is a user interface framework for building rich, responsive web apps. Vue’s primary focus is on the UI, yet it also lets you plug in libraries and tools to cover other scenarios, such as accessing backend data or unit testing.
In this blog post, we will cover how to:
- Start a Vue.js project
- Run and debug a Vue.js application
- Create a Vue.js component
- Configure component styles
- Attach a Vue.js component to an application
- Navigate through a Vue.js application
Start a new Vue.js project
In WebStorm, we recommend starting a new Vue.js project using the official Vue project scaffolding tool, create-vue. It will install Vue 3, Vite, Vue Router, and any other prerequisite supporting technologies.
- Open WebStorm and select New Project on the Welcome screen.

- In the New Project dialog that opens, select Vue.js from the list of project templates, specify the folder where you want the app to be generated and the location of Node.js. The Vue CLI field suggests generating your app through
npx create-vue. You can accept this predefined setting. - Click Create and follow the steps in the wizard.

Run and debug a Vue.js application
If your application is generated through npx create-vue, WebStorm creates two run/debug configurations with default settings:
- An npm configuration with the default name dev. This configuration launches the application in development mode by running the
npm devscript. - A JavaScript Debug configuration with the default name Debug Application. This configuration launches a debugging session.

Run a Vue.js application
Let’s run our generated application. To do that, select the dev configuration from the list and click Run ‘dev’ next to it or on the toolbar.

Alternatively, if your application was not generated through npx create-vue, just launch the dev script from your package.json file. WebStorm will then create an npm configuration with the default name dev.

Both methods will start the application and open the Run tool window.

To view the application in the browser, click the http://localhost link in the Run tool window.

Start a debugging session
Now we’ve got the application running, let’s start a debugging session. To do that, add a breakpoint to line 9 of main.ts, select Debug Application from the list of run/debug configurations on the toolbar, and click Debug ‘Debug Application’.

Another way to start a debugging session is to hold ⌘⇧/Ctrl+Shift and click the link in the Run tool window.

After a debugging session starts, you can step through the program, examine the call stack, monitor and update the values of variables, and evaluate expressions.
Write and edit your code
WebStorm recognizes script, style, and template blocks in .vue files. Within these blocks, WebStorm provides syntax-aware code highlighting, basic code completion, completion for properties, methods, and slots, as well as completion in injections and components defined in separate files.
To see how WebStorm helps you write your code, let’s add a new block to the demo application where we’ll invite users to the Vue.js page to check out our WebStorm Help. To make this new block look different from the other blocks, we’ll create a new component, WebStormItems.vue.
Create a Vue.js component
In the Project tool window, select the components folder and then select New | Vue Component from the context menu.

In the New Vue Component dialog, select Composition API, type HelloWebStorm, and click OK.

The newly created HelloWebStorm.vue file will open in the editor. As you can see, WebStorm has already generated a stub for the new component.

Let’s add the following code inside the <script> tag:
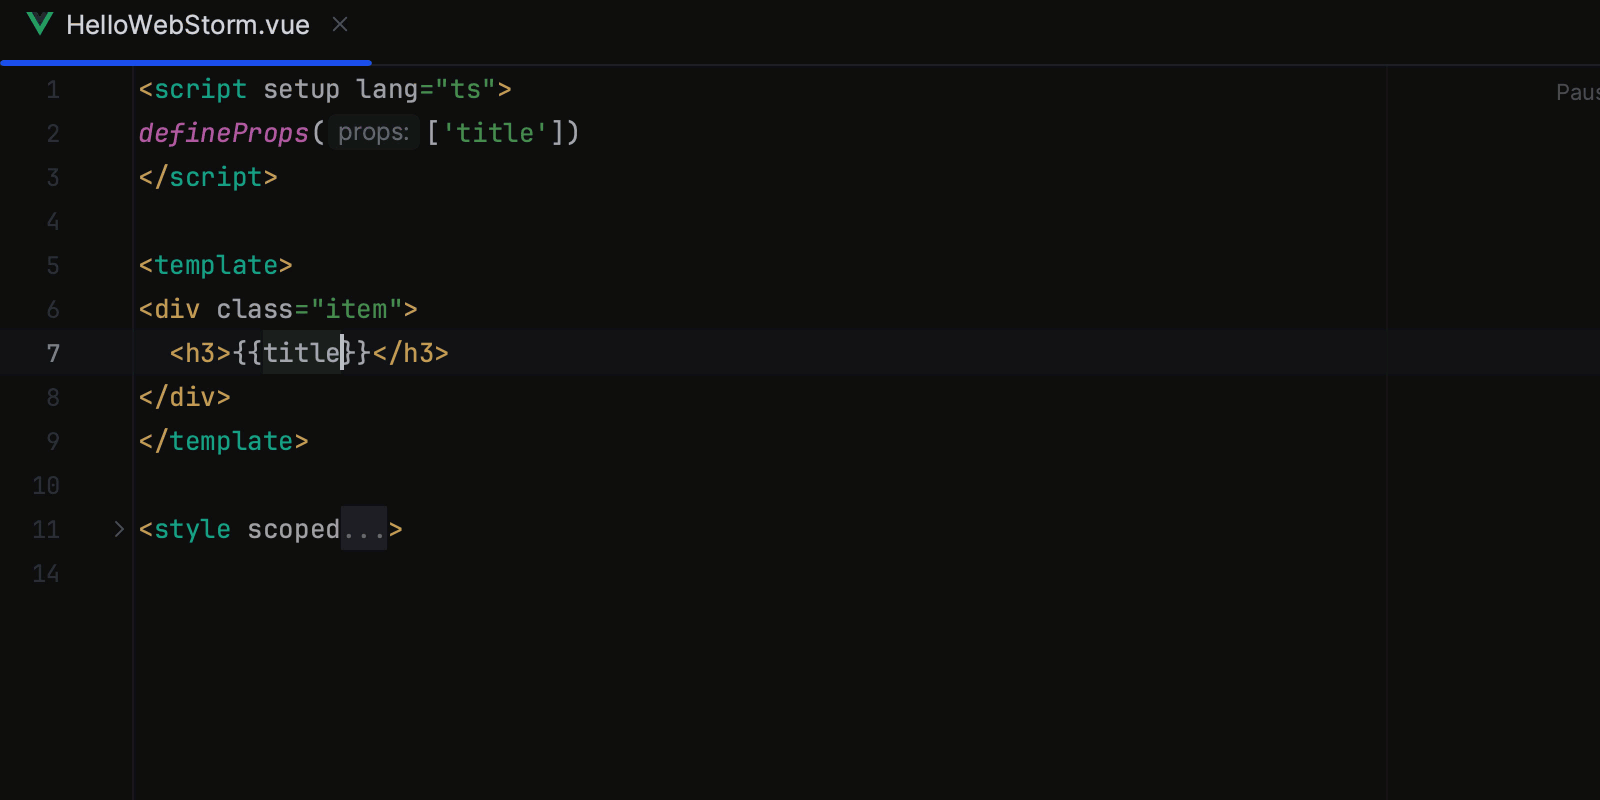
<script setup lang="ts">
defineProps(['title'])
</script>
Now let’s define a template for this component. Type the following code inside the <template></> tag:
<template>
	<div class="item">
		<h3>{{title }}</h3>
		<article>
			<br>
			<slot name="details"></slot>
		</article>
	</div>
</template>
As you type, WebStorm provides context-aware code completion:
You can hover over a symbol or place the caret on it and press F1/Ctrl+J to view its Quick Documentation.

In addition to Quick Documentation lookup, there is web-types documentation. Check out this blog post for more information.
Style a component
We can style the component by adding CSS within the <style> tag. WebStorm will provide code completion for CSS properties and their values, run inspections, and suggest quick-fixes.
Let’s add CSS for .item, details, and h3 inside the <style> tag.
<style scoped>
.item {
	margin-top: 4rem;
	align-content: center;
}
details {
	margin-left: auto;
}
h3 {
	font-size: 2.2rem;
	font-weight: 500;
	margin-bottom: 0.4rem;
}
</style>
You can quickly jump to symbol implementations by holding Cmd/Ctrl, hovering over the symbol, and clicking the link.

Attach a component to the application
Now we can add a block based on the new HelloWebStorm component. Let’s place the block below the Welcome message. Open the App.vue file and add the following code inside <div class=”wrapper”></div>, right below the code <HelloWorld msg="You did it!" />:
<HelloWebStorm title="Hello world!">
	<template #details>
		Learn more from <a href="https://www.jetbrains.com/help/webstorm/vue-js.html">Webstorm Help</a>
	</template>
</HelloWebStorm>
The whole <template></template> block should now look like this:
<template>
	<header>
		<img alt="Vue logo" class="logo" src="@/assets/logo.svg" width="125" height="125" />
	<div class="wrapper">
	<HelloWorld msg="You did it!" />
	<HelloWebStorm title="Hello world!">
		<template #details>
			Learn more from <a href="https://www.jetbrains.com/help/webstorm/vue-js.html">Webstorm Help</a>
		</template>
	</HelloWebStorm>
	<nav>
		<RouterLink to="/">Home</RouterLink>
		<RouterLink to="/about">About</RouterLink>
	</nav>
	</div>
	</header>
	<RouterView />
</template>
If you look at the top of App.vue, you’ll see a new import statement – WebStorm added the HelloWebStorm component automatically as you typed.

If an import statement is ever missing – for example, if you have pasted a large code fragment – WebStorm will highlight the unresolved symbol. When you hover over this symbol, WebStorm displays a popup explanation of the error and suggests adding an import statement.

You can also invoke the quick-fix popup by pressing ⌥⏎/Alt+Enter:

Navigate through your application
With WebStorm, you can always navigate from the usage of a component, a method, or a property to its definition – just hold Cmd/Ctrl and click the usage. In our example, doing this on the HelloWebStorm component in App.vue will take us to its definition in HelloWebStorm.vue.

Refactor your code
WebStorm ensures accurate and safe refactoring of your code. Press ^T/Ctrl+Alt+Shift+T to invoke the Refactor This list and select one of the available refactorings.

That’s all for today. You can learn more about using Vue.js in WebStorm via our help section. If you have any questions or issues, please feel free to reach out to our support using our issue tracker.
The WebStorm team