Building a Blog With Next.js and MDX

Next.js has become one of the most popular React frameworks of today. Coupled with its ease of setup, the out-of-the-box features and optimizations it brings to the table will leave you wondering why you’ve been building React apps any other way.
One of the major advantages of Next.js is its ability to create both Static Site Generated (SSG) and Server Side Rendered (SSR) apps, which are good for SEO. SSG means that the HTML pages, along with their styling, are generated during build time, whereas with SSR the HTML is generated on the server and sent to the client when a page request is made.
Many companies, including TikTok, Netflix, and Twitch, are already using Next.js to build large applications. In this article, we’re going to learn how to use Next.js and Markdown to build a blog. We’ll also learn how to work with MDX, a library for writing JSX and React components inside Markdown files.
What we’ll be building
We’re going to learn about Next.js and MDX by building a blog. We’ll learn how to set up Next.js apps, generate dynamic URLs, and work with data, images, Markdown, and Bootstrap. To follow along with this tutorial, you’ll need a basic understanding of React and Markdown.
At the end of this tutorial, you should have a Next.js blog that looks like this:

Setting up our app
To get started, you’ll need to have Node.js installed on your computer. Here’s a link to the installation guide. Next.js works with Node.js version 10.13 or later.
The Node.js installation comes with npx, an npm package runner. To create a new Next.js app, run the following command on your terminal:
npx create-next-app nextjs-mdx-blog
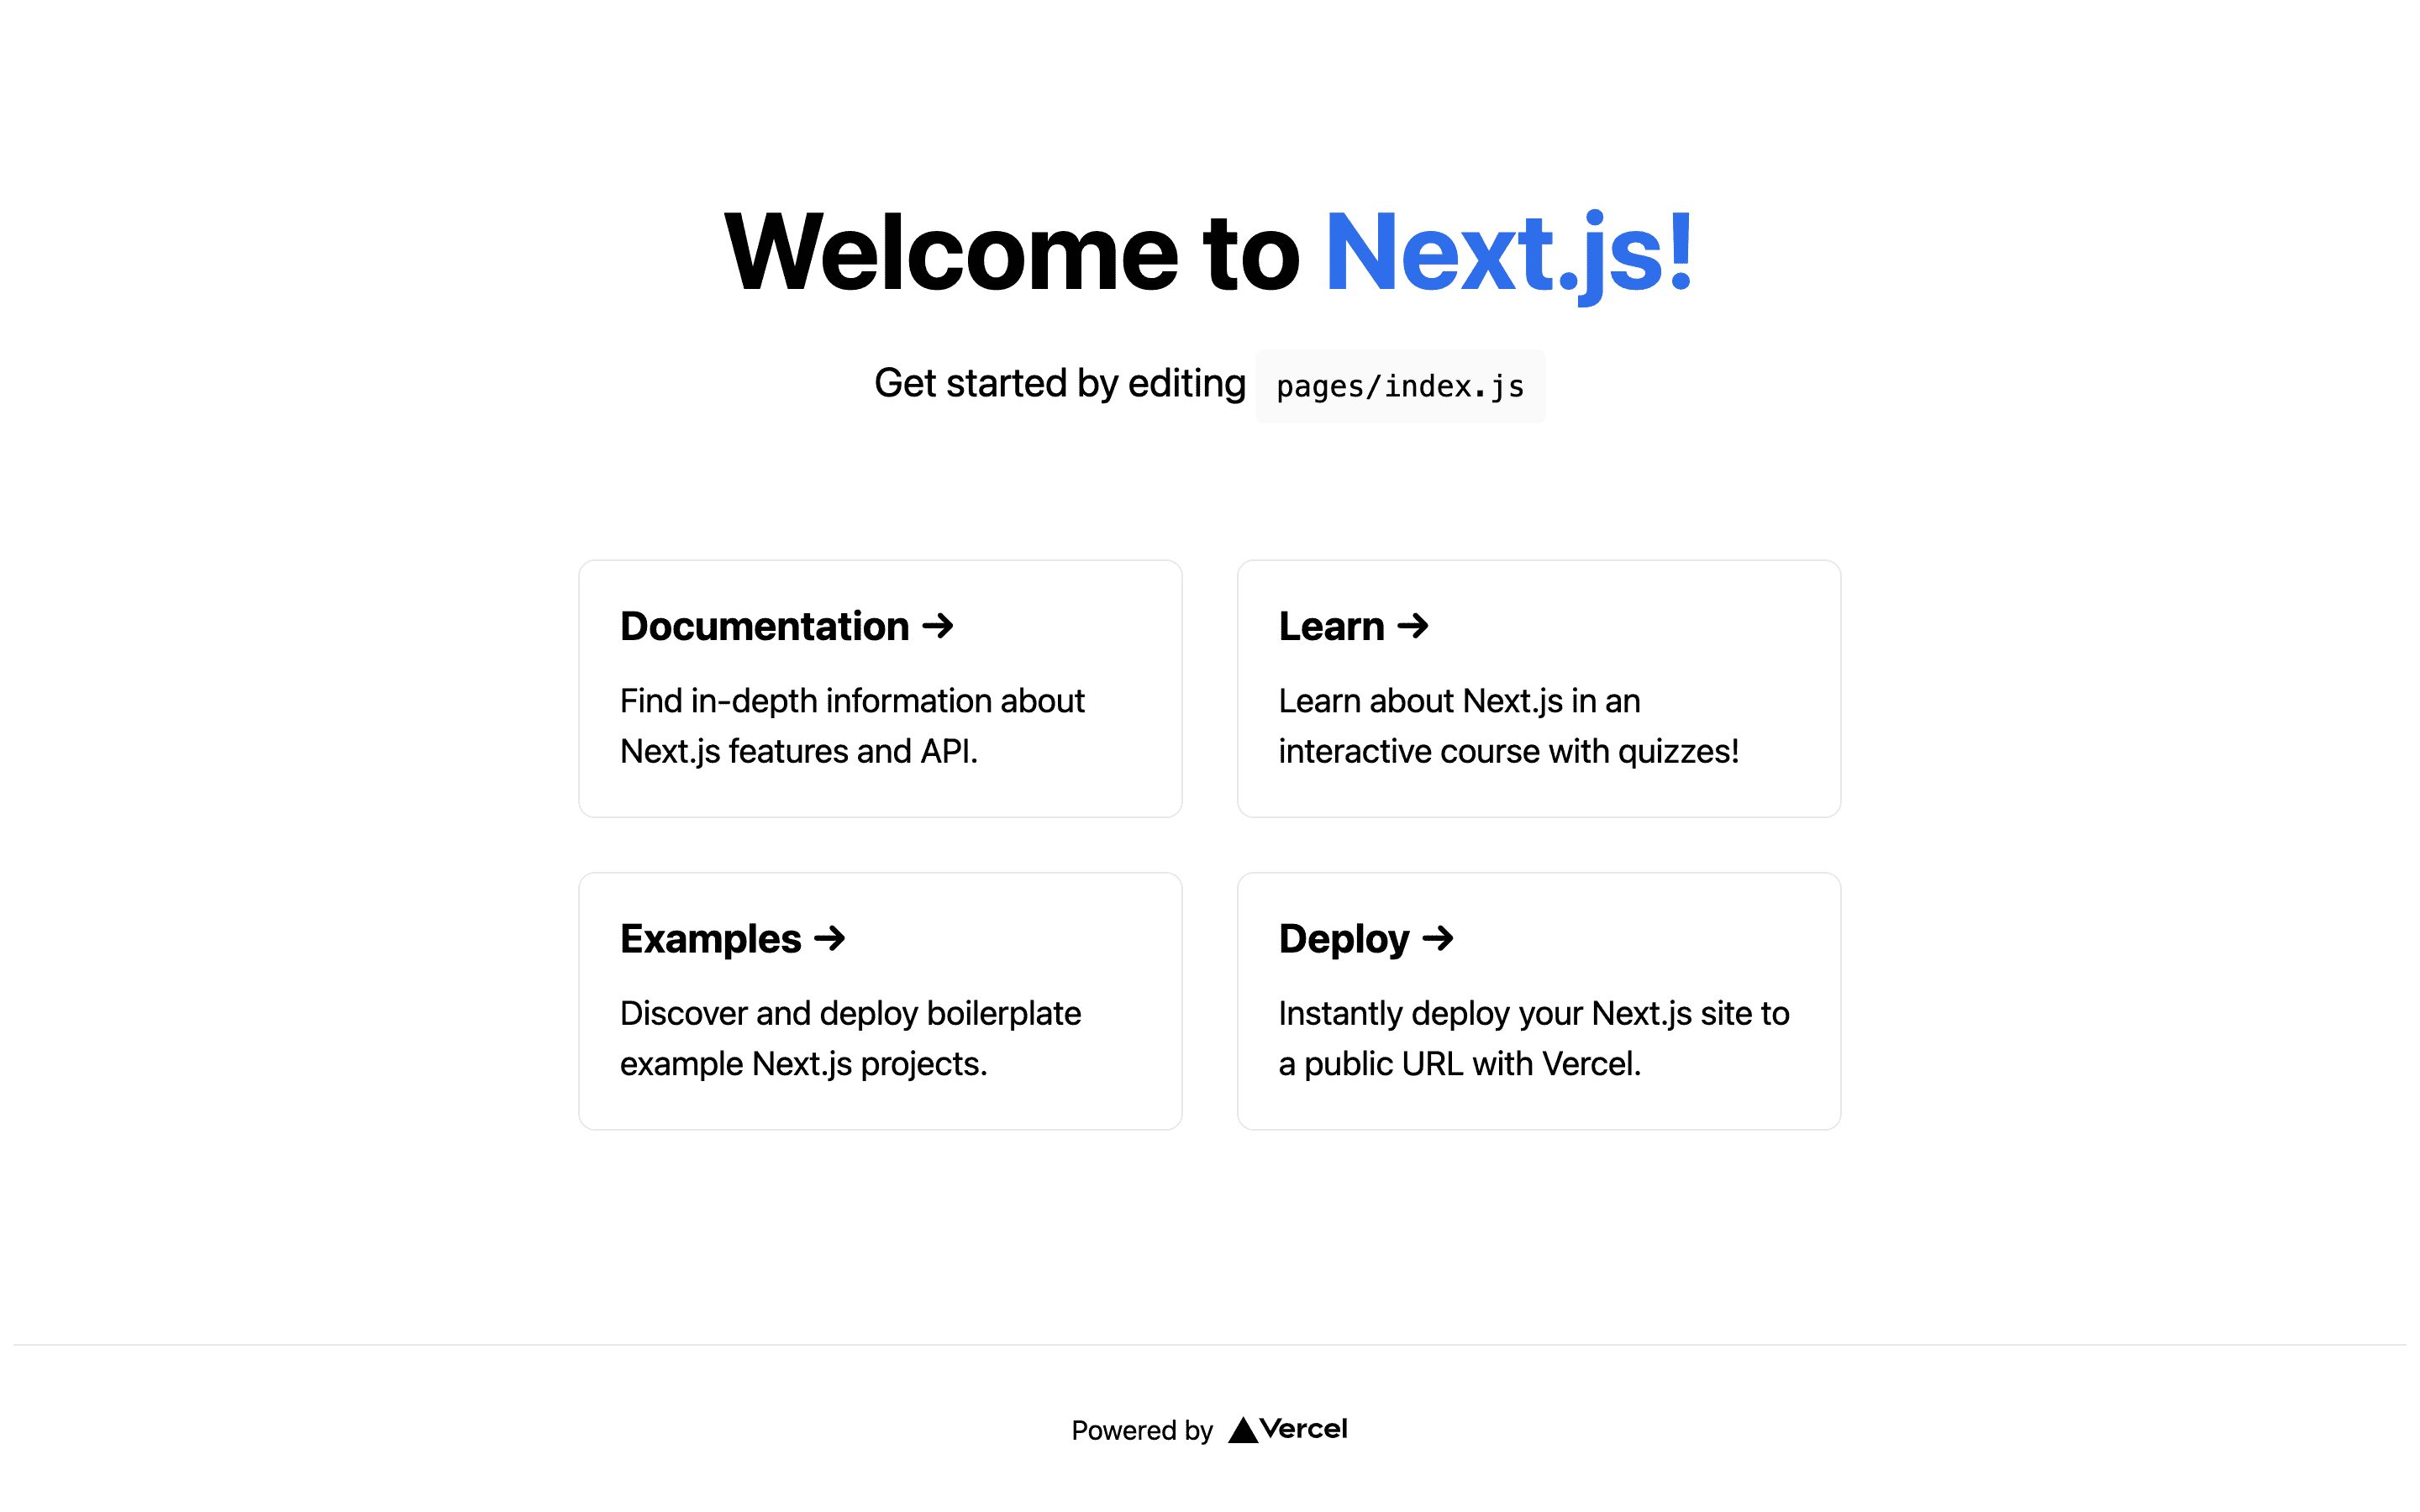
This should generate a new Next.js application in a directory named nextjs-mdx-blog. To see what your Next.js app looks like on the browser, navigate to the newly created directory and run the following command:
npm run dev
The default development server is http://localhost:3000. You should see something like this when you open the URL in your browser:
With our app successfully created, let’s open the nextjs-mdx-blog directory in our IDE or editor and go through the generated files and folder structure:

The .next directory
The .next directory is generated when we start up our dev server with npm run dev. It houses our app’s cache, server, and static files.
Pages and routing
The pages directory houses the different pages for our app. The index.js file inside it is the default page you’ll see when you navigate to our base URL: http://localhost:3000. To add a new page, all we need to do is create a file inside the pages directory. For example, if we create a file named contact inside the pages directory, we can access it on our browser by navigating to http://localhost:3000/contact. We can also create folders inside the pages directory, like we have for API. When we open up http://localhost:3000/api/hello in our browser, we should receive a JSON response that looks like this:
{
	"name": "John Doe"
}
The api directory is the default directory for housing our API files, and the _app.js file contains the layout for our app, which in this case is the blog we are building.
Inside the public directory
The public directory is where we keep all our static files, like images. Currently, you’ll find the favicon.ico and vercel.svg files. For our blog, we’ll house all our posts’ images in the public directory. The URL for files in the public directory is the-base-url/the-name-of-the-file – in this case, http://localhost:3000/favicon.ico or http://localhost:3000/vercel.svg.
The styles directory
Inside the styles directory, you’ll find the default generated style files, globals.css, and Home.module.css.
The Next.config.js file
We can add custom configurations for our Next.js app inside the next.config.js file. For example, if we didn’t want Next.js to serve the files in our /pages directory as our app’s pages, we could disable the default file-system routing by adding the following key-value pair to our config object, and then restarting our dev server:
// next.config.js
module.exports = {
  useFileSystemPublicRoutes: false
}
For our app, we won’t be doing this, as we’ll need file-system routing for our pages.
Setting up Bootstrap for our styling
Now that we’ve understood the structure of our Next.js app, let’s set up Bootstrap in our app for styling. We’ll use the Bootstrap CDN for this.
Inside the ./pages/_app.js file, we’ll remove the default ../styles/global.css import statement and import the Head component from next/head. This component injects elements to the <head> section of pages:
import Head from 'next/head'
Next, let’s replace what we have in the MyApp component with this:
function MyApp({ Component, pageProps }) {
  return (
    <>
      <Head>
        <title>Next and MDX Blog</title>
        <link href="https://cdn.jsdelivr.net/npm/bootstrap@5.0.2/dist/css/bootstrap.min.css" rel="stylesheet"
              integrity="sha384-EVSTQN3/azprG1Anm3QDgpJLIm9Nao0Yz1ztcQTwFspd3yD65VohhpuuCOmLASjC"
              crossOrigin="anonymous" />
      </Head>

      <div className="container">
        <main>
          <Component {...pageProps} />
        </main>
      </div>
    </>
  )
}
In the above code, we’ve used the <link> tag to set up Bootstrap 5.0.2 CDN inside the <Head> component we imported. We’ve also given our app the title Next and MDX Blog. The <Component {...pageProps} /> tag represents the content for all our different pages, and we’ve wrapped it in a div with the class "container".
Creating our Nav component
We’ll need a navbar for our blog. Let’s create a new folder named components inside the root directory. In the components folder, we’ll create a new file named Nav.jsx and paste the following code inside it:
import Link from 'next/link'

const Nav = () => {
  return (
    <nav className="nav p-3 border-bottom">
      <Link href="/" passHref>
        <h2 className="pointer">Ebenezer Don</h2>
      </Link>

      <Link href="/bio" passHref>
        <p className="ms-5 pointer lead my-auto">Bio</p>
      </Link>
    </nav>
  )
}

export default Nav
In our ./components/Nav.jsx file, we started by importing the Link component from 'next/link'. We’ll use this to enable client-side transitions between routes. This means that Next.js will prefetch whichever page we have in the <Link> tag as soon as it shows on our current page, so that when we click on the Bio link, we immediately get to see the bio page without having to wait for our application to fetch it again from the server. I’ve used the link with the text “Ebenezer Don” to point to our app’s base URL. You can use whatever text you want in yours.
Next, we’ll import the Nav component inside the ./pages/_app.js file and place it in the container div, just before the <main> tag:
import Nav from '../components/Nav'

...
<div className="container">
	<Nav />
	<main>
	  <Component {...pageProps} />
	</main>
</div>
...
Our navbar should now be visible across all of our app’s pages.
Creating our Bio page
For our bio page, we’ll create a new file named bio.js inside the ./pages and paste the following code inside it:
const Bio = () => {
  return (
    <div className="mt-3">
      <p className="display-4 text-center">I'm Ebenezer Don</p>
      <p className="text-center">Ebenezer Don's bio here</p>
    </div>
  )
}

export default Bio
In our Bio component, we’re using the HTML entity “'” to represent the apostrophe (‘) symbol. You can change the text and page content to whatever you want. Depending on your page’s content, when you restart your dev server and navigate to http://localhost/bio, you should see something that looks similar to this:

Adding MDX files for our posts
In our root directory, let’s create a new folder named posts. We’ll use the posts folder to house our MDX files. Here’s a link to a GitHub repo that contains the MDX files we’ll need for our app. You’ll see a posts folder inside the repository, and inside the posts folder you should see the following files:
- functions-for-beginners.mdx
- solidjs-for-beginners.mdx
- tailwind-setup.mdx
- variables-in-python.mdx
You can clone the repository or download the MDX files, then create a posts folder in the root directory of your app and paste the files there. All of them have similar content, so let’s use the functions-for-beginners.mdx file to explain what we’re doing in our MDX posts.
Here’s what our ./posts/functions-for-beginners.mdx file looks like:
---
title: Functions for Beginners
date: 'August 4, 2021'
description: Learn how to create and use functions
thumbnailUrl: '/javascript-functions-thumbnail.jpeg'
tags: ['functions', 'javascript']
---

<div>
  This is a blog post about <strong>functions</strong>. <br/>
  We'll learn what functions are, how to write functions, and how to use them.
</div>

<br/>

### This is a Markdown subheading
We just used a `###` subheading in our blog post.

<SyntaxHighlighter language="javascript">
  {`
    const doStuff = () => {
      return console.log('hey')
    }
  `}
</SyntaxHighlighter>

// this is a code block const doSomething = () => { return console.log('hey') }

<div>Here I'm using a component inside my MarkDown file: {<Button text={"Click me"}/>}</div>
Firstly, we’re using the YAML syntax to write our file’s front matter which will allow us to store the post’s metadata. These are the key-value pairs wrapped in three hyphens (—) at the top of our Markdown file. We’ll be able to access this information later in our app, when we’re processing the Markdown file for our post page.
Inside our front matter, we have a thumbnailUrl property for our blog post. Here’s a link to the images for this tutorial. You can clone or download them onto your ./public directory.
Next, you can see that with MDX, we can use HTML tags like the <div> tag in our Markdown file.
There’s also the <SyntaxHighlighter> component which we’re using to wrap our code block. This is from an npm package named react-syntax-highlighter, which enables syntax highlighting for our code. When setting up MDX later in our app, you’ll see how we’re making this component available to our Markdown files. We did the same thing with the <Button> component on the last line of our file. Now that we have our MDX files, we can add content to our blog’s homepage. But before we do, let’s create the <Button/> component that we’re using in the MDX files.
Creating the Button component
For the <Button/> component, we’ll create a new file named Button.jsx inside the components folder we created earlier. In our new ./components/Button.jsx file, let’s paste the following code:
const Button = ({ text }) => {
  return (
    <button
      className="btn btn-primary"
      onClick={event => event.target.innerText = 'You clicked me!'}
    >
      {text}
    </button>
  )
}

export default Button
Our <Button/> component has an onClick event listener that changes the value of the <button> tag when a user clicks on it.
Building our blog’s homepage
To add content to our blog’s homepage, we’ll be working with the ./pages/index.js file.
Fetching data with the getStaticProps method
In Next.js, we can use a getStaticProps method to fetch data at build time. This means that when we build our app, Next.js is going to run the getStaticProps method, take the data from it, pass it to our component as props, and then use that to generate the page. Let’s go over to our ./pages/index.js file and remove the content of our JSX code so that our file looks like this:
import Image from 'next/image'

export default function Home() {
  return (
    <div></div>
  )
}
Notice that we also removed the 'next/head' and 'styles' import statements. Instead of our regular <img/> tag, we’ll be using the Image component from ‘next/image’ to enable image optimizations like lazy loading and responsiveness.
Next, let’s add a getStaticProps method to our ./pages/index.js file. We’ll do this after the Home() function:
...

export const getStaticProps = async () => {
  const files = fs.readdirSync(path.join('posts'))

  const posts = files.map(filename => {
    const markdownWithMeta = fs.readFileSync(path.join('posts', filename), 'utf-8')
    const { data: frontMatter } = matter(markdownWithMeta)

    return {
      frontMatter,
      slug: filename.split('.')[0]
    }
  })

  return {
    props: {
      posts
    }
  }
}
In our getStaticProps function, we started by getting all the filenames inside the ./posts directory using the Node.js fs.readdirSync() method. We went on to create a posts variable for housing all our post data. We used the map method to map our filenames and then the Node.js fs.readFileSync() method to get the data in our individual files. On the next line, we’re using an npm package named ‘gray-matter’ to get our post’s front matter. Our map method returns the front matter and post slug, while the geStaticProps function returns the post data as props. These props will then be made available to our Home component.
Adding content to our homepage
Before we use our props to add content to our home page, let’s run the following command to install gray-matter:
npm install -D gray-matter
Next, we’ll import fs from 'fs', path from 'path', and matter from 'gray-matter':
import fs from 'fs'
import path from 'path'
import matter from 'gray-matter'
We’ll also need to import Link from 'next/link'. The <Link/> tag is the Next.js way of handling routing.
...
import Link from 'next/link'
Now that we have our data and imports ready, let’s add content to our homepage. We’ll update our Home component to this:
export default function Home({ posts }) {
  return (
    <div className="mt-5">
      {posts.map((post, index) => (
        <Link href={'/blog/' + post.slug} passHref key={index}>
          <div className="card mb-3 pointer" style={{ maxWidth: '540px' }}>
            <div className="row g-0">
              <div className="col-md-8">
                <div className="card-body">
                  <h5 className="card-title">{post.frontMatter.title}</h5>
                  <p className="card-text">{post.frontMatter.description}</p>
                  <p className="card-text">
                    <small className="text-muted">{post.frontMatter.date}</small>
                  </p>
                </div>
              </div>
              <div className="col-md-4 m-auto">
                <Image
                  src={post.frontMatter.thumbnailUrl}
                  className="img-fluid mt-1 rounded-start"
                  alt="thumbnail"
                  width={500}
                  height={400}
                  objectFit="cover"
                />
              </div>
            </div>
          </div>
        </Link>
      ))}
    </div>
  )
}
In our Home component, we’ve used the posts prop to populate our page with the post data. We’re using Bootstrap styling, and you can see how we’re getting the post title, description, and date from the frontMatter. When we restart our dev server and open up our app in the browser, we should see a page that looks like this:

Building our Post page
Now that we have our homepage ready, let’s work on the single post page. For this, we’ll be using dynamic routing in Next.js. Since we don’t want to create separate pages for all our individual post files, we’ll give Next.js a template page and ask it to generate the individual post pages with it during build time.
Generating dynamic URLs in Next.js
To generate our posts URLs, let’s create a new folder named blog inside our ./pages directory. Inside our ./pages/blog directory, we’ll create a new file named [slug].js. Notice that our file name is wrapped in square brackets ([]). This is how Next.js will know that we want it to be a dynamic route.
Next.js has a getStaticPaths() method for generating our list of paths at build time. Let’s create one inside our [slug].js file:
export const getStaticPaths = async () => {
  const files = fs.readdirSync(path.join('posts'))

  const paths = files.map(filename => ({
    params: {
      slug: filename.replace('.mdx', '')
    }
  }))

  return {
    paths,
    fallback: false
  }
}
Notice that we’re using the Node.js fs.readdirSync() method again to get all the file names in our posts folder. We want to use the file names, without their .mdx extensions as our posts slugs.
When a user clicks on a post, we want to redirect them to our-url/blog/the-post-slug. So for the file functions-for-beginners.mdx, its slug will be functions-for-beginners, and the URL will be http://localhost:3000/blog/functions-for-beginners.
In our getStaticPaths method, we’re returning our paths variable which contains an object with the property params, which, in turn, has our post slug. We’re setting the fallback property in our return statement to false so that any paths not included in our paths list will result in a 404 page. For example, if a user navigates to https://localhost:3000/blog/some-random-text, they should see a 404 page.
Getting our PostPage props with getStaticProps
Now that we have our paths, let’s use getStaticProps to get our component props. We’ll create a new function named getStaticProps under the getStaticPaths method:
export const getStaticProps = async ({ params: { slug } }) => {
  const markdownWithMeta = fs.readFileSync(path.join('posts',
    slug + '.mdx'), 'utf-8')

  const { data: frontMatter, content } = matter(markdownWithMeta)
  const mdxSource = await serialize(content)

  return {
    props: {
      frontMatter,
      slug,
      mdxSource
    }
  }
}
In our getStaticProps function, we’re using the Node.js fs.readFileSync method to get our post data in the ./posts directory, and the matter method from gray-matter to extract the front matter. We also have a new method named serialize. The serialize method is from ‘next-mdx-remote‘, an npm package for adding MDX support in our Next.js app. We’re using the serialize method to parse and compile the MDX string so that it can be rendered in our app.
Let’s run the following command on our terminal to install next-mdx-remote:
npm install -D next-mdx-remote
We’ll also install the ‘react-syntax-highlighter‘ package for syntax highlighting:
npm install react-syntax-highlighter
Next, let’s add our import statements to the top of the ./pages/blog/[slug].js file:
import { serialize } from 'next-mdx-remote/serialize'
import { MDXRemote } from 'next-mdx-remote'
import fs from 'fs'
import path from 'path'
import matter from 'gray-matter'
import SyntaxHighlighter from 'react-syntax-highlighter'
Notice that we’re also importing a component named MDXRemote from the ‘next-mdx-remote‘ package. We’ll use <MDXRemote /> to consume the output of serialize, so that we can render it directly into the PostPage component. The <MDXRemote /> component also has an optional components prop, which we’ll be using to supply components to our MDX files. It’s how we were able to use the <SyntaxHighlighter /> component in our functions-for-beginners.mdx file. On the last line of the MDX file, we’re also using the Button component that we created earlier:
// functions-for-beginners.mdx
...
<div>Here, I'm using a component inside my MarkDown file:
	{<Button text={"Click me"}/>}
</div>
Let’s import our Button component inside the ./pages/blog/[slug].js file:
...
import Button from '../../components/Button.jsx'
...
Next, we’ll create our PostPage component:
const PostPage = ({ frontMatter: { title }, mdxSource }) => {
  return (
    <div className="mt-4">
      <h1>{title}</h1>
      <MDXRemote {...mdxSource} components={{ Button, SyntaxHighlighter }} />
    </div>
  )
}
In our PostPage component, we’re using the front matter from getStaticProps to get our post’s title. We’re also using <MDXRemote /> to render our MDX text. We’ve supplied the Button and SyntaxHighlighter components as an object value to the components prop.
Finally, let’s export the PostPage component as default. We’ll do this at the end of our file:
...
export default PostPage
Now, when we restart our dev server and navigate to http://localhost:3000/blog/functions-for-beginners, we should see a page that looks like this:
We can also navigate to our individual blog posts from our homepage by clicking on their links:
Conclusion
In this article, we’ve learned how to work with Next.js and MDX by building a blog. We learned how to set up Next.js apps, generate dynamic URLs, work with data, images, Markdown, and Bootstrap. I hope you had as much fun building this as I did writing the tutorial. Here’s a link to the GitHub repo for our blog, and links to the images and MDX files we used in the tutorial. Feel free to reach out to me in the comments below if you have any questions.
The WebStorm team