

.NET Tools
Essential productivity kit for .NET and game developers
Getting started with database support in Rider

If you are new to using Rider, it’s worth mentioning that you get all the .NET features of ReSharper, along with the web development features of WebStorm, which provides the developer with great overall experience. What’s more, you also get all the data features of DataGrip as well, so you have a single IDE to work with for all facets of your project work!
In this blog post, we will look at setting up the database connection and running some queries against our database.
This post is part of a series around working with databases and data in Rider:
- Configuring SQL Server 2017 for Rider
- Getting started with database support in Rider
- Working with Tables and Indexes in Rider
- Working with Data in Rider
(Note: we’ll use the Visual Studio keymap on Windows throughout this post – check the web help for Mac OS X and other keyboard schemes)
Working with the Database Tool Window
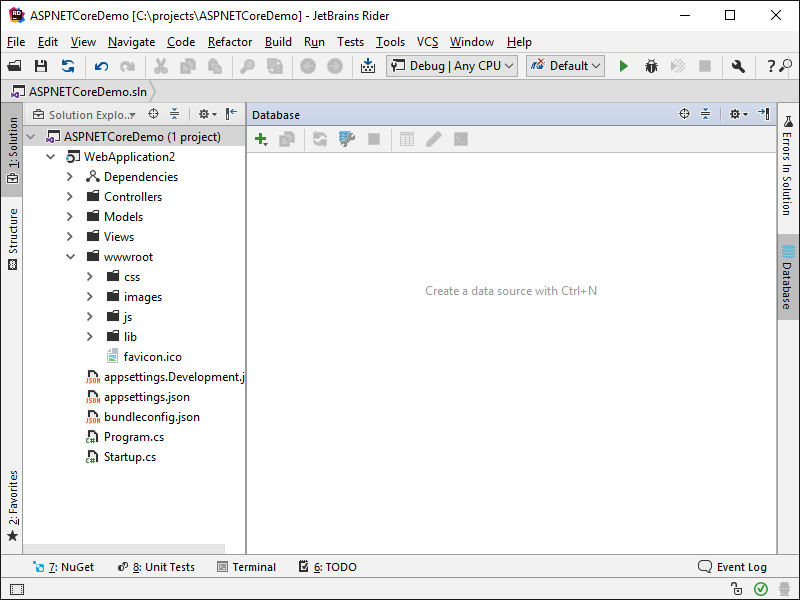
To work with data in Rider, you will need to use the Interacting with Data Tool Window and the Database Console. We will look at the Database Console later, but let’s start with the Database Tool Window. There are two ways to find and open this part of the Rider interface. The first is to open the View | Tools Windows | Database menu selection.
The Database Tool Window will allow you to create a Data Source to connect to a database.
You will see that the window has a set of commands located in a toolbar at the top. With these commands, you can work with the associated database.
Not much can be done in the Database Tool Window at this time without a data source created. Let’s move on and learn more about Data Sources and Connections.
Setting up a Database Connection
Now that we have seen how to open the Database Tool Window, we need to next look at how actually to connect to a database. On the Database Tool Window command bar, select the Plus button, Data Source and finally select the database server type. We will be looking at using SQL Server (Microsoft) for our examples.

The Data Sources and Drivers dialog will appear with SQL Server (Microsoft) initialized for your data source creation. If you see that the driver files are missing, you will need to download the required drivers.

You will now need to fill in the Host, Port and Database details for the Data Source. By default, you will have localhost given for the Host. Update these details for your specific local environment.

Now test the connection to verify that it is successful.

With a connection to the SQL Server database, we can start to interact with the database that our .NET Core solution is associated.
Working with the Database Source
We now have connected to the database; we can expand the Data Source and see more about the database including the associated tables.

The new data source created will be assigned to a solution currently loaded in Rider. As an example, the Chinook@localhost data source can only be used by the ASPNETCoreDemo solution. While not required, it could be useful to make the data source available for all solutions loaded in Rider. To do this, open the data source properties (Shift+Enter)after selecting the data source), and then use the toolbar button to make it global:

We have looked at some of the details of the data sources and how to interact with them, let’s move on the Data Console!
Working with the Data Console
The data console will be where you perform your data queries and manipulations. To get to the default data console created when you connect to your database, you will need to hide the Solution Explorer. You can hide or show the Solution Explorer this through the UI or use the Ctrl+Alt+L keyboard shortcut.
If you don’t see the data console, select the Console button in the Data Tool Window and select console (Default), the Open Console menu item when you right-click on the data source or use the keyboard shortcut Ctrl+Shift+F10.

You should have the default data console active and ready for you to use. Select the database for the data console to use on the right side of the toolbar.

Now we can write our first SQL statement against the database in the data console. For purposes of this post, we will just write a simple SELECT statement to get the data from one of the tables. As you can see, you will get code completion when writing your SQL statements.

When we run this SELECT statement by selecting the green arrow in the data console toolbar or use the keyboard shortcut Ctrl+Enter, we will see the results below.

If you want to see the history of the statements that you have executed in your data console, you can select the Browse Console History button in the console’s toolbar.

Wrap Up
Rider has a very rich and powerful set of data features that we have reviewed in this second part of the series. We will look at more ways to work with databases and data in the next blog posts in this series, including how to use Rider to work with the tables of your database and we’ll get into more advanced work with data.
Download Rider 2017.3 and give it a go! We’d love to hear your feedback!


