IntelliJ IDEA
IntelliJ IDEA – the Leading IDE for Professional Development in Java and Kotlin
Using the Terminal in IntelliJ IDEA

In this video we’re going to take a look at IntelliJ IDEA’s built in terminal. This performs the same function as your operating system’s terminal or command feature, but using the terminal inside IntelliJ IDEA has a number of benefits.
Opening the IntelliJ IDEA Terminal Window
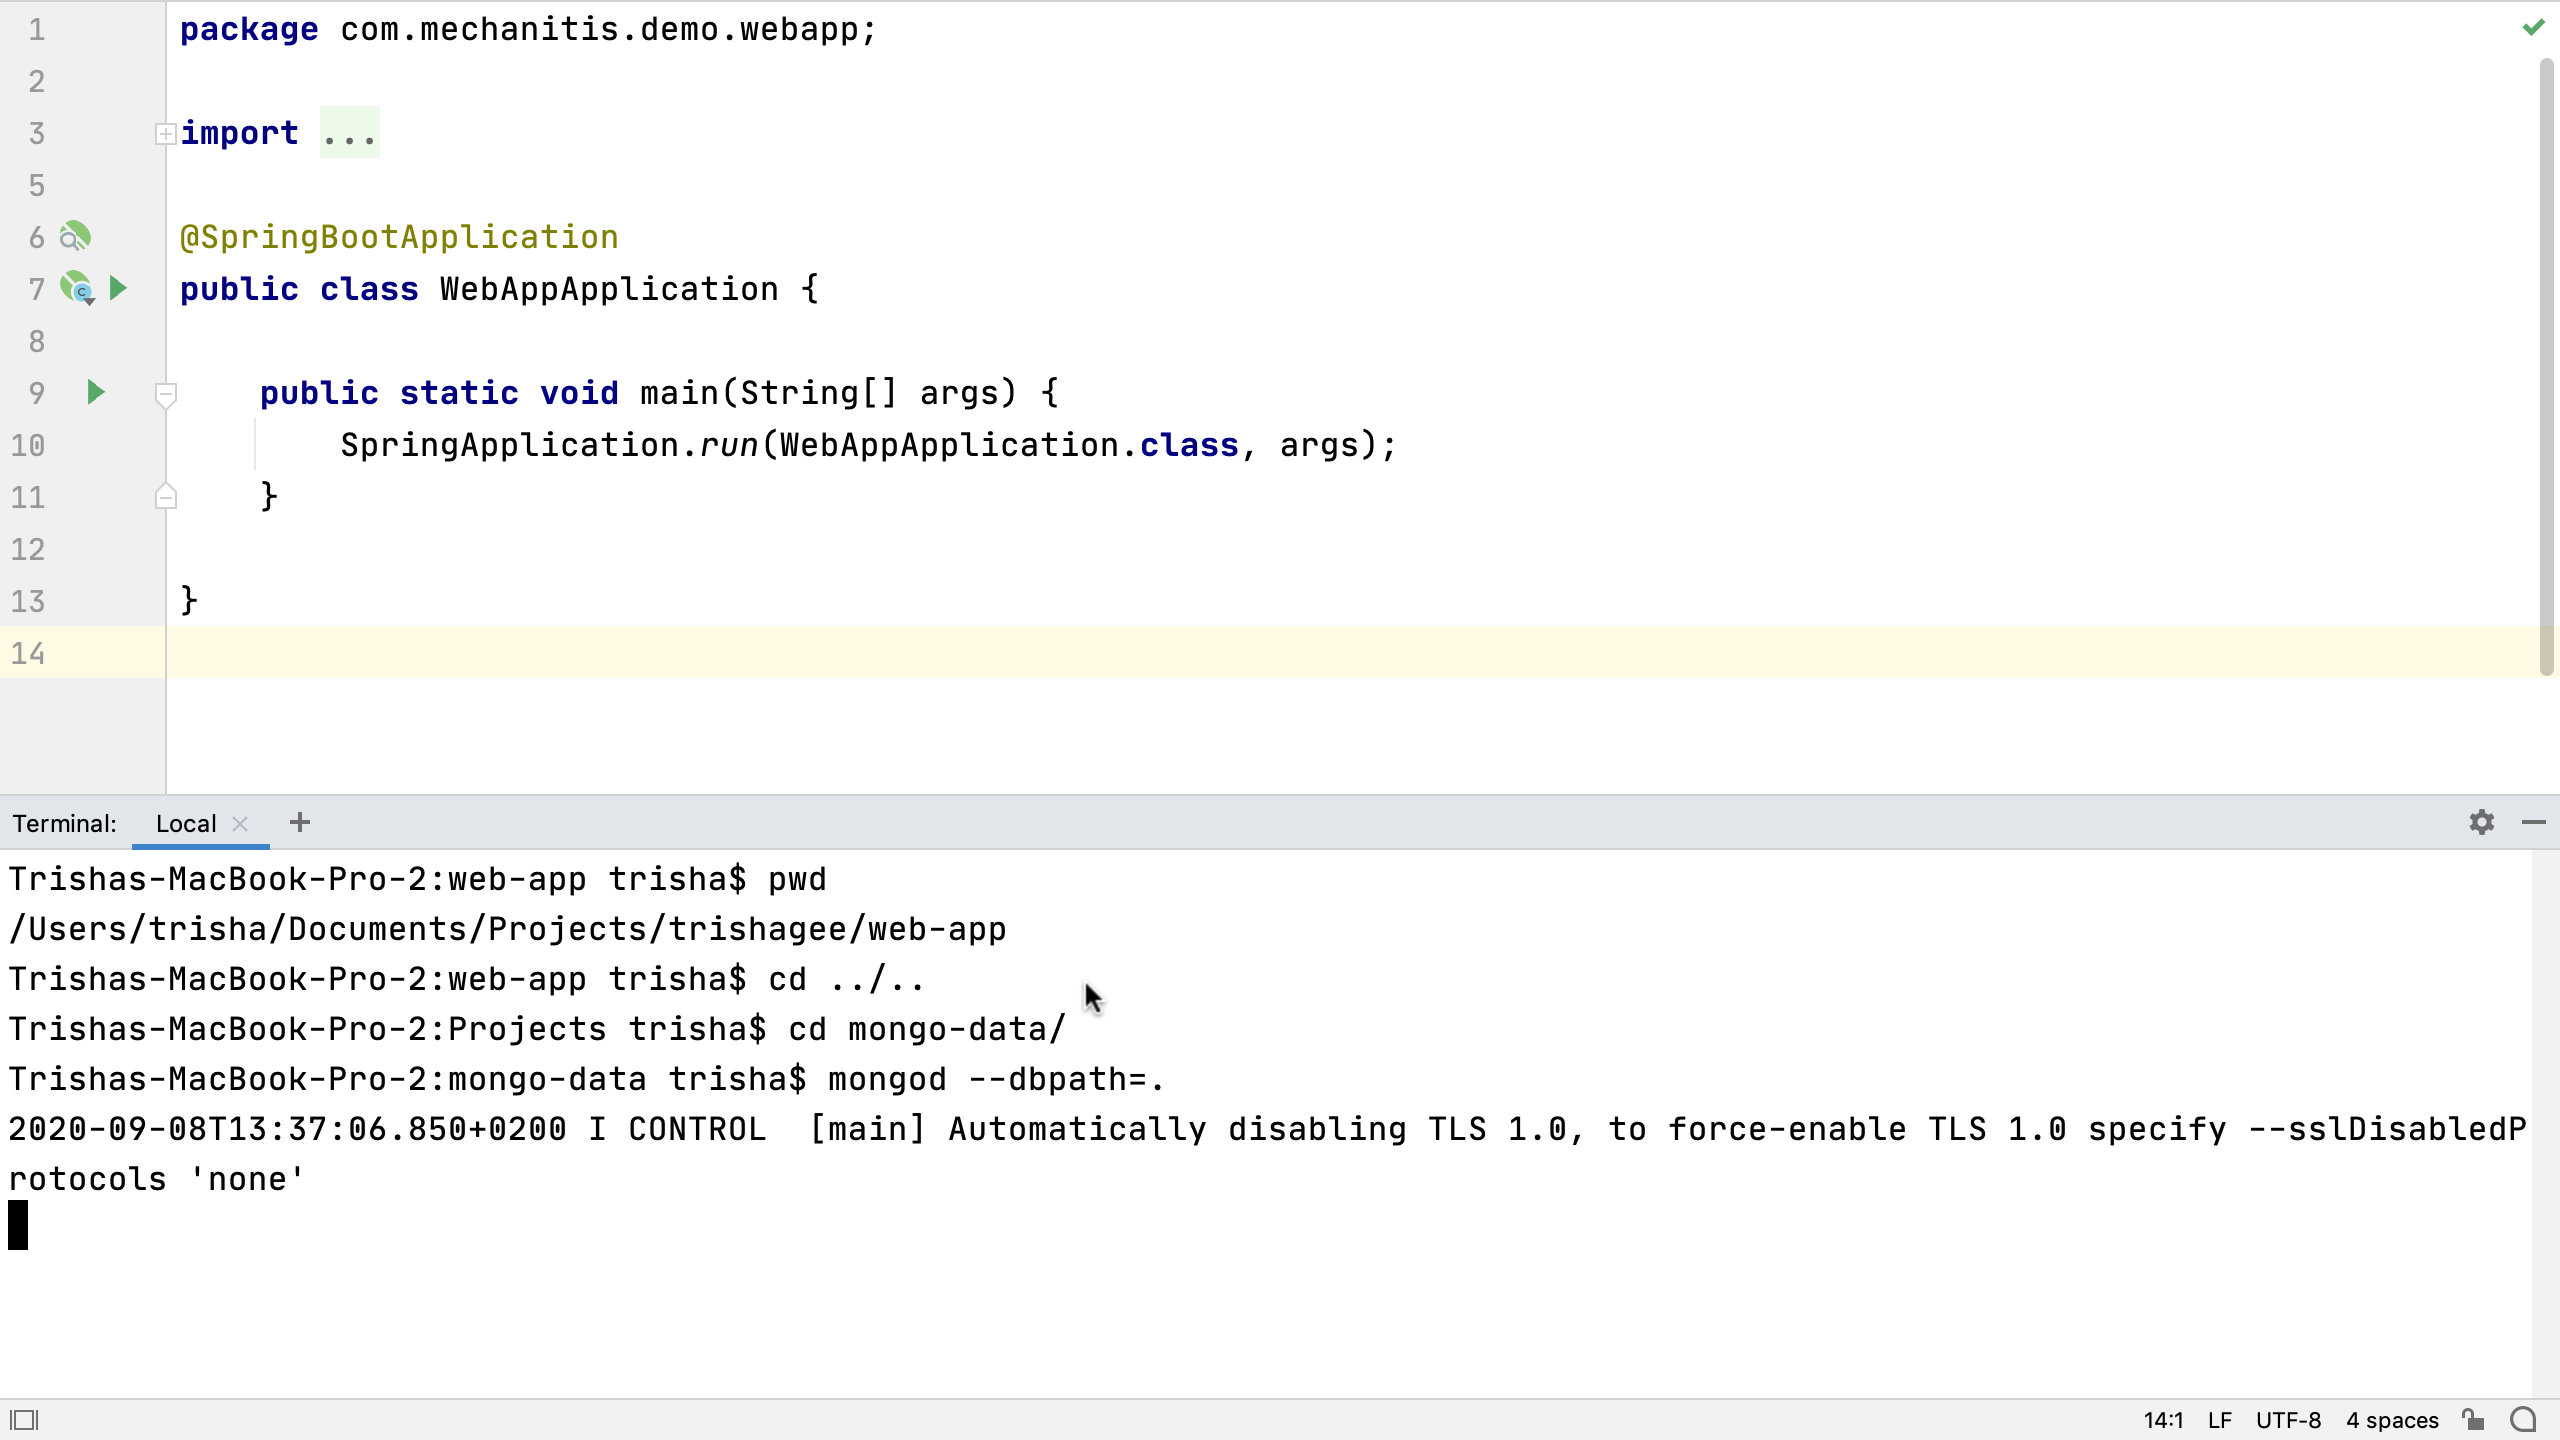
In this example we have a simple Spring Boot application that needs a running MongoDB database. We can open the terminal window with ⌥F12 on macOS, or Alt+F12 on Windows and Linux. The terminal supports all the same commands that the operating system supports.
If we want to start the MongoDB database instance with a specific path for storing the data, we can type:
mongod --dbpath [path to data here]
and press enter. When MongoDB is running in the terminal session, we can go back to writing the application code in the editor. By using the built in terminal, we don’t have to switch between applications, and we can easily have all aspects of our development right in front of us in the same window.
Multiple Terminal Sessions
We can open a second terminal tab with ⌘T on macOS, or Ctrl+Shift+T on Windows and Linux, to run the MongoDB shell as a new command:
mongo
Then we can interact with the server that’s running, and check everything is OK for our application.

Running commands in different tabs is helpful, but sometimes two different processes are closely related and we want to see them together. For this, we can split our terminal window so that we can run two in the same window. For example, you can open up the mongo shell in this split window and can see if the commands have any impact on the running server.

Naming Terminal Tabs
We can run any type of command from the terminal window. For example, although IntelliJ IDEA has full integration with Gradle, sometimes we might want to check a build tool like Gradle or Maven runs correctly from the command line. We might sometimes do this with different Java versions or different arguments to those we’re using in the application. Given that we might be using a number of terminal sessions with a number of different processes or parameters, it’s useful to rename the tabs to something helpful. You can do this from the context menu, which you can open by right-clicking on the tab. That way we can easily reopen the one we’re interested in.

We can move between the different tabs with ⌘⇧[ or ⌘⇧] on macOS or Alt+← or Alt+→ on Windows and Linux. We can switch between the splits with ⌥⇥ on macOS, or Ctrl+Tab on Windows and Linux. We can close splits or tabs with ⌘W on macOS, or Ctrl+F4 for Windows and Linux.
When we restart IntelliJ IDEA, our terminal session names and other settings will persist.
Pasting Code from the Editor into the Terminal
Running command line processes from inside IntelliJ IDEA is useful for keeping us in the same context while we’re developing, and for sharing content between different parts of our application. For example, if we’re running the Java REPL JShell in an IntelliJ IDEA terminal window, it’s easy to copy code from the editor and paste it into JShell. This is not specific to running JShell in the terminal, it’s easy to copy and paste code from anywhere in IntelliJ IDEA into the terminal window.

Terminal Locations from the Command Window
The integration provided by the IDE also extends to being able to open a location from inside the project window in the terminal window from the context menu. Right click on an item in the Project Window, for example, and select "Open in Terminal". This means that we can have a terminal window in the correct location immediately without having to navigate using the command line.

URLs and Stack Traces in the Terminal Window
URLs in the terminal window are clickable, so we can click on any link shown in the terminal window to open them in the browser. File names in the terminal can also link back to the file in the project. In stack traces, you can click on the file name and IntelliJ IDEA will open the file and put the caret on the line that caused the problem. This takes some of the pain out of debugging problems.

Run IDE Features from the Terminal
You may notice that some commands in the terminal window are highlighted. This is a new feature in IntelliJ IDEA 2020.2 that shows that the command could be run in the IDE, meaning we don’t need to use the command line.

If it’s highlighted in yellow and we press Enter, the command will be run in the terminal window just as we’d expect. If we type the same command again, but this time use ⌘⏎ on macOS, or Ctrl+Enter on Windows and Linux, IntelliJ IDEA will use the feature in IntelliJ IDEA and open the relevant tool window.
IntelliJ IDEA detects a number of different commands that could be run in the IDE instead of from the command line. For example, the git command:
git log
will execute normally if we press Enter. If we press ⌘⏎ on macOS, or Ctrl+Enter on Windows and Linux, it opens the Git log window in IntelliJ IDEA.
This is a great way to discover features in the IDE that are an alternative approach to using the command line. If we decide we’re not going to need these suggestions, we can turn off "Run IDE Features from the Terminal" from the terminal window’s settings using the context menu. The commands will no longer be highlighted.
Summary
IntelliJ IDEA’s terminal window is a powerful and helpful tool for developers. It keeps our attention in the same tools which reduces context switching. It makes it easy for us to share things between the editor and the command line. The terminal is integrated allowing us to easily move from the project code to the terminal and back again, and it also can show us alternative ways of doing the same thing, using the IDE’s version of the command line tool.

See also: