IntelliJ IDEA
IntelliJ IDEA – the Leading IDE for Professional Development in Java and Kotlin
When Web Testing Becomes a Breeze

Web testing becomes more and more convenient with the advent of new frameworks that make our lives easier. Modern frameworks abstract us from a lot of configuration and boilerplate and let us concentrate on our business objectives instead.
Selenium lets us interact with web elements through a convenient API. Selenide makes it handier by adding convenience methods and spares us from tedious setup. Every new technology strives to raise the bar and make web testing even more enjoyable. The value of such frameworks cannot be emphasized enough. They are force multipliers indeed!
Now that’s related to the code itself, but what about the tooling? Is there something that we can leverage to streamline the process even more?
Sure! As an IntelliJ IDEA user, you have an entire suite of tools at your disposal, and in this post we’ll take a peek at how we can generate Selenium page objects and test data when testing a web page.

Note: To use the features from this post, make sure you have Selenium (IntelliJ IDEA Ultimate) and Test Data plugins installed. The minimum version of the IDE is 2022.1.
Demo project
The examples below are based on a demo project that you can clone here: https://github.com/flounder4130/exciting-form.
Otherwise, you can perform the same steps using your own project and website of your liking. If you follow that path, the fastest way to set up all dependencies is through the wizard (File | New | Project | Selenium).
In our demo project, we have a simple server that responds with a sign-up form. To access it, start the Server run configuration and open http://localhost:8000/signup in your browser.
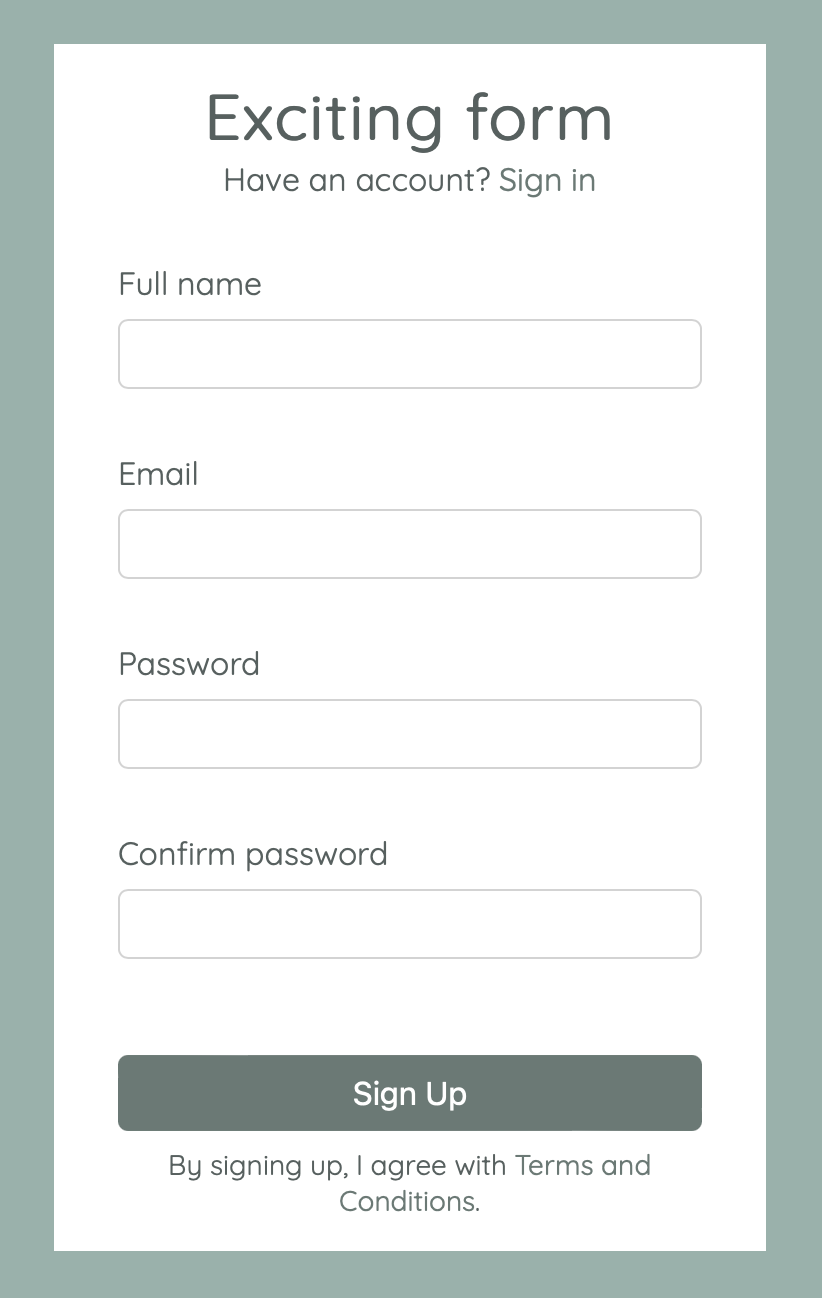
We got the page up and running – let’s test it!
Create a page object
If you use Selenium in your day-to-day work, you definitely know about the importance of page objects. This pattern adds structure to the test code, greatly improving its readability and maintainability.
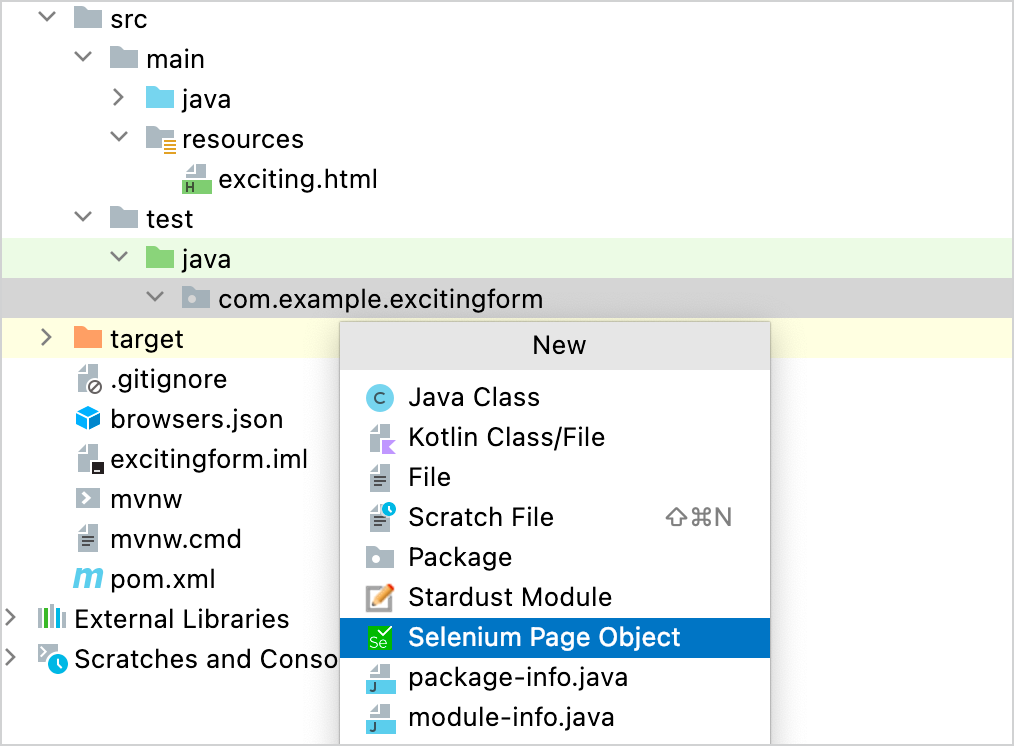
IntelliJ IDEA’s Selenium support makes this step very easy. In the test root, right-click the package where you want to store the page object, then select Selenium Page Object.
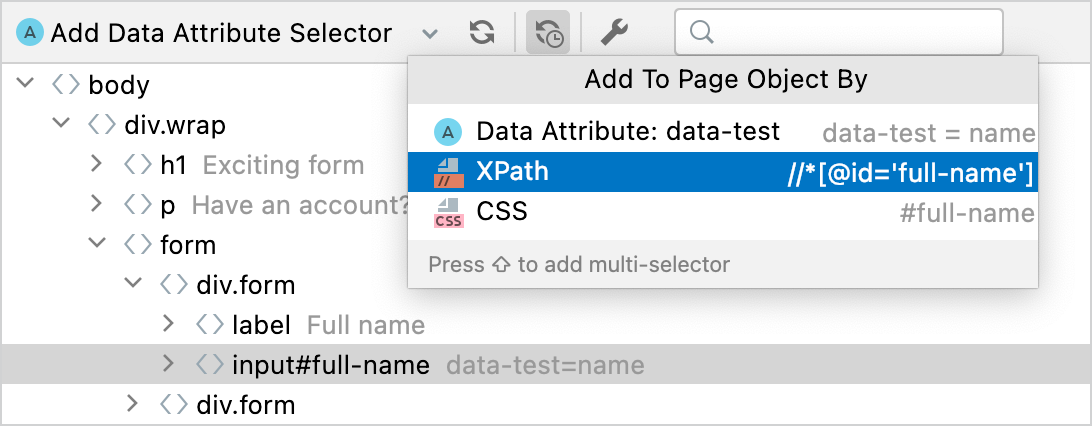
Give the page object a name. This will open the embedded browser and the corresponding page object for it. In the browser, enter the website URL. After that, you can start picking the elements. When you select an element, IntelliJ IDEA locates it in the HTML.
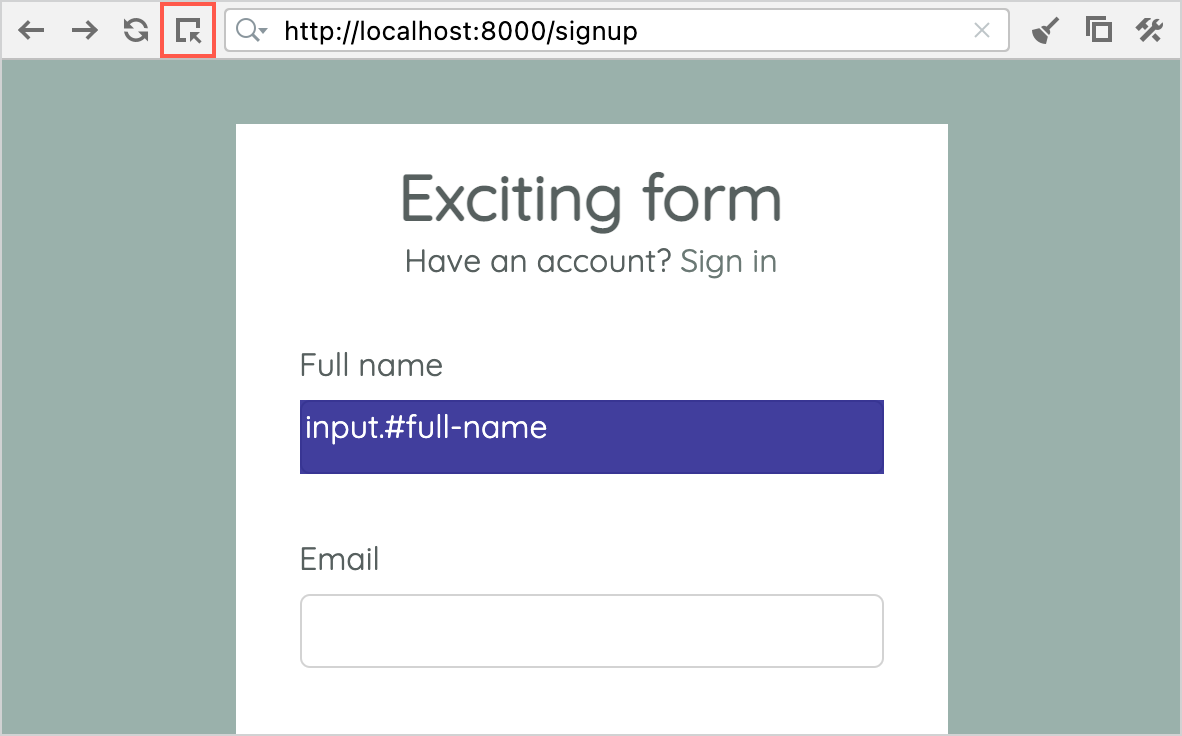
It is as simple as that: You pick the elements you need and add them to the page object. The most appropriate selector type is determined automatically. However, you can be specific about that, and choose the required selector yourself. You can also customize the page object template according to the needs of your project.
All the elements that you add appear in the editor right away.
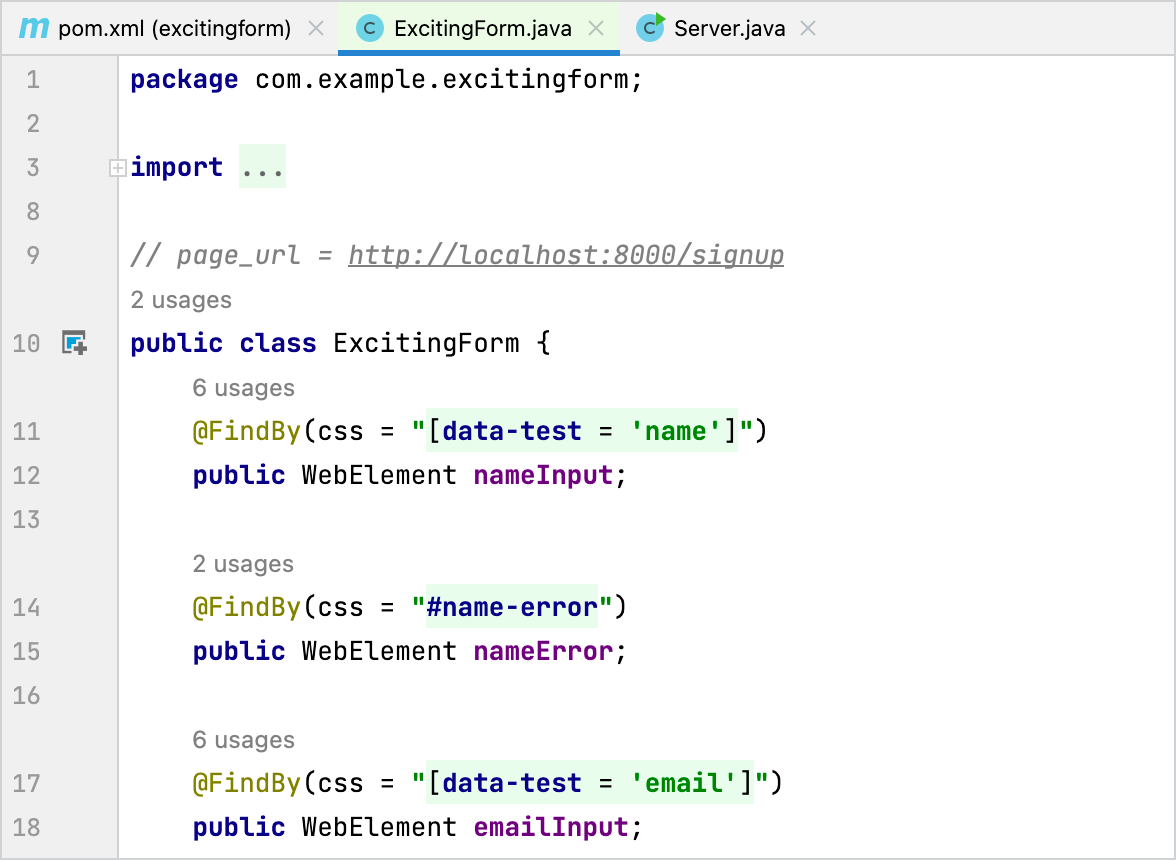
If you want to return to the browser later and modify the page object, just use the gutter icon.

The IDE recognizes the page_url comment and the current setup, ensuring the two tabs are always in sync. You can pick up where you left off at any time.
Generate Test Data
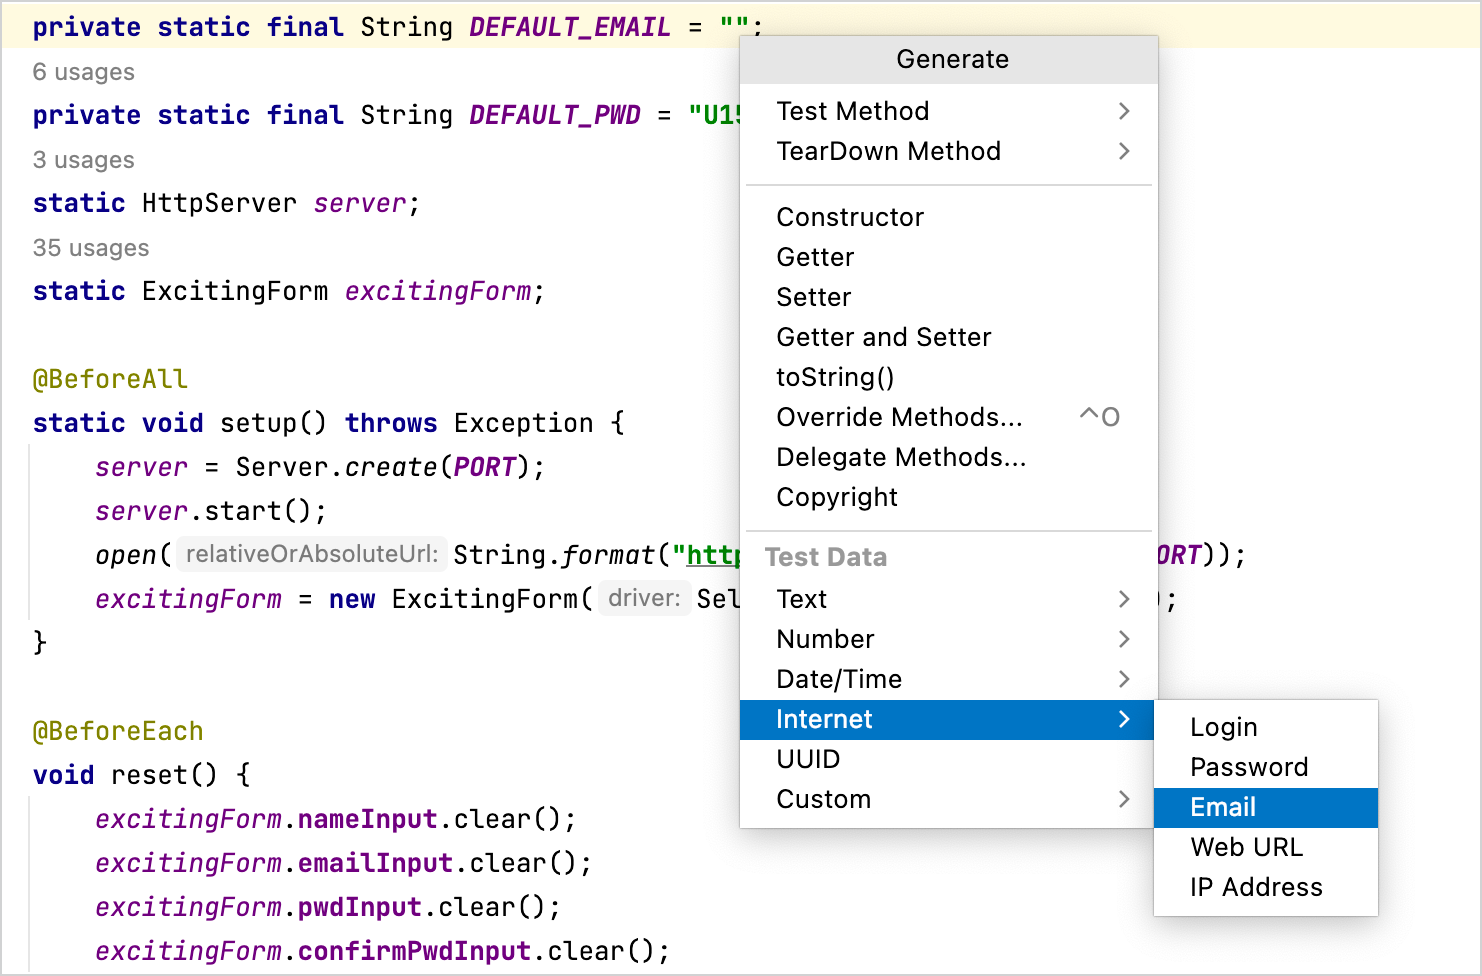
Now that we have web elements in place, we need data to use with them. Hopefully, you don’t need to browse the web in search of dictionaries and invent ways to combine them. Whenever you need test data, invoke the Generate action and choose the required data type. The generated string appears at the caret.
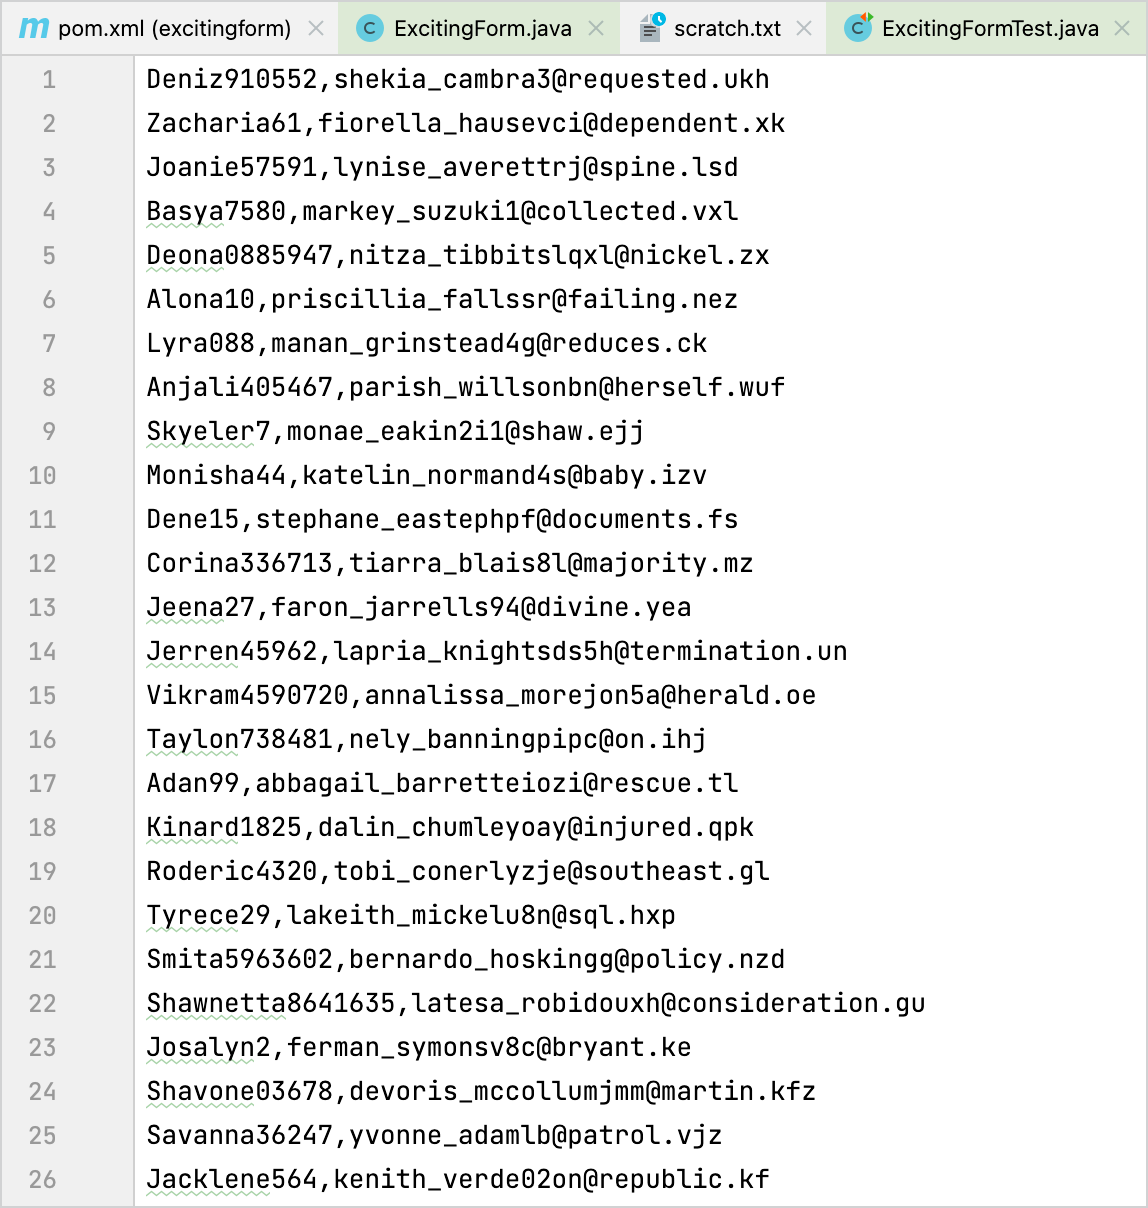
Generating massive CSVs or JSONs is not much harder. Just create a custom generator and use it in text files.
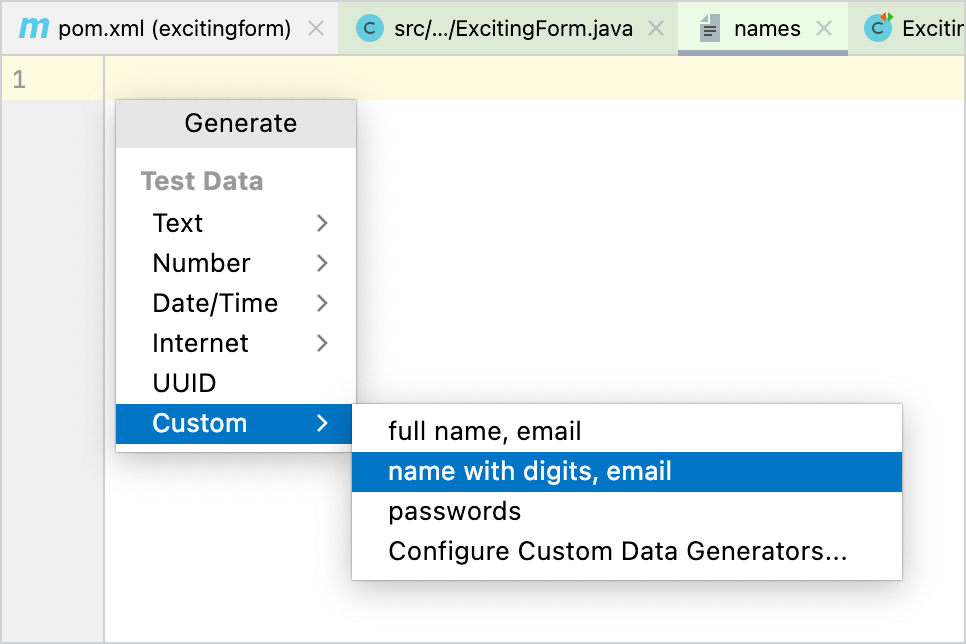
After you have set up a generator, you can create files containing an arbitrarily large number of entries with a couple of keystrokes.
Our project does not require sophisticated data types. However, there are many to choose from. If that’s still not enough, and you have something very specific in mind, you can generate any custom data with the help of regular expressions and compound data generators.
Write and run tests
That’s it! All you have to do is write a couple lines of code using your favorite testing framework.
We are not covering the coding part in this post, but the demo project comes complete with that, so you can refer to it.
Let’s run the tests:
Looks cool given that we barely even touched the keyboard, doesn’t it?
Summary
In this post, we did not go into much detail about the advanced features and step-by-step instructions. If you are interested in those, check out the documentation for Selenium support and test data generation. If you are curious whether your language or framework is supported, refer to this page.
Also, if you’d like to try something new, we recommend giving Local TMS a try. It is a simple format for storing test management data, which allows for closer integration with the codebase, versioning, and better workflow automation.
As always, we would love to hear from you. We are open to feature requests and feedback of all kinds. Let us know what you think!