IntelliJ IDEA
IntelliJ IDEA – the Leading IDE for Professional Development in Java and Kotlin
The What, Why, and How of JPA Buddy in IntelliJ IDEA

A little while back, we shared the exciting news of our acquisition of JPA Buddy together with its enthusiastic and innovative team. Now, all the features that come with this tool are available as part of the IntelliJ IDEA Ultimate subscription. But what is JPA Buddy? Why might you want to use it? And how does it function inside the IDE?
Today, we’ll find out the answers to all these questions and more as we look at the JPA Buddy tool in IntelliJ IDEA in more detail and hopefully inspire you to explore it further.
JPA Buddy is an invaluable tool for people who work with JPA and technologies like Spring Data JPA, Flyway, Liquibase, Lombok, MapStruct, and Hibernate in Java and Kotlin. It’s also helpful in projects using Spring Boot, Jakarta EE, Quarkus, Micronaut, and even those without a specific framework.
The tool aims to help you:
- Minimize the challenges of getting started with JPA development.
- Boost your productivity.
- Reduce the need for manual boilerplate code.
- Identify potential problems and offer solutions to common issues.
We are about to start our blog, but if you prefer a video overview of JPA Buudy, you can check out our recent webinar by Marco Behler.
Now let’s start our walkthrough!
Table of Contents
Installation
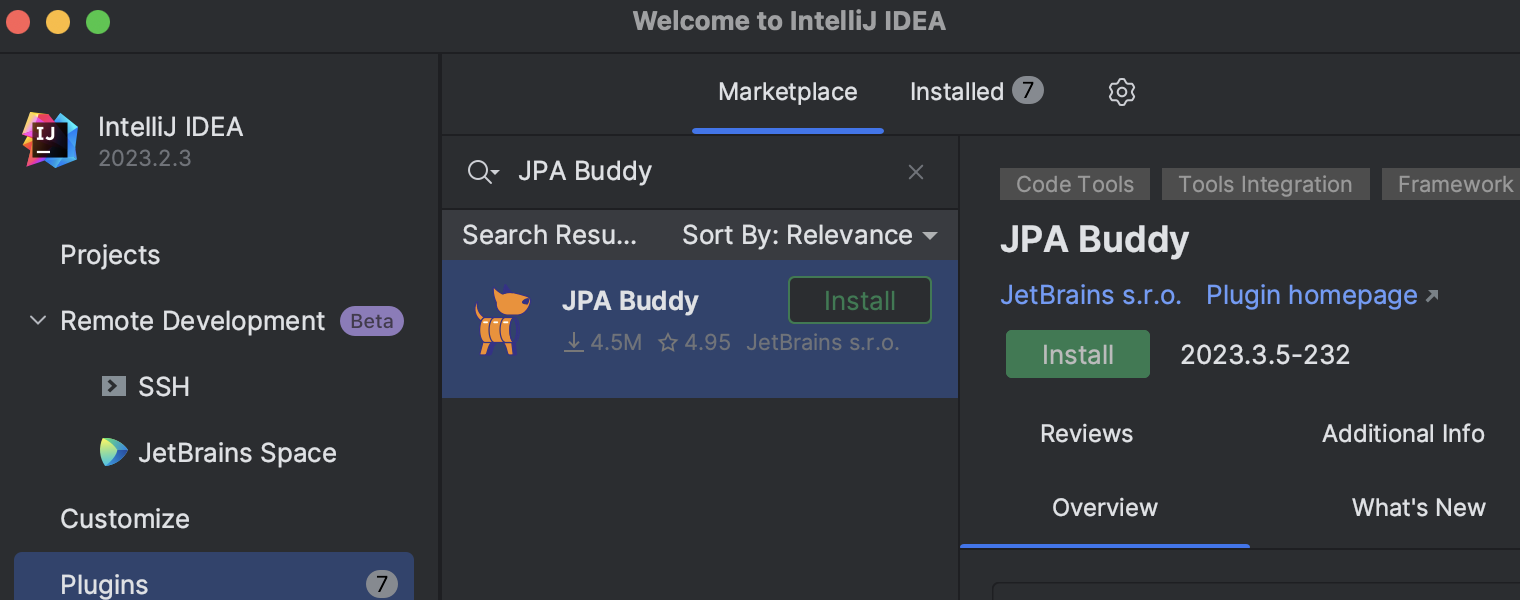
First off, let’s install JPA Buddy. Just head to Preferences/Settings and then click on Plugins. Type in JPA Buddy in the search box. When you find it, click the Install button. After it’s installed, restart IntelliJ IDEA to finish the setup.
JPA Buddy overview
In this section, we’ll demonstrate JPA Buddy inside our IDE.
After the installation, JPA Buddy will start in Minimalistic mode. You won’t notice many changes in the IDE unless you open a file containing a JPA entity, a repository, or a Liquibase/Flyway file. Then you’ll discover an editor toolbar with the actions available for this file. For example, for entities, you will be able to add a DDL preview, attributes, and DTO references, for repositories – queries or methods, and so on.

If you prefer visual tools, you can configure JPA Buddy to display the JPA Explorer and JPA Designer tool windows. To do so, change the UI from Minimalistic to Custom in Preferences | Tools | JPA Buddy | Designer Settings and then select the Unified tool window radio button next to the JPA Structure view.
Once you apply this change, the JPA Explorer will be available by clicking on the dog icon on the left-hand side toolbar. The JPA Designer tool window will appear automatically in the right-hand side panel when you start working with the objects supported by JPA Buddy, like entities, repositories, and others.
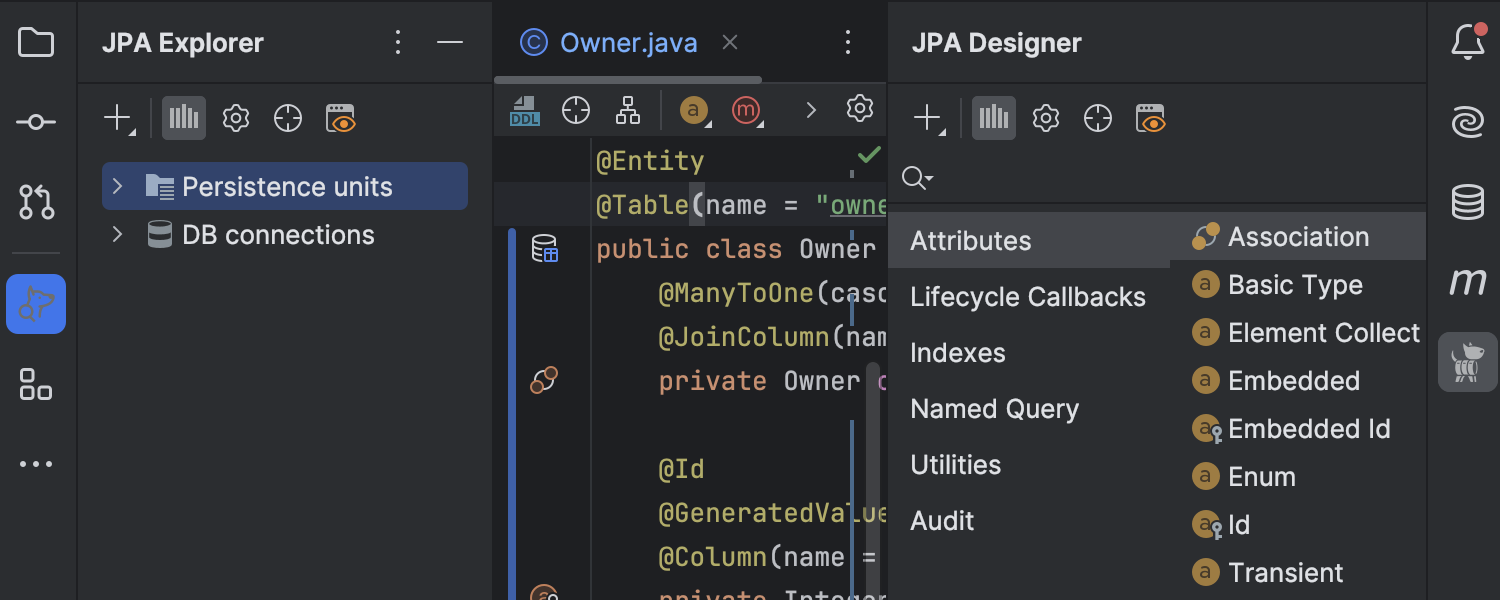
Please note that all the actions in JPA Buddy are accessible from different places. You can invoke them from the JPA Explorer, JPA Designer, editor toolbar, or context menu.
JPA Explorer
JPA Explorer offers a data-centric view of the project and helps you:
- Create data objects like entities, JPA converters, Hibernate types, Spring Data repositories, and Liquibase changelogs.
- Explore the data model. It displays entities hierarchically and also allows you to observe and navigate to referenced entities and DTOs. This is particularly handy when diving into complex projects or conducting quick code reviews.
- Inspect Spring Data repositories for each entity.
- View migration changelogs and simplify navigation.
- Customize plugin settings for DB connections and persistence units.
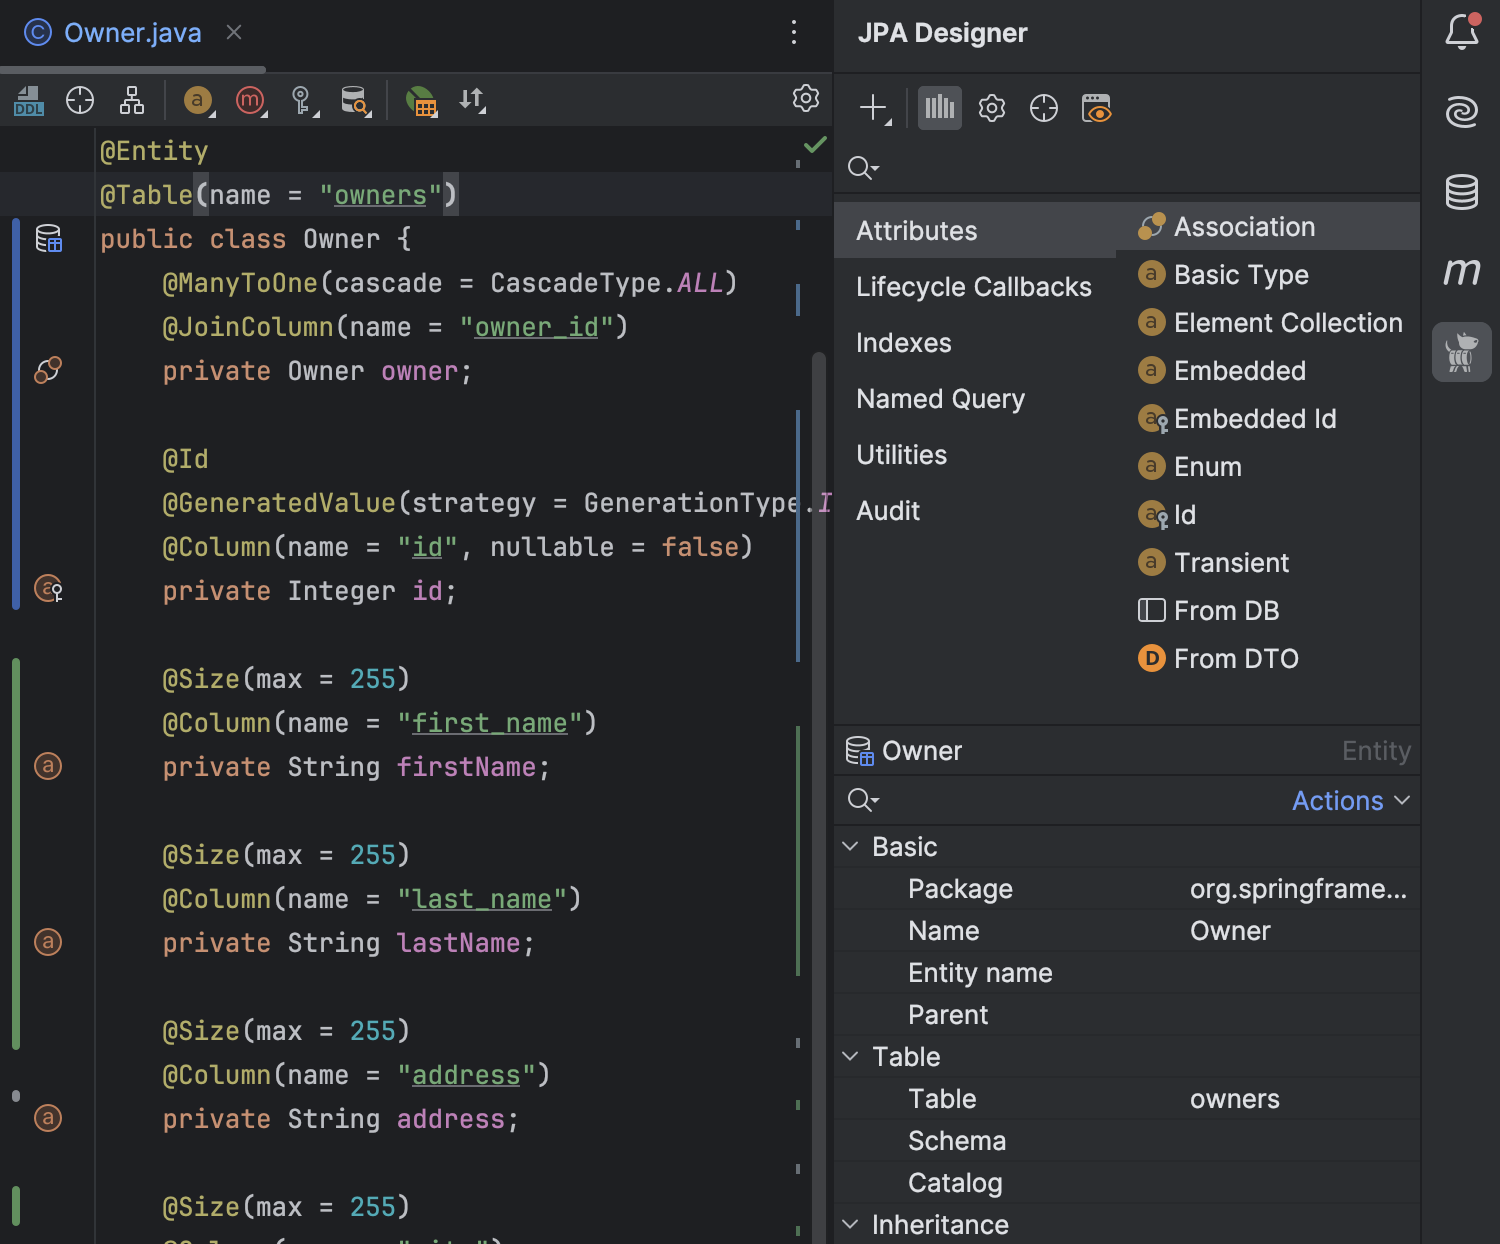
JPA Designer
JPA Designer is a context-dependent tool that consists of two parts: Palette and Inspector.
Palette helps developers create new objects in the existing context, for example, attributes for entities or query methods for Spring Data JPA repositories.
With Inspector, you can change existing code, such as making an entity attribute mandatory or updating the existing method signature in the Spring Data repository.
Code-first vs. database-first
Now that you’re familiar with the UI, we’ll show you how to create entities. There are two approaches to data layer development: code-first and database-first. If you follow the code-first approach, you define entities in code and then generate a database schema. Meanwhile, in the database-first approach, you choose to design a database schema first and then create corresponding entities.
With JPA Buddy, you can use any approach depending on your needs. Let’s see how both of them work.
Entity creation
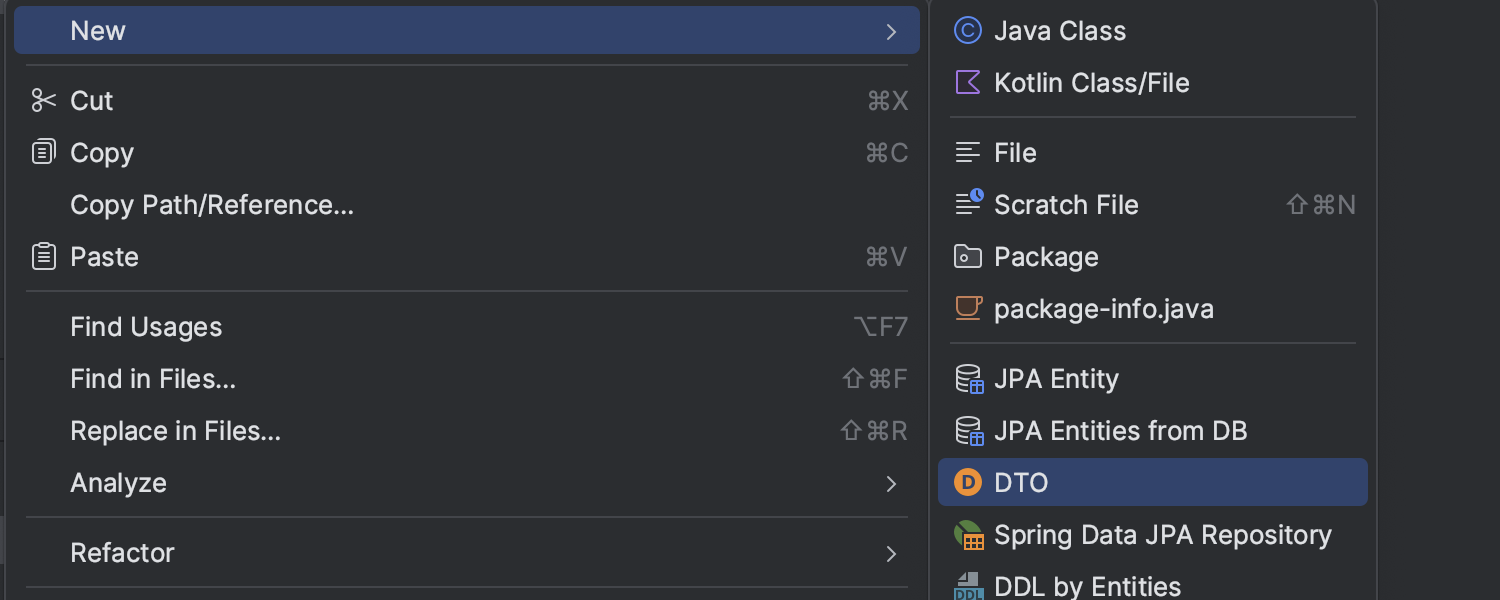
If you want to create an entity from scratch, you can use either JPA Explorer or the context menu in the Project tree view. Just select the parent node in the project tree and either right-click on it or click the + icon in the JPA Explorer tool window. Then, simply select the JPA Entity action.
In the Project tree view it looks like this:

Now, adding attributes to the newly created entity is easy. All you have to do is click the a button in the editor toolbar or use the JPA Designer’s Palette tool.

Entity generation from a database
Data usually lasts longer than the code. So, when you add a JPA data layer to an existing database, you need to generate JPA entities from the existing tables.
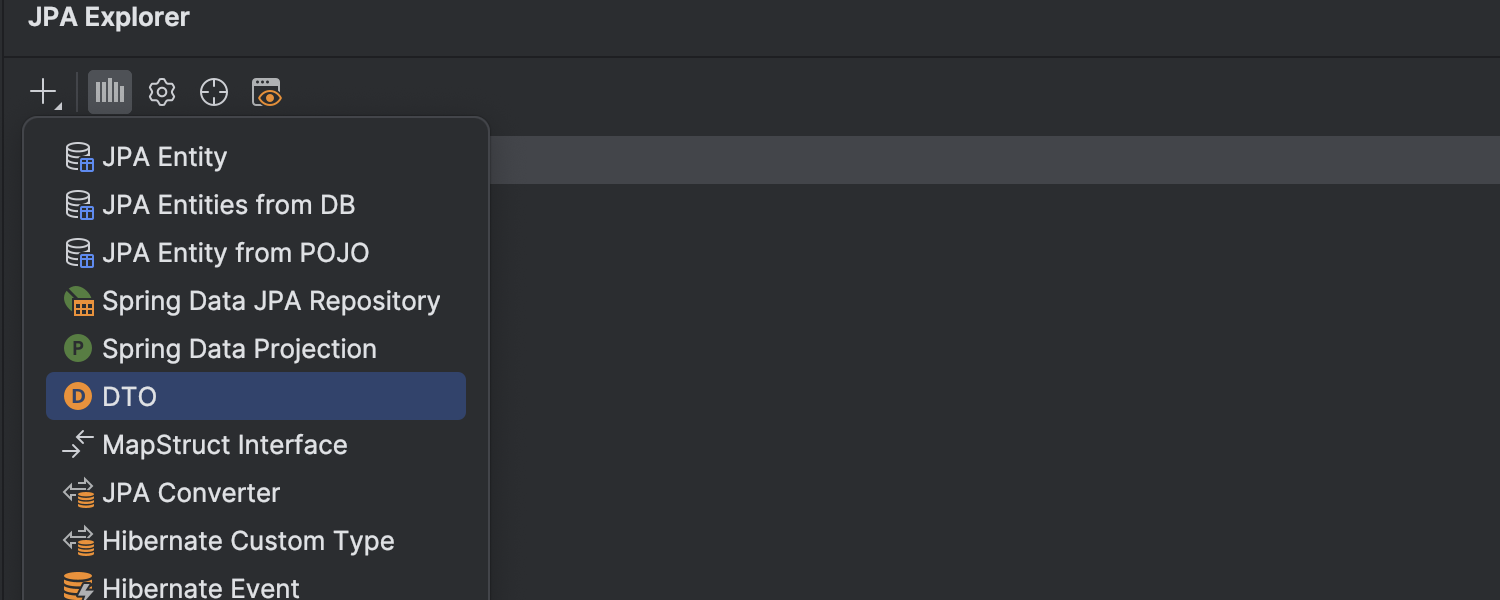
You can quickly call this action from the JPA Explorer tool window or the Project tree view by clicking the + icon and selecting the JPA Entities from DB action.
Additionally, if any changes occur in the database, it is possible to complete the existing import without regenerating the existing JPA entities. JPA Buddy can cherry-pick database changes and import them into your code. For example, if you need to import a newly created column into an entity, click the a button in the editor toolbar and then select From DB.
Liquibase and Flyway integration
JPA Buddy provides tight integration with Liquibase and Flyway, two of the most popular and reliable database schema versioning solutions.
The major advantage of this integration is the ability to create changelogs. JPA Buddy allows you to:
- Compare your local JPA model or database with the intended target database.
- Produce a script for synchronizing your JPA model changes with the target database.
All the resulting statements are labeled in three different colors: green means “safe”, yellow marks statements that may fail during updates, and red marks statements that are prone to data losses.
What’s more, you can edit changelogs with ease in the JPA Designer, the JPA toolbar, or right in the code editor with the help of code completion.
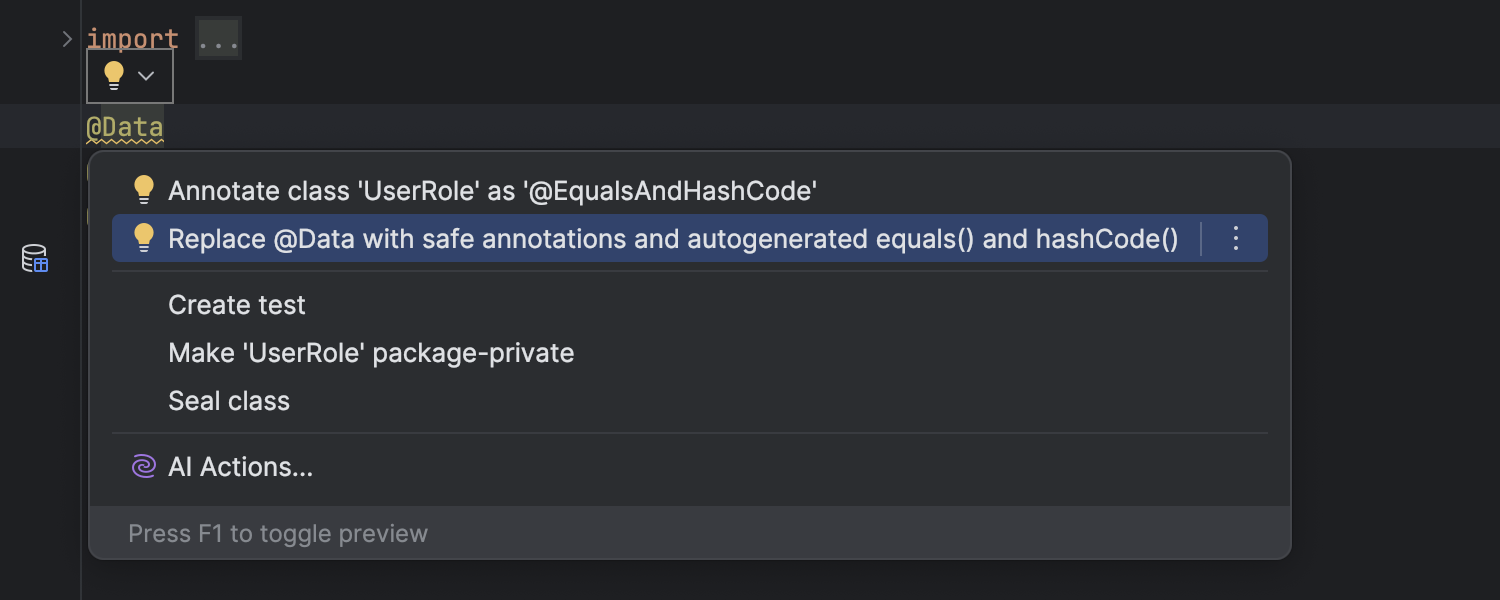
Lombok support
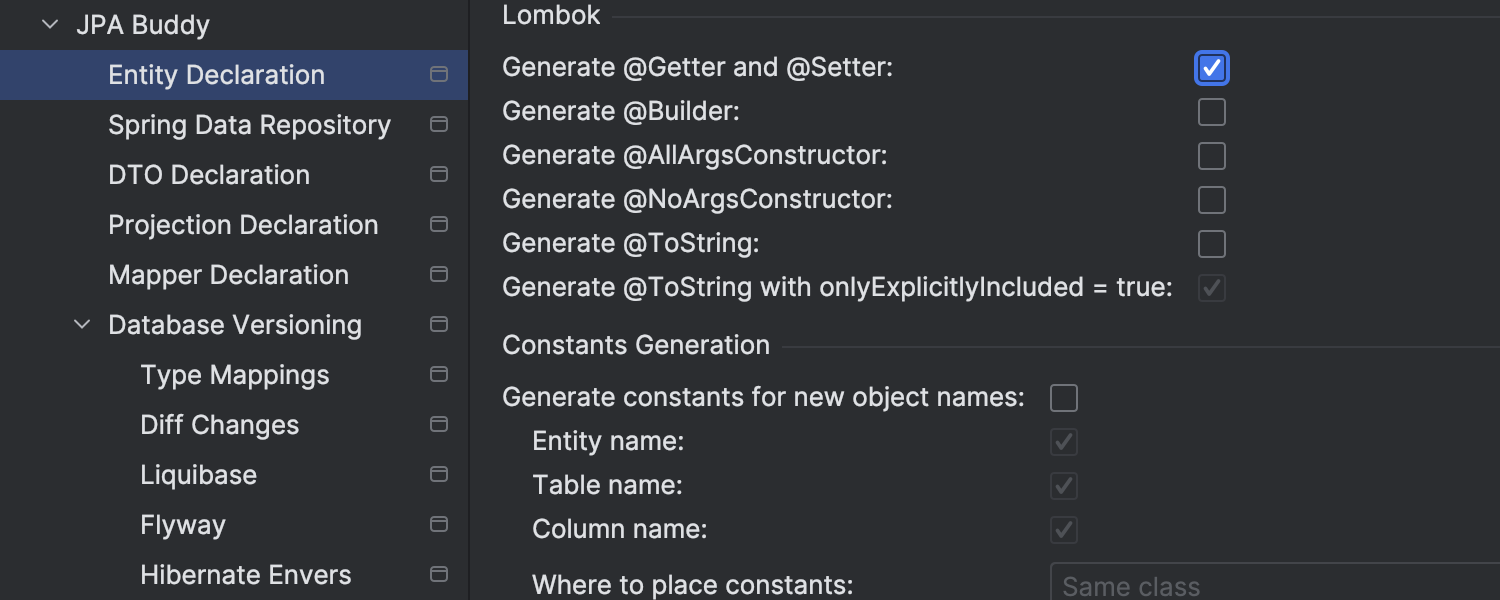
Lombok is a handy tool that makes your Java code neater and more concise. If your project contains Lombok dependencies, JPA Buddy automatically uses Lombok annotations when generating the code.
If your coding standards prohibit using some Lombok annotations, you can use settings panel in Properties/Settings | Tools | JPA Buddy | Entity Declaration. At the bottom of the window, you can see the list of annotations. Select the ones you need, and they will be used at the stage of creating new entities or attributes.
If you encounter issues with unusual annotations in JPA Entities, fear not – JPA Buddy’s code inspections are always on hand to help you navigate through these problems.
DTOs and mappers generation
A DTO (data transfer object) is a special object that transfers data between application services. The DTO pattern proves useful when you don’t want to expose the whole entity or its structure in your API.
The typical entity to DTO conversion often comes with a lot of repetitive boilerplate code, even though its main job is just to copy data from one object to another. But with JPA Buddy, creating DTOs becomes much simpler and more efficient. You can effortlessly generate DTOs and their corresponding mappers using the MapStruct and ModelMapper libraries. Simply choose the attributes you need for your DTOs, and with just a few clicks, you’re done!
There are several ways to create a DTO and a mapper interface:
- From the JPA Explorer.
- From the JPA toolbar of the opened entity.
- By right-clicking on the necessary entity in the project tree.
- By using context actions right in the editor while coding.

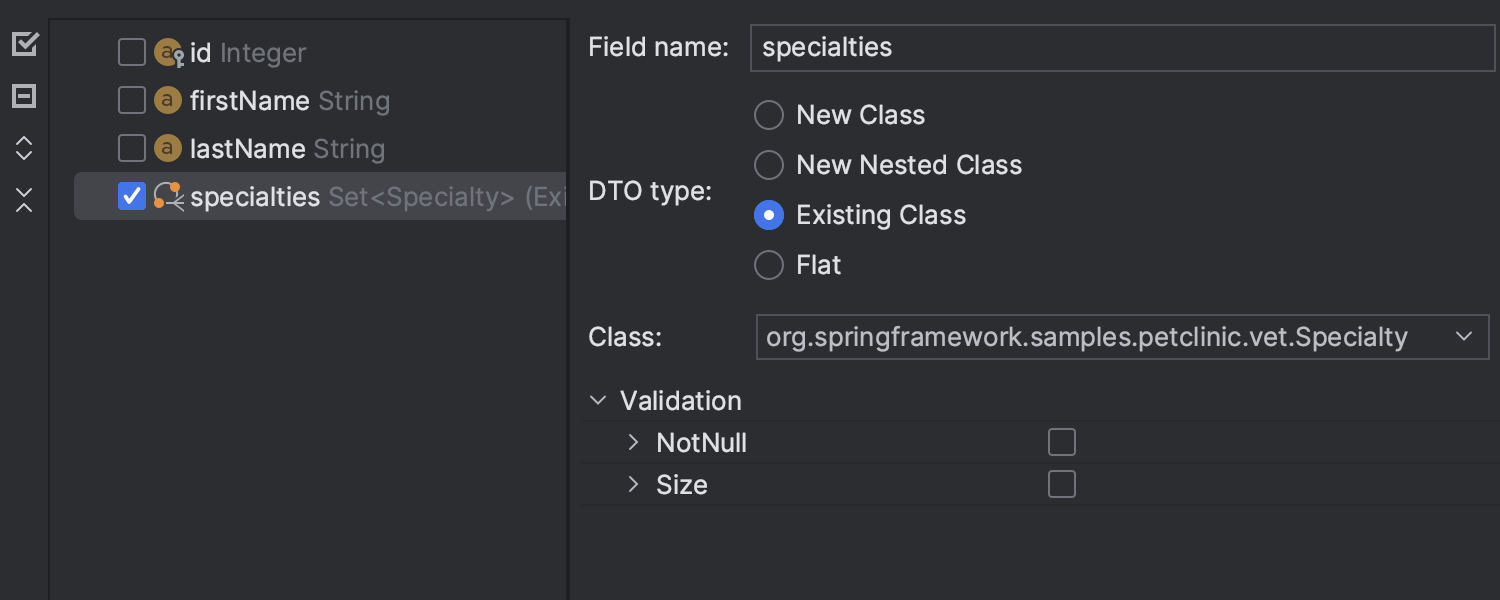
What is more, if one entity is linked to another, you can create DTOs for the connected entity within the same window. Just pick the entity with a reference in the tree, select the DTO type, and choose the necessary fields.
The DTO pattern is common in today’s software development. You can use it not only with JPA entities but also with regular POJO classes. JPA Buddy allows you to create DTOs from any Java or Kotlin class, offering flexibility and control over your code.
Coding assistance
To make your development flow even smoother, JPA Buddy comes with coding assistance for JPA entities, Spring Data repositories, DTOs, and MapStruct mappers, letting you skip distractions and jump from one file to another.
As an example, the GIF below shows how code completion, the key feature in coding assistance, works for the generation and injection of Spring Data JPA repositories, methods, MapStruct mappers, and DTOs.
Summary
In a nutshell, JPA Buddy is an efficient and user-friendly tool for JPA development. It can greatly enhance your IntelliJ IDEA toolkit and boost your productivity by reducing boilerplate code, simplifying complex operations, automating repetitive tasks, and proactively identifying and addressing common issues.
We’ve walked you through the installation and explored JPA Buddy’s user-friendly interface. But that’s not all – we’ve also unveiled some of its cool features, from seamless integration with Liquibase and Flyway, Lombok support, and effortless DTO generation, all the way through to the creation of JPA entities from your database tables.
Now it’s your turn to try out JPA Buddy. Don’t miss out on the opportunity to streamline your JPA development and turbocharge your coding experience!