TeamCity
Powerful CI/CD for DevOps-centric teams
Run TeamCity CI builds in Google Cloud

 We are happy to announce that now TeamCity provides a tight integration with Google Cloud services. The Google Cloud Agents plugin allows using Google Compute Engine to start cloud instances on demand to scale the pool of cloud build agents and also supports using cost-efficient preemptible virtual machines. The Google Artifact Storage plugin provides the ability to use Google Cloud Storage to keep external build artifacts.
Installation
To enable these TeamCity integrations with the Google Cloud, you need to download the Google Cloud Agents and Google Artifact Storage from the plugins gallery and install them as additional TeamCity plugins. Remember to restart the TeamCity server.
Google Cloud Agents Configuration
Prepare Google Cloud Image
Now you need to create cloud images to start new cloud build agents from. To do that, create a new cloud instance from the available public boot disks and uncheck “Delete boot disk when instance is deleted” in the “Management, disk, networking, SSH keys” section. Then, after the start of the cloud instance, connect to it via SSH or RDP depending on the selected image and install a TeamCity build agent. You need to point the build agent to the TeamCity server to update plugins and set the agent to start automatically.

Then install required build tools, remove temporary files, remove the cloud instance and create a new custom image from the cloud instance boot disk.

Create Service Account and Key
Now we need to create a new service account with the Project Viewer and Compute Engine Instance Admin roles and a new JSON private key for that account.

Create Cloud Agent Profile
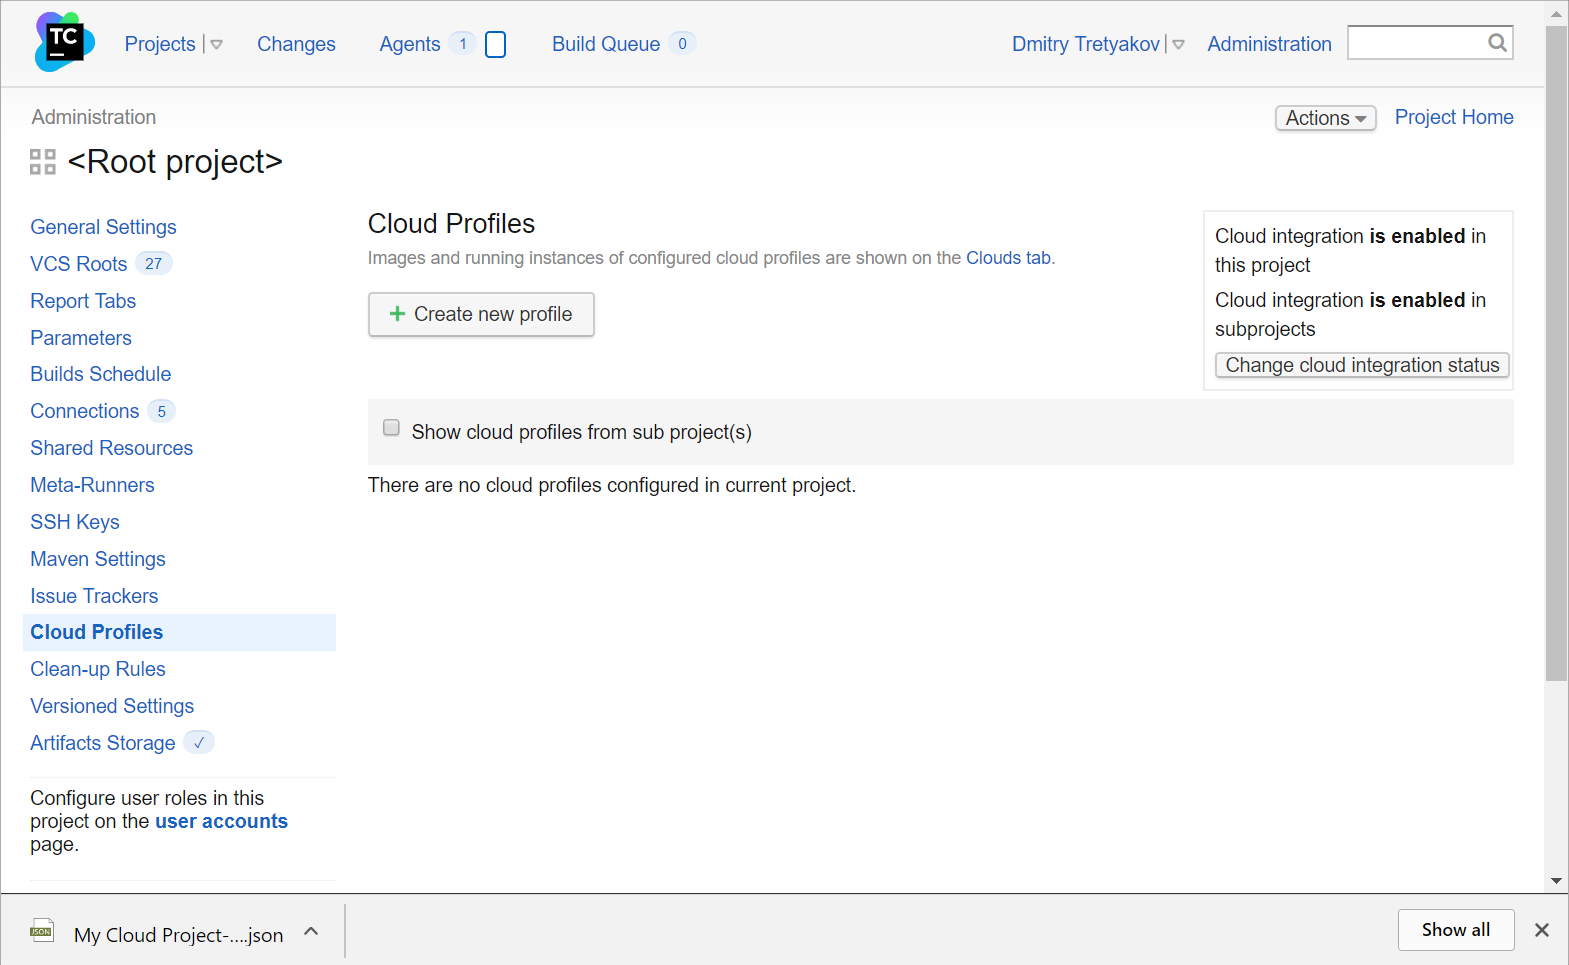
To create a Google agent cloud profile, navigate to the project where you want to set up the profile and select the Cloud Profiles link. Then click the “Create new profile” button and select “Google Compute” as the cloud type. Specify the profile name and the JSON private key value in the corresponding field.
To add a new image to the profile, press the “Add image” button, select the recently created cloud image, and fill in other properties. Next you need to save the image and then the profile settings. That’s all.
Google Artifact Storage Configuration
Create Service Account and Key
To access Google Cloud Storage, the plugin requires a service account with the Project Viewer, Storage Object Admin roles and a new JSON private key for that account.

Configure Artifact Storage
Navigate to the Artifacts Storage Project tab and click the Add new storage button. Select Google Storage type and fill in the name, JSON private key, bucket name and press Save. After that, activate this artifact storage in the TeamCity project by clicking the Make Active link.

That’s it! Your new builds in this project will store artifacts in the Google Cloud Storage.
Feedback
You are welcome to try these plugins for TeamCity, your feedback will be really appreciated: please share your thoughts in the comments to this blog post or in our issue tracker.
Happy building in the Google Cloud!