Customizing the AppCode User Interface

Like other IntelliJ-based IDEs, AppCode is extremely flexible when it comes to configuring the way it looks. By customizing your set of tool windows and menus at hand, font colors and sizes, and a lot of other settings you can make your development environment as comfortable and visually pleasing as possible.
Choose your UI theme
Each UI theme defines the appearance of your entire IDE, including dialogs, windows, menus, toolbars, buttons, and other visual elements. AppCode offers four themes out of the box: Darcula (the dark one), IntelliJ Light, macOS Light, and High Contrast (for users with visual impairments). You’ve already selected one of these UI themes the first time you installed AppCode, but you can switch it whenever you want in Preferences | Appearance & Behavior | Appearance.
Starting with AppCode 2019.1, the IDE’s appearance is not limited by these three built-in themes. If you want to try something new, check out the UI theme plugins available in the JetBrains Plugins Repository. Go to Preferences | Plugins | Marketplace and type theme:
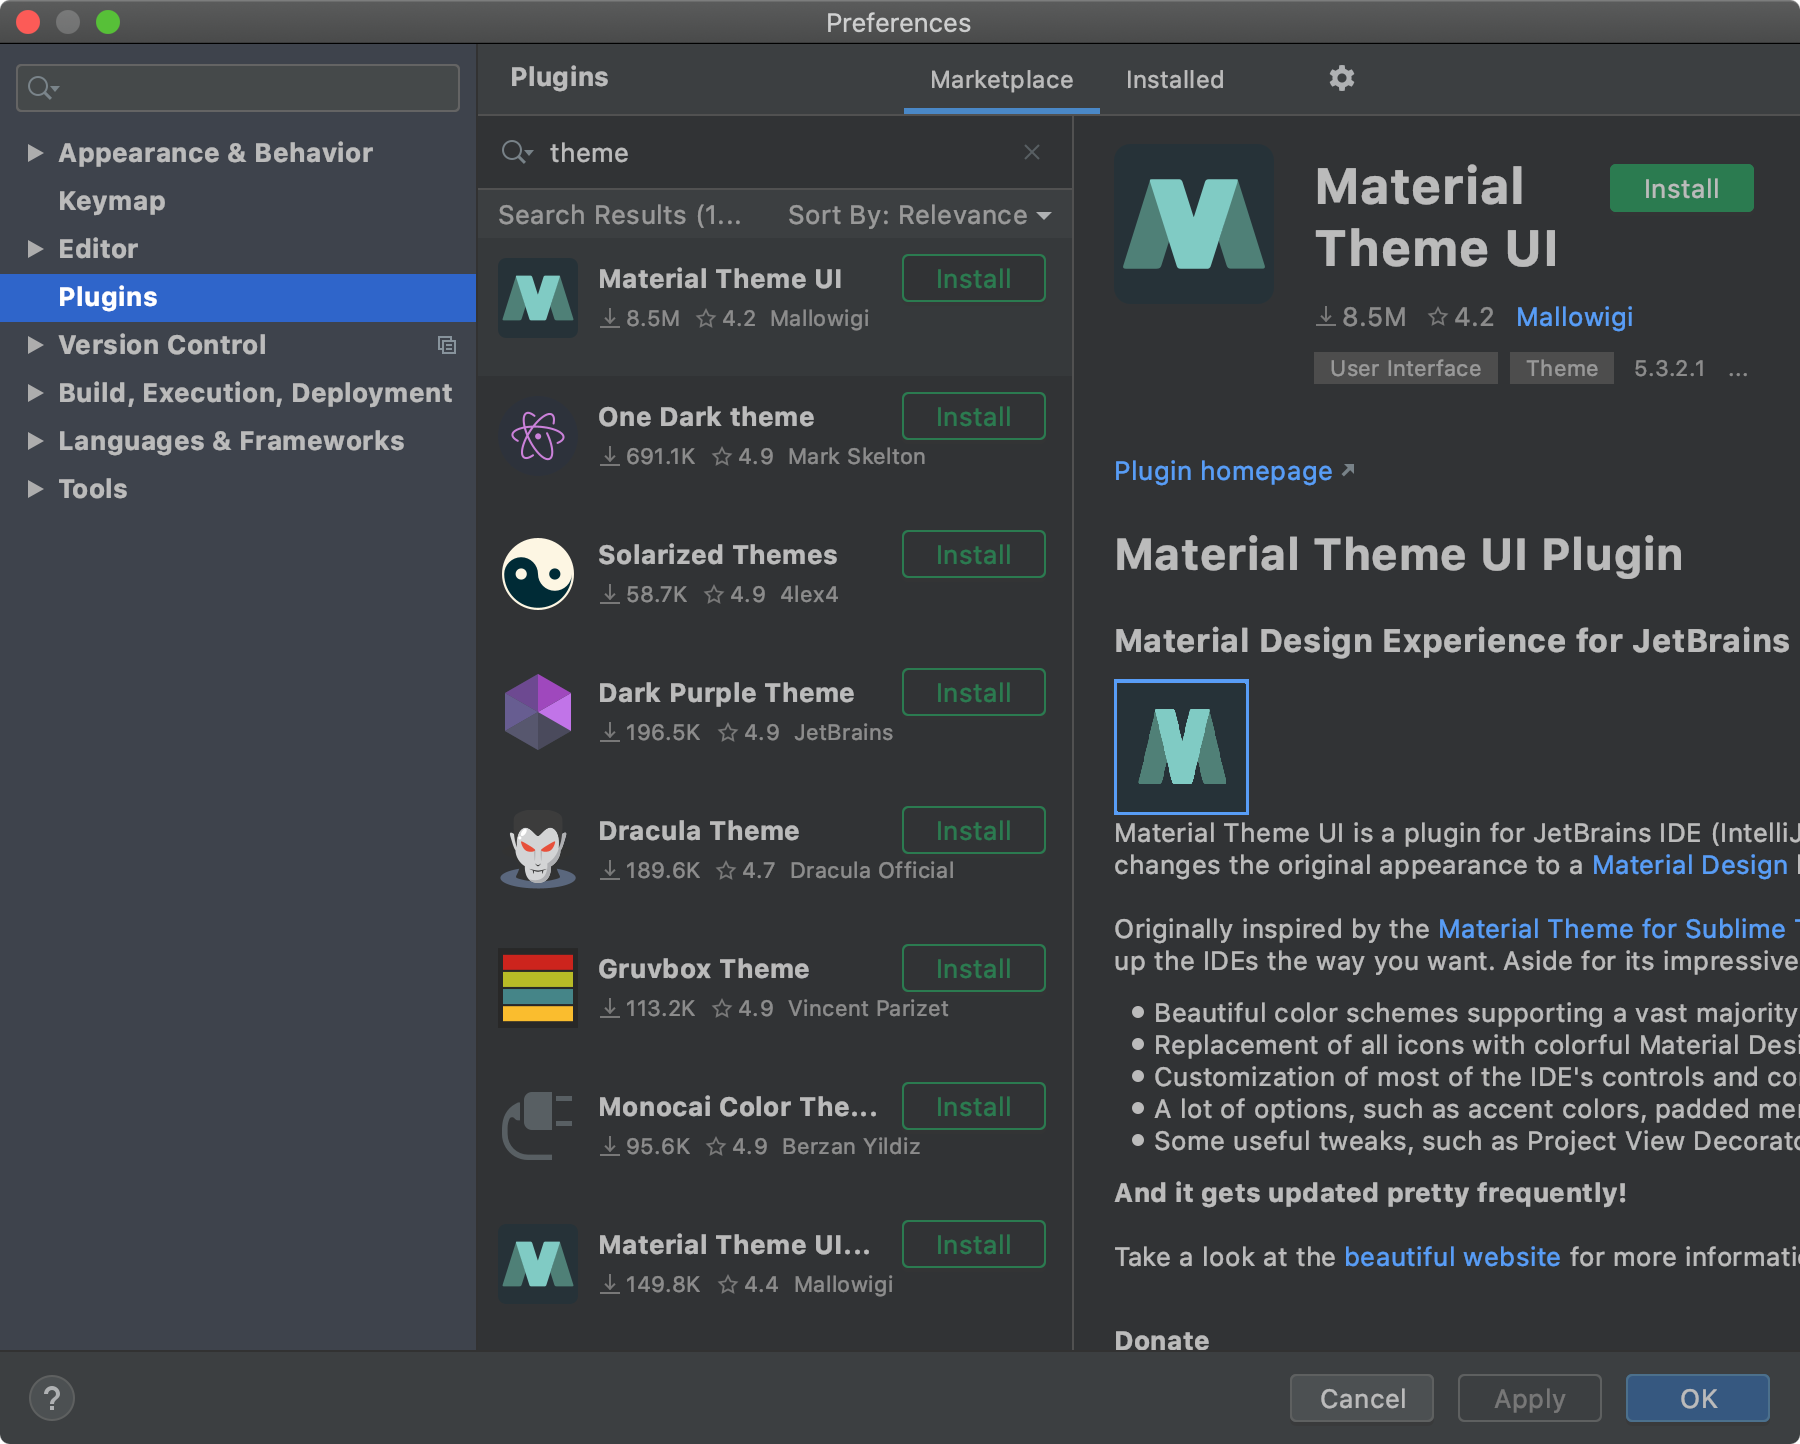
You can choose from the plethora of themes uploaded to the repository. Just click Install and a new theme will be immediately applied.
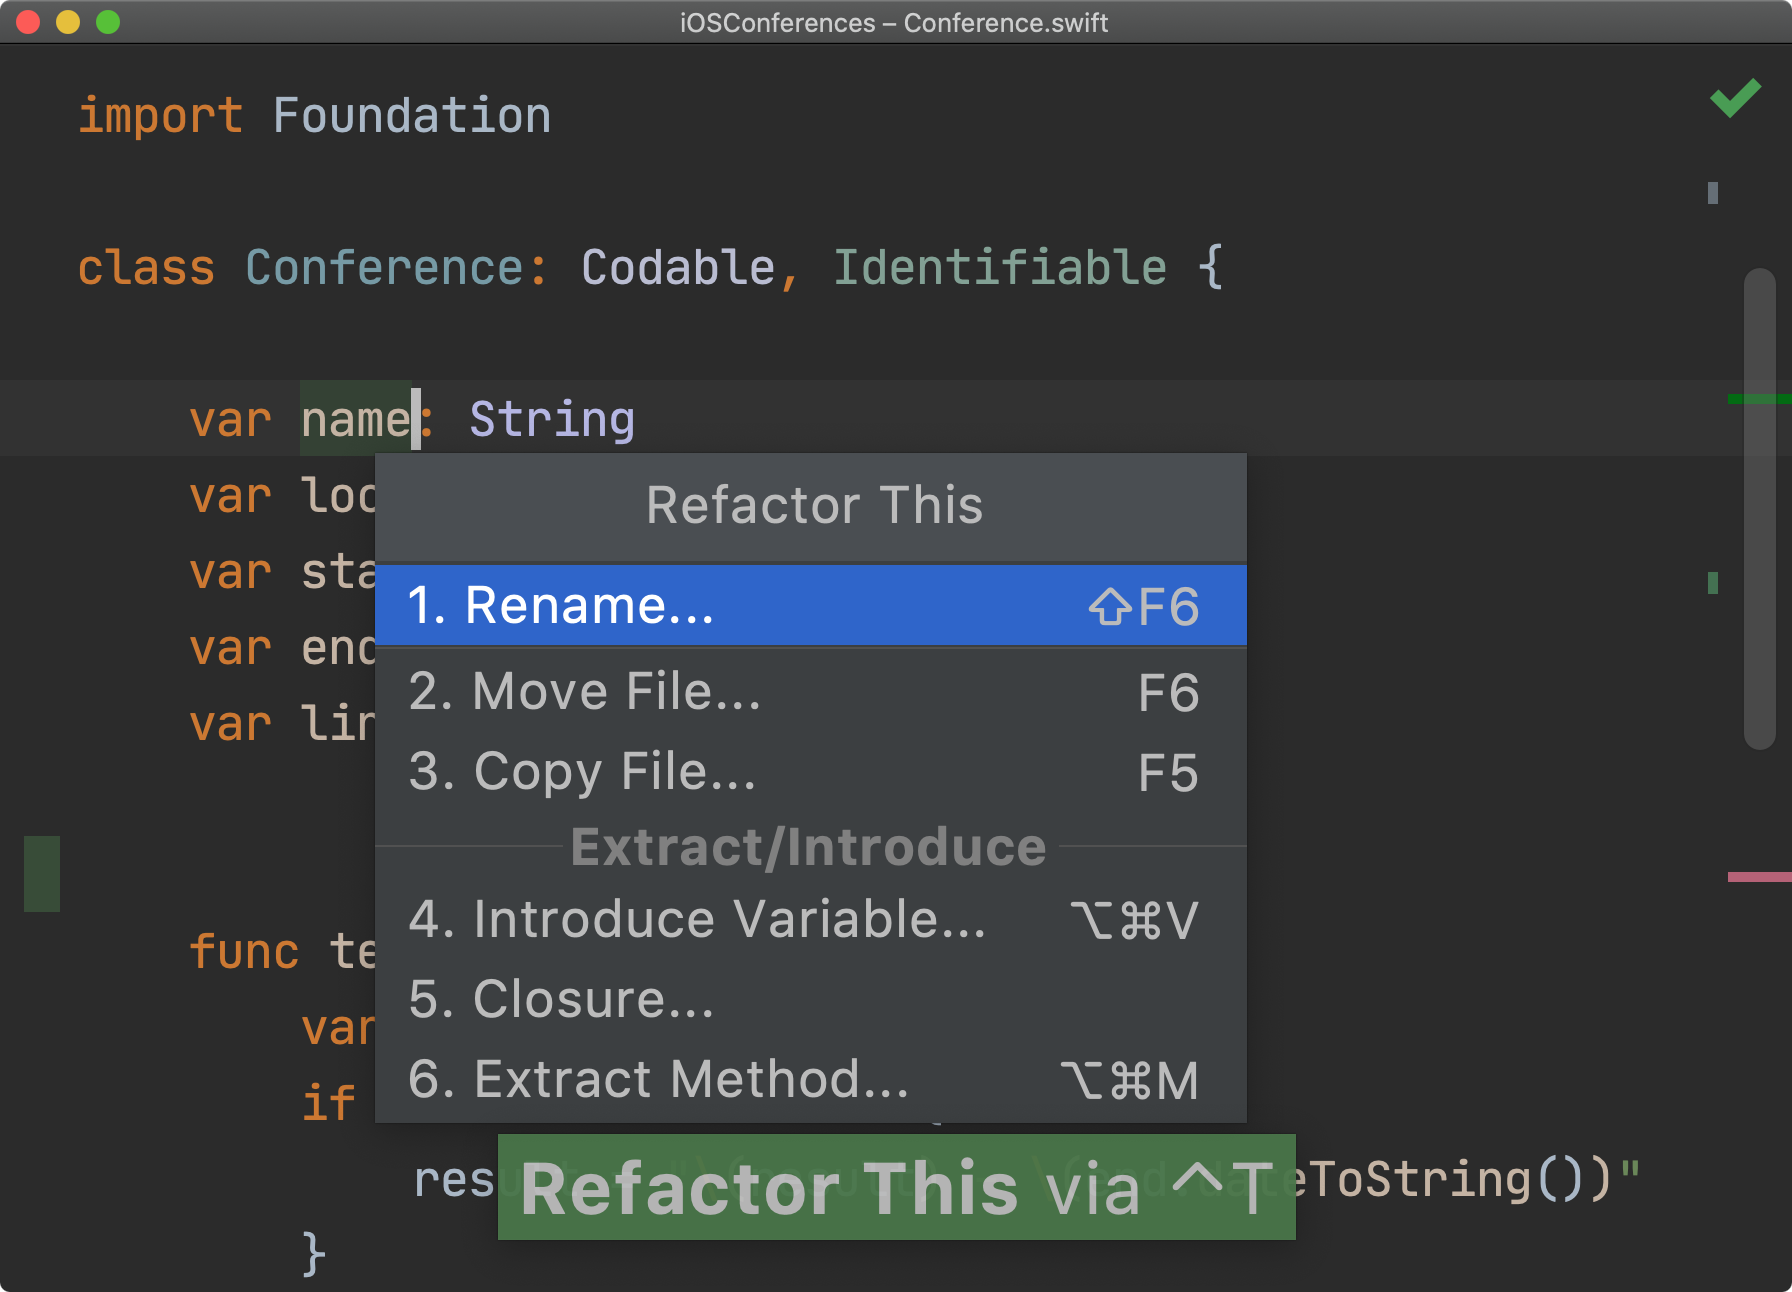
Many plugins contain a set of themes, so you’ll quickly have a long list of themes to choose from. You can switch between the themes using the Quick Switch menu instead of going in Preferences every time. Press ^´, then press 5, and choose a theme:
Tip: The number in the menu corresponds to the key you can press instead of pointing to the item with the mouse.
If you didn’t find a perfect theme, you can create your own. The process is described in detail in IntelliJ Platform SDK DevGuide.
Adjust the color scheme
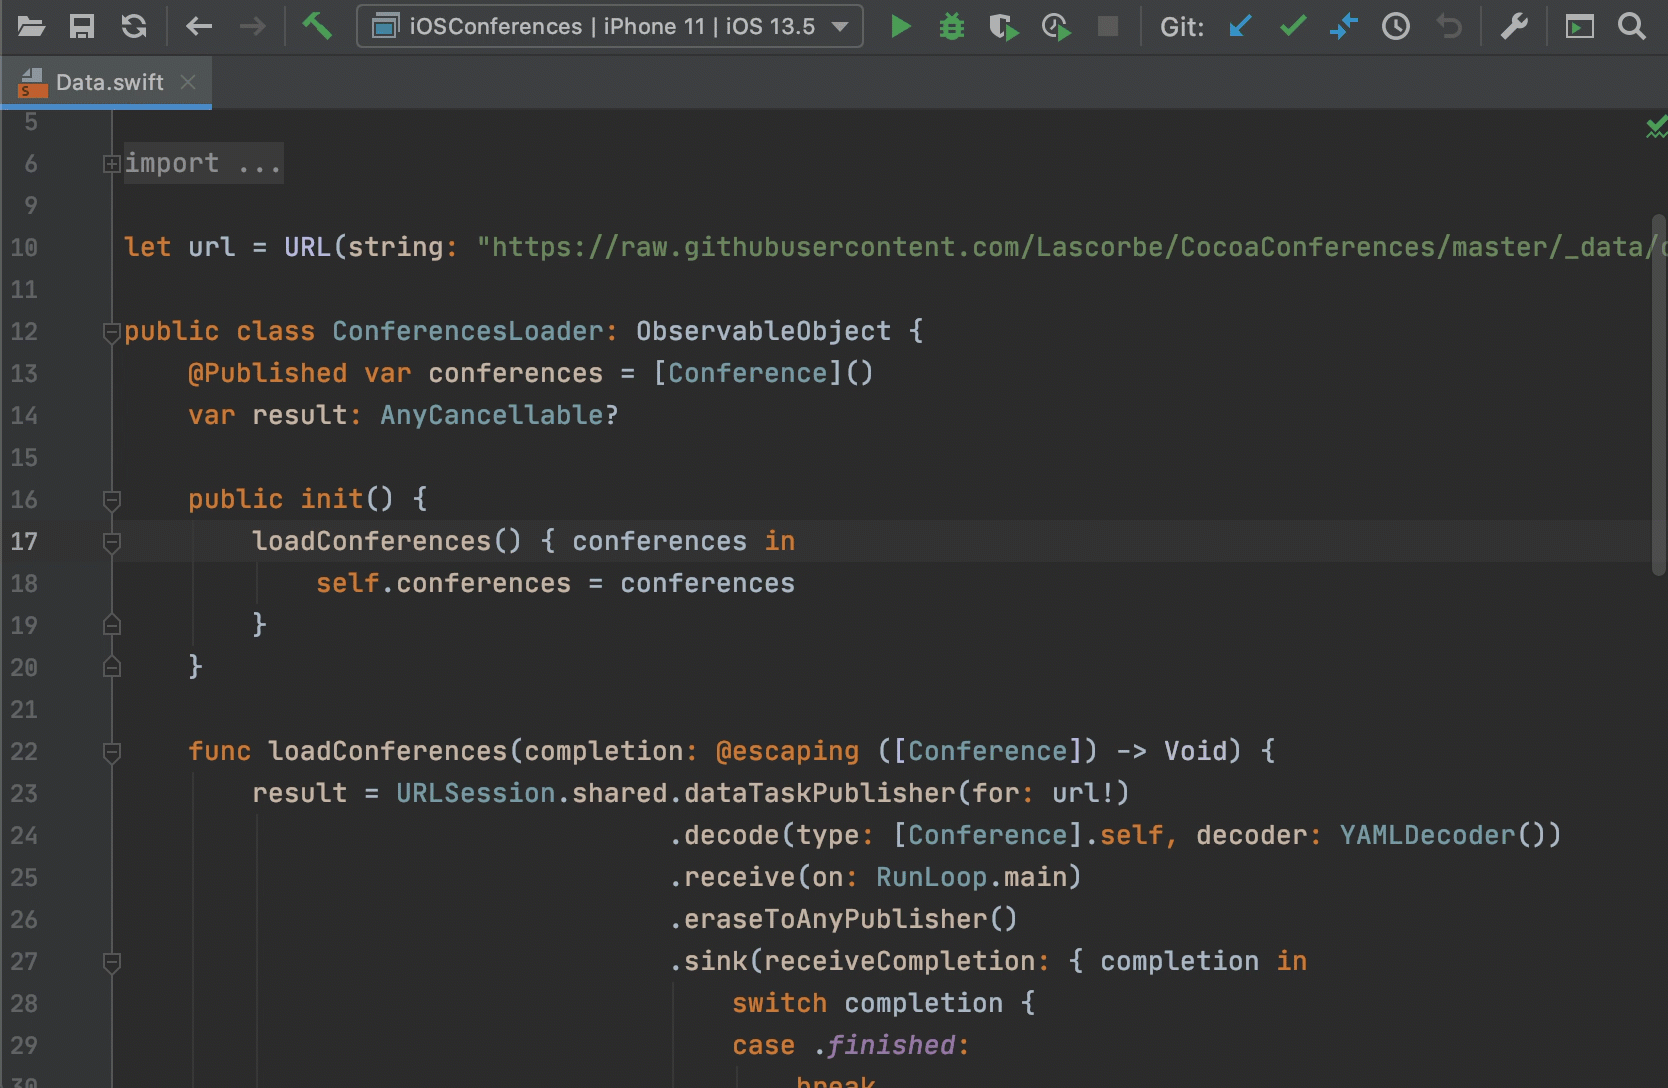
In AppCode, you can change colors and font styles for all the text resources you work with, including source code, console input and output, search results, code documentation, inline hints, debugger information, and so on.
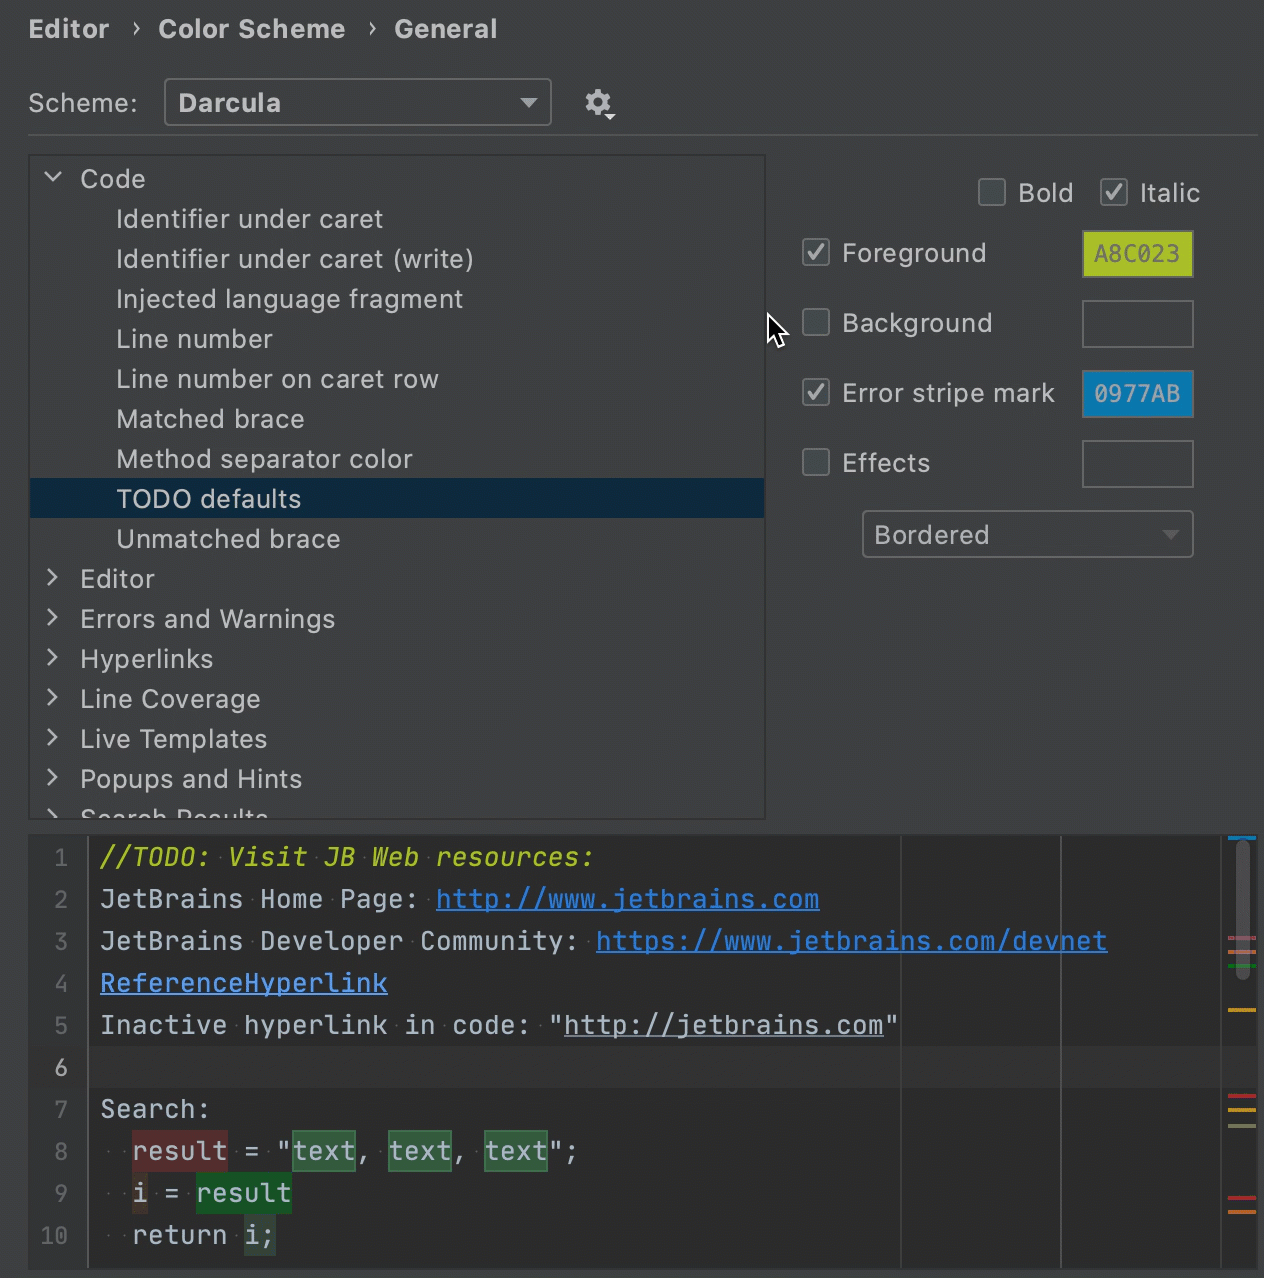
In Preferences | Editor | Color Scheme, you can modify an existing color scheme or create your own scheme by duplicating an existing one (click the gear icon and select Duplicate). Thanks to the interactive preview, you can see how your changes will look in the current UI theme:
Easily export and import color schemes by clicking the gear icon next to the scheme name and selecting Export or Import Schemes.
Third-party theme plugins bring sets of color schemes with them. You can also find more color schemes in the JetBrains Plugin Repository: just type color scheme in the search box in Preferences | Plugins | Marketplace.
To quickly switch between the color schemes, you can also use the Quick Switch menu ^´.
Declutter the main window
By default, AppCode’s main window comprises a lot of visual elements: tool windows around the editor, a toolbar and navigation bar at the top, and the status bar at the bottom.
It may be really helpful to have everything at hand, especially if you are just getting started with AppCode. At the same time, all these controls might distract you from coding and take up too much real estate if you’re using a small screen. So here are a few ways you can declutter your main window.
Show/hide controls
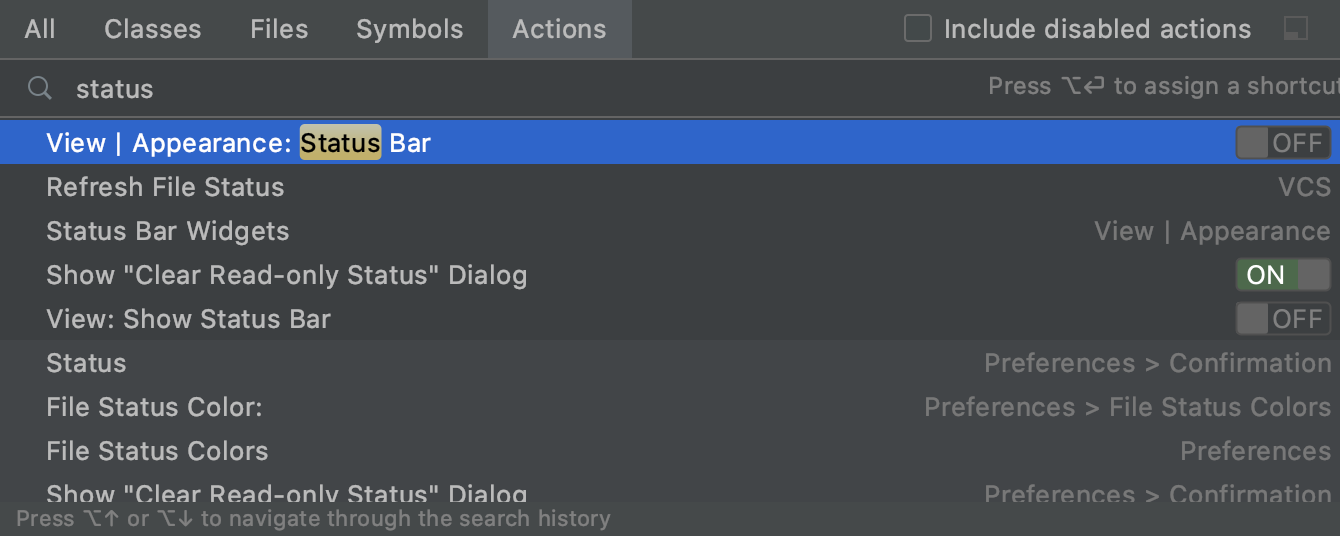
To quickly show or hide visual elements, you can use the Find Action dialog. Press ⌘⇧A, start typing the control name, and then turn the switch next to the control on or off:
Alternatively, you can select View | Appearance or View | Tool Windows in the main menu and check/uncheck any control.
Now let’s see what you can hide to free up some space.
Tool windows
The tool windows are attached to the bottom and sides of the main window and may take a lot of space, though you probably don’t need all of them all the time. For example, you need the Git tool window only when performing Git operations; the Databases tool window is handy only when working with databases; and so on.
You can show and hide tool windows using tool window bars or corresponding keyboard shortcuts.
To show/hide the tool window bars, click ![]() /
/![]() on the status bar or select View | Appearance | Tool Window Bars from the main menu. By clicking the toolbar buttons, you can show and hide the corresponding tool windows. Drag these buttons to move a tool window to any other bar:
on the status bar or select View | Appearance | Tool Window Bars from the main menu. By clicking the toolbar buttons, you can show and hide the corresponding tool windows. Drag these buttons to move a tool window to any other bar:
You can delete unneeded buttons from the tool windows bar. To do this, simply right-click the button and select Remove from Sidebar. To show it again, select it in the main menu (View | Tool Windows).
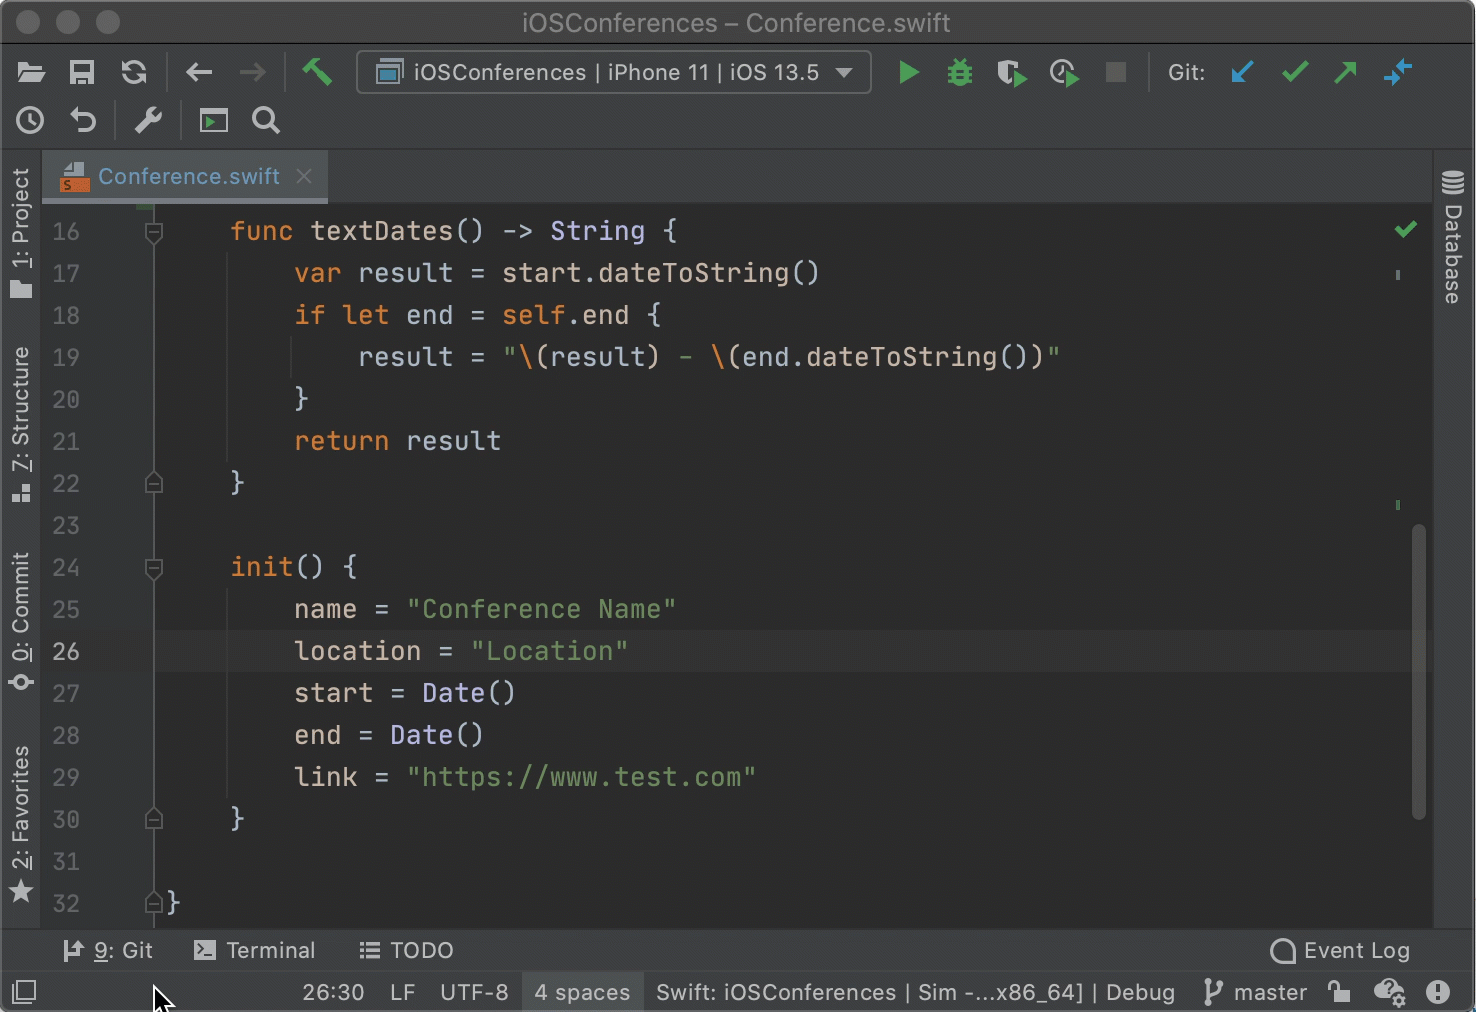
On the tool window bars, you see mnemonics next to the window names: 1 for the Project tool window, 7 — Structure, 9 — Git, and so on. Press ⌘+number to open/close the necessary tool window.
When using the shortcuts, you don’t need the tool window bars and can hide them to get more space (click ![]() or select View | Appearance | Tool Window Bars from the main menu). If you can’t recall the necessary shortcut, go to View | Tool Windows menu or search for it in the Find Action dialog
or select View | Appearance | Tool Window Bars from the main menu). If you can’t recall the necessary shortcut, go to View | Tool Windows menu or search for it in the Find Action dialog ⌘A.
To hide all open tool windows at once and show them again, use the ⌘⇧F12 shortcut.
Navigation bar
The navigation bar helps you navigate through the project structure and see the location of the currently opened file:

Although it is a very handy tool, you don’t have to allocate additional space for it. You can hide the navigation bar (View | Appearance | Navigation Bar) and do one of the following:
-
Show the navigation bar right in the editor by pressing
⌘↑. This invokes the same control:
Press the arrows on the keyboard to navigate. This navigation bar will disappear as you click anywhere outside the control.
-
Use the Project tool window instead. Show the tool window by clicking
⌘1and locate the necessary file or group in the tree. If you want the currently opened file to be selected in the Project tool window, click the gear icon on the toolbar and check Always Select Opened File: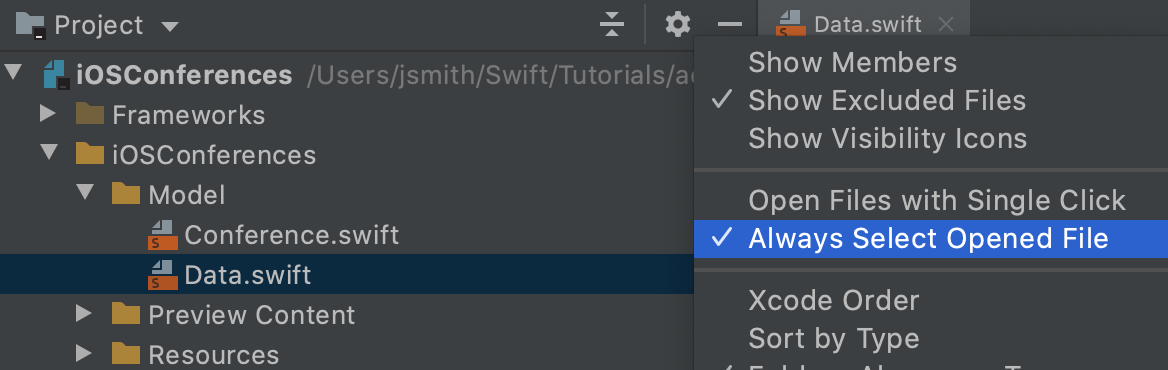
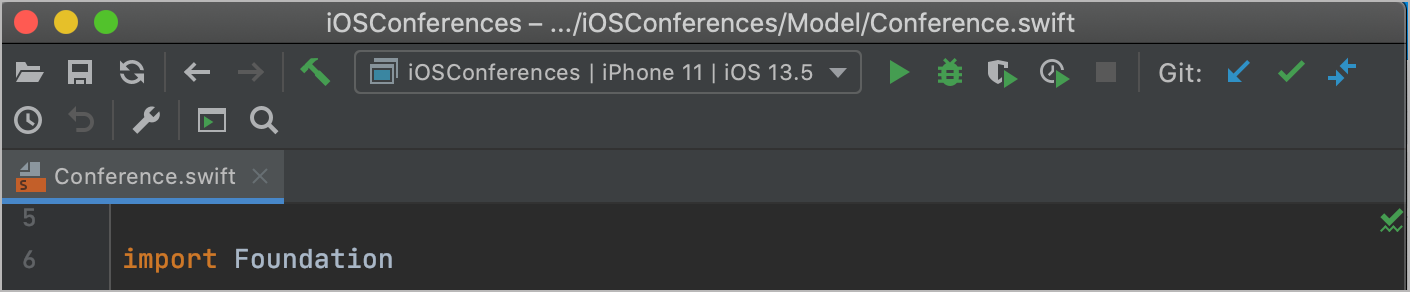
You can also display the full path to the opened file in the main window title. In the Preferences dialog (⌘,), go to Appearance & Behavior | Appearance and select the Always show full path in window header checkbox:
Toolbar and status bar
The AppCode toolbar gives you quick access to the most frequently used IDE actions such as running/debugging, opening the Preferences dialog, searching everywhere, and so on. For most of them, it’s much faster to use keyboard shortcuts instead. You can declutter the toolbar by deleting unnecessary buttons.
Moreover, when you hide the toolbar and show the navigation bar, the toolbar controls appear next to the navigation bar:

And, of course, you can hide the toolbar (View | Appearance | Toolbar), but in this case, note that you won’t be able to access the run/debug configuration selector.
The status bar on the bottom of the AppCode window displays the information relevant to the current context: indexing progress, warnings and errors, encoding type, resolve context, and so on:

You can hide the widgets you don’t need. To do this, right-click the status bar and deselect unnecessary widgets in the menu. You can also hide the status bar at all by deselecting View | Appearance | Status Bar in the main menu. With the status bar hidden, the indexing progress will be still shown in the bottom right corner of the editor.
The editor controls
The editor itself can be lighted up by hiding the following controls:
- Line numbers
- Indent guides
- Gutter icons
- Breadcrumbs
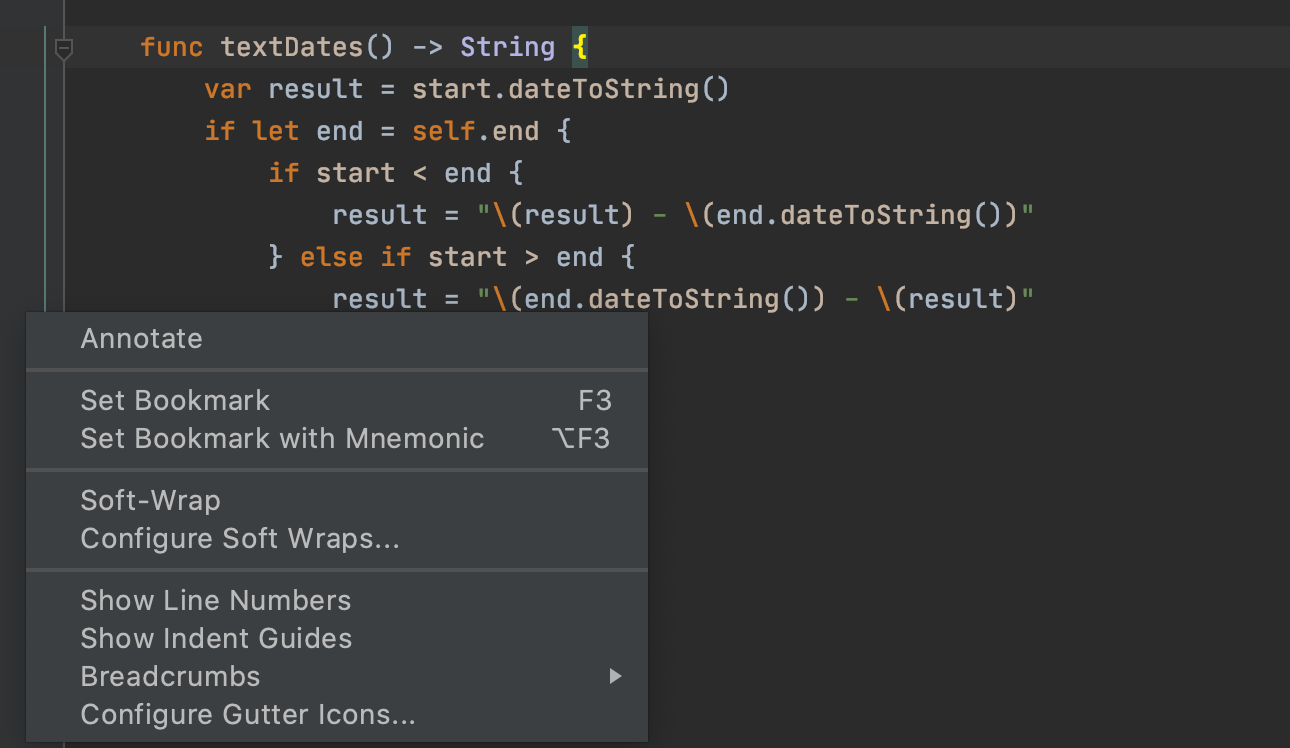
Just right-click the gutter and check/uncheck the necessary options:
Sort out menus and toolbars
The contents of the AppCode menus and toolbars can be customized: you can hide the actions that you don’t use or replace frequently used ones to make them easier to access.
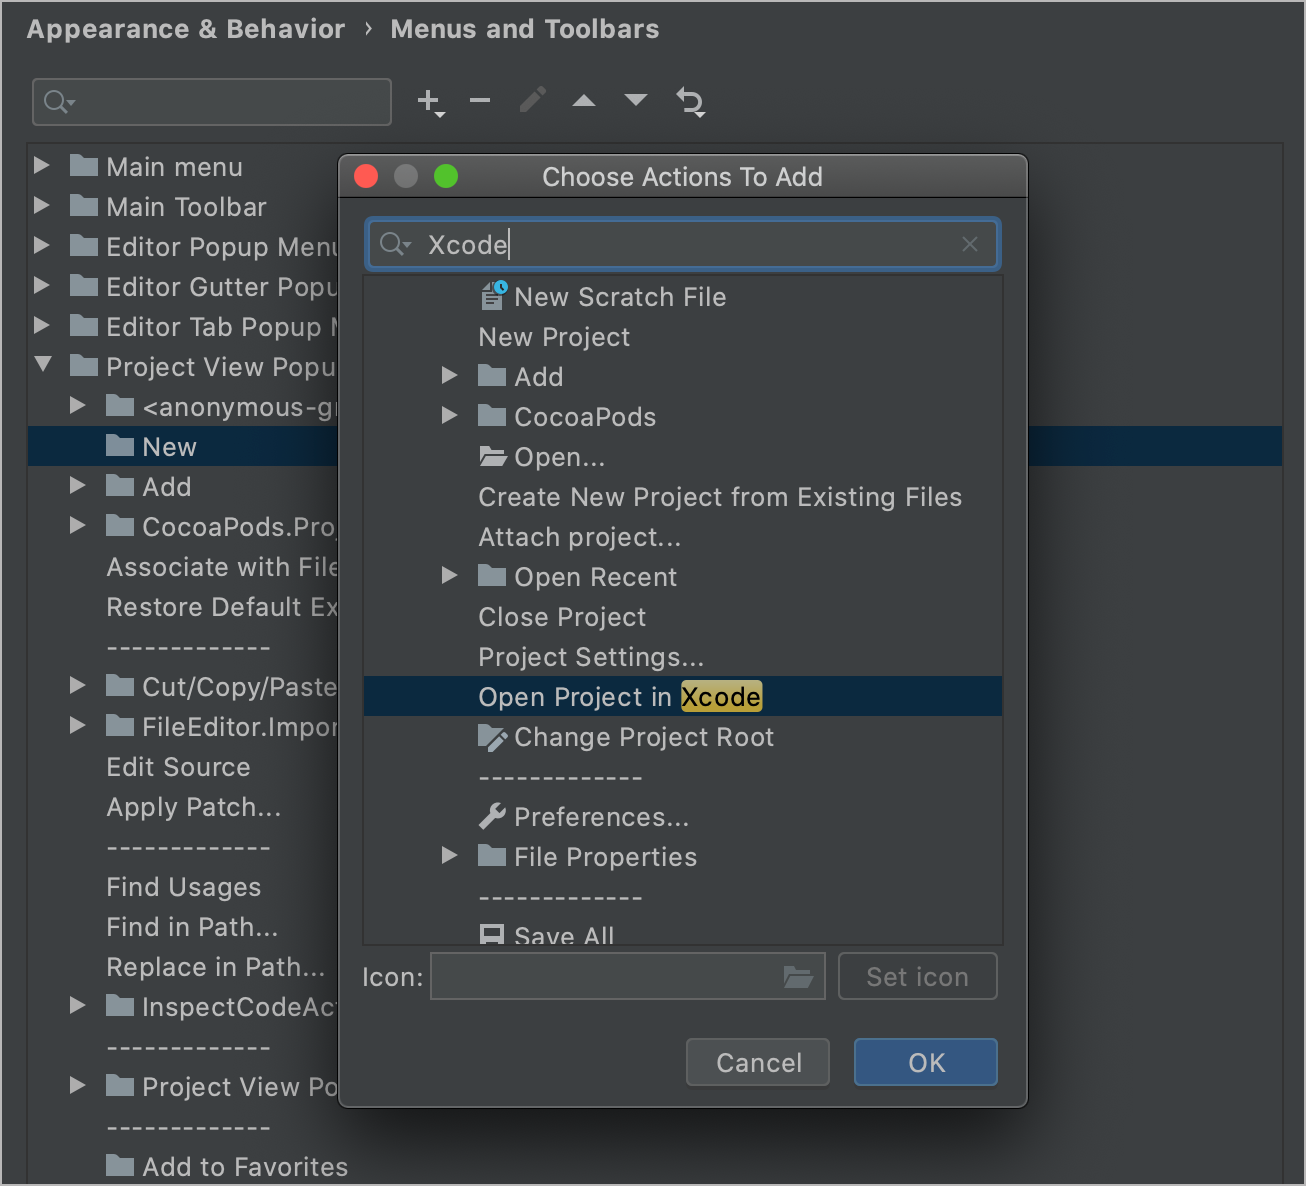
For example, you want to add the Open Project in Xcode action (by default available only from the File menu) to the context menu of the Project tool window. To do this, go to Preferences | Appearance & Behavior | Menus and Toolbars and select the Project View Popup Menu group. Place the caret at any item inside the group, click +, and select Add action. In the search box, start typing the name of the action to quickly find it and click OK:
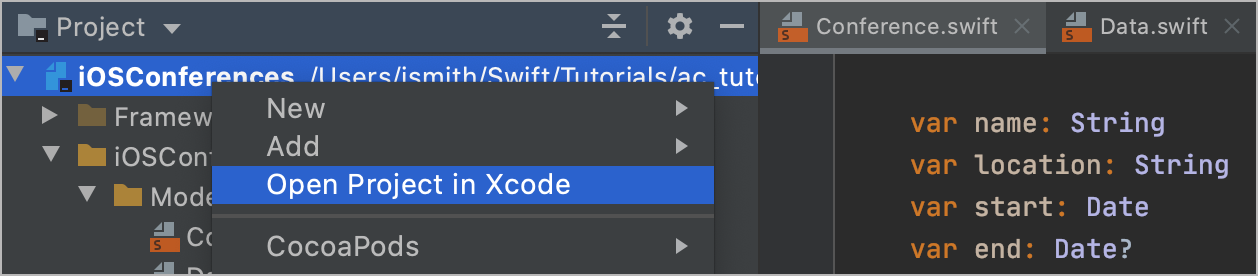
You can move the action up and down using the arrows on the toolbar or the ⌥↑/⌥↓ shortcuts. Apply the changes by clicking OK and find the new item in the Project tool window context menu:
If you ever need to restore the default look of the menu, go back to Preferences | Appearance & Behavior | Menus and Toolbars, select the menu in the list, and click Restore <Menu Name>.
By the way, the Open Project in Xcode action doesn’t have any shortcut assigned, which can be easily fixed: in Preferences | Keymap, start typing the action name in the search box, right-click the found action in the list, and select Add keyboard shortcut. Press the key combination which you want to assign to the action and click OK. Don’t worry, if your shortcut is already taken by another action, AppCode will let you know.
If you forget the assigned shortcut, you can either look it up next to the action name in the menu or search for the action by its name in the Find Action dialog ⌘⇧A.
Presentation modes
If you want to concentrate on coding and avoid any distractions, try the Distraction Free mode (View | Appearance | Enter Distraction Free Mode). In this mode, you have an extremely minimalistic user interface with nothing but the editor shown:
Starting with AppCode 2020.1, you can use the Zen mode (View | Appearance | Enter Distraction Free Mode), which is, in fact, the Distraction Free mode in full screen.
If you want AppCode to be displayed in full screen, but with your regular UI settings, use the Full Screen mode (View | Appearance | Enter Full Screen Mode). To enter or exit the Full Screen mode, you can use the ⌘^F shortcut.
The last mode available in AppCode is the Presentation mode (View | Appearance | Enter Presentation Mode). It shows the IDE window in full screen, enlarges the font size, and hides everything but the editor so that you can present the code you are writing.
When making presentations with AppCode, you can also use the Presentation Assistant plugin which displays the names of all the shortcuts that you press:
You can change the font size both for the Presentation Mode and for the Presentation Assistance plugin. To do this, go to Preferences | Appearance & Behavior | Appearance | Presentation Mode or Preferences | Appearance & Behavior | Presentation Assistant respectively.
There is a default shortcut only for entering and exiting the Full Screen mode (⌘^F), but you can add your own shortcut for any other mode in Preferences | Keymap. In addition, you can use the Quick Switch menu ^` to enter/exit the presentation modes.
As you can see, there are a lot of ways to adjust the AppCode interface up to your needs: choose your favorite colors, hide the controls you don’t need, arrange the tool windows in the most convenient order, and so on. Nevertheless, for those who just have started working with AppCode after using Xcode, the AppCode interface may seem uncustomary, and it may take some time to get used to it. To make this process easier, we created the Migration guide where you can learn how to set up the Xcode-like behavior in AppCode and find equivalents of the Xcode UI elements and functions in AppCode.