

.NET Tools
Essential productivity kit for .NET and game developers
Containers? Images? An introduction to Docker in Rider

Docker enables developers to build, debug, test, and deploy applications without having to worry about the environment that the app runs in. That’s because Docker uses container technology that allows us to develop, test, or deploy apps in a movable, self-contained environment.
Rider comes with built-in Docker integration, but it must be configured before connecting to it. Configuring Rider to use Docker is detailed in the “Setting up Rider and Docker” section of “Debugging ASP.NET Core apps in a local Docker container”.
With that out of the way, let’s dive in!
Why Docker?
There are a number of reasons for using Docker. As developers, it’s easy to ship all environment dependencies to team members. No more “you need to install ASP.NET Core 2.2 first”, as the Dockerfile you share will contain all that is needed to run the application.
To move to production, this is also great. Gone are the days of opening tickets with the IT department for installing X and Y on the server – the Docker container (image) is our unit of deployment and has everything that is needed to run our app.
A Dockerfile is a file that contains instructions on how to build a container from an image. The resulting container is a runtime instance of an image, with the instructions from the Dockerfile applied in so-called layers. Containers use a layered system, meaning that we can add our app to a layer of the container, and then the app and container are easily deployed.
As an example, if you would want to deploy SQL Server for Linux in a container, you’d probably create a container directly from the image with no customization as there is already an app (SQL Server) in there. We will do something similar in this blog post.
If you want to deploy your own ASP.NET Core app, we’d start off with the base image containing the ASP.NET Core runtime, then apply a layer that holds the application we want to run, and then run it. We’ll do that in the next blog post.
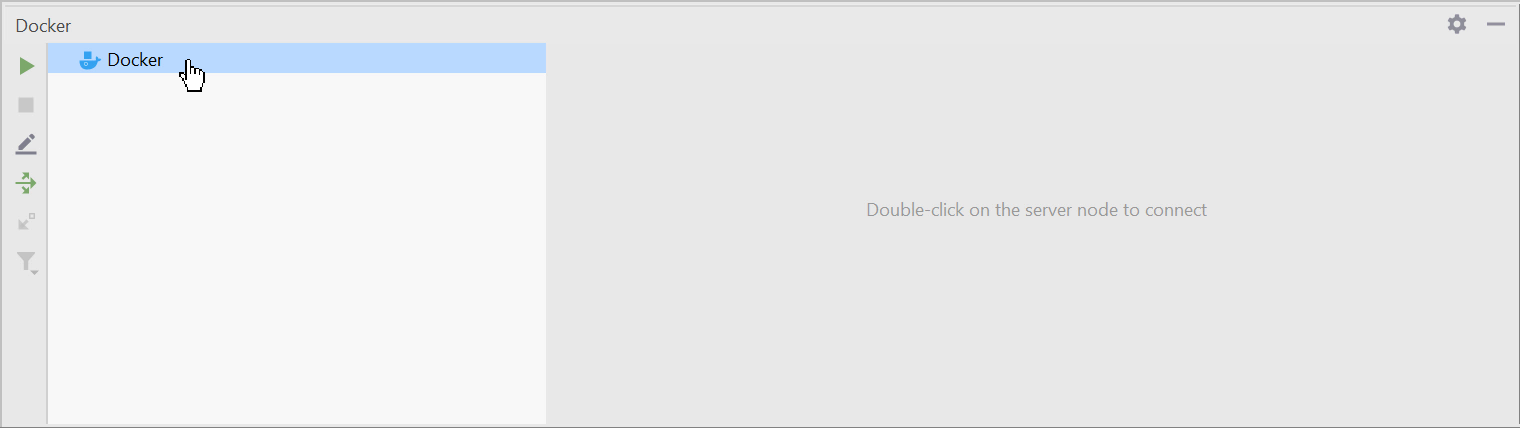
After configuring Rider to use Docker, we can connect to Docker through the Docker tool window (View | Tool Windows | Docker). Just click the Connect button then verify that Rider reported connecting to Docker. Any containers and images already present on our machine will show on the left side of the Docker tool window.
Once connected, we can do a lot of things with images and containers. Let’s take a quick look at what Rider has for us.
Manage Docker assets in Rider
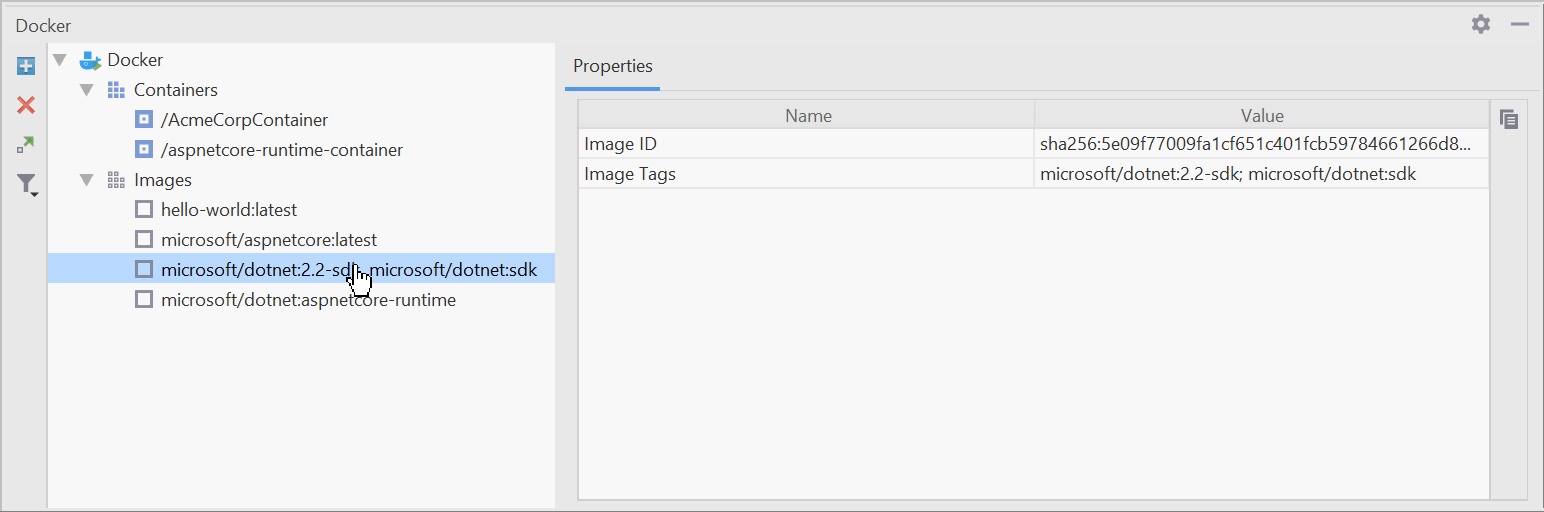
Rider’s Docker tool window lists the containers and images where we can manage them directly. So there’s no need to exit Rider and use the command line. We can perform all the activities necessary to manage Docker images and containers in the Docker tool window by using the context menu.
Let’s start with images. We can pull an image from a repository. Then, once we have an image stored locally, we can view its basic properties and inspect it. Inspecting an image shows JSON output containing information about the image.
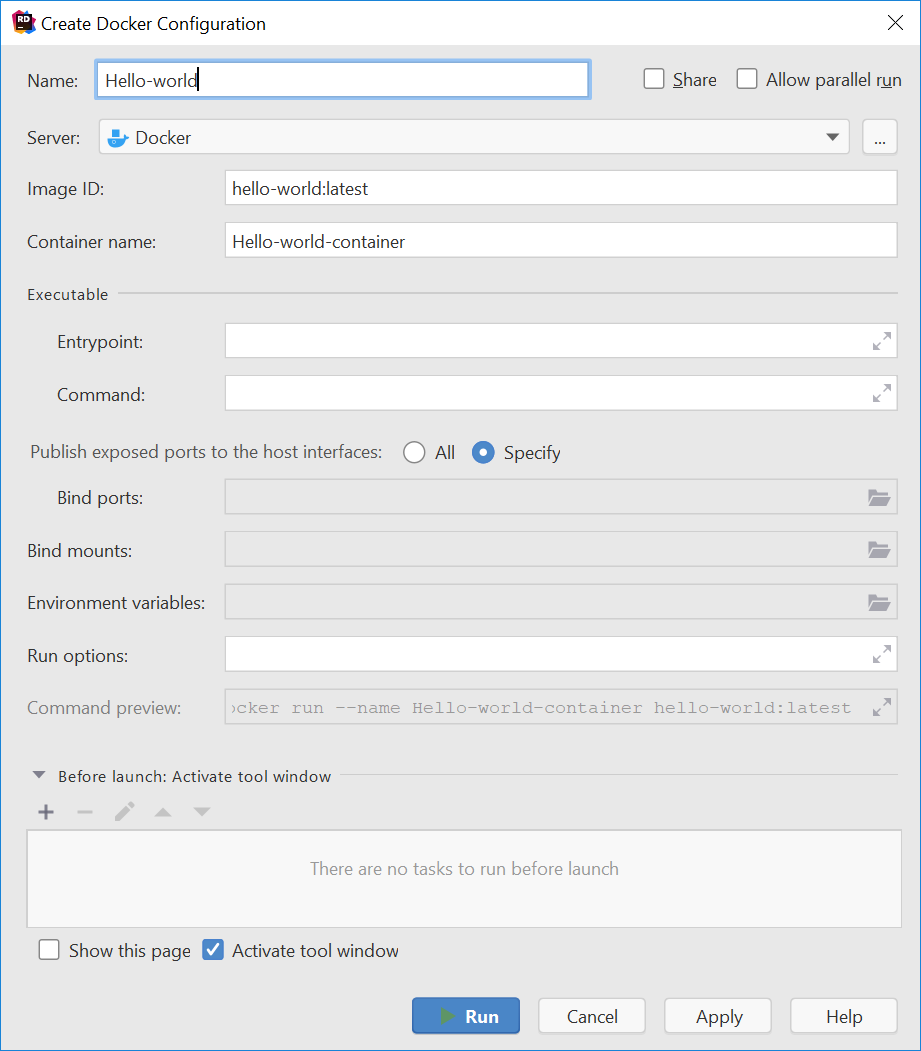
We’ll want to create containers from our images, and we can use the context menu to create a container. Rider will need some information, so we need to fill in those details.
The (configuration) name is required, but it’s best to enter a container name also. Optionally, enter the entry point, ports, and other information that have the container start and run with the parameters we want.
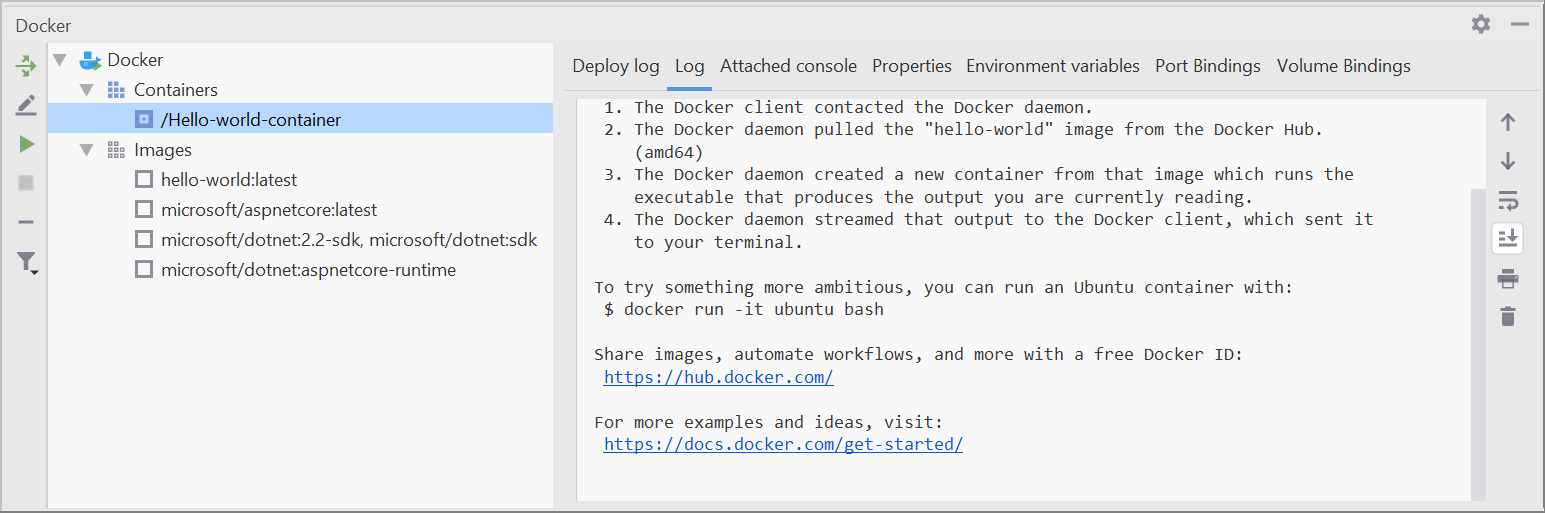
Once the container is up and running, we can view it in the Docker tool window.
Rider also has features for editing Dockerfiles such as syntax highlighting, so we can create and run containers straight from Dockerfiles as well. Keep an eye out for our next blog post on how to edit Dockerfiles in Rider!
As we have seen in this article, Rider comes with a very easy way to manage images and containers. Download Rider and give it a try! We’d love to hear your feedback!


