Developing Mobile Apps With React Native in WebStorm

React Native allows you to develop native mobile apps for iOS and Android using JavaScript and React. It’s created by Facebook and used for such well-known apps as Instagram, Airbnb, and now JetBrains’ own YouTrack mobile app (which is open-source, by the way).
With WebStorm you can now develop mobile apps with React Native getting all the benefits of WebStorm goodies like code completion for React, Flow support, and a built-in debugger. We believe WebStorm can be a great and powerful tool for development with React Native!
Let’s see how we can set up a workflow for development with React Native in WebStorm.
Install React Native CLI
Make sure you have a React Native CLI installed on your machine. To install it, run the following command in the Terminal: npm install -g react-native-cli.
The list of tools you need to install to get started with React Native depends on your OS and the mobile platform you’re going to target your app at. Check out React Native’s Getting Started guide for detailed installation instructions.
Creating a new project
Now you can create a new React Native project right from the IDE Welcome screen: click Create new project, select React Native from the list on the left, enter a project name and click OK.
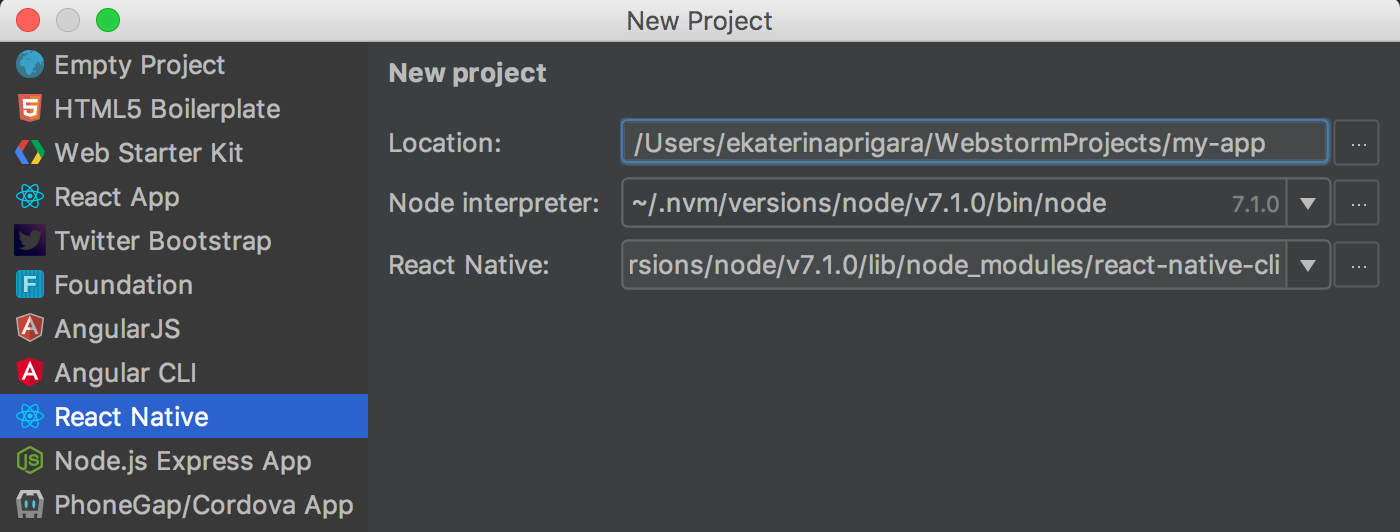
WebStorm will run a project generator and install all the required dependencies.
Of course you can also open an existing project or check one out from version control.
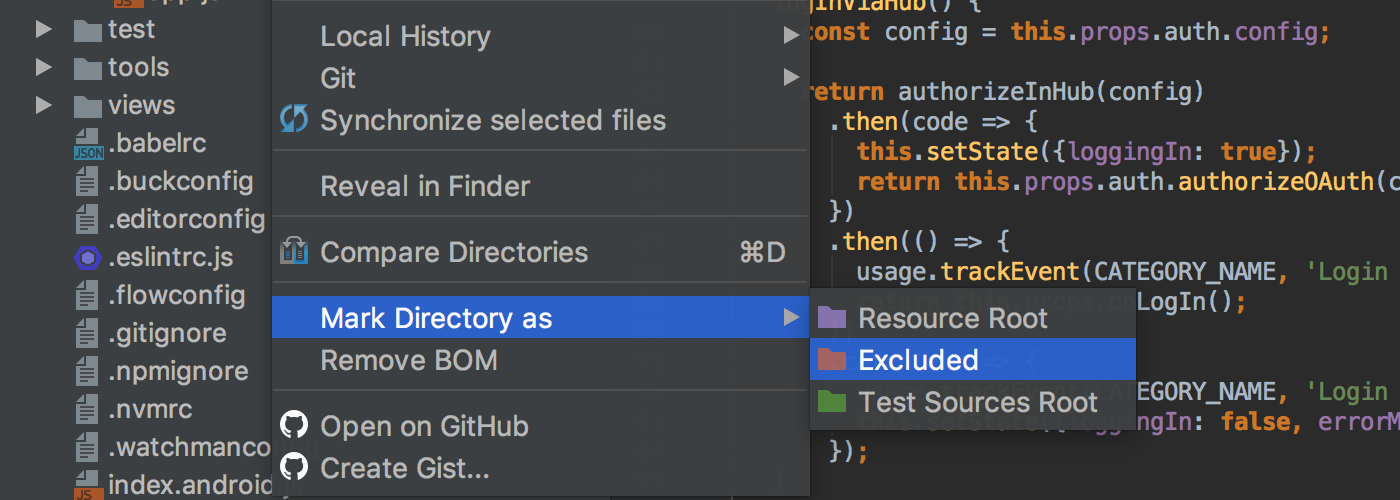
We recommend that you exclude android and ios folders from the project. To do that, right-click on a folder in the Project view and select Mark as Excluded.
Running and debugging the app
Now that we have our app’s code in the IDE, let’s run it.
UPD: In WebStorm 2018.1, we have reworked the React Native configuration. It now gives you much more flexibility in running the bundler and building the app itself. In the steps below we use WebStorm version 2018.2.
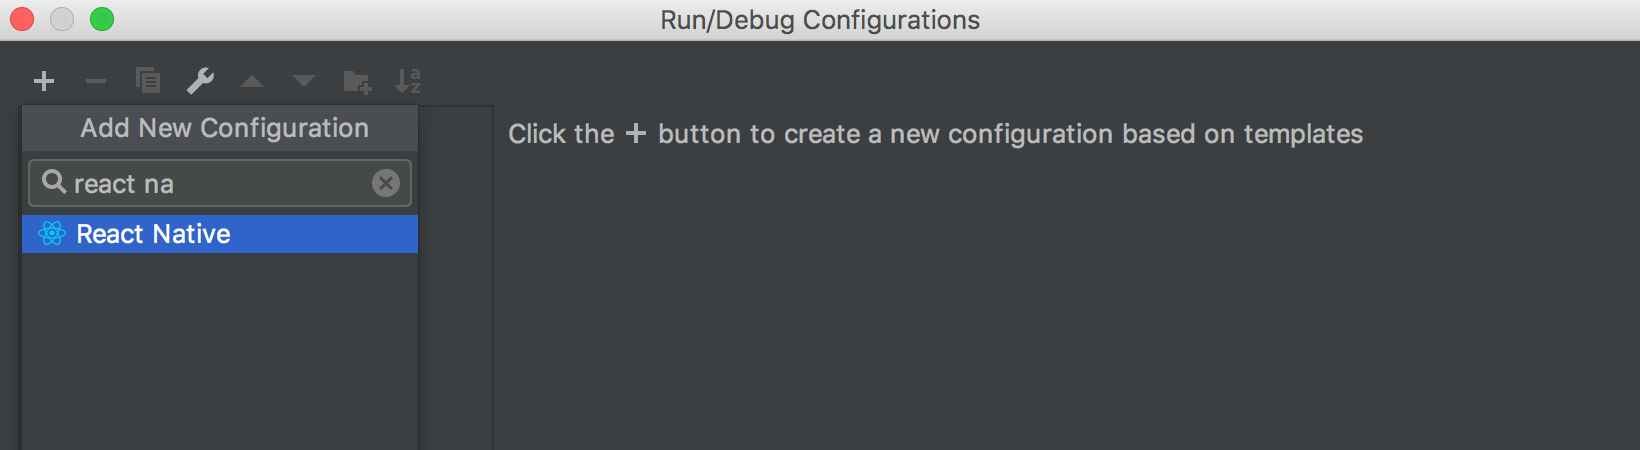
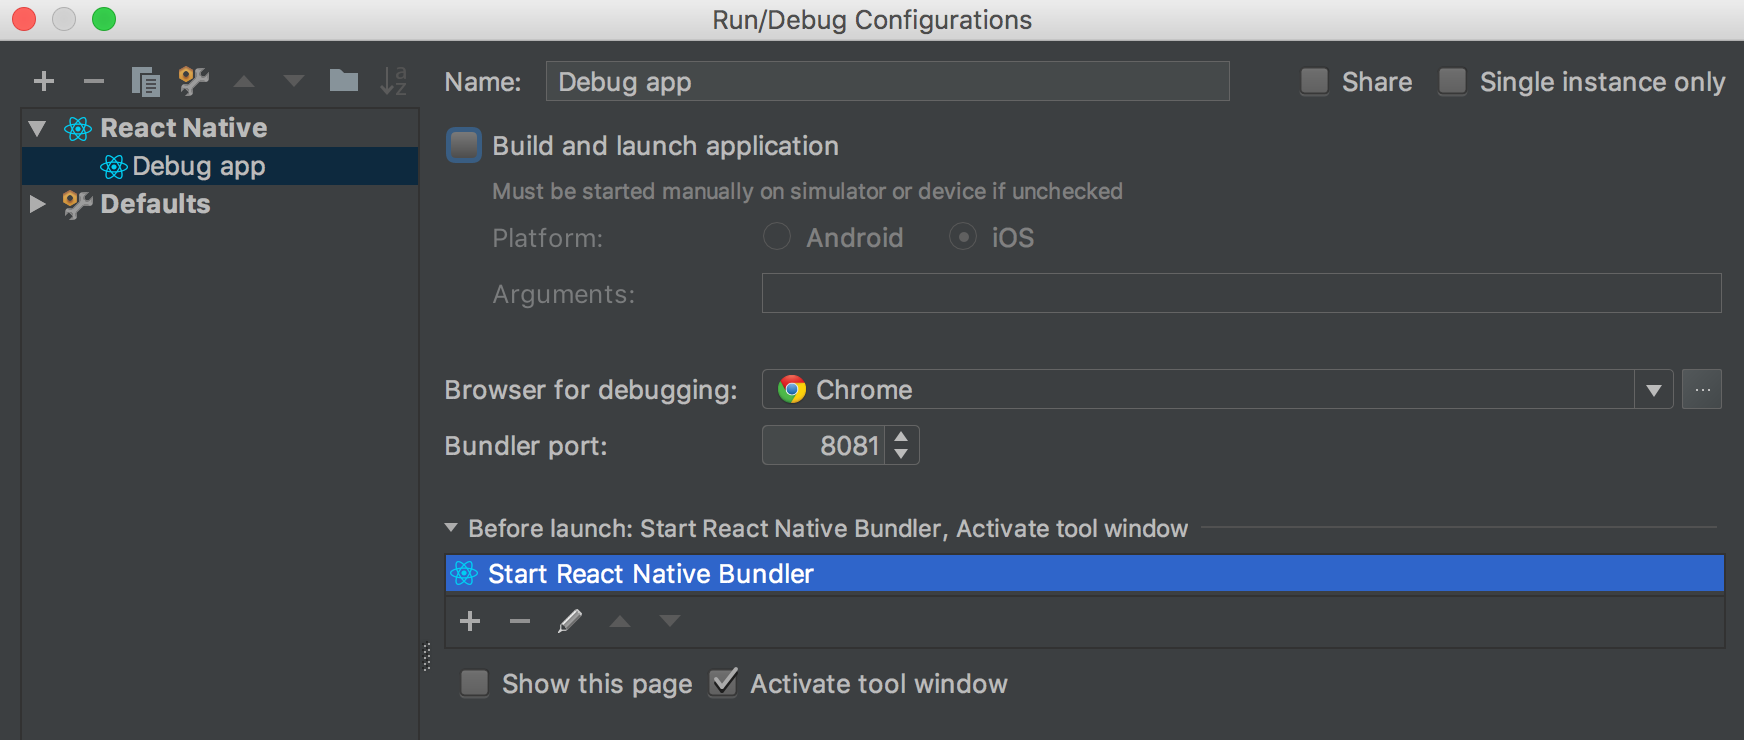
We’ll need to create a new React Native run/debug configuration. In the Run menu, select Edit configurations…, click the + button and select React Native from the list.
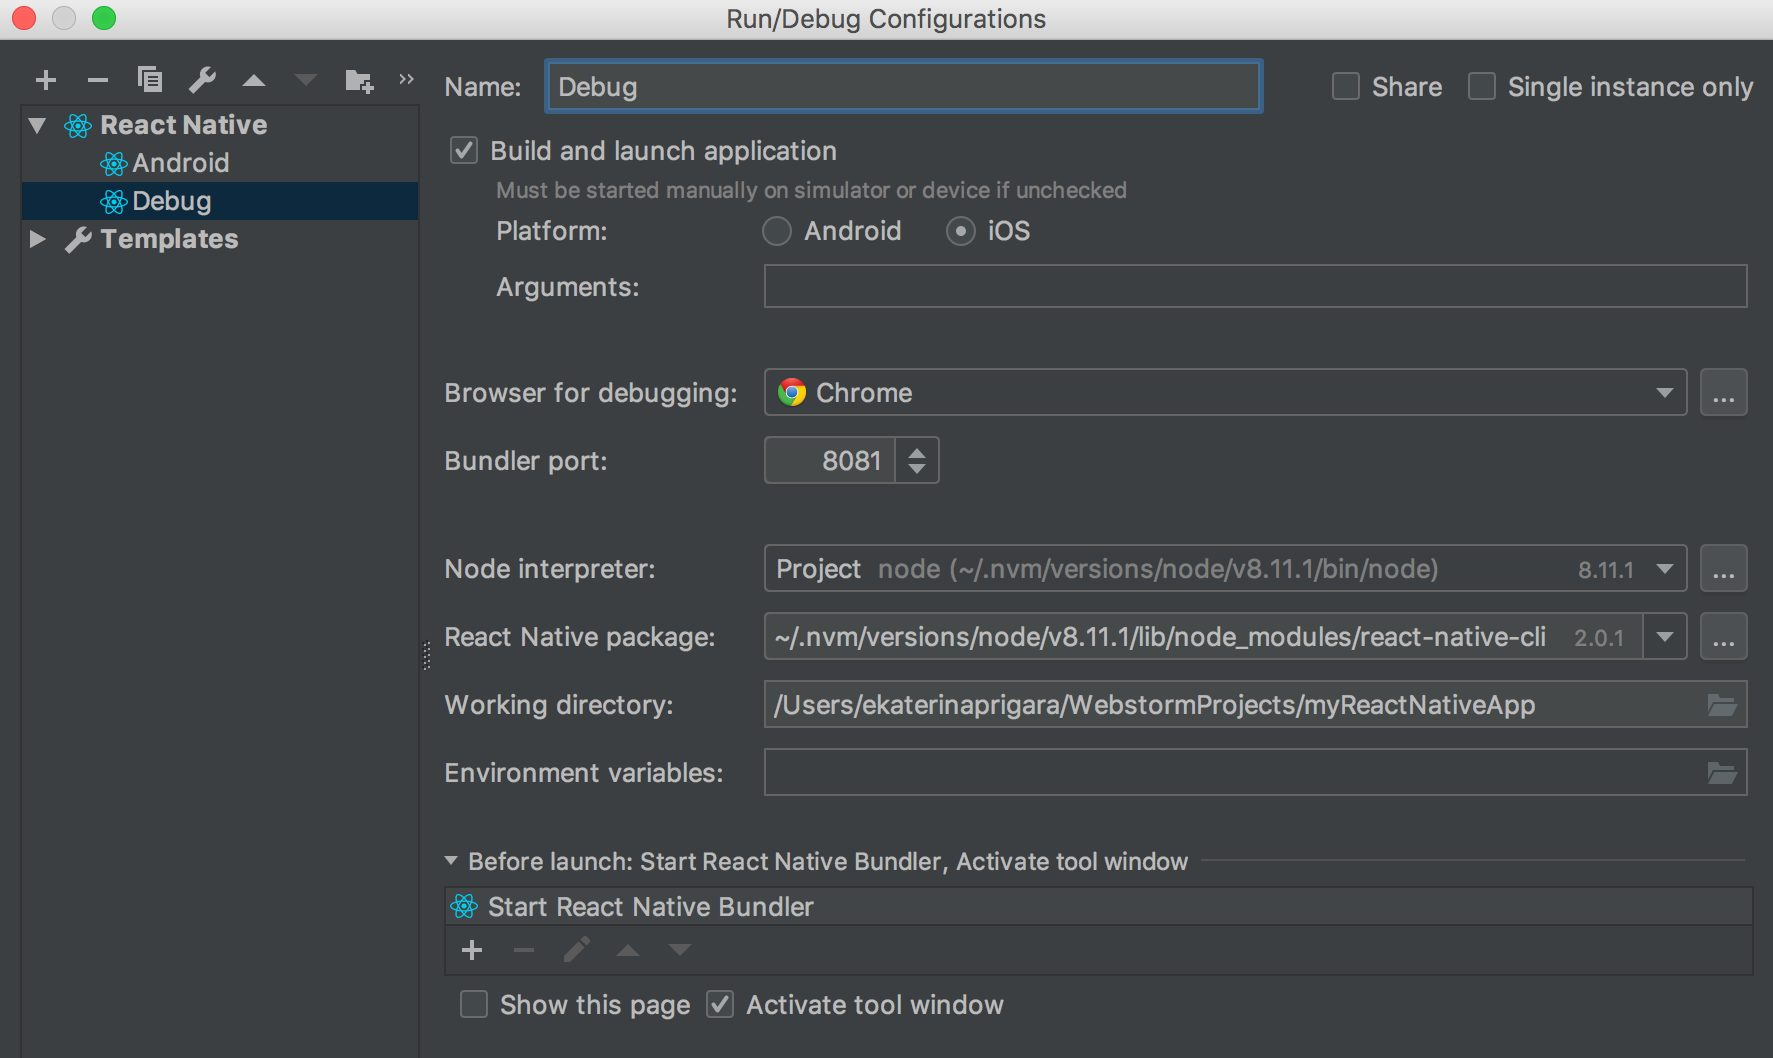
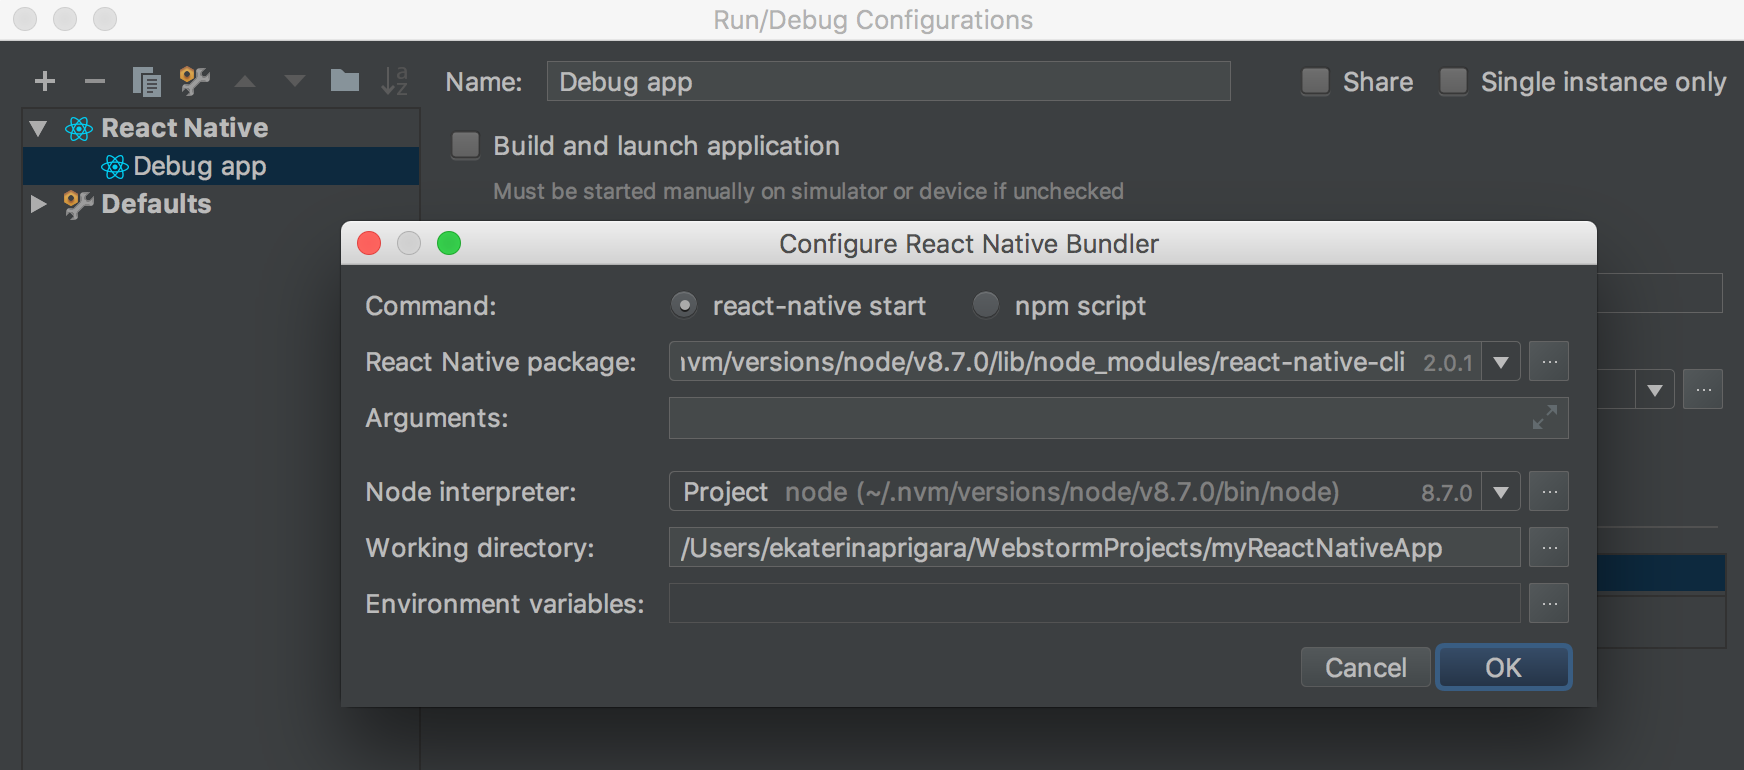
To start your React Native app for the first time, you need to do two things: run React Native bundler/packager and then build and launch an app on a simulator or a device using the react-native run-ios or run-android command. Only after that, you can start debugging it.
With the Build and Launch Application option checked, WebStorm will do all that for you – you just need to select the target platform, iOS or Android, make sure the path to the React Native CLI package is correct and click Ok.
If you’re going to run your app on Android, don’t forget to start the Android Virtual Device first. You can also run your app on a real Android device connected via USB (for that don’t forget to enable USB debugging).
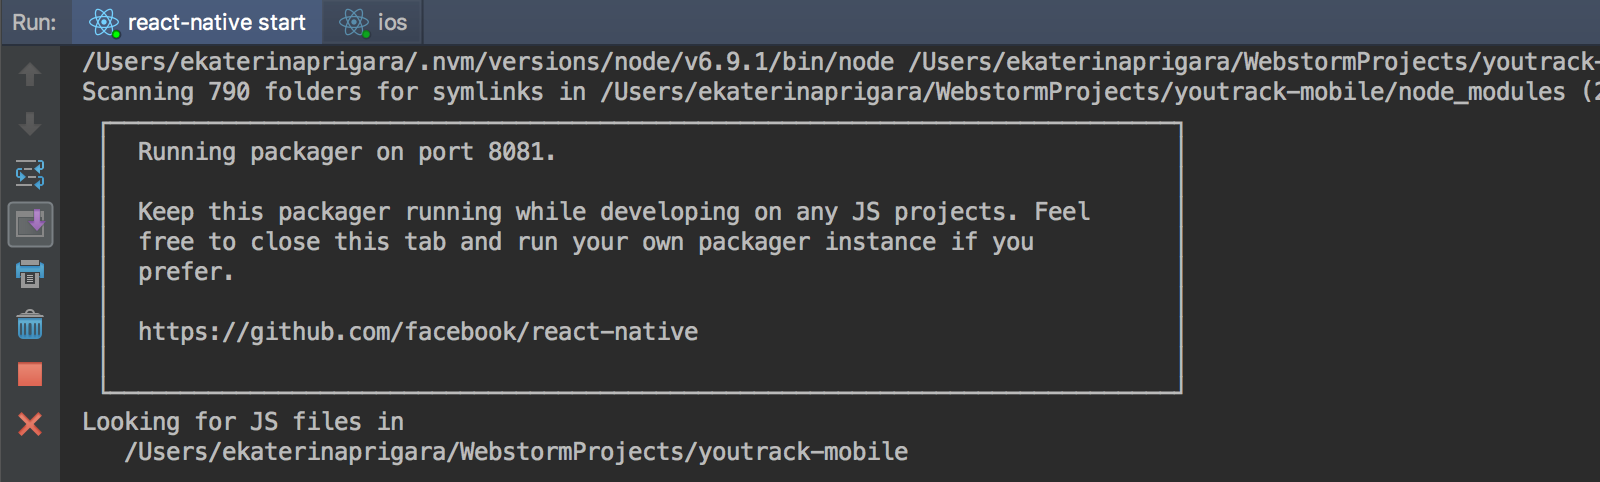
Now let’s run the created configuration – click the green debug icon next to the configuration name in the IDE toolbar. WebStorm will start the React Native packager first in a new React Native tool window and then will run the react-native run-ios or react-native run-android command, depending on the selected target platform.
If the build is successful, you’ll see your app in an emulator.
Once the emulator opens for the first time, go to the in-app developer menu and select Remote JS Debugging.
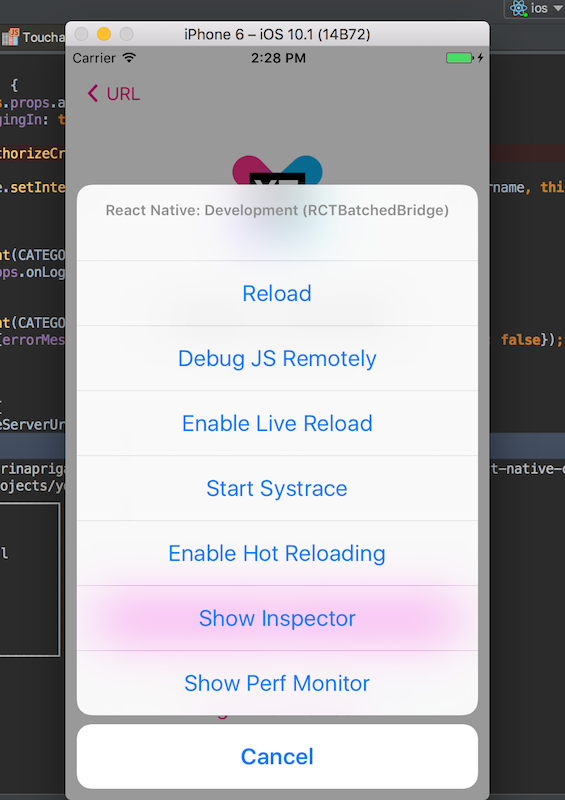
WebStorm’s built-in debugger will then connect to the emulator, and you’ll be able to hit the breakpoints you put in your source code.
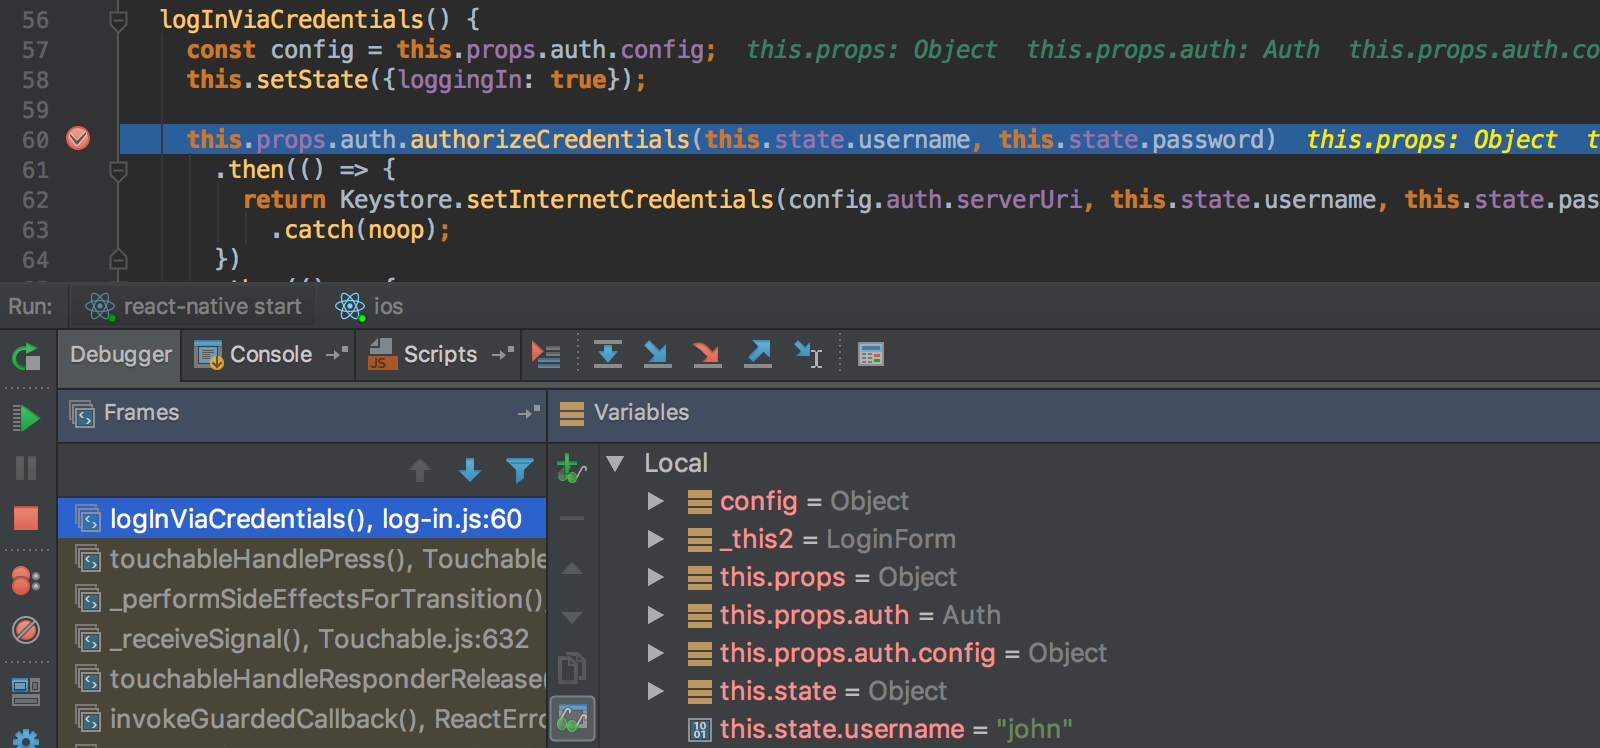
In the debugger you can step through your code, set watches, and explore the call stack and variable values.
If it’s not the first time you run your app and you haven’t made any changes to the native code since the last build, you don’t really need to rebuild the app – you can just run bundler, open the app in the simulator and then debug it.
In this case, create a new configuration (or modify the one you’ve already created) and uncheck the Build and Launch Application checkbox in it. When you debug this configuration, WebStorm will run React Native bundler and will wait for you to open an app in the simulator with the Remote debug enabled in the app.
There’s also now more flexibility with running React Native bundler. It’s now listed as a Before Launch task in the React Native configuration. By default, it will run react-native start. You can also select an npm task from your project’s package.json that will start the bundler.
Or if you have bundler already running, you can simply remove this step from the configuration (because you don’t need to run more than one bundler per app).
If you are using Expo in your app, please see this blog post for the steps.
Coding assistance
As you may know, WebStorm has support for React and JSX that will surely be helpful when building a React Native app. This includes: code completion for attributes, events and required properties for React components; navigation to the definition and completion for custom components; refactorings for component names; and lots more. Check out our blog post, Working with React in WebStorm: coding assistance.
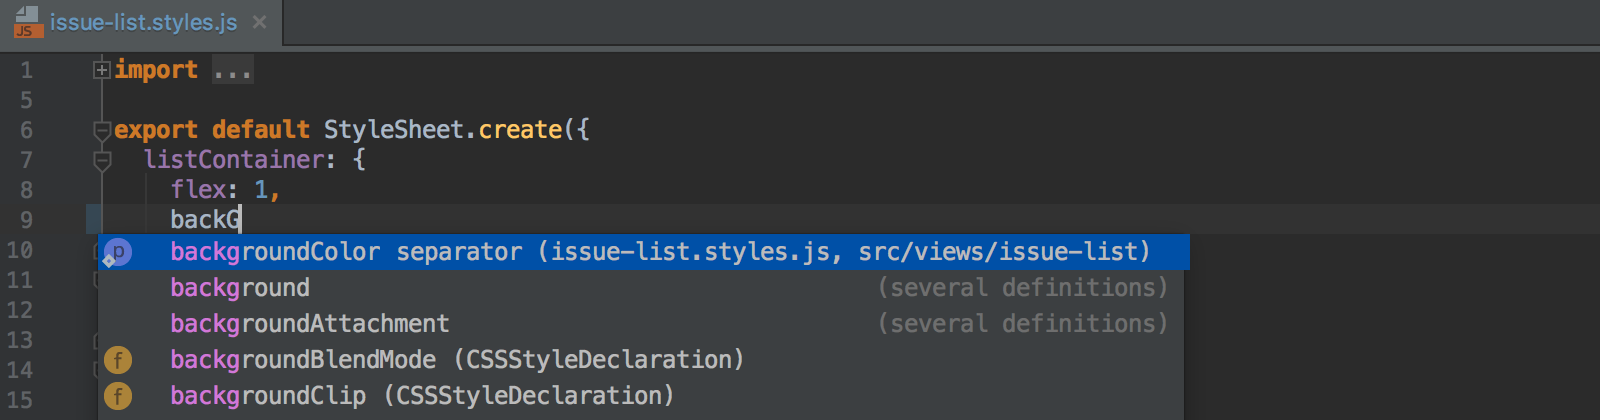
WebStorm 2016.3 also adds code completion for React Native StyleSheet properties:
If you’re using Flow in your project, WebStorm can highlight the errors from Flow in the editor. Enable Flow as a JavaScript version in Preferences | Languages & Frameworks | JavaScript and specify a path to the Flow executable. Find out more about using Flow in this blog post.
Your WebStorm Team
Subscribe to WebStorm Blog updates