.NET Tools
Essential productivity kit for .NET and game developers
Create Real-time Applications with ASP.NET Core SignalR – Using Rider!
Folks who use your software want to-the-second updates. Especially in a business setting, where people need to get things done, and get them done at “the speed of business”. Company dashboards showing sales and their projections often need information to be available in real-time to really get that competitive advantage. Even users of personal apps such as social networking want to see replies and reactions immediately. Mom and dad don’t want to waste a second waiting on those pictures of their grandkids! And as developers, we want to provide those features for them!
This post shows you how to build real-time software on the ASP.NET Core platform, using SignalR and, of course, Rider as the IDE to get it all done.
SignalR overview
SignalR is an open-source library that serves as a means to provide real-time functionality in apps. This means that by using SignalR, you can push data to various clients immediately. SignalR works great in any kind of app, but the best uses are generally apps that need data to be presented to the UI in real-time (or near real-time), such as collaborative apps, stats and dashboards, messaging apps, and the like. SignalR is built-into ASP.NET Core. If you’re new to ASP.NET Core, check out this quick overview of writing ASP.NET Core apps with Rider.
The SignalR libraries are split into two parts: server and client. The server libraries are built-into ASP.NET Core packages and project templates, and the client library is a simple JavaScript file that can be downloaded and added to any project.
On the server, SignalR uses the concept of a hub as a central pipeline for message routing. This way, communications can happen between multiple clients (indirectly), and not simply between server and client. Hubs are central to the way SignalR works.
SignalR on the server
Since SignalR is part of the ASP.NET family of products, it’s built into the Microsoft.AspNetCore.App package that is included in ASP.NET Core project templates. There is nothing to more install, and just a few lines of configuration are required to implement SignalR on the server. In the Startup class, a call to AddSignalR is required to add SignalR to the services available upon startup.
public void ConfigureServices(IServiceCollection services)
{
    services.AddRazorPages();
    services.AddSignalR();
}
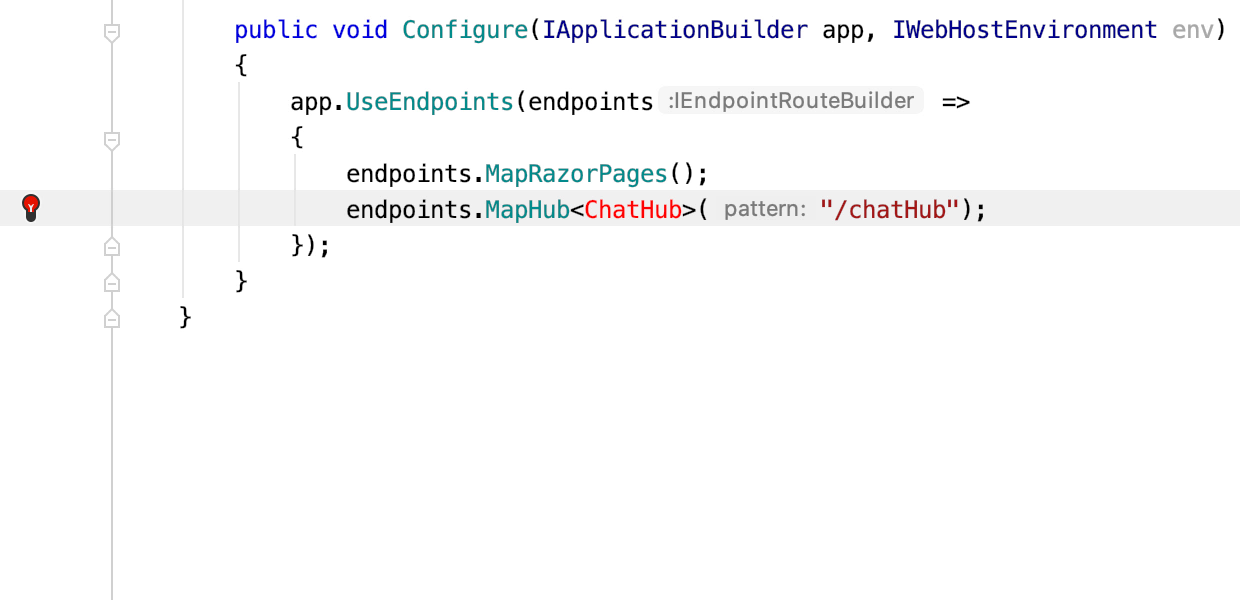
Additionally, the MapHub method is added to the collection of endpoints for calls between server and client. We need to configure the hub, but it doesn’t exist yet, so the easiest way to get going is by using Rider’s Create Type intention via Alt+Enter. Don’t forget to inherit from the Microsoft.AspNetCore.SignalR.Hub class.
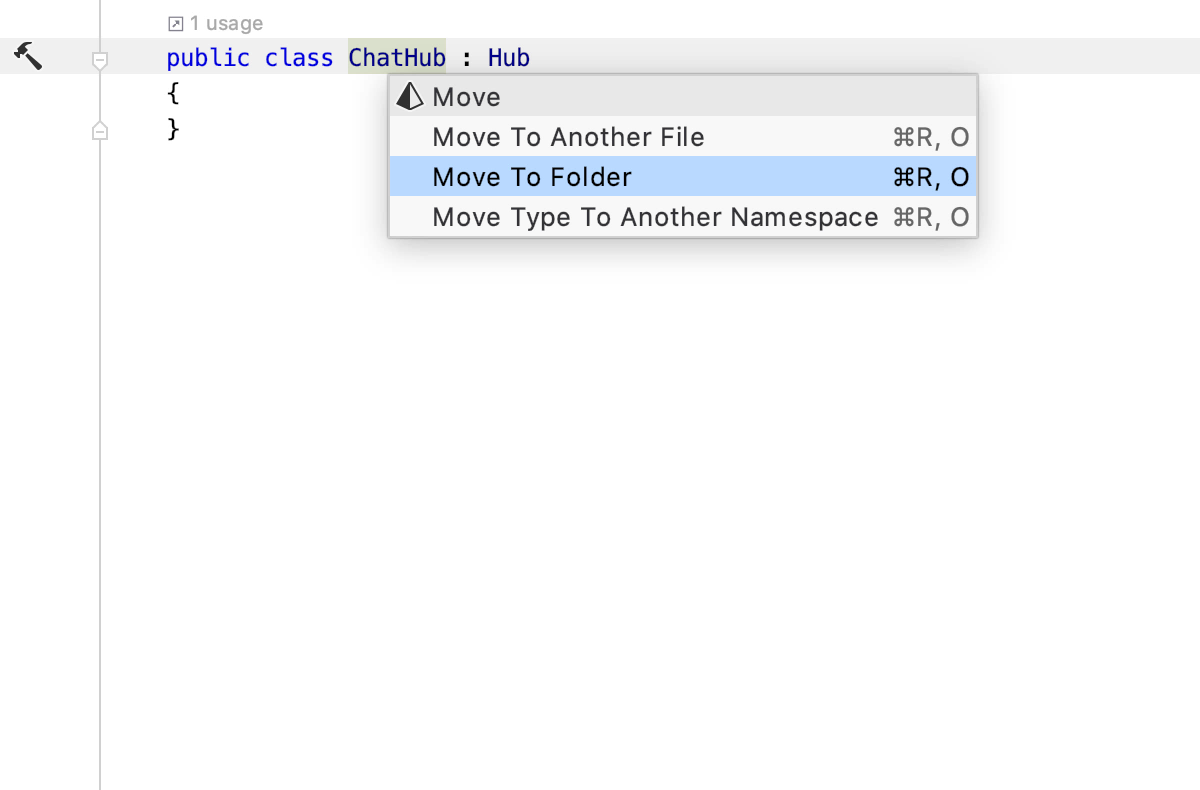
Hubs are better organized and more maintainable if put into their own folder (recommended name: Hubs). Move the newly created hub to the folder by using the Move Refactoring command.
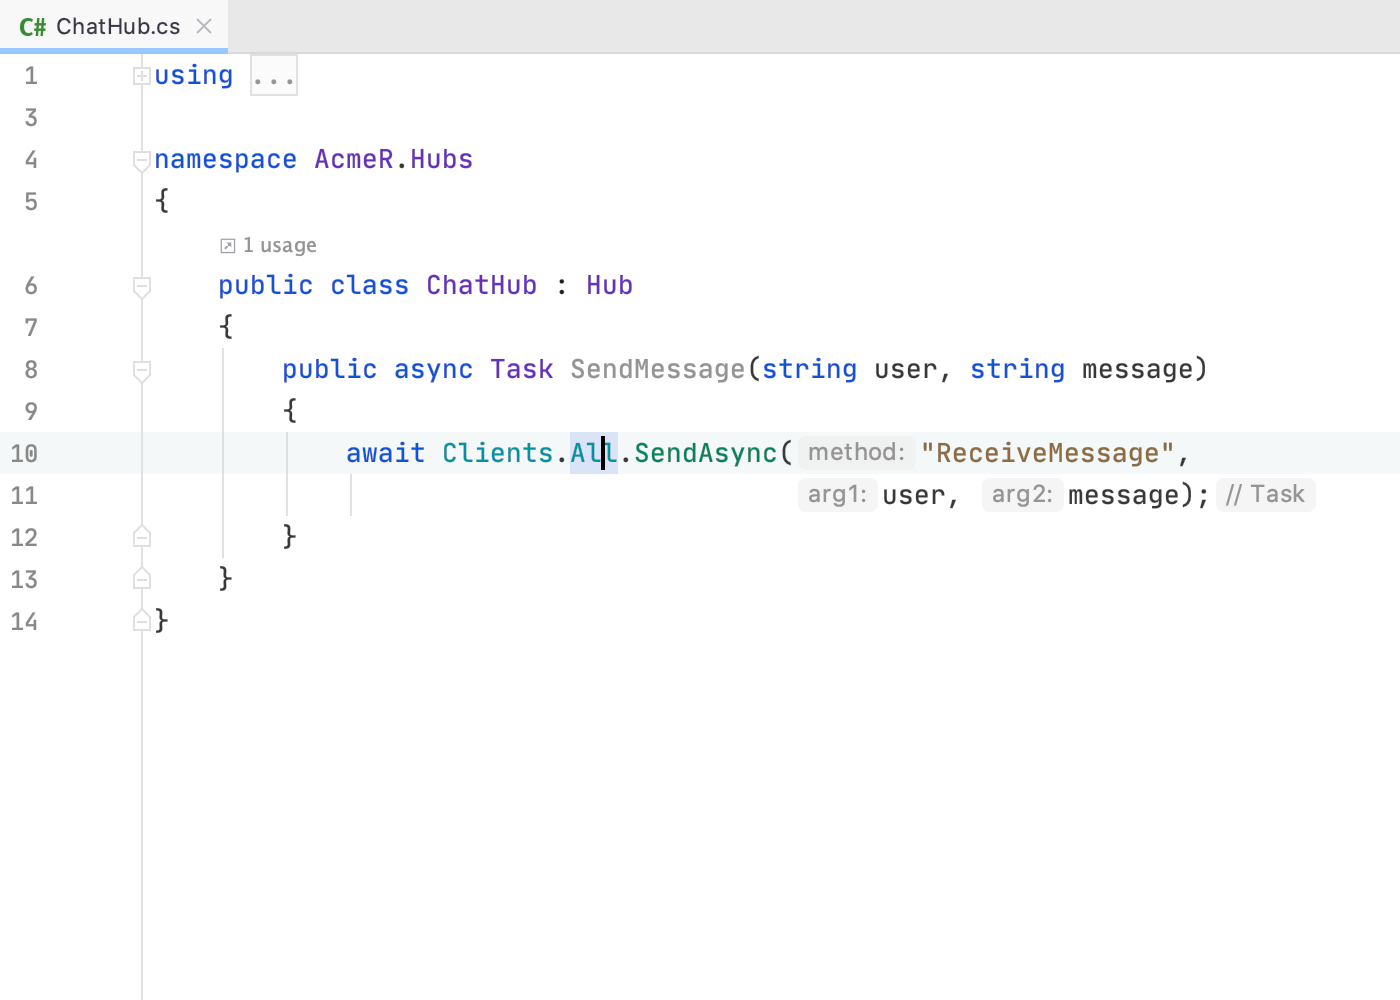
Any public methods added to the hub are methods that clients can call – from JavaScript. You heard that right: JavaScript clients can call C# methods directly! Hubs can call JavaScript code, too, so it goes both ways. Use the Clients property of the Hub class to access connected clients and call JavaScript methods defined in them. In the following example, ReceiveMessage is the name of a method defined on the client in JavaScript. Clients.All.SendAsync will send an asynchronous message to the ReceiveMessage method on all connected clients.
public async Task SendMessage(string user, string message)
{
    await Clients.All.SendAsync("ReceiveMessage", user, message);
}
To further explore other properties and functionality available to the Hub class, the Navigate To (Shift+Cmd+G) action enables several options for browsing the source. By placing the cursor on the All property and using Go to Declaration (keyboard shortcut F12), you see the properties available on the hub to use to communicate with all or specific clients. Go to Declaration is a great way to explore new libraries!
SignalR on the client
Rider is an excellent tool for building web apps because of its robust support for HTML and JavaScript. This makes Rider a great choice for SignalR, since SignalR contains a client-side library as well as the server side library. Microsoft has provided the JavaScript client file through libman, a library manager. It’s easily called using Rider’s Terminal tool window. Just run the following commands:
If you don’t have libman installed, run this:
dotnet tool install -g Microsoft.Web.LibraryManager.Cli
Once installed, run this command from the Terminal to get the JavaScript file:
libman install @microsoft/signalr@latest -p unpkg -d wwwroot/js/signalr --files dist/browser/signalr.js --files dist/browser/signalr.min.js
The file is placed under the wwwroot\js\signalr\dist\browser folder, aptly named signalr.js. Simply include this file in a script tag in your MVC views or Razor pages – and don’t forget to add tags for your own JavaScript file. Rider helps you with finding scripts that are buried deep in the folder hierarchy.
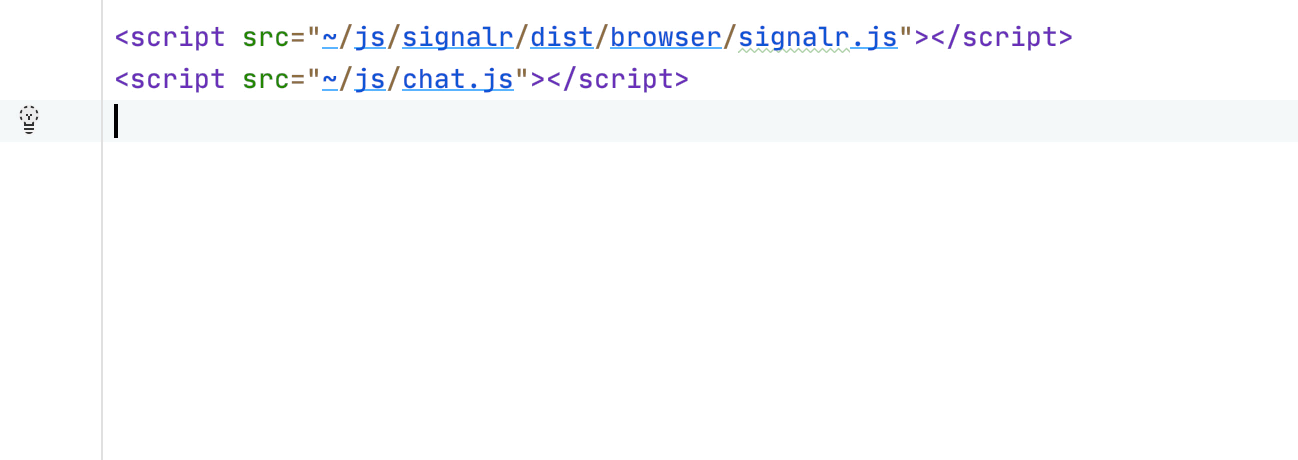
Then you’re off to craft some HTML for users to enter messages, just as you would for any other type of web application. Rider has a lot of great features for writing HTML.
@page
<div class="container">
<div class="row"> </div>
<div class="row">
<div class="col-2">User</div>
<div class="col-4"><input type="text" id="userInput" /></div>
</div>
<div class="row">
<div class="col-2">Message</div>
<div class="col-4"><input type="text" id="messageInput" /></div>
</div>
<div class="row"> </div>
<div class="row">
<div class="col-6">
<input type="button" id="sendButton" value="Send Message" />
</div>
</div>
</div>
<div class="row">
<div class="col-12">
<hr />
</div>
</div>
<div class="row">
<div class="col-6">
<ul id="messagesList"></ul>
</div>
</div>
<script src="~/js/signalr/dist/browser/signalr.js"></script>
<script src="~/js/chat.js"></script>
The JavaScript for SignalR relies on a few objects from the client-side libraries, such as the connection. Notice you must call the connection’s start method to actually connect.
var connection = new signalR.HubConnectionBuilder().withUrl("/chatHub").build();

connection.start().then(function () {
    document.getElementById("sendButton").disabled = false;
}).catch(function (err) {
    return console.error(err.toString());
});
The on method allows the server to call the code in it directly. Here’s where the UI is updated – in this case, simply adding messages to a list item. It’s a good practice to encode the data, and Rider’s Regular Expressions and string manipulation assistance comes in handy here.
connection.on("ReceiveMessage", function (user, message) {

var msg = message.replace(/&/g, "&")
.replace(//g, ">");
var encodedMsg = user + " says " + msg;

var li = document.createElement("li");
li.textContent = encodedMsg;
document.getElementById("messagesList").appendChild(li);
});
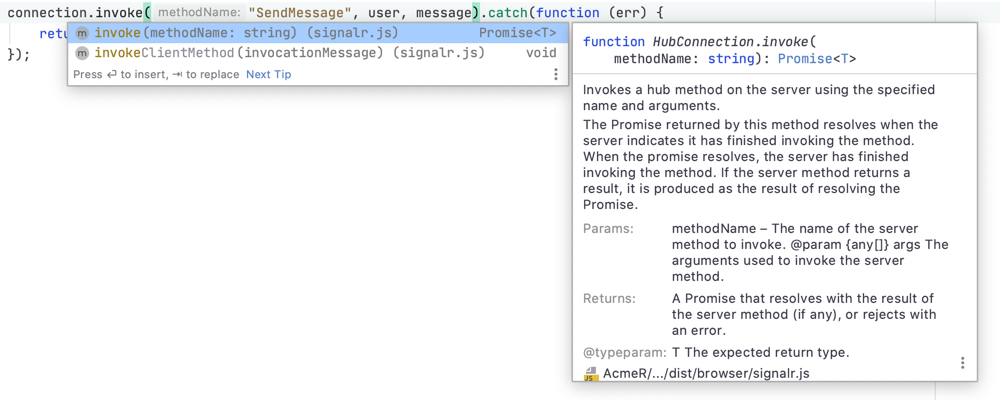
To make calls to the server, wire up an event to a button or other UI element, capture the data you want to send, and call the invoke method. Notice all the information Rider displays about methods – including comprehensive descriptions of what the methods do, not just parameters and outputs. This kind of information is very helpful when you’re not familiar with a new library.
document.getElementById("sendButton").addEventListener("click", function (event) {
    var user = document.getElementById("userInput").value;
    var message = document.getElementById("messageInput").value;
    connection.invoke("SendMessage", user, message).catch(function (err) {
        return console.error(err.toString());
    });
    event.preventDefault();
});
At this point you can test the page by pressing Alt+F5 or clicking the Run button. Rider automatically launches your default browser. Leave that open, open another browser and navigate to https://localhost:5001. Now you can verify that the messages show up in real-time.
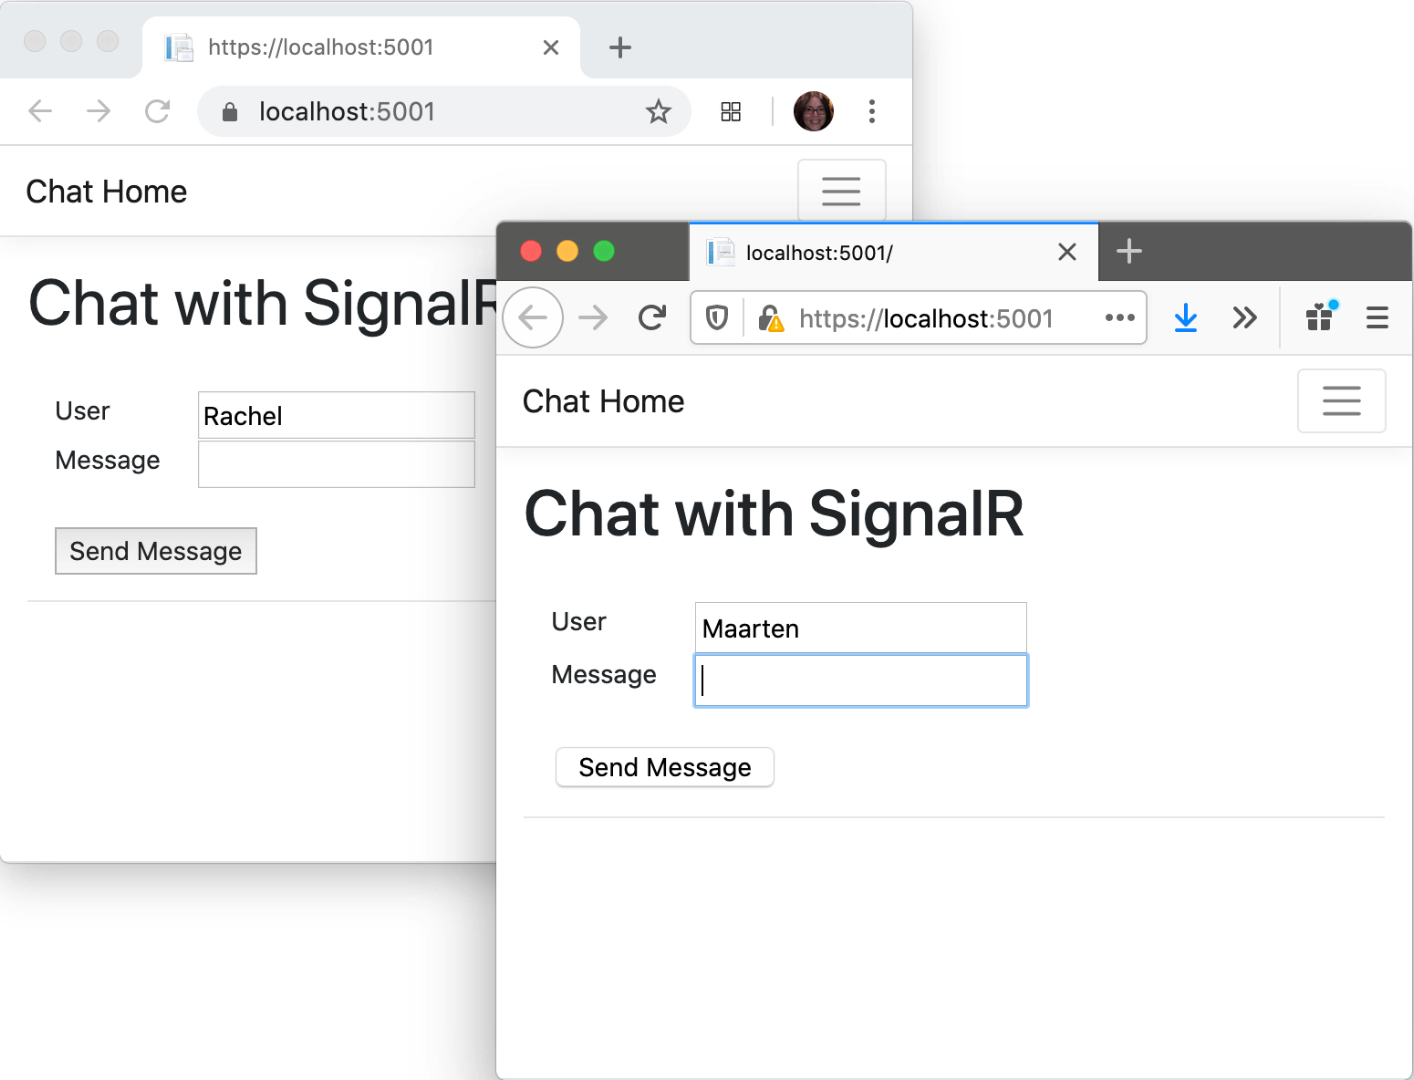
You can also debug SignalR apps easily, as Rider supports debugging ASP.NET and JavaScript together.
In summary, Rider has all the features you need to build web apps using ASP.NET Core, HTML, CSS, and JavaScript, and you need nothing special to get your real-time apps up and running today! Are you ready to build a real-time application with ASP.NET Core and SignalR? Try Rider and let us know what you think!
Subscribe to a monthly digest curated from the .NET Tools blog:


