

.NET Tools
Essential productivity kit for .NET and game developers
What are JetBrains Annotations – and how to get them?

In our previous blog post, we looked at an example of using JetBrains Annotations. We saw they are an easy way to improve Rider (and ReSharper’s) code analysis, code completion and navigation by adding some simple hints in our code, in the form of attributes. In this post, we’ll look a bit more at the background: what are these annotations? And how do we add them to our source code?
In this series:
- Improving Rider and ReSharper code analysis using JetBrains Annotations
- What are JetBrains Annotations – and how to get them?
- Better null checks, string formatting and path completion with JetBrains Annotations
Before we look at how to add JetBrains Annotations to our code, let’s take one step back and look at what they are.
What are JetBrains Annotations?
Rider and ReSharper’s code analysis and inspections are very smart on their own and help find code smells, dead code, potential compile time or run time errors, and more.
We have already seen that we can make this mechanism smarter by telling Rider and ReSharper what we mean. In our previous post, we saw that the ReSharper engine knew we were working with strings, but only we as the author of that code knew these strings were controllers and actions. Code analysis may warn us that a value can be null, but maybe the underlying code never returns null at all. Only one way to tell the engine: annotations.
Annotations can exist as attributes in our code, as we have seen, or as XML files. Rider and ReSharper ship with a copy of the XML annotations we have open-sourced on GitHub. All of the .NET base classes have been annotated, as well as popular frameworks such as Caliburn.Micro, NUnit, Nancy’s Razor view engine, xUnit, log4net and so on.
For example, an annotation tells Rider and ReSharper that System.Console.WriteLine has a first argument that is a “string format” method. The IDE will use that information to provide additional code completion, will check for string format placeholders, etc.
How to add JetBrains Annotations to our own codebase?
Good for me: my colleague Matt already wrote about adding JetBrains Annotations in ReSharper a while ago, so let’s focus on Rider here. We can reference the JetBrains Annotations in two ways: by adding the official JetBrains.Annotations NuGet package to our project, or by adding the annotations to the source code of our project. Now which option to pick…
As a rule of thumb, it’s usually best to reference the JetBrains.Annotations NuGet package when a project is not intended to be shared outside a development team. The NuGet package uses the [Conditional("JETBRAINS_ANNOTATIONS")] attribute to ensure the annotations are not compiled into the resulting assembly. In other words: it is there while developing and your team can use the annotations, but it’s gone when compiled.
When building a library that is intended to be shipped to others, we can include the JetBrains Annotations source code directly in our project (or compile with the JETBRAINS_ANNOTATIONS flag set). As long as the JetBrains.Annotations namespace exists, Rider and ReSharper will make use of them. For us, when we are developing our library, and for consumers of our library if they are using Rider or ReSharper.
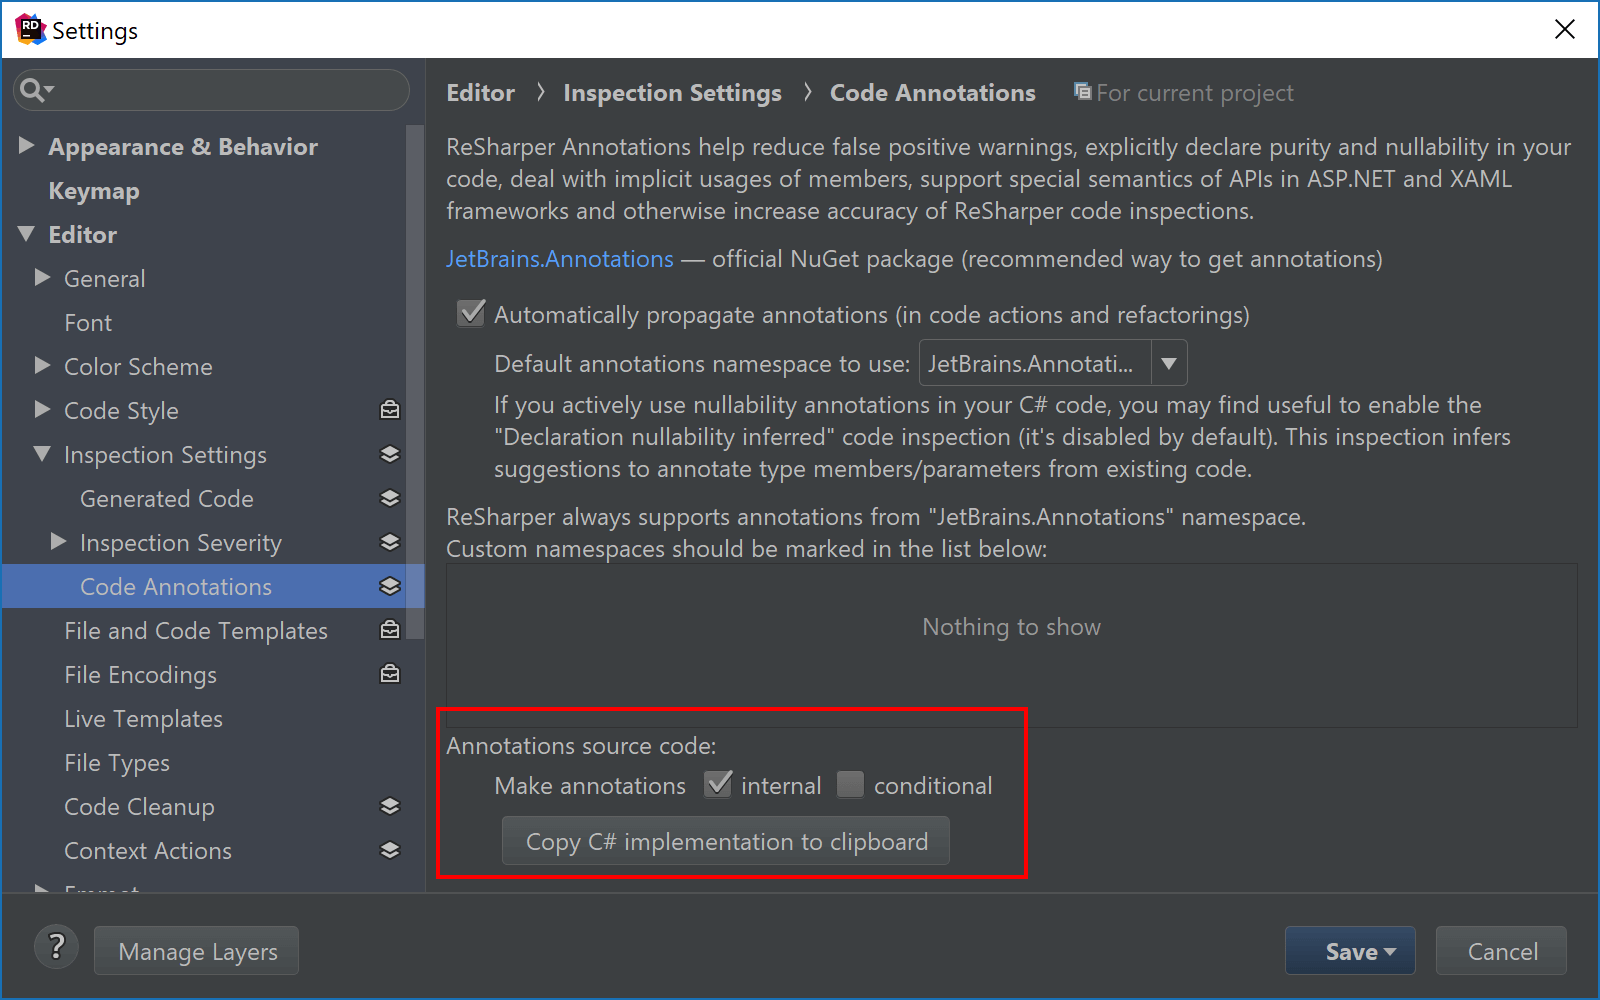
Adding the NuGet package can be done using the NuGet client, adding the annotations as source code can be done by copying it from the settings under Editor | Inspection Settings | Code Annotations:
Now that we have the annotations referenced, we can look at a few of them! We’ll do that in the last post of our series. Stay tuned!
Download Rider 2018.1 or give ReSharper a try! We’d love to hear your feedback!


