.NET Tools
Essential productivity kit for .NET and game developers
Structure and Organize .NET Projects with Rider
Whether you’re starting out with a new project or refactoring a mature codebase, good folder and file organization makes your life less stressful. Having a good structure for your project creates an atmosphere that enables reading comprehension and fluid navigation. In this blog post, we’ll look at some ways to organize and streamline your .NET projects, folders, and code in Rider.
Organize project file structure
Clean Architecture is a popular way of organizing .NET, Java, and other projects so as to help separate concerns, and promote loosely coupled, agile designs. Some developers may decide to strictly stick to clean architecture guidelines, while others will vary the structure to fit their specific app’s requirements and environment.
If you’re on a very small team or working as an individual consultant you might not need as large a structure as teams who use clean architecture. There’s not as much ceremony when one developer works on a small, specialized app (web or desktop). If you’re looking to create or fine tune your architecture take a look at the Onion Architecture and Microsoft’s doc about common architectures including clean, monolith, n-layer architectures. However, it’s best to still break out logical components into separate projects or folders depending on your software’s needs.
Following the guidelines from The Practical Test Pyramid helps with any type of architecture. For those who prefer guidance from architectural templates, see Steve Smith’s Clean Architecture Solution Template for .NET 6 and Jason Taylor’s Clean Architecture Solution Template.
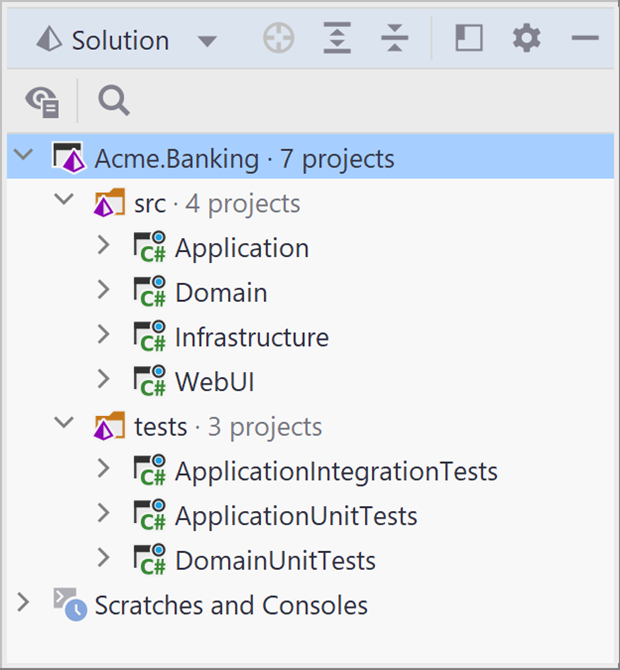
Since most projects have code and tests, splitting up the solution into two separate directories (src and tests) is an intuitive way to organize the top level areas of a software product. Within each directory, there are multiple projects that correspond to various separations of concerns such as src\Application, src\Domain, and so on. The following shows a sample of a somewhat clean architecture with src and tests folders and their projects.
The src subdirectory contains its own organizational structure, as shown here:

Both src and tests are solution folders, which are used to group together projects. In src, the code projects are class libraries except for the UI (named WebUI). For this example, it’s an ASP.NET Razor Pages application, but it could be any type of user interface or none at all. The test projects can be organized to suit the testing needs of the app.
The folder structure will likely map to the different parts of your code projects. Project Dependency Diagrams help you onboard new developers as well as serve as a source of infrastructure documentation.
Manage folders and files
Most often, we download a template from the internet to use, or go with what Rider has, so long as the template’s layout is mostly what we want. Then we delete unwanted files, add in different ones, modify configuration, and customize further.
Two notable features for folder management: Rename Refactoring and Safe Delete. Ctrl+R, R launches the rename refactoring dialog which gives options based on what it is you’re renaming. For example, renaming a project gives you the option to rename namespaces, the folder in the OS, and solutions and projects. If it has a name, Rider won’t miss it!
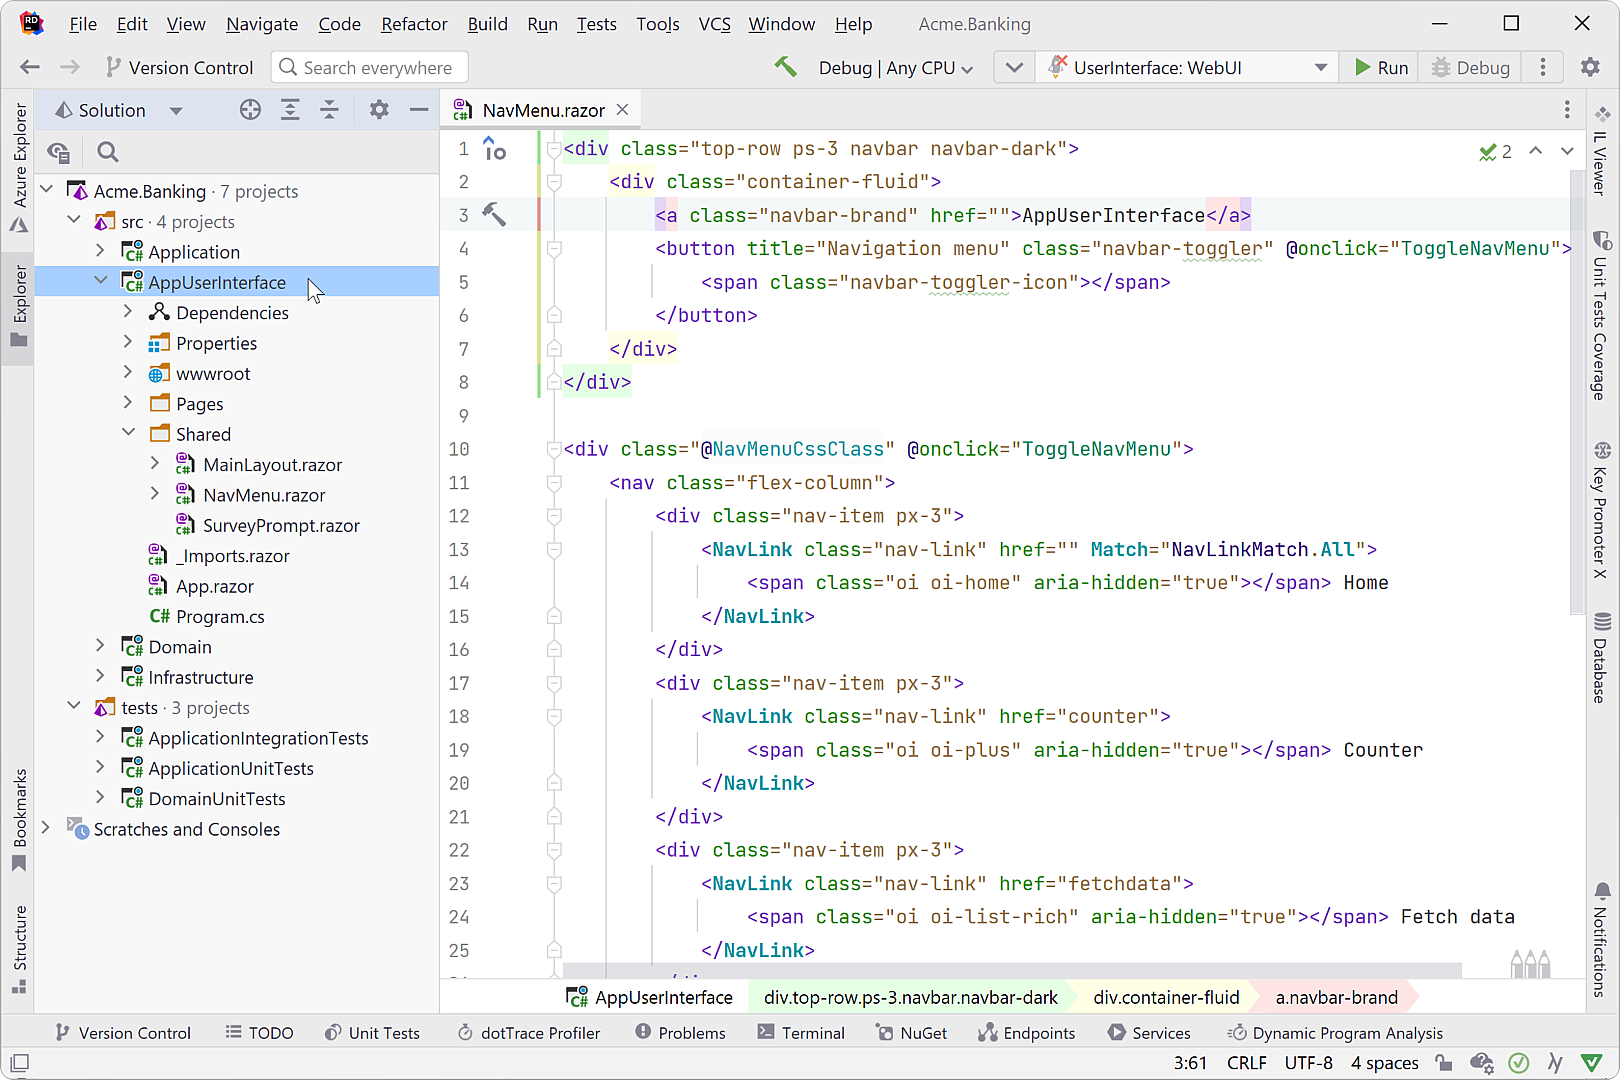
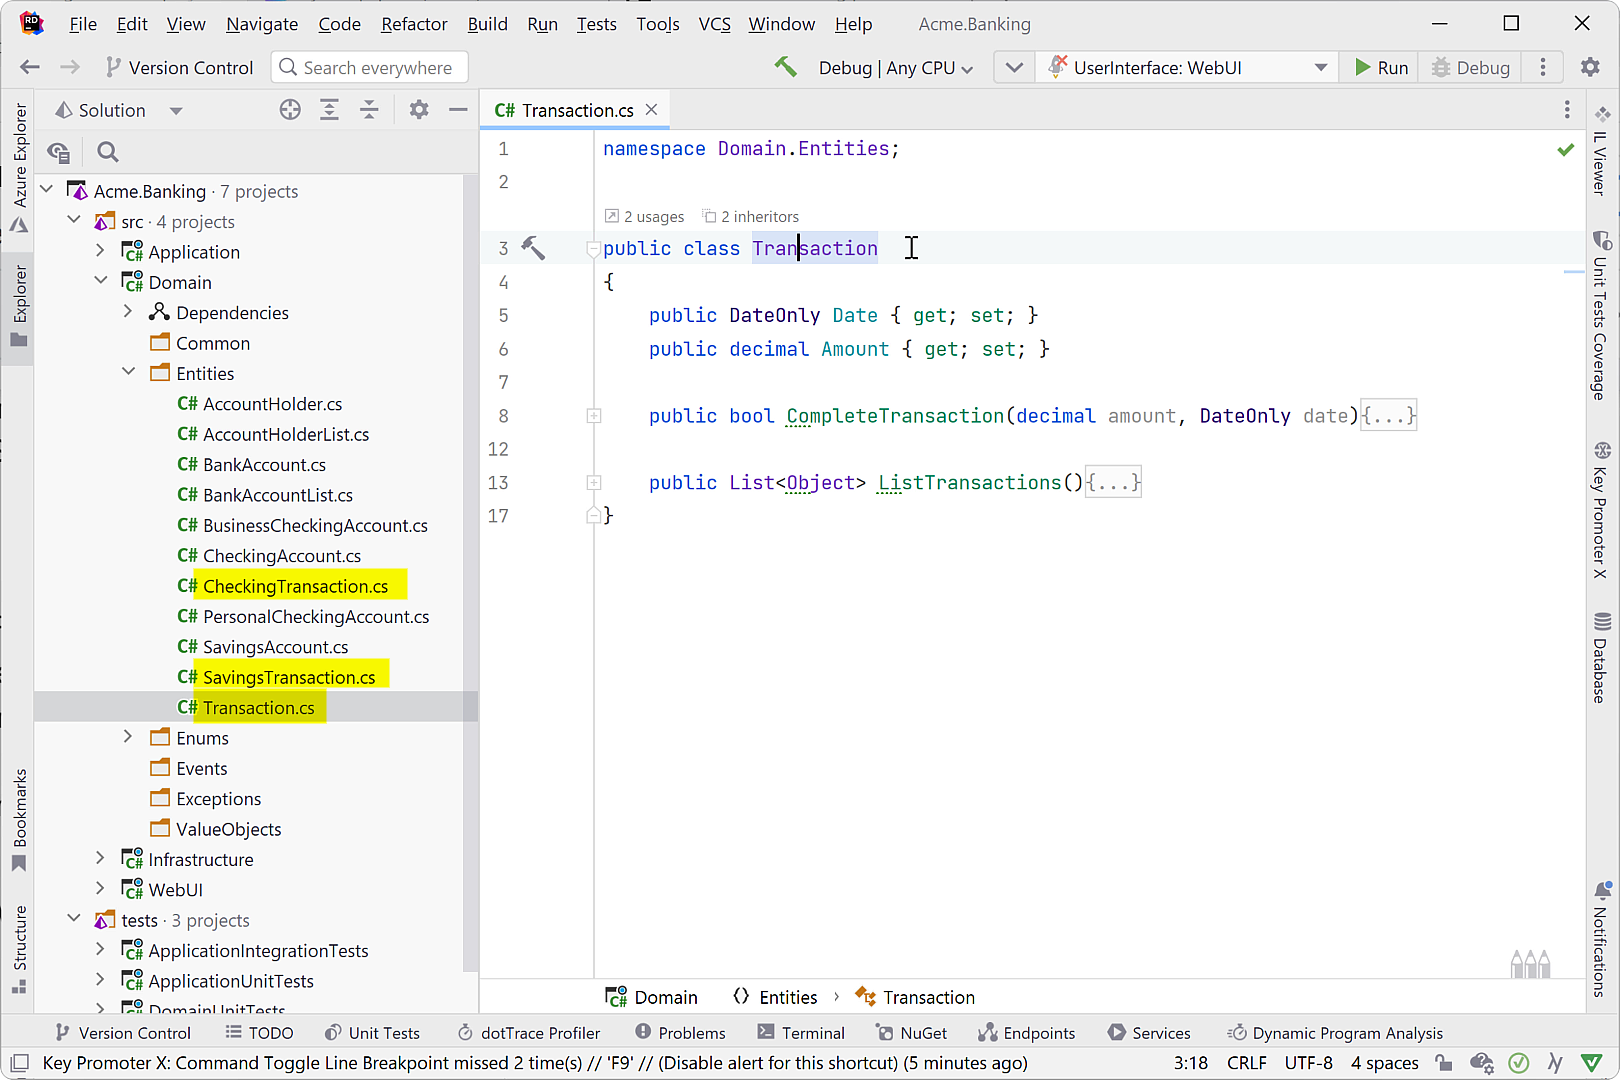
Safe delete ensures that the solution will compile after the deletion. Rider finds all instances of the symbol under the caret in the editor. As it does this, it displays a link to the code for each instance and lets you delete, modify, or skip. Rider’s smart assistance detects any usages including those in object-oriented models. This means you can re-organize entire branches of an object hierarchy to suit your needs. To use Safe Delete, choose Refactor | Safe Delete from the menu or Ctrl+R, D.
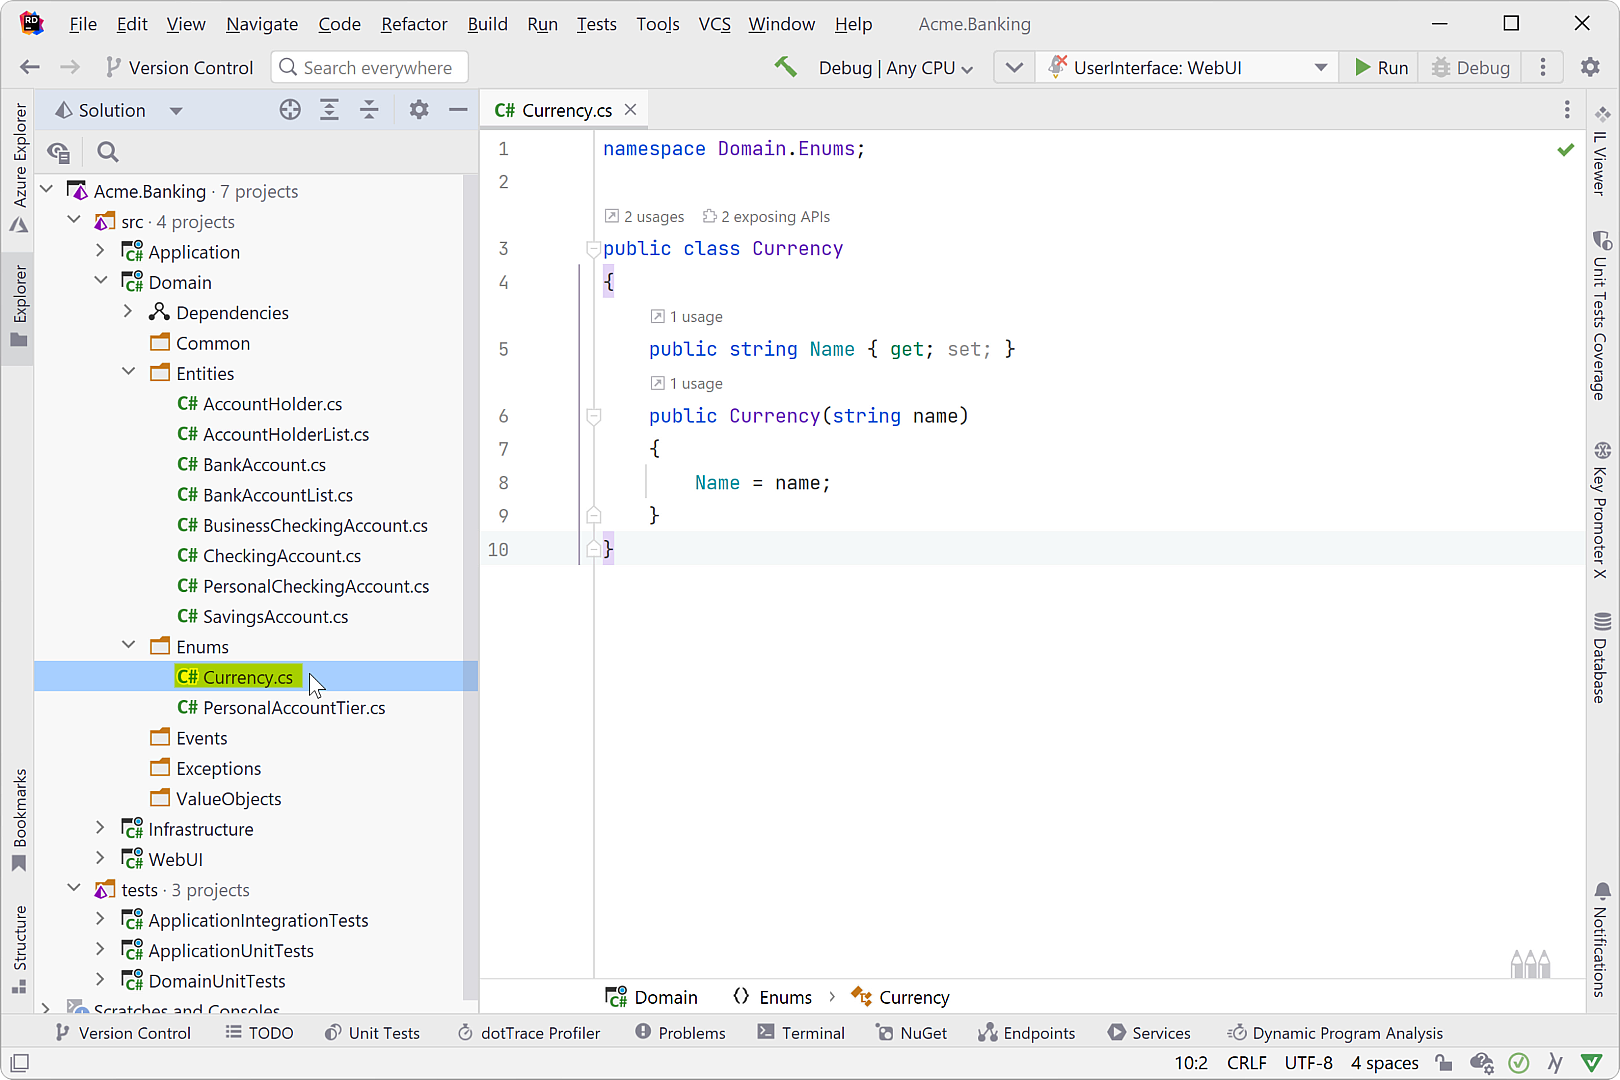
For those who use a mouse, click and drag to move files and folders. However, note that Rider provides a few alternate ways to manage folders/files: the Ctrl+R, O keyboard shortcut or Refactor | Move from the menu.
Manage folder and file metadata
It’s consistent and efficient to organize folders and files in projects according to their target compilation settings. Many projects require static assets, such as images, files, and documents alongside the executables – particularly any project with a user interface. For these, it’s a good idea to set some metadata so the compiler can ignore them. Using Alt+Enter on a project, folder, or file displays its properties to view or modify.
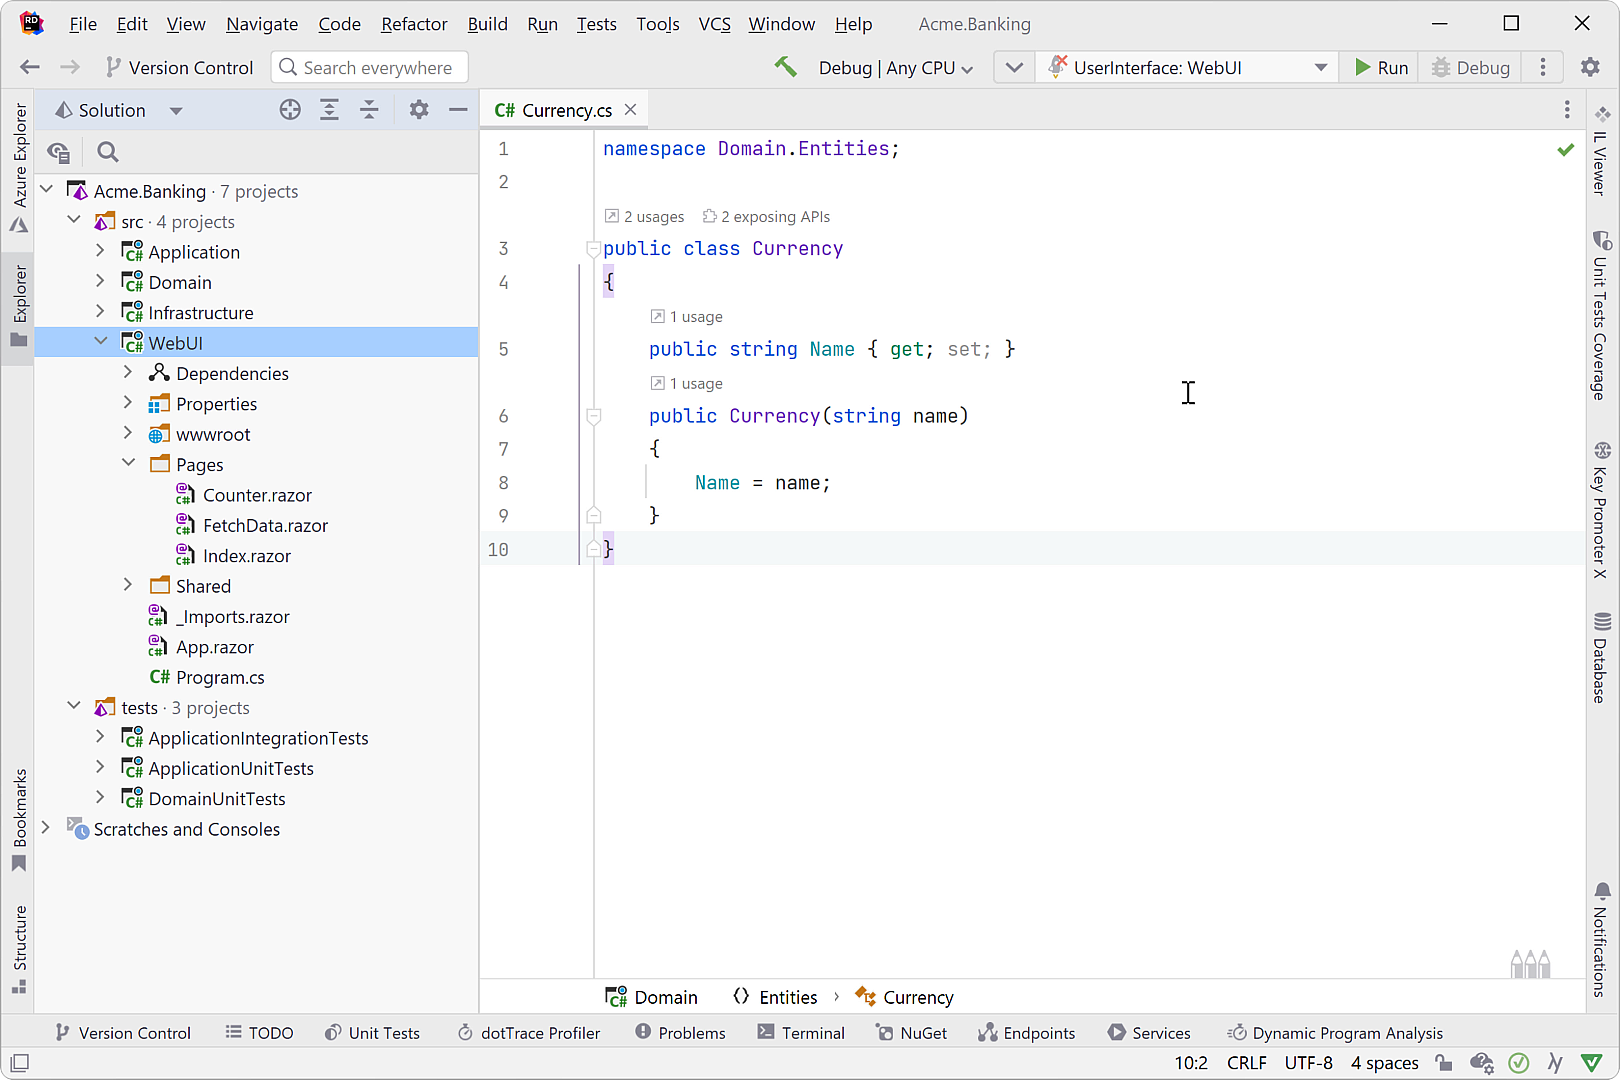
Namespaces
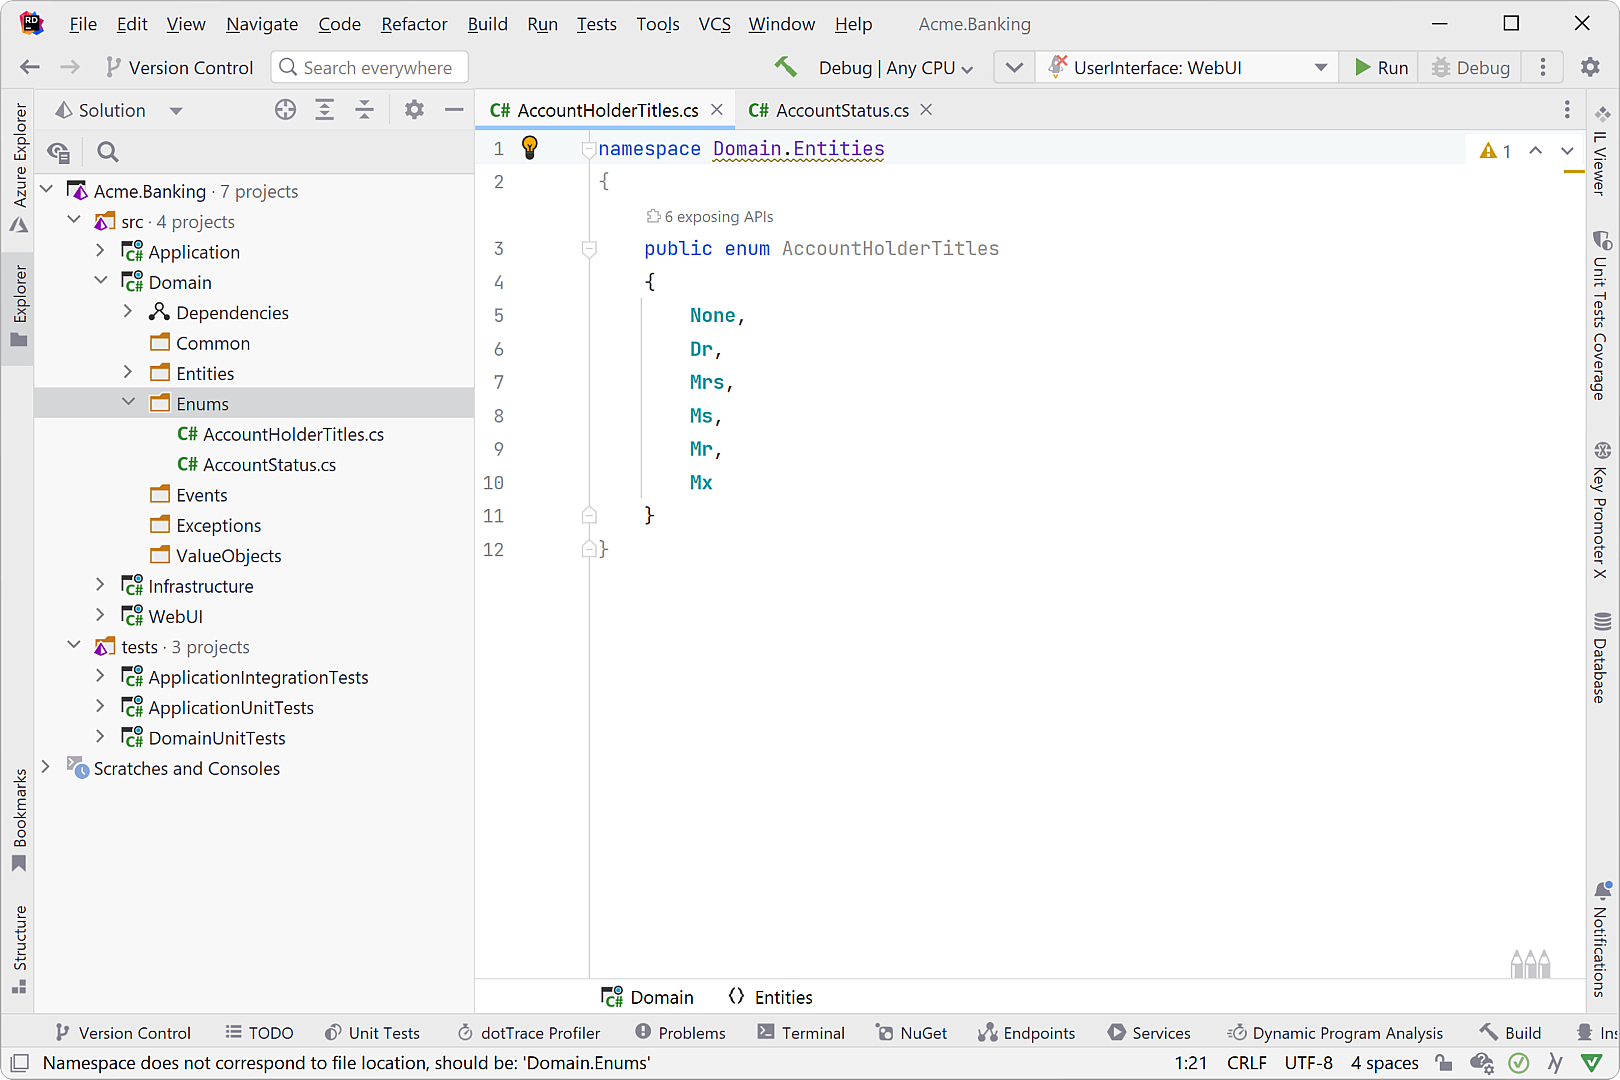
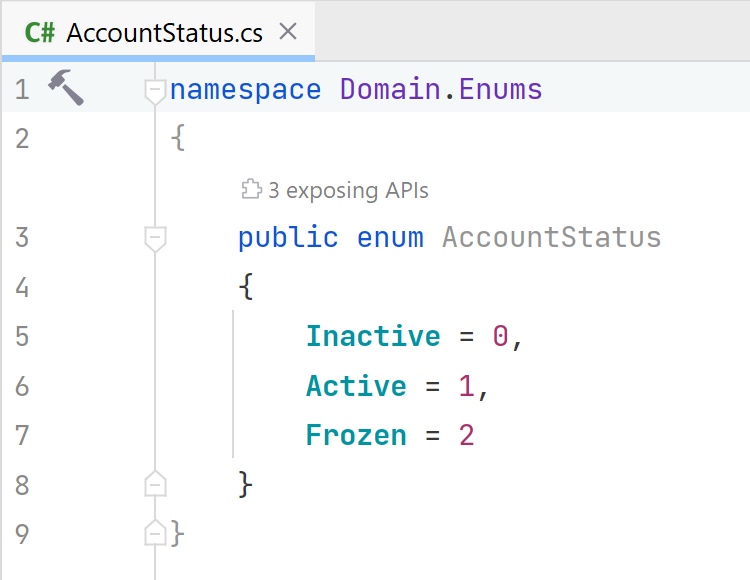
By common convention in .NET, the same name is used for both the namespace and the folder it’s found in. Naming conventions help enforce patterns and consistency, making code easier to read and maintain. For example, the Domain.Entities.Accounts namespace intuitively maps to the Domain\Entities\Accounts folder. If these get out of sync, Rider can nudge things back to consistency.
A newer feature from C# 10 is file-scoped namespaces. A file-scoped namespace is syntactically the namespace keyword and namespace itself immediately followed by a semi-colon, and without curly brackets. Consider a file-scoped namespace to be syntactically like a regular namespace declaration that’s missing its brackets.
namespace Domain.Entities;
namespace Domain.Common;
Both implicit usings and file-scoped namespaces share the same goal, which is reducing boilerplate code. Boilerplate code gets in the way and ends up needing more time and effort to organize than it should.
Top level global usings
There are a few namespaces that are at the core of nearly every project, such as System or System.Collections.Generic. Rather than adding using statements to nearly all files in a project, you can consolidate them into a single file to apply to the entire codebase with global using statements in C# 10. Global using directives provide a way to declare namespaces to be included for every file without specifically coding a using statement at the top of every file. It makes it so you have to deal with namespaces as infrequently as possible.
One way to organize namespaces is to add a file to the project root that contains the list of global using directives. The scope of a global using is the current compilation.
global using System;
global using System.IO;
global using System.Collections.Generic;
global using System.Linq;
global using System.Net.Http;
global using System.Threading;
global using System.Threading.Tasks;
A more elegant way to organize using statements is using the new project-level property called ImplicitUsings to add a set of common namespaces. These namespaces, of course, are the most commonly used namespaces for the type of project. ImplicitUsings can be customized by placing a Using element indicating that it’s included or removed, as the following example shows:
<PropertyGroup>
    <!-- Other properties -->
    <ImplicitUsings>enable</ImplicitUsings>
</PropertyGroup>
<ItemGroup>
    <Using Include="Namespace" />
    <Using Remove="Namespace" />
</ItemGroup>
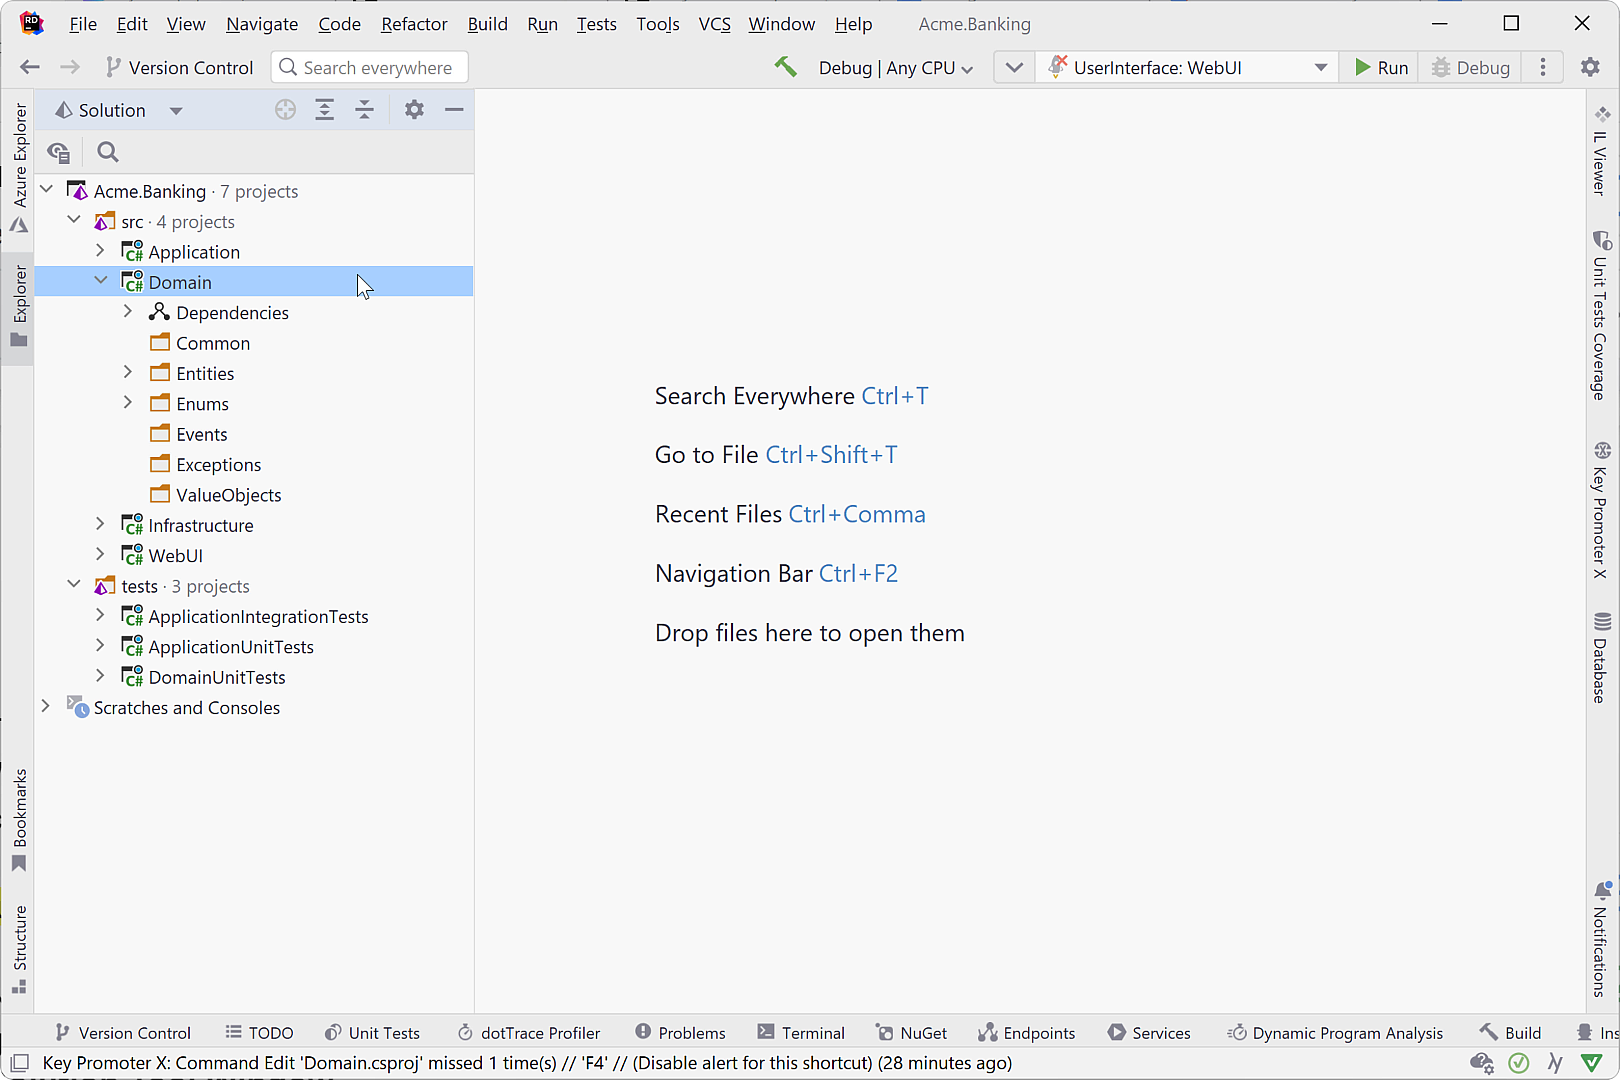
To view or modify the project level properties, press F4 or right-click on the project node in the Solution Tool Window. Rider opens the .csproj for XML editing. Of course, Rider provides code completion and syntax checking.
Navigating to the obj\Debug\net6.0\<Project Name> folder reveals the GlobalUsings.g.cs which is a generated file that includes the namespaces in the compilation. Don’t forget to turn Show All Files on in the Solution Tool Window to see it.
Final thoughts
Regardless of the kind of architecture you choose for your project, Rider helps you keep its structure organized and consistent in .NET. Additionally, Rider enables you to really abstract away project level settings and boilerplate code so there are fewer organizational distractions and you can work on what counts: coding solutions for business problems.
Download Rider today and let us know how you use it to organize your .NET projects.
Subscribe to a monthly digest curated from the .NET Tools blog:


