TeamCity
Powerful CI/CD for DevOps-centric teams
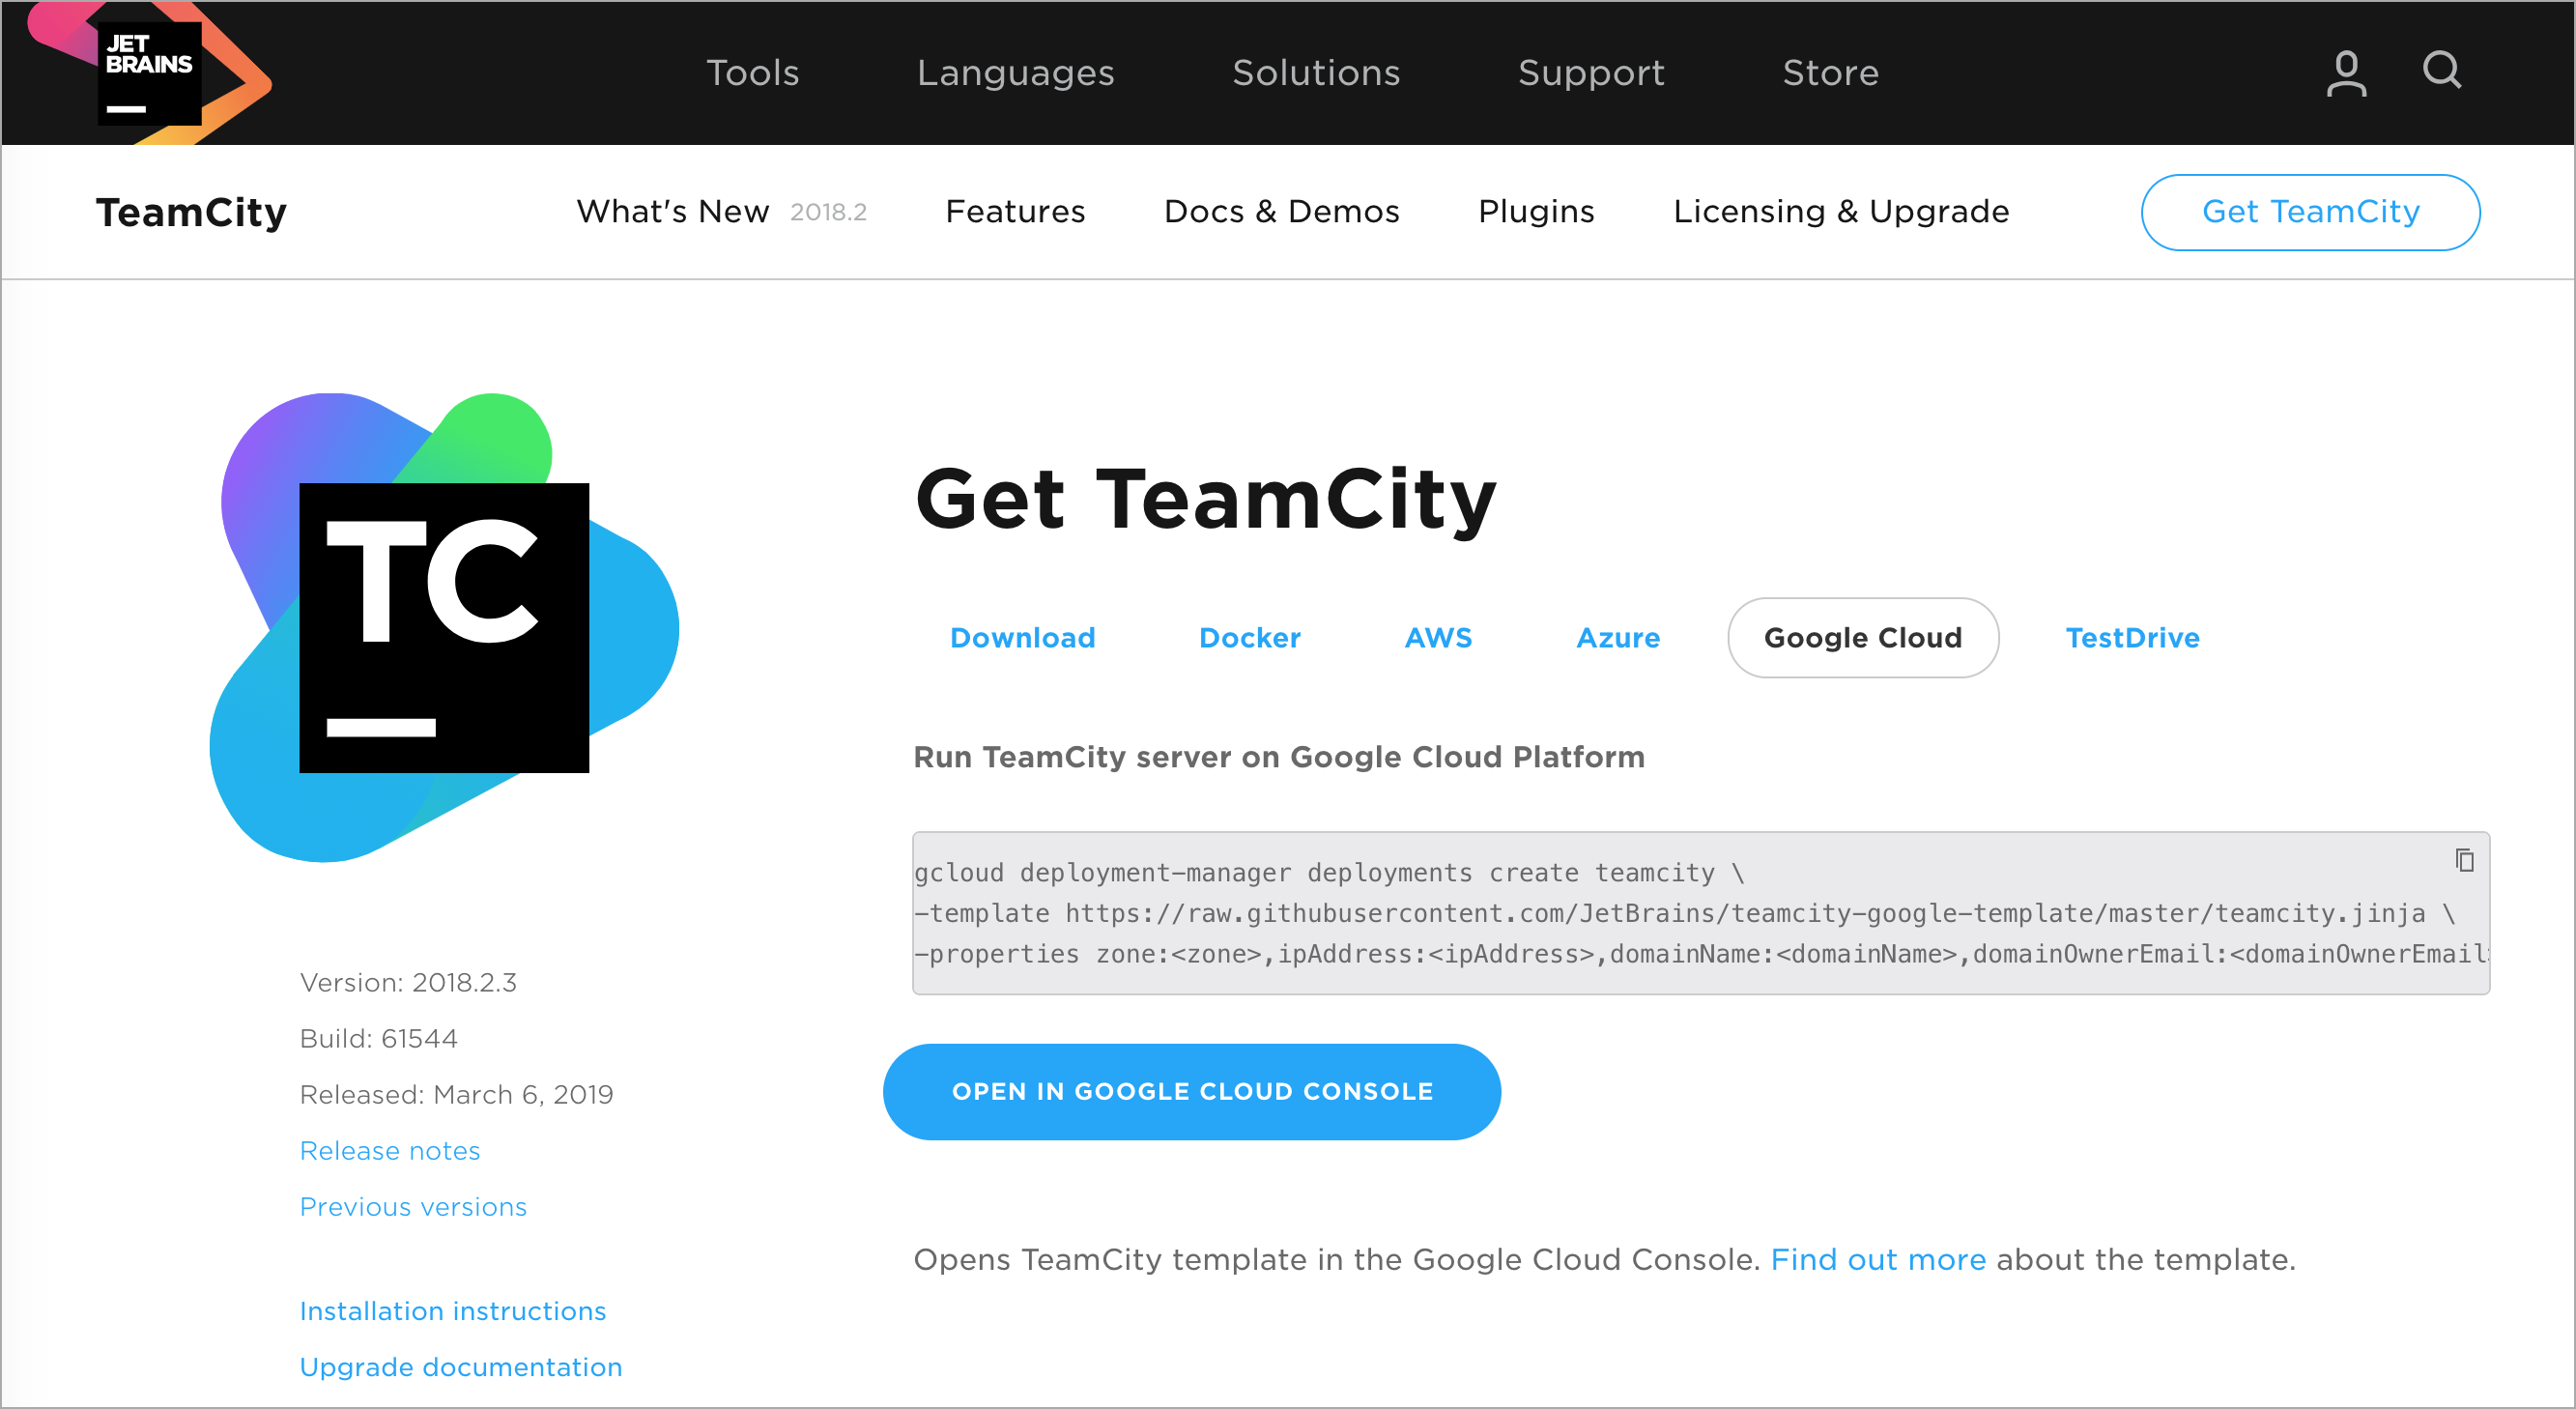
TeamCity Google Cloud Deployment

It’s official! TeamCity Google Cloud Deployment Manager template is now available on our site as an easy way to deploy the TeamCity server to Google Cloud.
The template has been around for some time, and its most recent version provides secure deployment of a TeamCity server out of the box.
This post is a short guide to TeamCity GCP deployment. Leveraging the template, you will create a production-ready TeamCity deployment in 10 minutes!
You can also read our post on the same topic in the Google Cloud Blog.
Pre-requisites
- Make sure you have the permissions of the Project Owner role.
- Enable the required Google Cloud API’s and you’re good to go:
> gcloud services enable deploymentmanager.googleapis.com sqladmin.googleapis.com iam.googleapis.com cloudresourcemanager.googleapis.com runtimeconfig.googleapis.com
TeamCity Deployment
Here you have two options: go for a Quick Start or create a secure TeamCity deployment.
A secure TeamCity deployment automatically provides an HTTPS endpoint for the TeamCity server with pre-configured transport security. This helps protect your data and passwords. Creating a secure TeamCity deployment will require a bit more time but, on the bright side, you won’t have to set up the reverse proxy manually!
Quick Start
To quickly create a test TeamCity deployment, use the following command:
> gcloud deployment-manager deployments create teamcity --template https://raw.githubusercontent.com/JetBrains/teamcity-google-template/master/teamcity.jinja --properties zone:<zone>
Notice the <zone> property: it is required for the deployment and refers to the physical location of your computing resources.
To check which zones are available, list all and choose one of them:
> gcloud compute zones list
Refer to the Google Cloud Documentation for more information.
Secure TeamCity Deployment
A secure deployment requires you to have a domain name from a domain registrar of your choice. You should be able to configure an A/CNAME record for this domain.
- Create an external IP and configure an A record for your domain pointing to that IP. Execute the
nslookup <domainName>command on your computer to display the target IP address.

- Create a new TeamCity deployment:
> gcloud deployment-manager deployments create <deploymentName> --template https://raw.githubusercontent.com/JetBrains/teamcity-google-template/master/teamcity.jinja --properties zone:<zone>,ipAddress:<ipAddress>,domainName:<domainName>,domainOwnerEmail:<domainOwnerEmail>
The command above should specify the following properties:
deploymentName: a unique name for the deployment, e.g. “teamcity”zone: the deployment zoneipAddress: the external IP addressdomainName: your domain name
The domainOwnerEmail property is optional; set it to your email to be notified in the case of problems with an SSL certificate retrieval.
Launching TeamCity
Deploying TeamCity will take a few minutes. After the deployment is complete, a link to the TeamCity server should appear in the gcloud command output.

The TeamCity server will have two pre-installed Google Cloud plugins. Refer to this blog post for more information about their configuration and functionality.
Happy building in Google Cloud!