.NET Tools
Essential productivity kit for .NET and game developers
Write Object-Oriented TypeScript Well

TypeScript enables you to code using object-oriented principles and techniques, and Rider helps you write TypeScript more efficiently and easily. In this blog post, we’ll look at the object-oriented features provided by the TypeScript language, and how to use Rider to implement them.
Object-Oriented TypeScript
Whether a web application or something on the back-end, you likely need an object model that works with your business logic. TypeScript really excels when it comes to object-oriented programming with JavaScript. It makes programming in an object-oriented fashion appear much like it does in other object-oriented languages such as C# or Java, in no small part because of the class keyword. There are four pillars of object-oriented programming: Inheritance, Encapsulation, Abstraction, and Polymorphism.
Rider has helpful intention actions for common tasks such as creating common object-oriented constructs like getters/setters, working with interfaces and inheritance, working with the object model, and many more excellent features.
Classes in TypeScript
Classes are the core of object-oriented programming, as they represent either physical objects that exist in the real-world and concepts of your business. For example, an automotive dealership would need vehicle, car, truck, SUV, sports car, luxury car, and other kinds of vehicles. There’s also sale, invoice, loan, warranty, salesperson, commission, and other real-world objects related to the sales of the vehicles. As developers, we need to organize these concepts into classes that make logical and structural sense, so the application can be more efficiently maintained.
In order to consume a class, code must instantiate it. When instances of classes happen, often default data needs to be set. This is where the constructor comes in. Use the ctor live template to quickly create a constructor for the class. Type “ctor” and press Tab or Enter.
Inheritance
Inheritance is what gives structure to your object models. If you’re working at an auto sales company, you need software that shows various types of vehicles and their make, (auto) models, year, and other essential information that affects the list and sales price, and commission. Much of the business is based on which type of vehicle it is – a car, SUV, truck, van, sports car, sedan, etc… To make the objects align with our business interests means we must use inheritance.
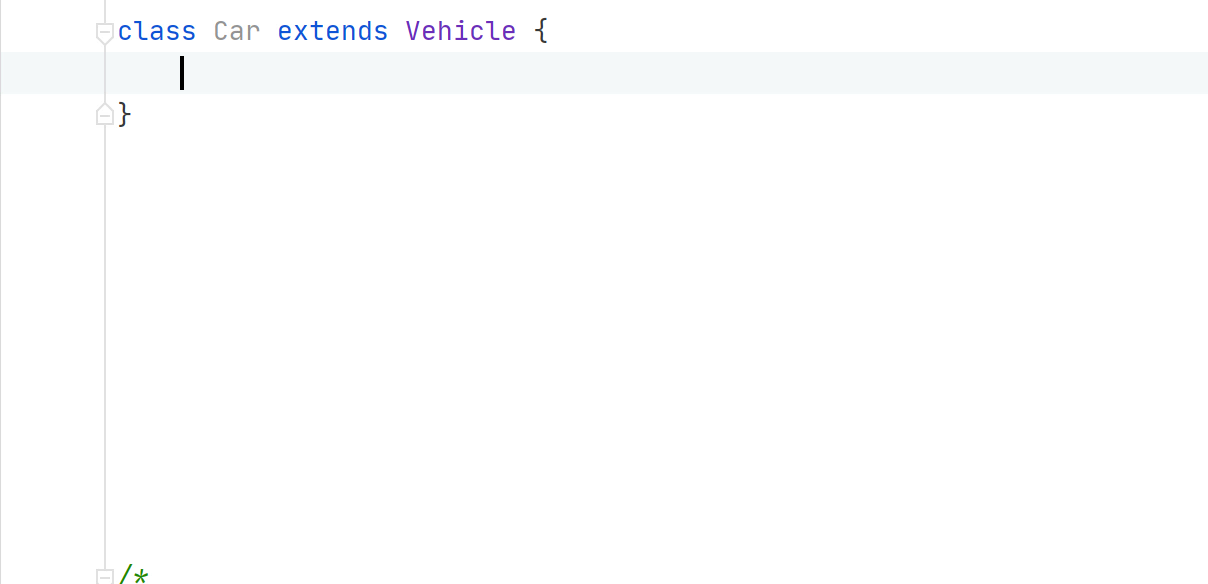
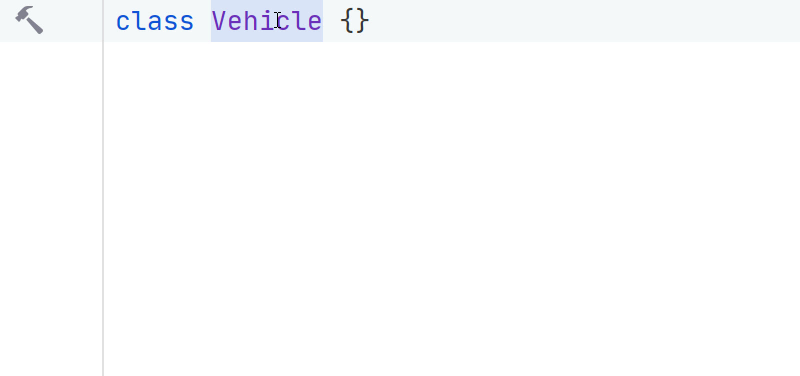
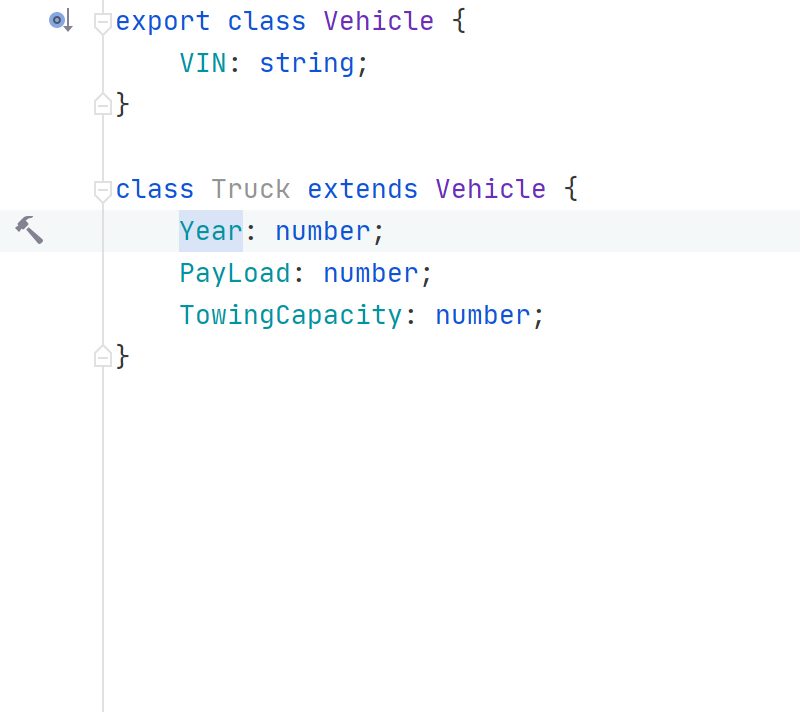
In object models, a base class defines the minimum functionality for all of the classes that will inherit from it and is meant to be generic, not specific. In our example, the Vehicle is the base class. Characteristics such as the VIN, number of doors, seats, manufacturer, list price, and year are also found in cars, trucks, SUVs, sedans, and other vehicles the business sells. Since those other vehicles are more specific, but still are vehicles, they should inherit from the Vehicle class. In TypeScript, use the extends keyword to denote that you’re inheriting from a base class. You may create a hierarchy of as many inherited classes as is necessary. When the cursor is on a base class, press Alt+Enter and select Create Derived Class.
Polymorphism
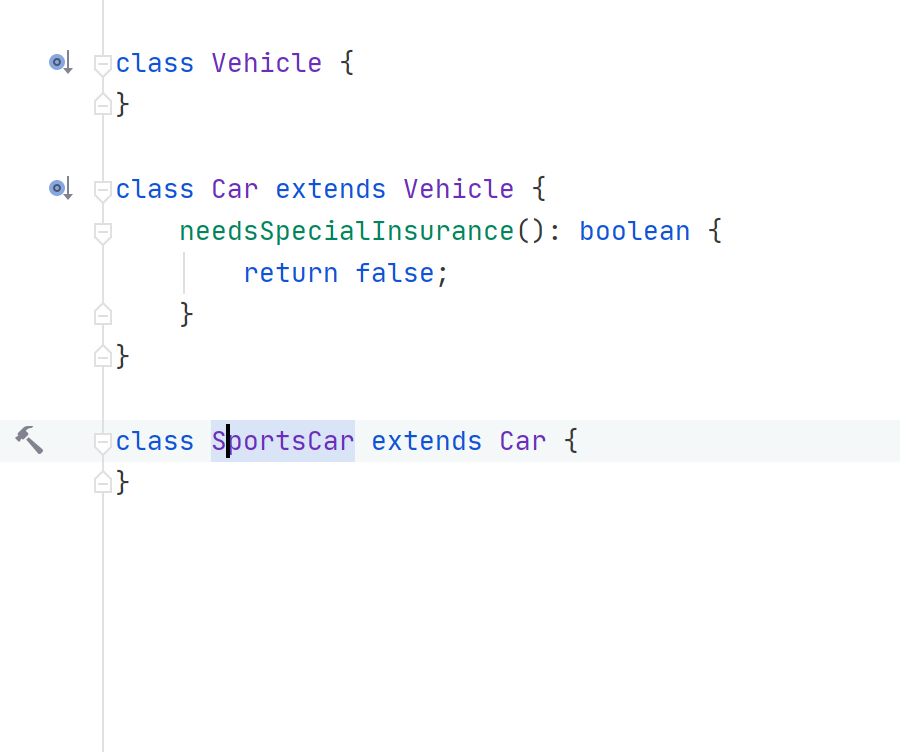
Polymorphism is a direct result of inheritance and can only occur within a hierarchy. That’s because polymorphic behavior relies on inheriting a property or method, then providing your own implementation for it. The implementation code is custom to the derived class. This is called overriding. There’s nothing special you need to do in TypeScript to override a method – just use it in the inherited class. To override a method, select Code | Override Methods from the menu, or press Alt+C,O,Enter.
When an instance of a derived class is created and its overridden members are called, those members in the derived class run, but may call code in the base class. Rider adds in the super calls to the base for you, as previously shown.
Encapsulation
Encapsulation is a way to manage data in an object-oriented system so that calling code properly accesses it. It’s often called “data hiding”, as some data is hidden within the class (private members) and other data is exposed to outside (public members) or inherited classes as necessary. The use of fields allows external callers to modify the data directly. This means that no business rules or verifying data accuracy happens. It’s more likely that you may need to enforce some business rules when those fields are accessed. In that case, fields should be converted to properties or methods.
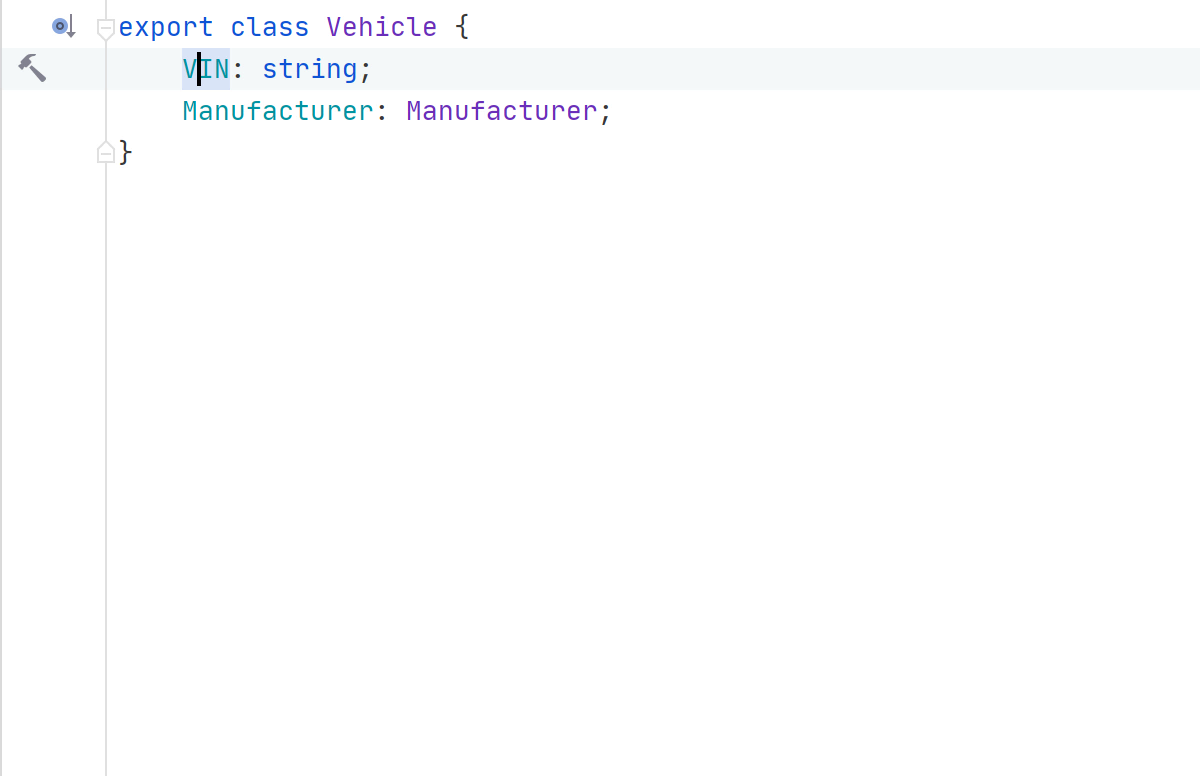
For example, if you wanted to set the manufacturer based on certain characters of the VIN property, create a getter/setter pair to do so. Use Alt+Enter to invoke code completion, then select Create Getter/Setter. Keep in mind that using only a getter makes the property read-only, and conversely, using only a setter makes it write-only.
Once you’ve designed your data model, the accessibility of each property is indicated by the access modifier: public, private, and protected. Public members are available to outside consumers of a class. Private members are only available to other members within the class in which they are declared. Protected members are available to the class and classes that inherit from it, but not classes that instantiate it. Using the previously mentioned Create Getter/Setter intention sets the appropriate access levels.
Abstraction
Abstraction involves identifying only the required characteristics of an object while ignoring the irrelevant details. It creates a separation of concerns between a class and any classes that derive from it. Generally, interfaces serve as a contract in code. Much like a real contract, it’s all or nothing. When you implement an interface, you must implement everything defined in that interface. This is great for setting up rules in code that multiple yet not necessarily related classes might adhere to.
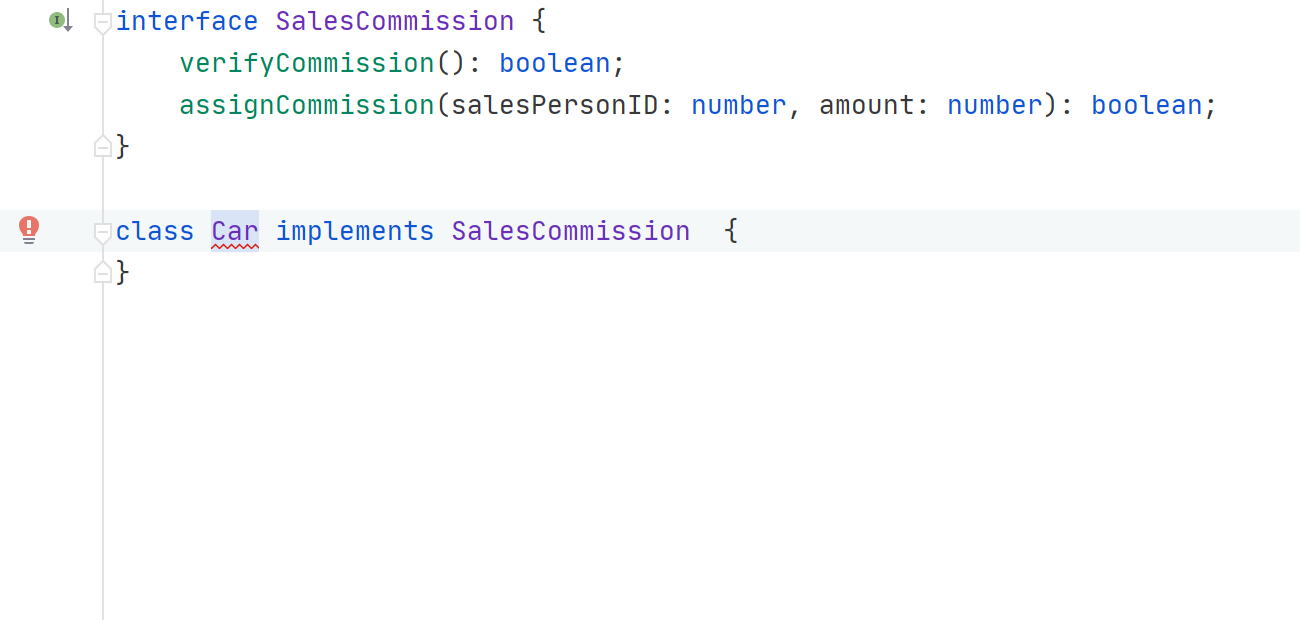
For example, salespeople receive commissions on everything they sell. The process of paying out a commission might entail verifying the amount, and then assigning it to the recipient. Rules about a commission can be defined in an interface. We achieve abstraction by inheriting from abstract classes or, in this case, implementing interfaces. In TypeScript the implements keyword is used to implement an interface. Rider automatically detects when you’ve marked a class to implement an interface but haven’t, and shows a warning that you must implement all members. Use Alt+Enter in Rider so that code completion automatically creates stubs for all interface members to be implemented.
Modifying object models
As you might expect, your model will change as business rules and app requirements change. This means you might need to refactor. Fortunately, Rider has got you covered! Rider has several refactorings for working with object models.
One common refactoring is realizing that members belong elsewhere in the object hierarchy. Using the Pull Members Up or Push Members Down refactorings, you can seamlessly move members to where they better fit. Use Ctrl+Shift+R/Shift-Cmd-R to invoke the Pull/Push Members refactoring.
Building systems using object-oriented techniques? Download Rider today and let us know how it goes!