.NET Tools
Essential productivity kit for .NET and game developers
Scaffolding for ASP.NET Core projects comes to Rider 2021.1
In the Rider 2021.1 Early Access Program (EAP) builds, we’re bringing you…. Scaffolding! Scaffolding makes development using ASP.NET MVC, ASP.NET Web API, or Razor Pages faster and more smooth. Let’s take a look at how the new scaffolding feature in Rider helps you create MVC Controllers, Razor pages, Entity Framework "CRUD", and pages and views for Identity.
ASP.NET MVC Scaffolding
ASP.NET MVC is a convention and pattern based framework. So tools such as scaffolding use those patterns and conventions to allow you to create controllers and views for your project.
Areas in ASP.NET MVC are a way to group related functionality together. Doing this allows views or Razor Pages to share a common folder structure and namespace for routing. To scaffold an MVC Area, right-click anywhere in the project and choose New Scaffolded Item. Enter the name for your area then select MVC Area. The new area will be created under the Areas folder. If the Areas folder didn’t previously exist, the tool creates it.
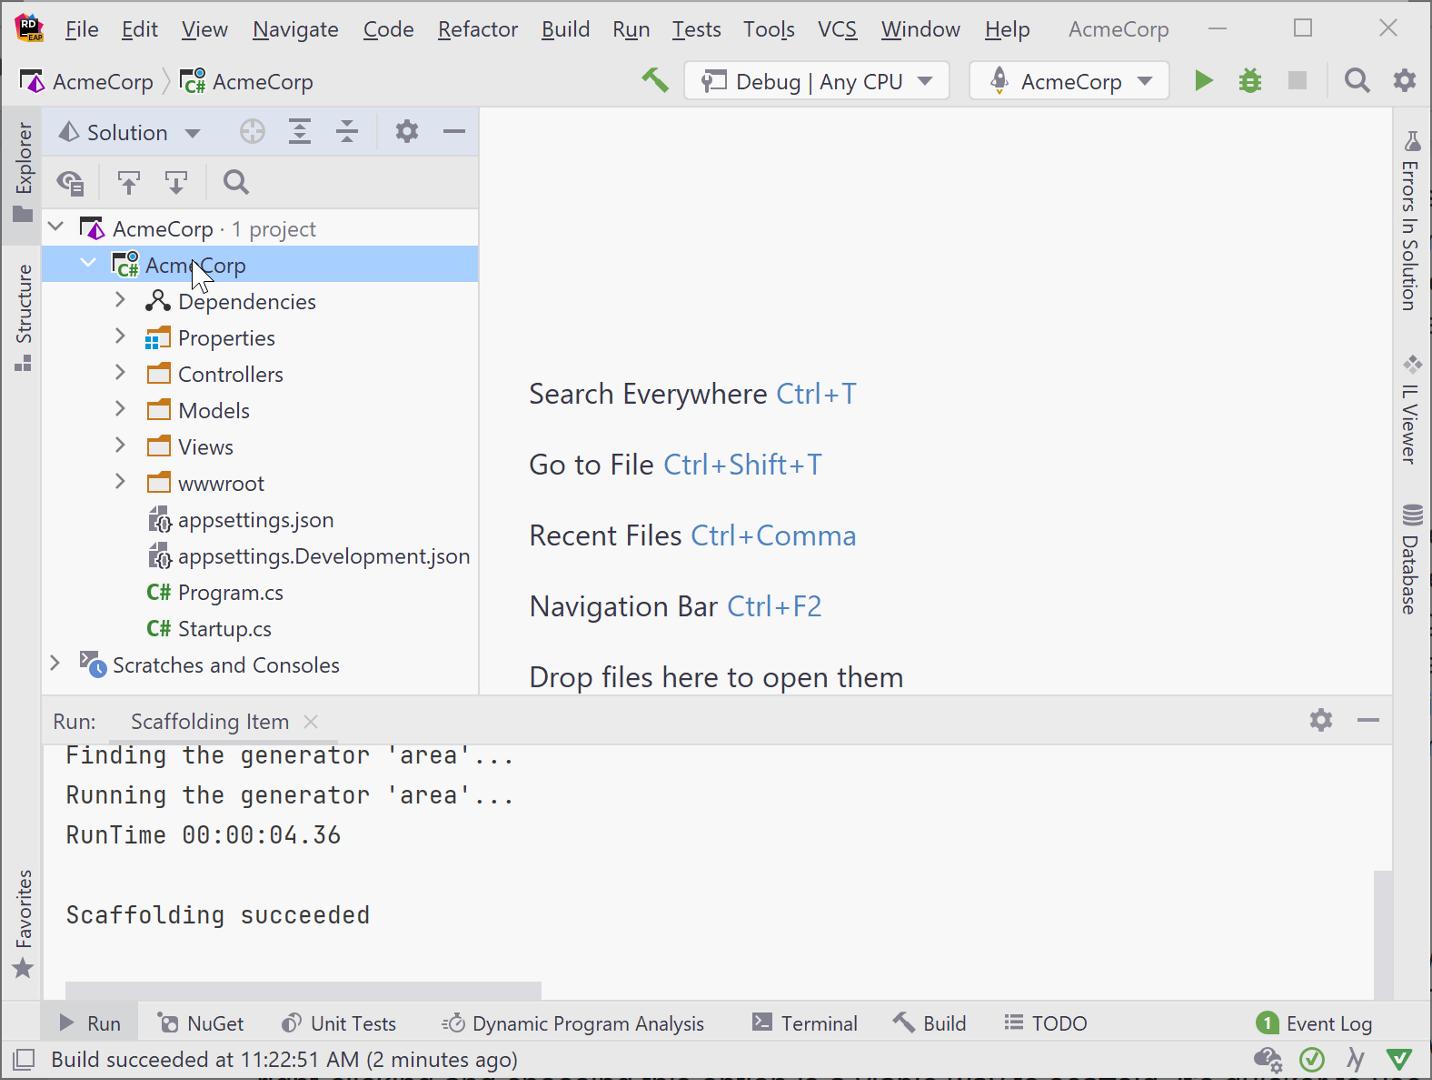
There are multiple options for creating MVC Controllers. Sometimes a controller needs to return only JSON or XML, or has another purpose. In this case, use the MVC Controller – Empty scaffold option. This scaffolded item contains a Controller class and an Index action method stub, and that’s all. It’s great to start off with some boilerplate controller code.
The MVC Controller with read/write actions produces the same scaffolded output as the MVC Controller – Empty scaffold option, plus method stubs for all read/write actions, including methods for GET and POST requests.
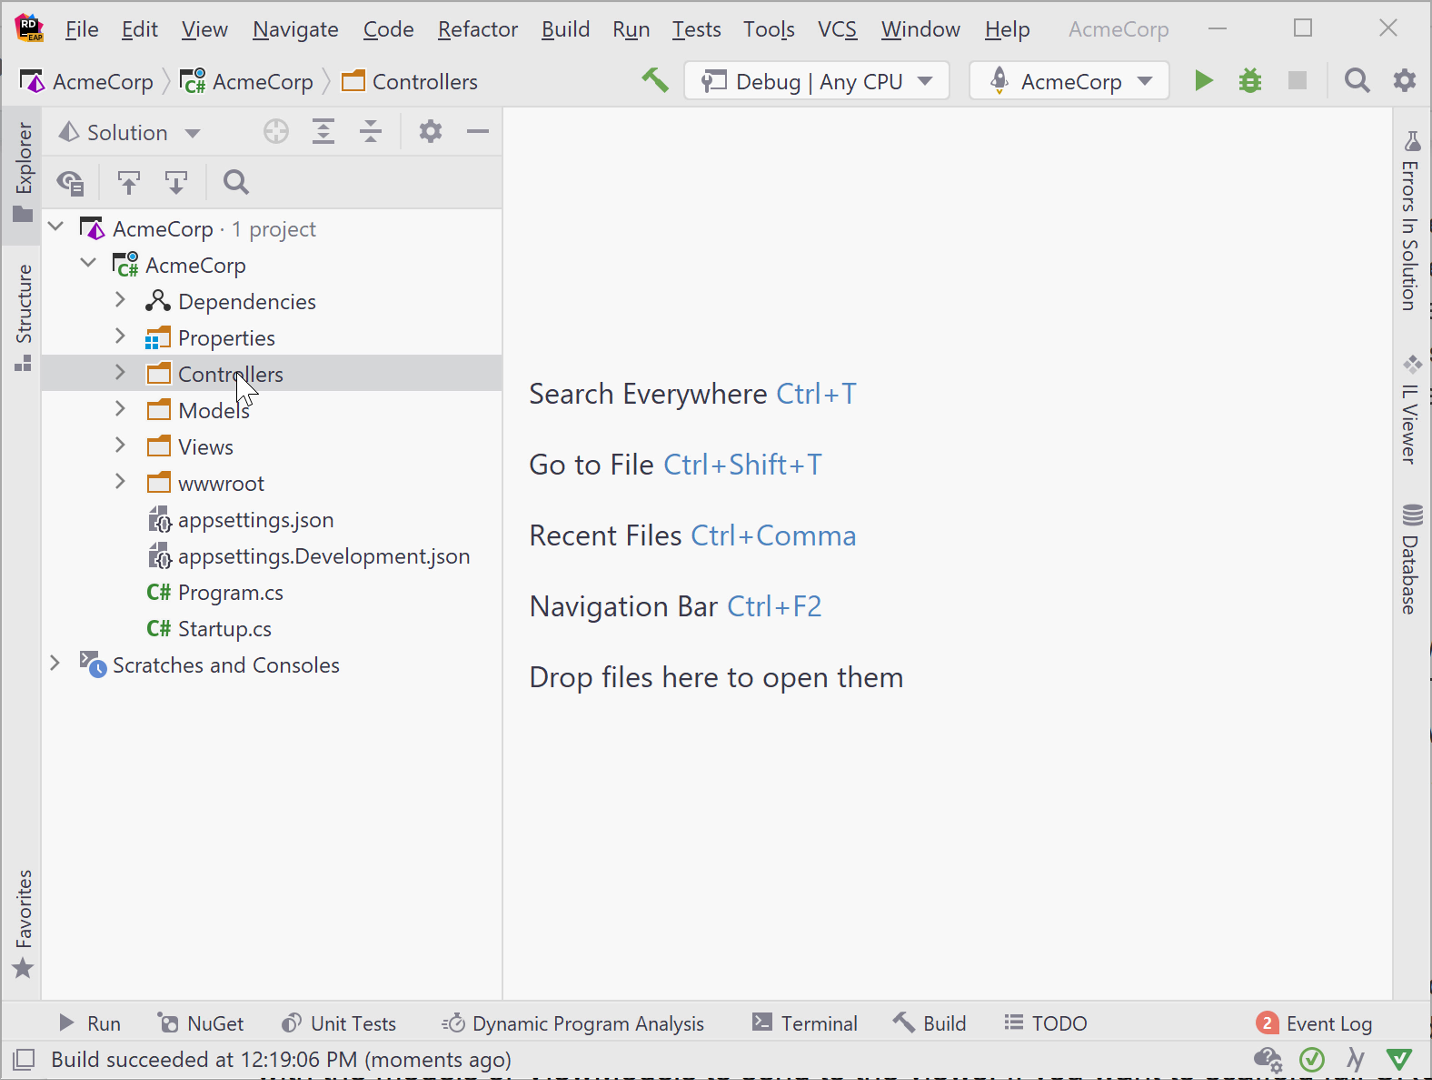
Because no views are created by the MVC Controller – empty and MVC Controller with read/write actions, you can scaffold those views individually from the controller. Rider notifies that the view doesn’t yet exist with a red lightbulb indicator. Place the cursoron the return View(); statement and press Alt+Enter to launch Rider’s Create Razor views intention.
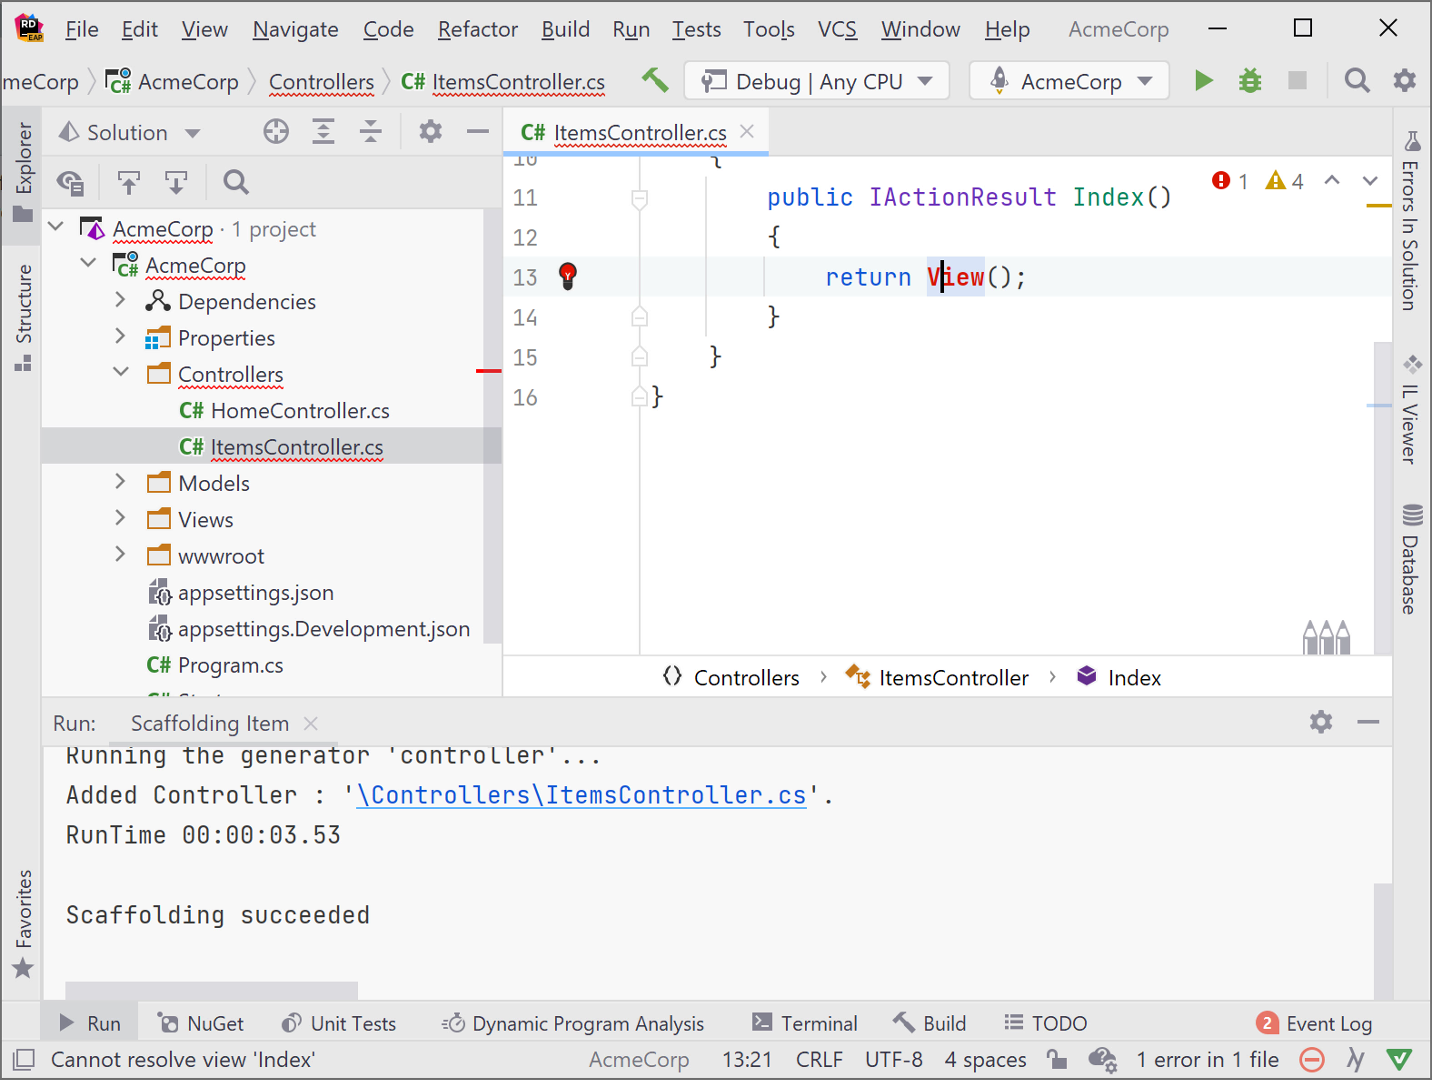
To scaffold full CRUD operations including UI components, use the MVC Controller with views, using Entity Framework scaffolding option. This creates everything you need for CRUD operations on a controller, including the controller itself with all the CRUD action methods (GET, POST, PUT), plus their associated views.

ASP.NET Web API Scaffolding
As part of this release, Rider contains several API scaffolding options as well. For standard APIs that return JSON, the API Controller – Empty or API Controller with read/write actions will get you started with a template for your API. The API Controller – Empty produces only a Controller class with attributes. This is the least amount of code possible, as shown here:
[Route("api/[controller]")]
[ApiController]
public class ApiEmptyController : ControllerBase { }
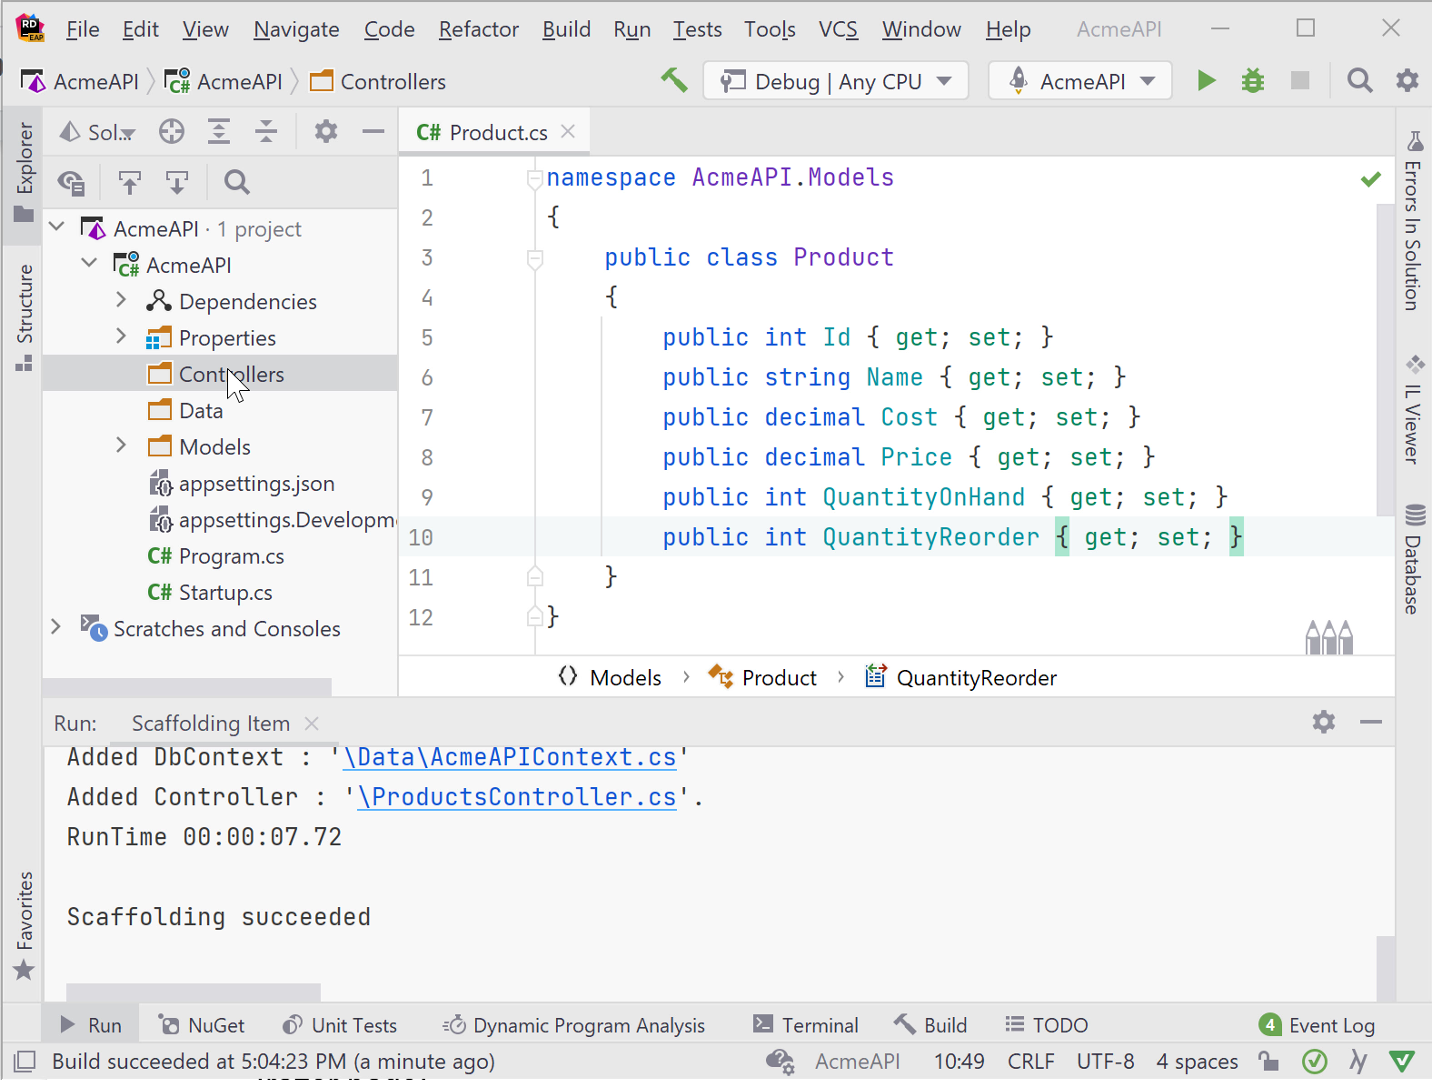
If you need a little more code, the API Controller with read/write actions generates the skeleton code for GET, POST, and PUT operations for an API. It is the same basic output as the MVC Controller with read/write actions. The API Controller with views, using Entity Framework creates an API controller with full CRUD operations matching the GET, POST, and PUT HTTP methods, but it creates no views.
Razor Pages Scaffolding
Razor Pages is an alternative ASP.NET framework that is similar to MVC. Instead of relying on controllers and the MVC pattern, Razor Pages have a .cshtml page and associated .cshtml.cs page containing a PageModel class. The PageModel class contains code that connects to services and helps to render the page. The scaffolding options for Razor Pages are similar to that of MVC views.
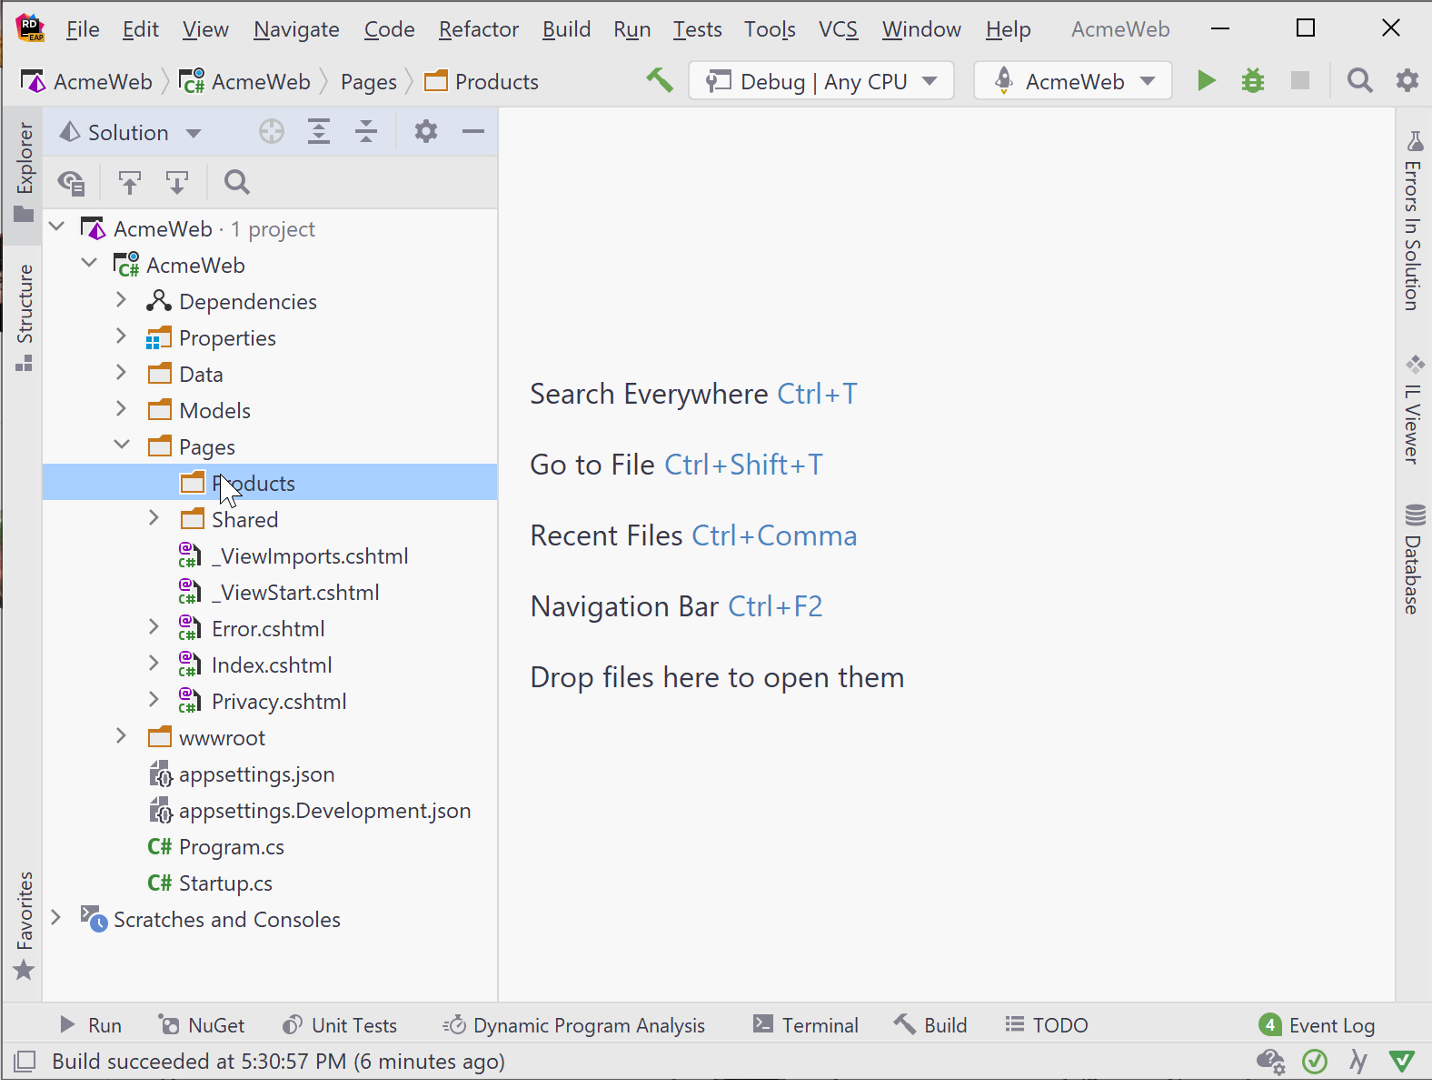
To create a simple Razor Page with or without a model, right-click and select the Razor Page scaffold option. Be sure to place the cursor on the appropriate folder, most often Pages\SubFolder, because scaffolding creates the page where you right-click. The scaffolding generates both the .cshtml and .cshtml.cs files.
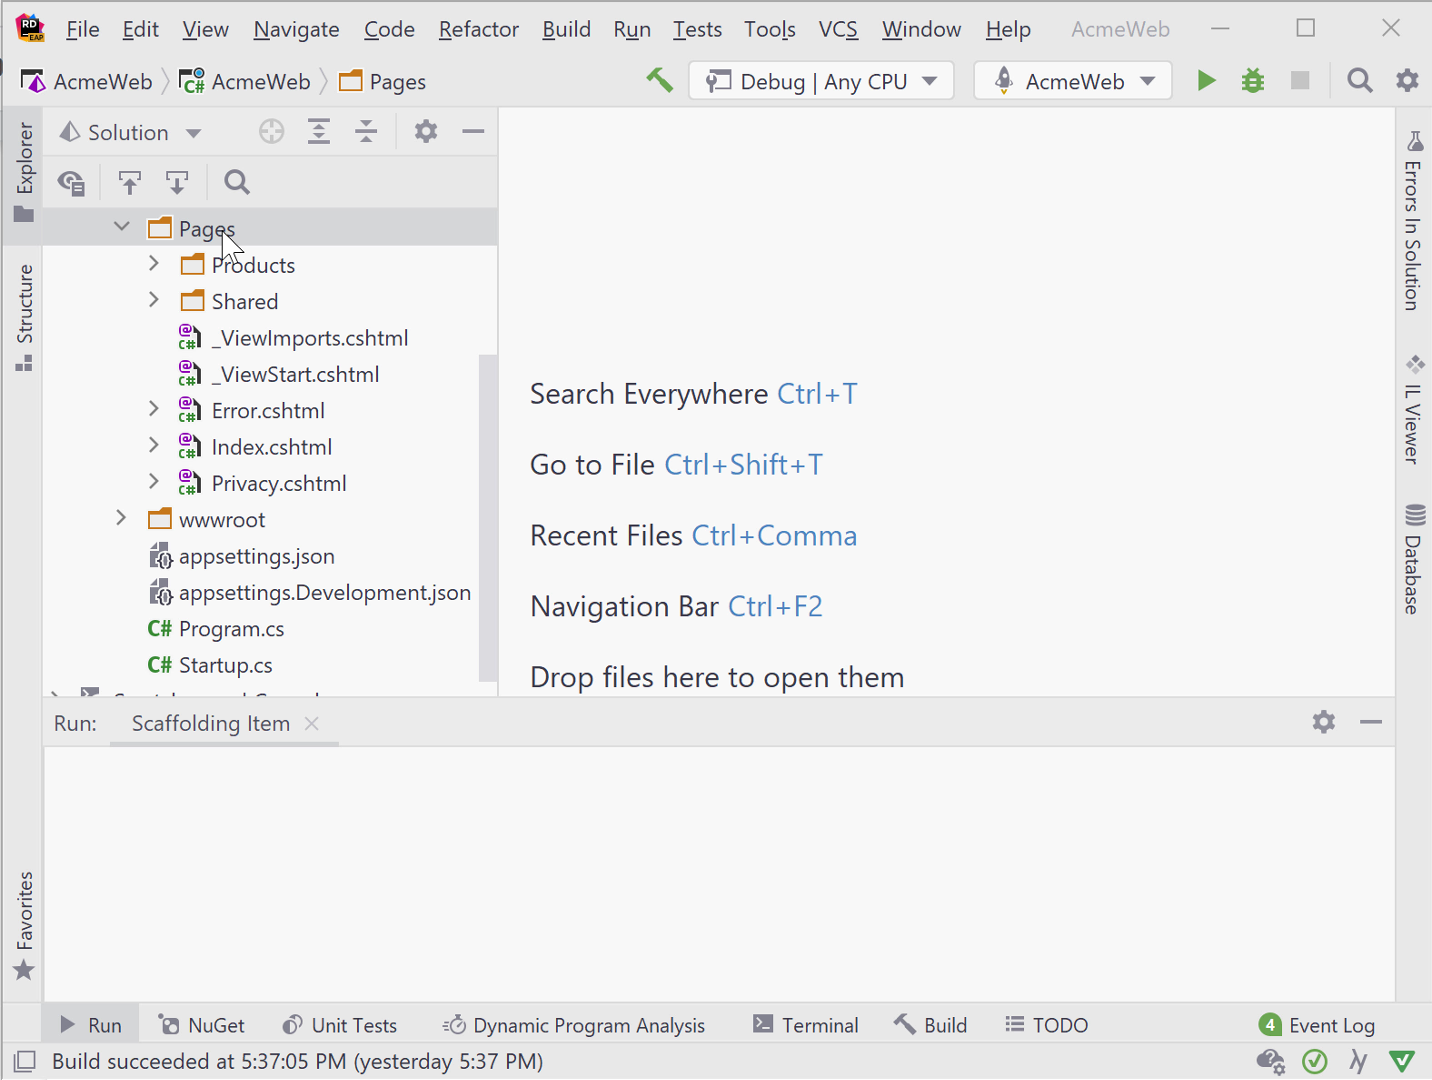
For Razor Pages that connect to a database and have CRUD actions, Rider offers two scaffolding options: Razor Page using Entity Framework and Razor Page using Entity Framework (CRUD).
Both options are the same, except that the Razor Page using Entity Framework option only generates a single Razor Page. The Razor Page using Entity Framework (CRUD) option creates the full set of CRUD pages – Create, Details, Delete, Edit, and Index. Don’t forget to create the corresponding folder first for these Razor Pages, then right-click on that folder so the pages are in the correct location.
Identity Scaffolding
Rider now has ASP.NET Core Identity scaffolding, so that you can use point-and-click tools to create all the assets necessary for securing your ASP.NET applications. With ASP.NET Core Identity, users of your apps can manage logins, passwords, profile data, roles, claims, tokens, and email confirmations. Identity scaffolding works in every kind of ASP.NET app – ASP.NET MVC, Razor Pages, ASP.NET Web API, and Blazor.
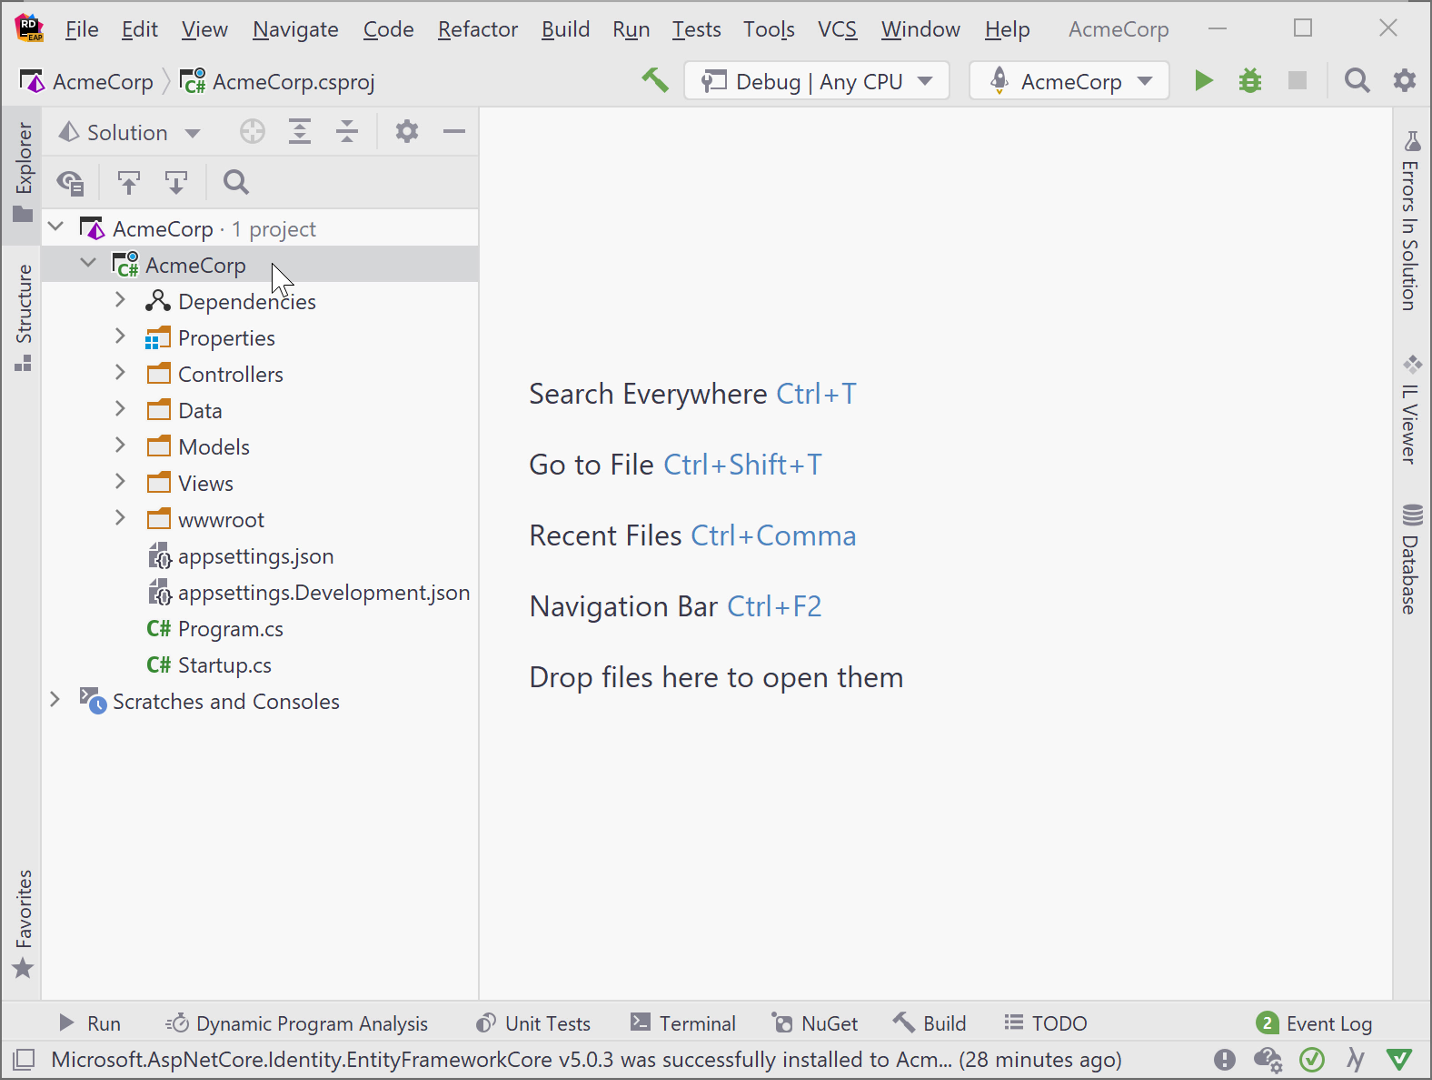
You’ll need a DbContext that inherits from Microsoft.AspNetCore.Identity.EntityFrameworkCore.IdentityDbContext defined in your project so that scaffolding creates assets that work specifically with ASP.NET Core Identity. The scaffolder creates an Areas folder with pages related to logins, as well as subfolders for account management.
Behind the scenes
Rider uses dotnet aspnet-codegenerator behind the scenes. So if you prefer the keyboard, you can alternatively run these scaffolding commands from Rider’s Terminal Window or an OS terminal/command prompt.
Summary
Tools such as scaffolding help developers generate boilerplate code more quickly and efficiently than if created by hand, and Rider now supports this out of the box! Download Rider, give it a try, and let us know what you think!
Subscribe to a monthly digest curated from the .NET Tools blog:


