.NET Tools
Essential productivity kit for .NET and game developers
Level Up with Live Templates in JetBrains Rider

Let’s face it. There are parts of programming that are tedious and repetitive. JetBrains products help reduce boilerplate by offering generalized quick fixes and templates that benefit the most developers. That said, you’re likely to have unique code structures and patterns for your projects that only you and your team utilize.
Wouldn’t it be great to create a set of specialized templates for you and your team to use throughout the development of your applications? Well, with live templates, you can do just that.
This post will show you how to create a new live template with placeholder variables and share the templates with other project members.
What is a live template?
A live template is a block of code that you can expand into commonly-used constructs such as loops, conditions, declarations, or statements. In the context of JetBrains IDEs, live templates have a key associated with them to make expanding them memorable and accessible.
Additionally, live templates fall into two categories: Simple templates and Parameterized templates.
Simple templates contain only fixed plain text and are used to reduce keystrokes in generating boilerplate. Parameterized templates include variables that enable a secondary step of replacing input fields with calculated values based on file-type context or having you specify values manually.
All live templates can be limited to a specific context using categories like language or file extension. This flexibility ensures live templates are only available when and where you want them.
Create a new live template
For this example, you’ll author a new “rec” live template, allowing you to create a record definition and set the name. This template will only be available in a C# context.
First, open JetBrains Rider’s settings and navigate to Editor | Live Templates | C#. Here, you’ll see all the existing live templates.
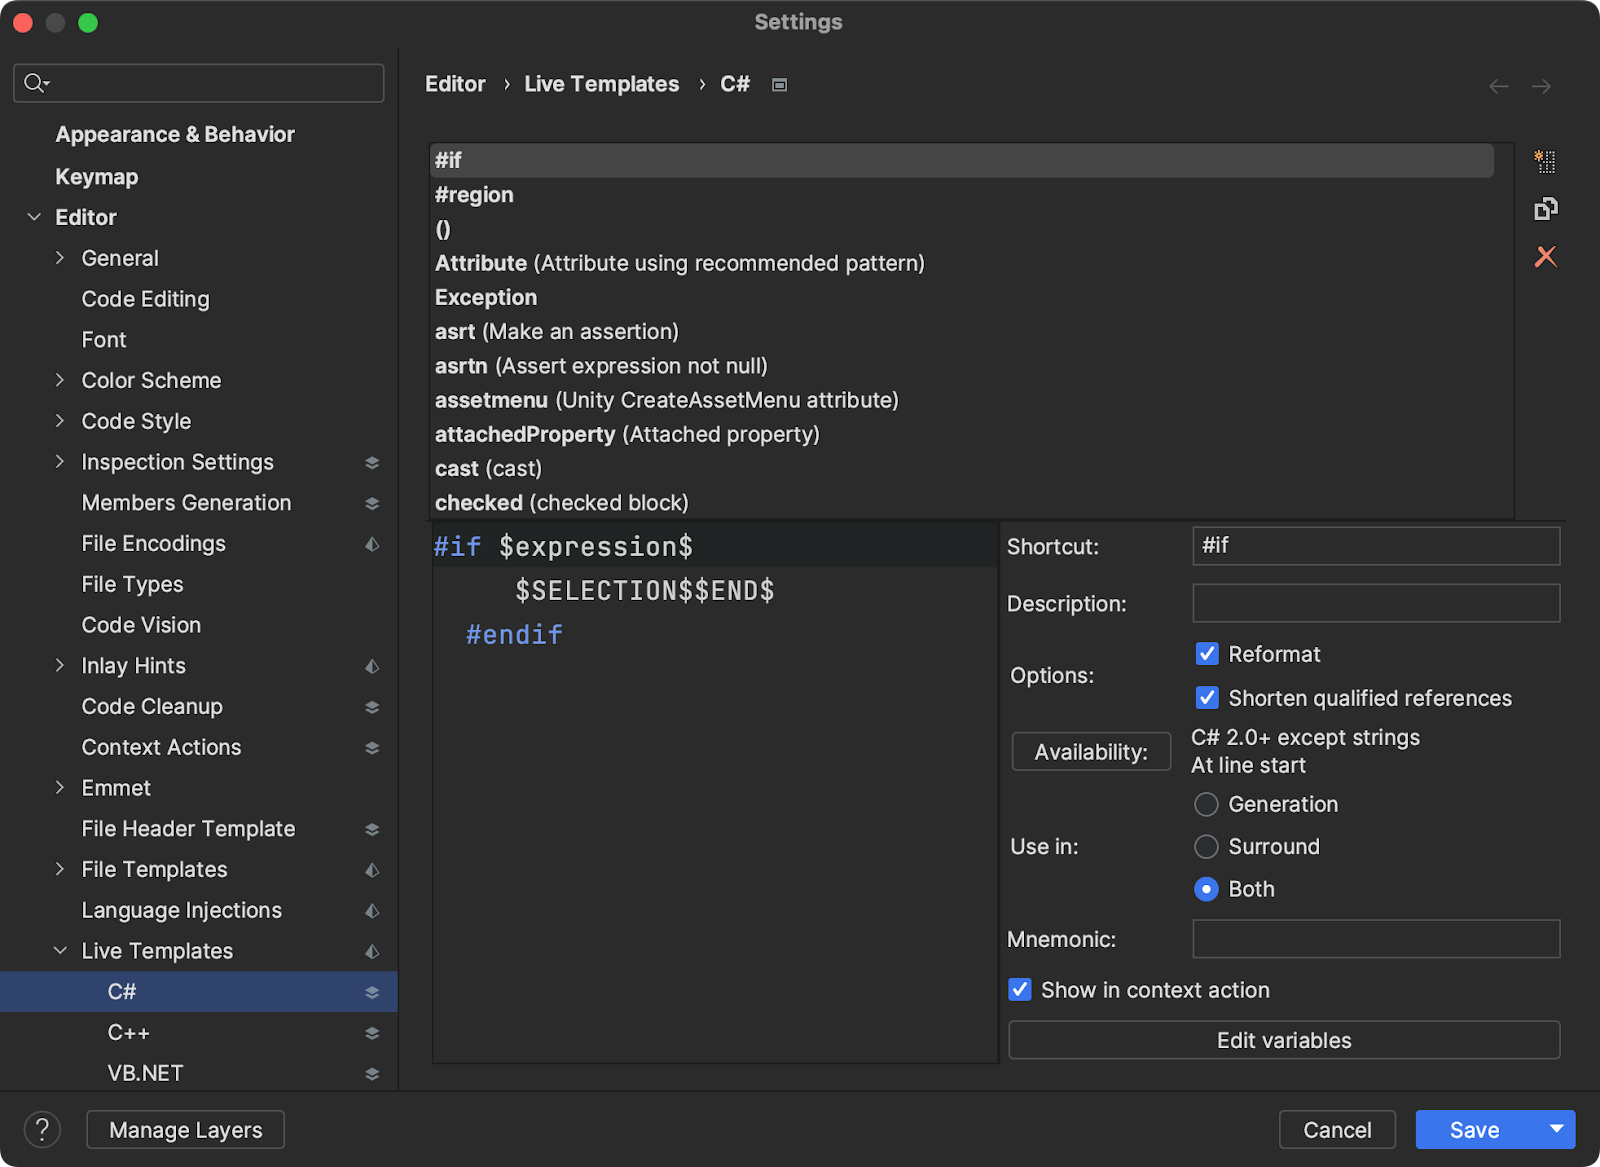
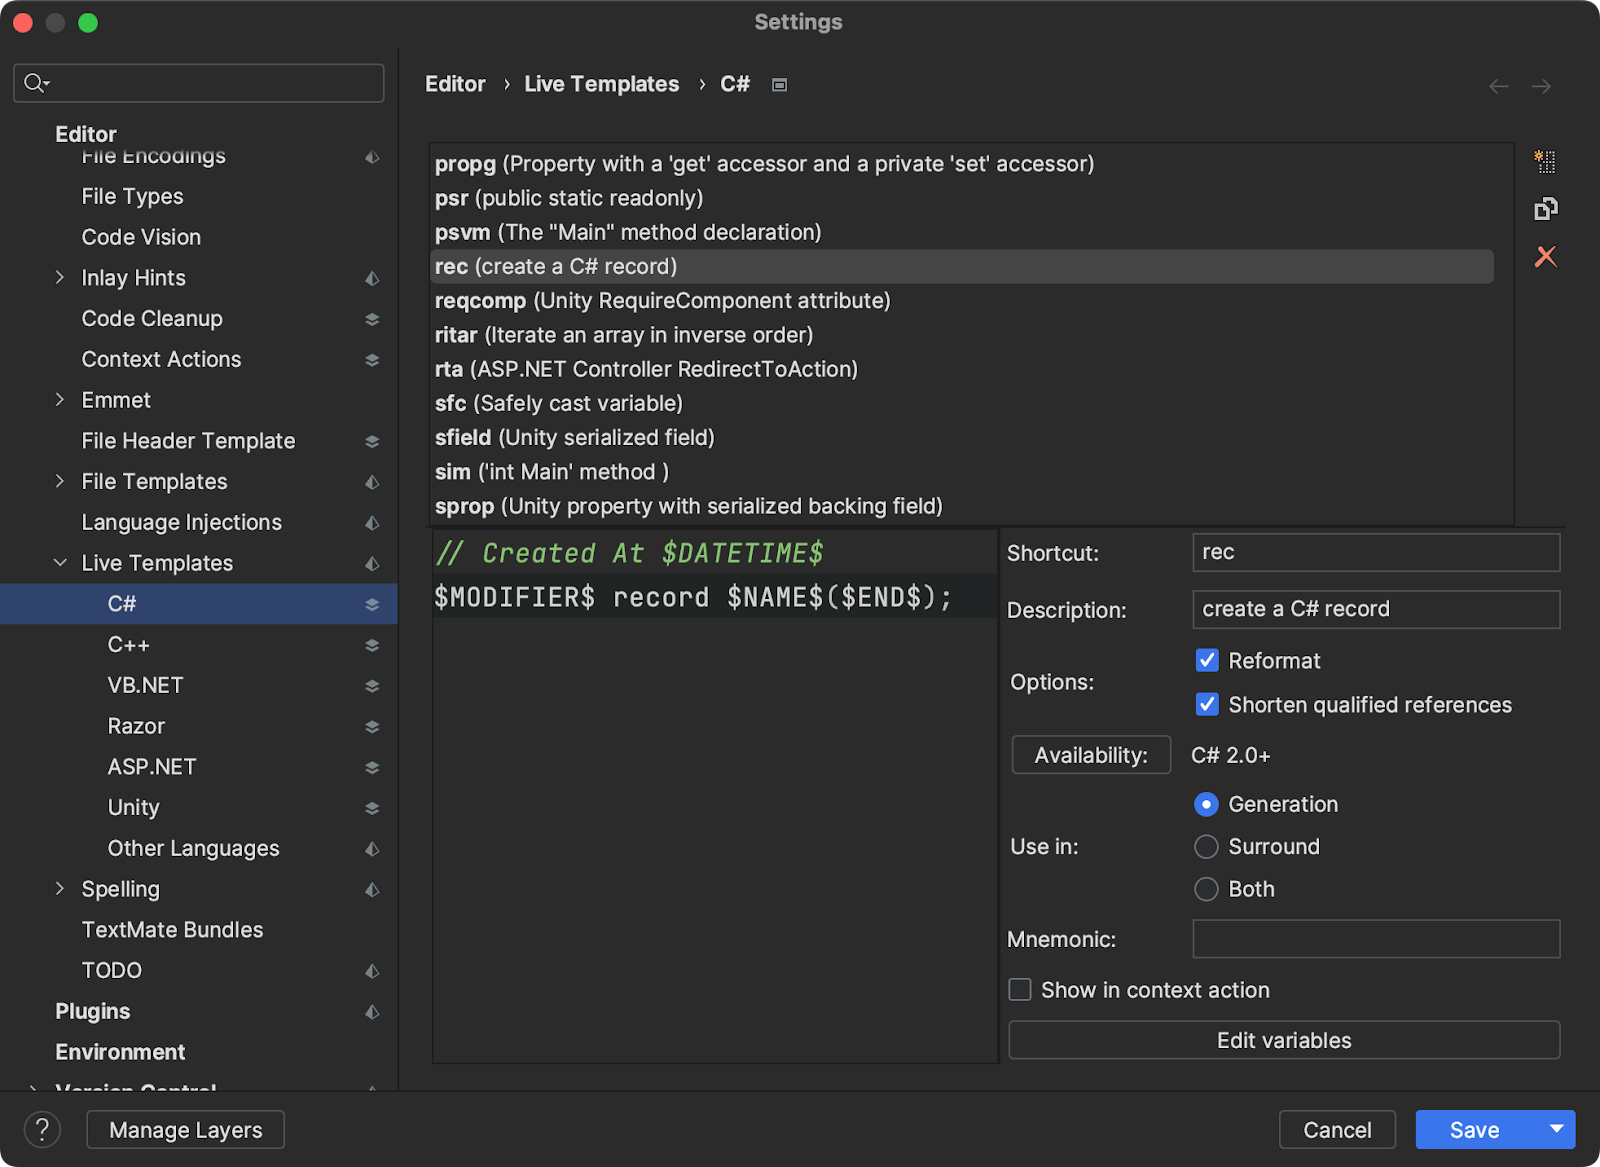
Click the New Template button on the top right-hand side, next to the list of existing templates. You’ll want to change the following values of Shortcut to “rec” and Description to “create a C# record” while leaving all other settings on their default.
You’ll also want the following template on the left-hand side.
// Created At $DATETIME$
$MODIFIER$ record $NAME$($END$);
Once you’ve pasted the template, let’s change the macros for each placeholder by clicking the Edit variables button on the bottom right. Be sure to match the following order and settings below.
| Placeholder | Editable | Description |
$DATETIME$ | Unchecked | Current date and time in specified format |
$MODIFIER$ | Checked | Execute basic completion |
$NAME$ | Checked | No macro selected |
These template variables can be used in your live template and will be either populated automatically or serve as a placeholder that you can Tab ⇥ into when using your live template later on.
You’ll notice $END$ is not in the list of variables. That’s because $END$ is a reserved variable that indicates the final place for your cursor.
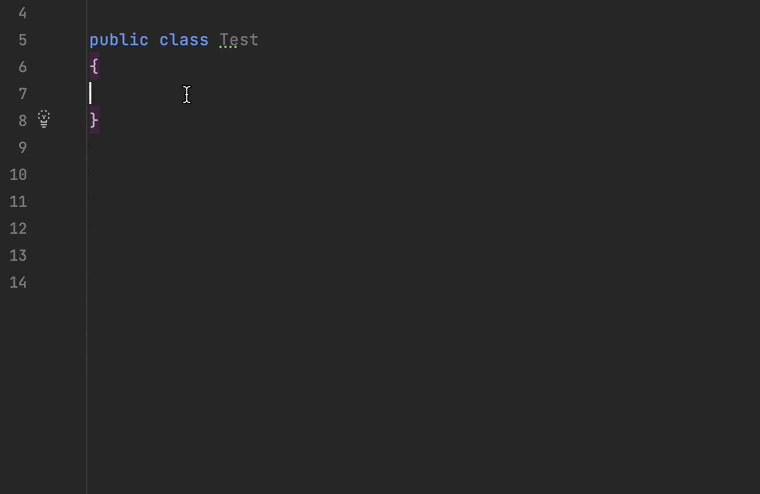
Now we can start using our new live template! In a C# file, start typing “rec”, and you’ll see the live template you created, at which point you can press enter to start expanding the template. Check out the video below to see it in action.
Sharing live templates
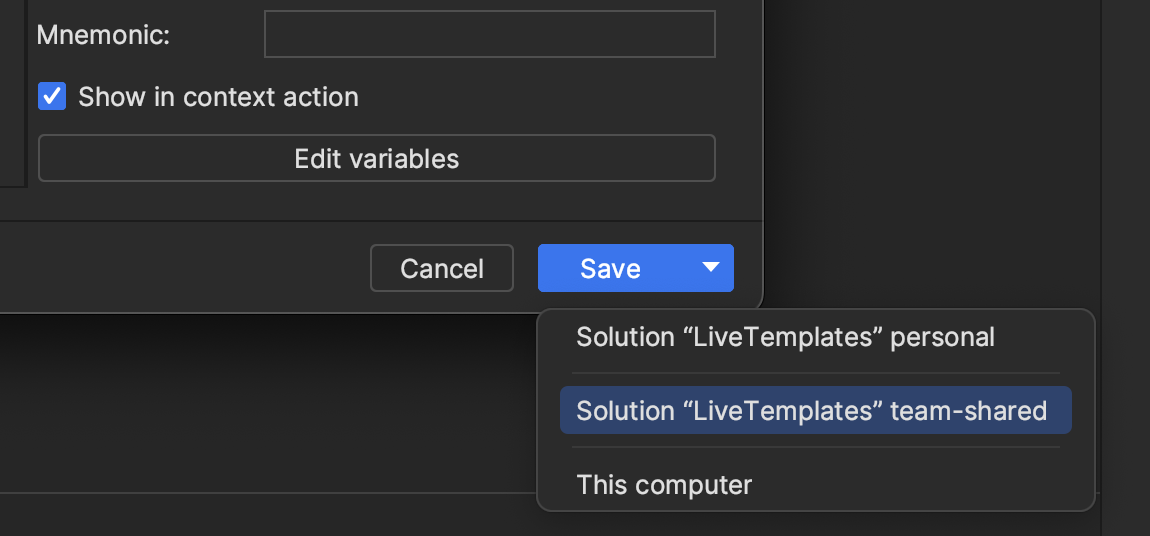
Live templates can be shared with other team members using JetBrains Rider’s layer-based settings. Follow the same steps you used in the previous section, but before clicking the save button, be sure to use the dropdown to select the team-shared option, which will save your newly created live template to a <SolutionName>.sln.DotSettings file at the root of your solution.
If you don’t see your live template content in the .DotSettings file, try deleting the live template and recreating it again. JetBrains Rider will only save differences between personal and team-shared environments. Be sure to check in the .DotSettings file into source control to share the template with team members.
Conclusion
Live templates are a powerful feature of JetBrains Rider, and while you’ve likely used our templates, you’ve probably never created your own. Live templates allow you to share knowledge across teams. You can also use them personally to improve webinars and live demos by cutting out all that unnecessary typing. We hope this short tutorial gives you the courage to try and experiment with live templates and the idea of sharing them with team members.
Please comment below if you have any live templates you’d like to share.
References
- Live Templates: https://www.jetbrains.com/help/rider/Using_Live_Templates.html
- Layer-based settings: https://www.jetbrains.com/help/rider/Sharing_Configuration_Options.html
- Live template variables: https://www.jetbrains.com/help/rider/template_variables.html#predefined_functions
Image Credit: Thomas Despeyroux