

.NET Tools
Essential productivity kit for .NET and game developers
Project templates in Rider 2017.3

Since the first Rider 2017.3 EAP build a few weeks back, we’ve made a number of incremental changes and improvements to project templates in Rider.
When creating a new solution or project, Rider gives us a number of templates by default:
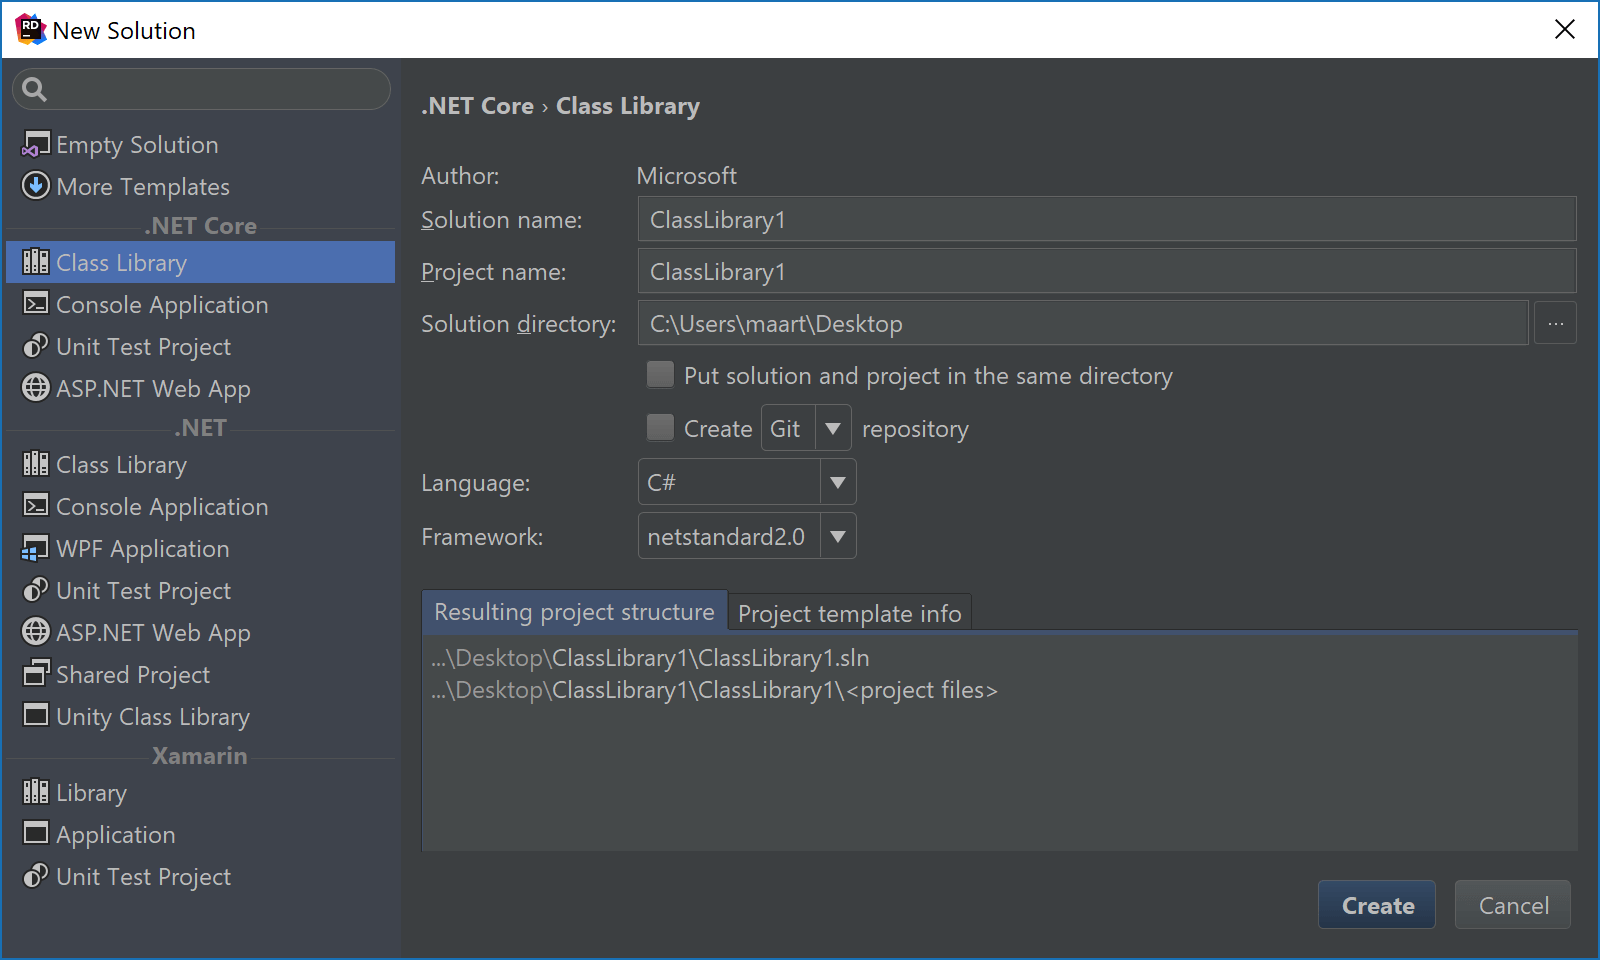
Instead of grouping templates by language, Rider now groups project templates by framework. This reduces the length of the list of project templates and makes it easier to find what we are after. Rider comes with templates for .NET, .NET Core (if installed on our system) and Xamarin. For every framework, we can specify a series of options:
- Solution/project name and folder
- An option to create a Git or Mercurial repository
- The language to use — many templates support C#, VB.NET and/or F#
- The target framework that will be used — anything from .NET 3.5 to .NET 4.7,
netstandard2.0,netcoreapp2.0, … Note that for a framework to be available from this list, it has to be installed on our system. - For Unity and Xamarin, several other options can be provided as well, for example the path to
UnityEngine.dll, the target platform (Android or iOS), the type of app (blank, Android Wear, …) Note that these options, too, depend on available frameworks on our system, such as the MonoAndroid versions installed.
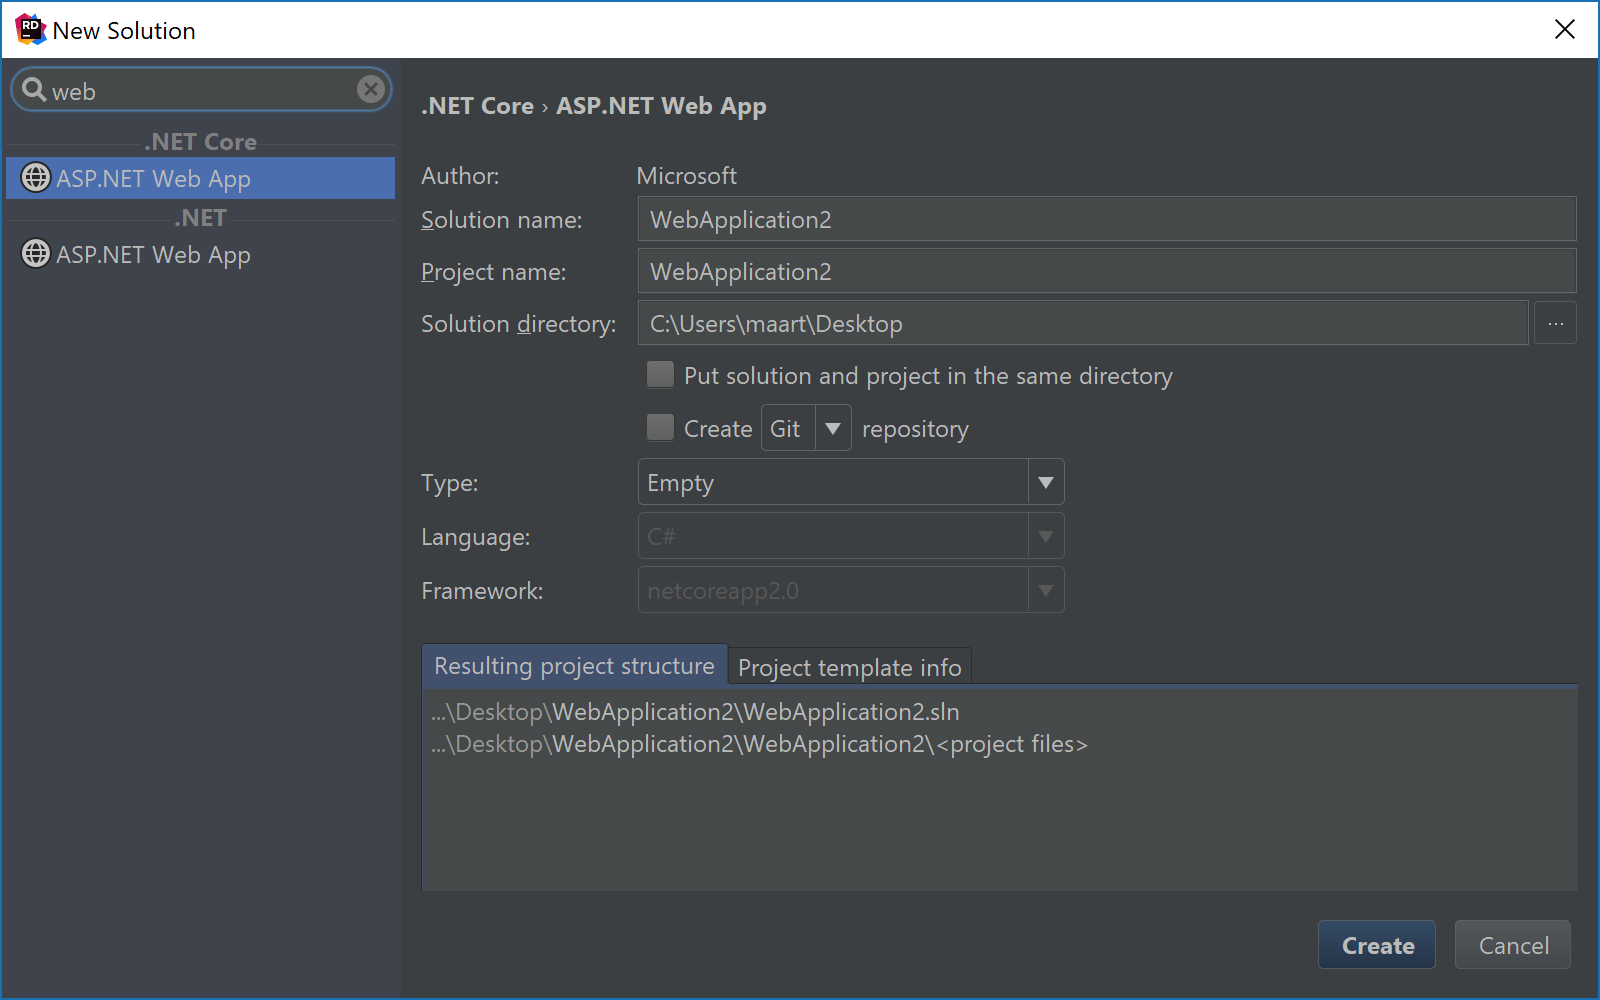
The New Project window is now also searchable. For example we can search for a type of application, or an available programming language. Rider will filter the list for us:
Installing additional project templates
Earlier versions of Rider already made it possible to install additional project templates, however this was kind of cumbersome one needed to create a plugin. With Rider 2017.3, installing additional project templates is easy! We now leverage the template system that is used by the .NET tooling dotnet new.
The dotnet new command makes use of special NuGet packages to distribute project templates, making it very straightforward to create and share them. Lots of projects already have published project templates to the dotnet templates gallery: Akka.NET, Cake build, Microsoft Azure IoT, IdentityServer, NancyFX, NServiceBus, Auth0, Fable, …
Installing additional templates using dotnet new
The easiest way to install a template is by using the dotnet command line and invoking the install command that is shown in the dotnet templates gallery. Let’s add the IdentityServer4 templates to Rider – by invoking dotnet new --install "IdentityServer4.Templates".
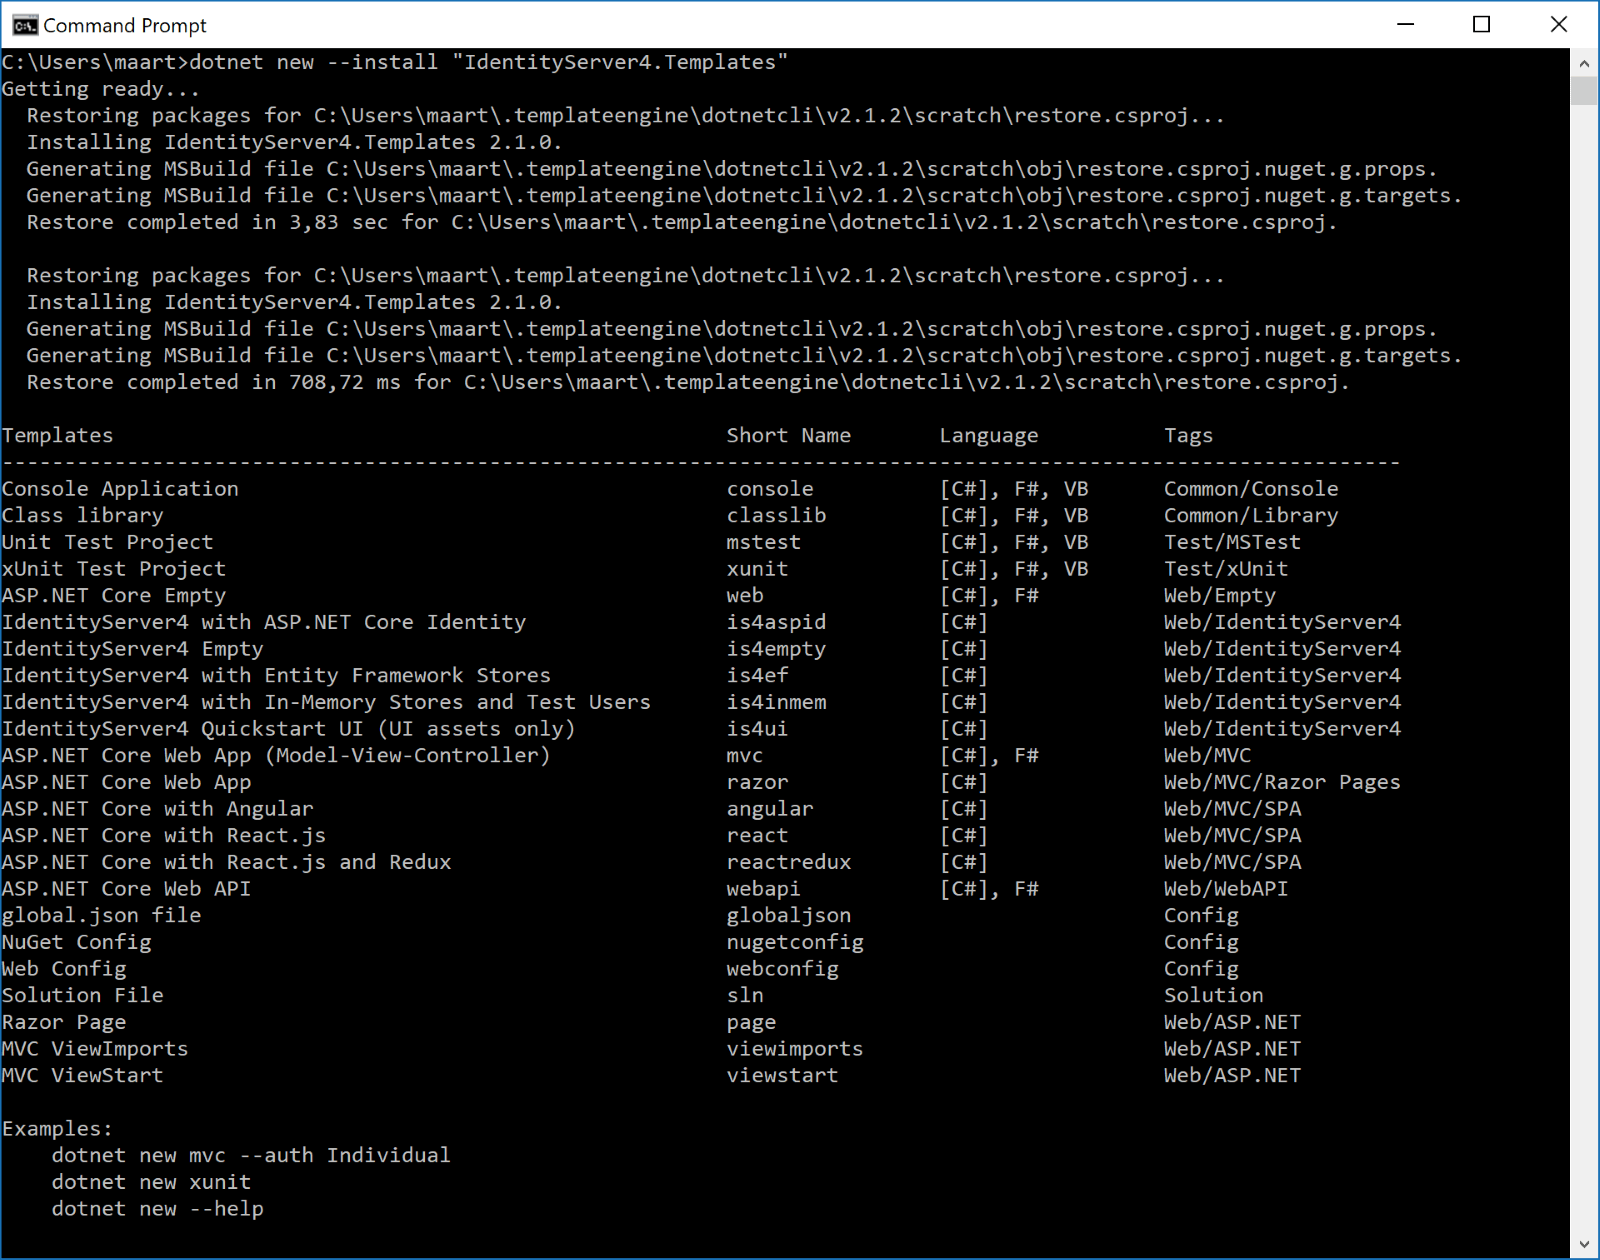
Once finished, .NET will display a list of all available templates that we can use from the command line. When re-opening the Rider new solution/new project menu, we will also see the newly installed templates are now available to work with:
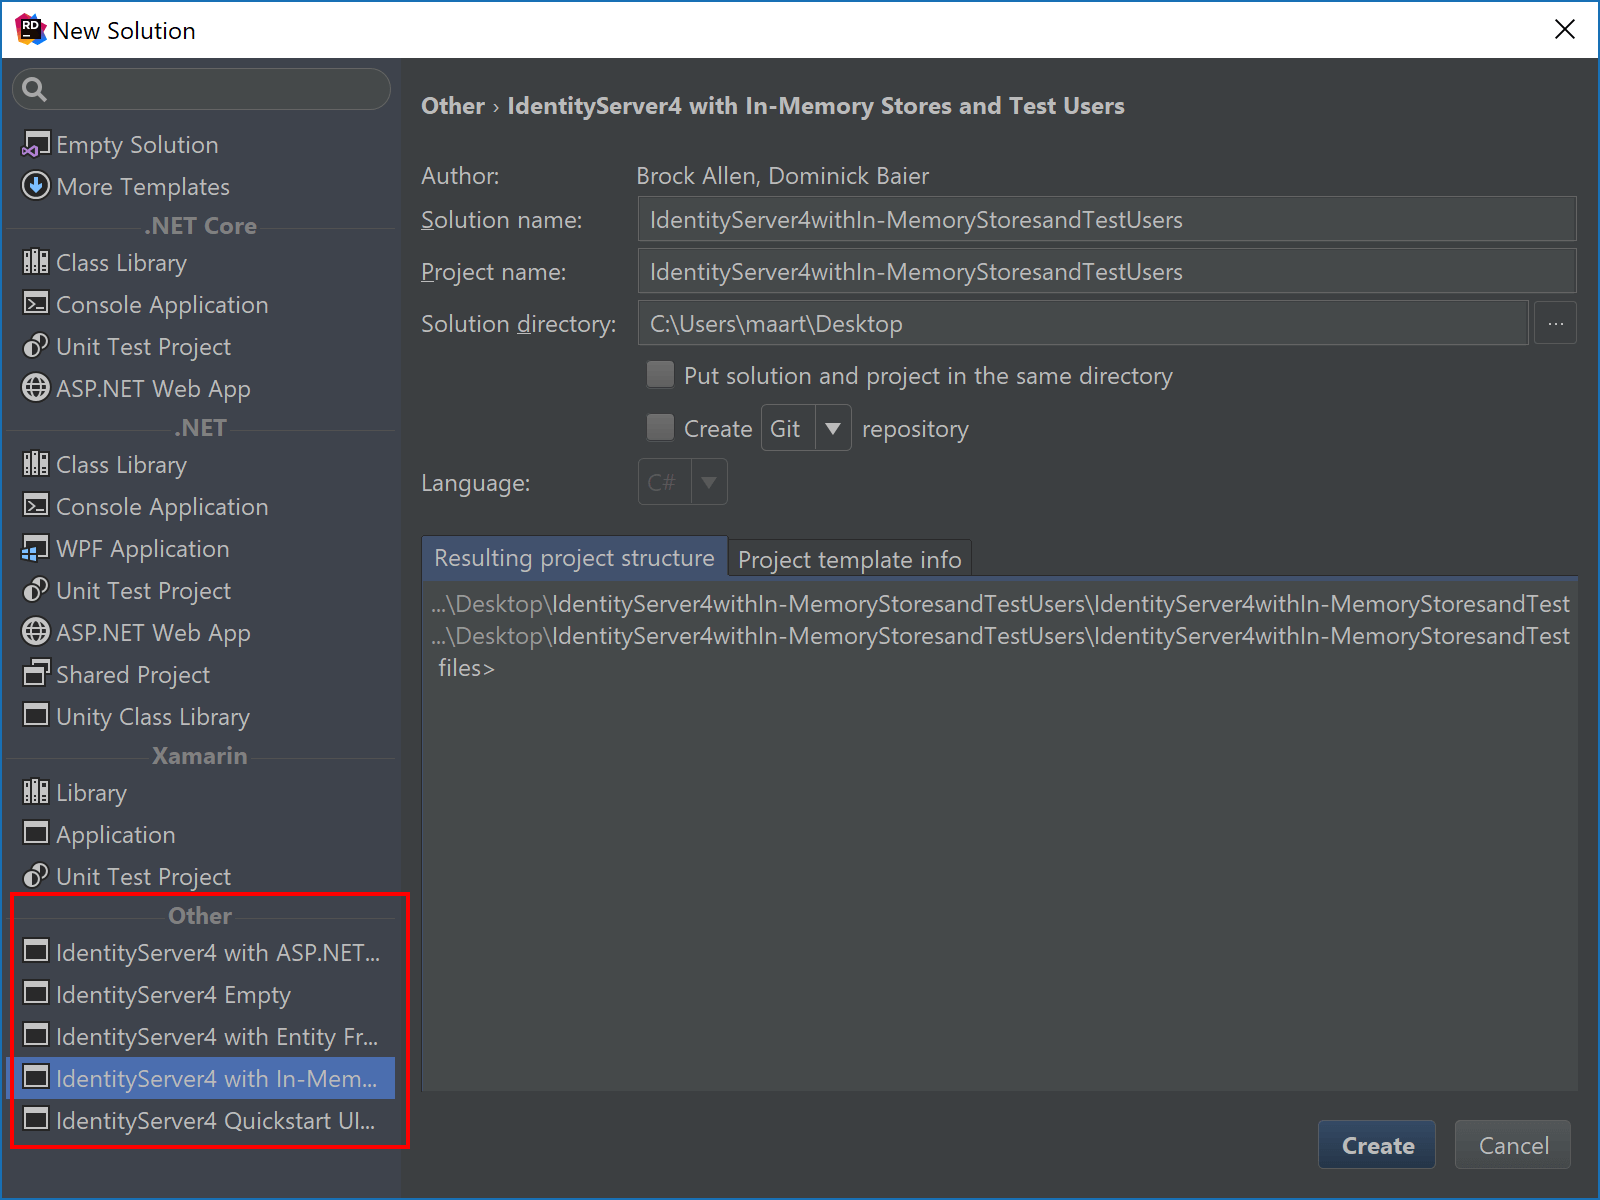
Note that the option to select the project language (C#, VB.NET or F#) depends on the languages that are supported by the project template.
Installing additional templates from the Rider UI
Custom project templates can also be installed from the Rider UI. This makes it easier to test templates you are creating (learn more about creating custom templates), or to install templates that are not available publicly.
As an example, I created an Async Main Console application (.nupkg file) project template, which comes with a C# 7 async main method as the default application entry point. From the More Templates tab, we can install or remove custom templates.
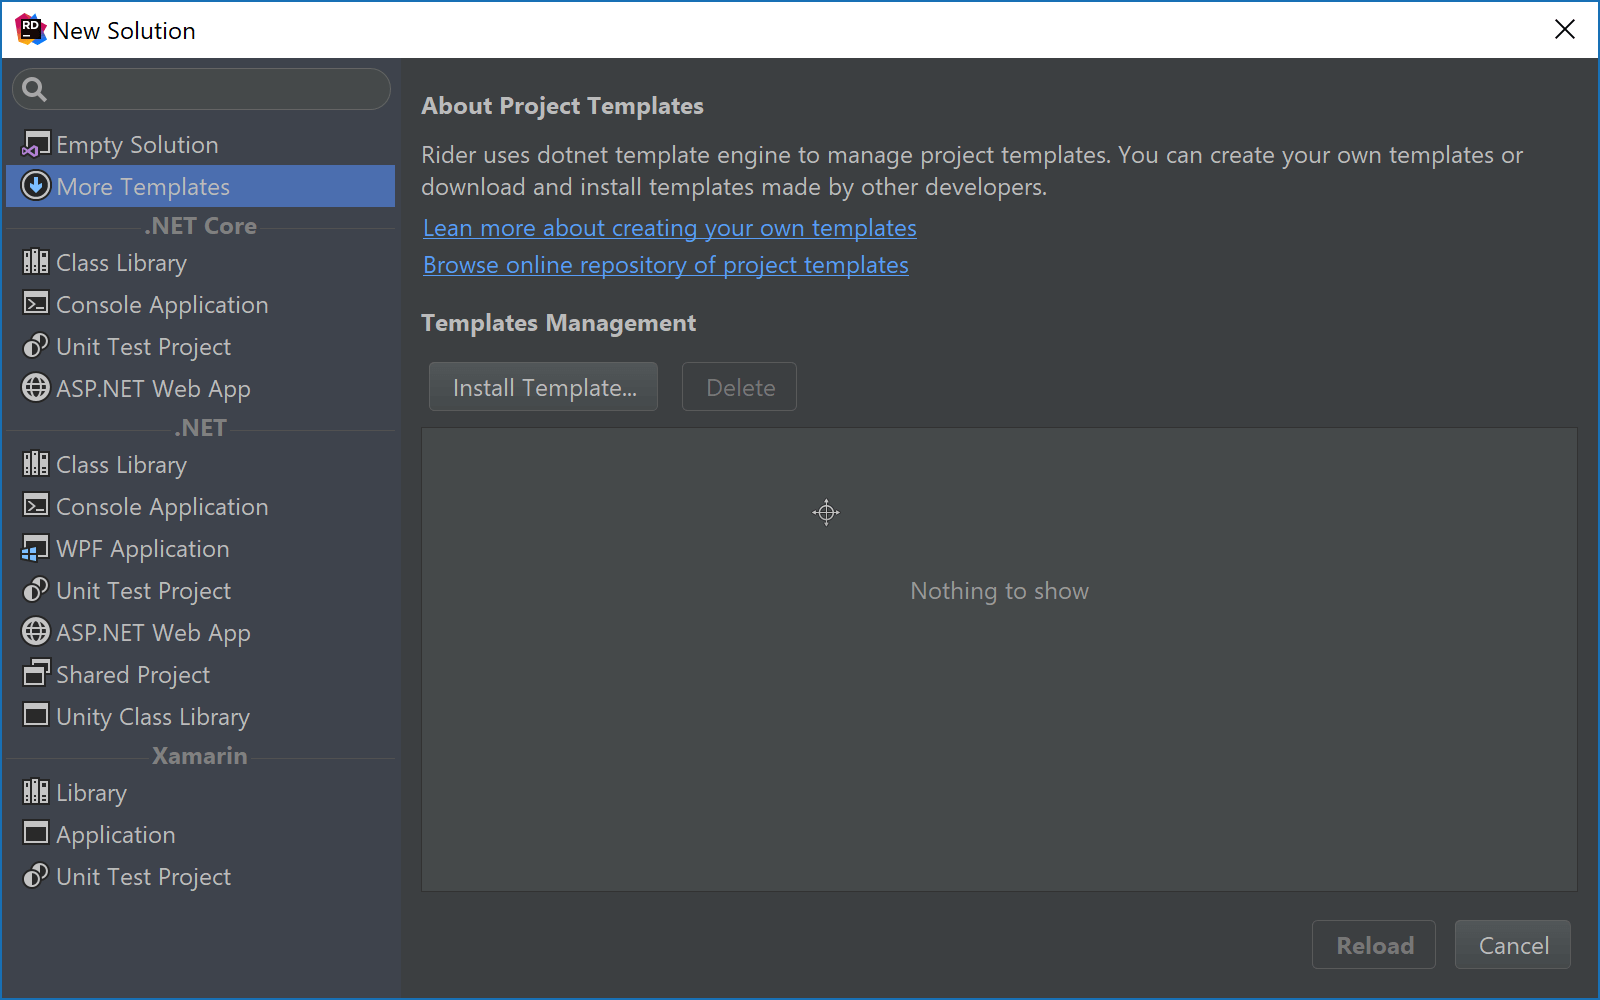
After clicking Reload, Rider makes the project template available for use, making it possible to create a console application that comes with an async main method.
Go on, learn more about creating custom templates and distribute your own templates for use with Rider!
Give Rider 2017.3 EAP a try! We’d love to hear your thoughts and comments.

Subscribe to a monthly digest curated from the .NET Tools blog:


